
The Web Universal (as it is called) has no particular requirements, other than IIS or a J2EE application server. Remember from the setup that there are actually two types of web interfaces, one is .NET based for the Windows world, and the other one is a set of Java servlets that run pretty well in most of the Java Containers (I personally use Tomcat, but it can run on WebLogic, WebSphere, JBoss, you name it).
Since we are using Windows as an operating system, we'll rely on IIS. One thing worth noting is that you need to be logged into the operating system using Administrator
and the administrator's password must be set (that is, no blank password). Configuring an Internet Information Server is beyond the scope of the book, but if you followed the instructions in Chapter 1, Getting Started with MicroStrategy, I'm confident there is nothing more to do.
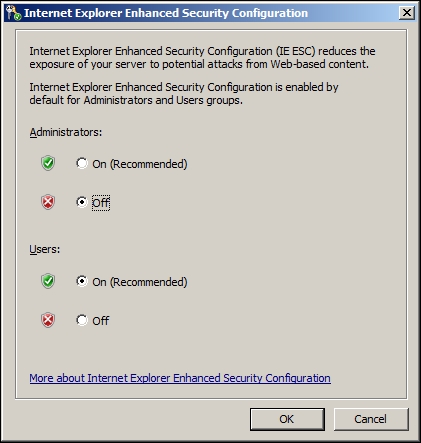
As a further measure, if you're superstitious like I am, you can disable the Internet Explorer Enhanced Security Configuration for the administrators, as we can see in the following screen capture:
Refer to the operating system manual for details.
I don't think it has anything to do with the IIS but you never know; by the way we're in a test machine, of course we wouldn't do it in a production environment, would we?
Follow these steps to configure the connection between MicroStrategy Web and the Intelligence Server:
- Log on to the operating system using
Administrator(with password). - From the Start | All programs menu, go to MicroStrategy | Web and select the icon named Web Administrator.
- This will open Internet Explorer and direct you to the admin page on localhost.
- When prompted, type
Administratoras User name and the corresponding password. These are the Windows operating system credentials not MicroStrategy ones. Check Remember my password (if you want) and click on OK. - If you see a Microsoft Phishing Filter window, just choose the most dangerous Turn off automatic Phishing filter and click on OK.
- If you see an Information Bar message, check Don't show this message again and click on Close.
- If you see a yellow bar on top of the Internet Explorer window saying that Intranet setting are now turned off by default, click on it and select Enable Intranet Setting and confirm that Intranet settings use a less secure level by clicking on Yes. As a result, we now have a pretty insecure machine: as said earlier, this is a learning environment, not a production one.
- In this admin page, we need to input the name of the Intelligence Server that we configured in Chapter 1, Getting Started with MicroStrategy. If you did those recipes following all the steps, this is the same name of the physical machine (hostname).
- To find the machine name, we use a command prompt window: go to Start | Run, type
cmdand hit OK. - In the black window that appears, type
hostname. - Copy the output to the clipboard and paste it into the Add a server manually textbox inside Internet Explorer, then click on Add….
- When the Server properties | Connection Properties show up, click on the radio button Automatically connect to Intelligence Server when Web Server or Intelligence Server is restarted.
- Click on Save. That's it! You're back to the Connected Servers list and a new server name displays the machine you have just connected. You can close Internet Explorer.
This procedure is needed only the first time we configure a machine. If we checked the Automatically connect… option, MicroStrategy will keep the Web Server and the Intelligence Server in contact and reconnect them if needed. This operation must be done with the operating system administrator user due to restrictions on the Web Admin page.
Now the Web tier is able to connect to the Intelligence Server, which in turn reads the metadata that holds information about all the projects available in the platform.
Check the successful outcome of the operation by opening the MicroStrategy Web:
- From the Start | All programs menu, go to MicroStrategy | Web and select the icon named Web.
- This time, Internet Explorer opens the main Web Interface page, and this can take a while, because IIS has to compile a series of .NET resources.
- When completed, the page shows the projects present in the metadata, in our case only one: COOKBOOK.