A digital signature is much like a handwritten signature on a check or other legal document. It can be used to ensure that the document was created by a particular person. In a world where computer files can contain potentially harmful materials, a digital signature helps to reassure a recipient that the file was created by somebody they know and trust. You can use a digital signature provided by a third party that others can use to verify your document. You can also create one that only serves for you to verify that a document you open on your computer is your own.
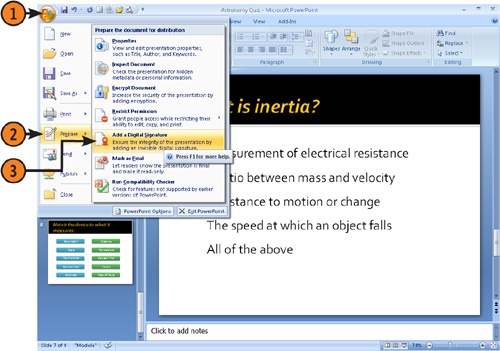
 Be sure your computer is connected to the Internet and then click the Office button.
 In the confirming dialog box that appears, click Signature Services From The Office Marketplace.
 Click the Try [service name] button and follow the steps to purchase a digital signature product or download a free trial.


Tip
Digital Signing software can cost anywhere from under $100 to over $250. You might make this investment if it’s important that you be sure that documents come from the person they purport to be from, and that the contents of the document haven’t been changed since they were signed.
Try This!
You can also use the Information Rights Management Service to authenticate the sender and recipient of files sent by e-mail to ensure that your files don’t fall into the wrong hands. Click the Review tab and then click the Protect Presentation button and choose Restricted Access. Follow the instructions to sign up for this service from Microsoft.
- Save your file as a PowerPoint presentation and click the Office button.
- In the confirming dialog box that appears, click OK to proceed. If you have saved a digital signature before, skip to step 9.
 Enter your name, e-mail address, organization, and location in the Create a Digital ID dialog box.
 In the Sign dialog box, fill in the Purpose For Signing This Document field.