
So far we've mainly focused on datasets that can fit on a single machine. For larger datasets, we may need to access them through distributed file systems such as Amazon S3 or HDFS. For this purpose, we can utilize the open-source distributed computing framework PySpark (http://spark.apache.org/docs/latest/api/python/). PySpark is a distributed computing framework that uses the abstraction of Resilient Distributed Datasets (RDDs) for parallel collections of objects, which allows us to programmatically access a dataset as if it fits on a single machine. In later chapters we will demonstrate how to build predictive models in PySpark, but for this introduction we focus on data manipulation functions in PySpark.
The first step in any spark application is the generation of the SparkContext. The SparkContext contains any job-specific configurations (such as memory settings or the number of worker tasks), and allows us to connect to a Spark cluster by specifying the master. We start the SparkContext with the following command:
>>> sc = SparkContext('local','job_.{0}'.format(uuid.uuid4()))
The first argument gives the URL for our Spark master, the machine which coordinates execution of Spark jobs and distributes tasks to the worker machines in a cluster. All Spark jobs consist of two kinds of task: the
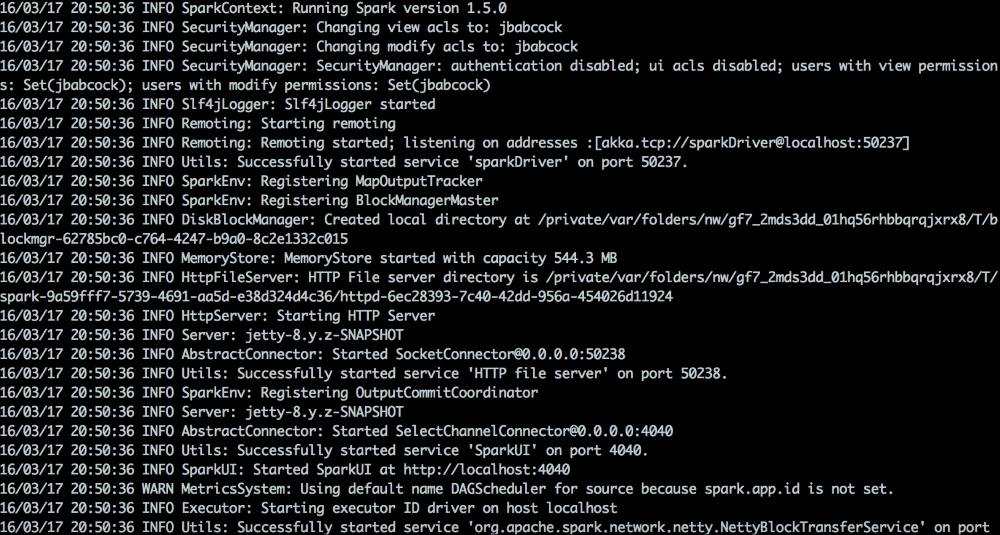
Driver (which issues commands and collects information about the progress of the job), and Executors (which execute operations on the RDD). These could be created on the same machine (as is the case in our example), or on different machines, allowing a dataset that will not fit in memory on a single machine to be analyzed using parallel computation across several computers. In this case we will run locally, so give the argument for the master as localhost, but otherwise this could be the URL of a remote machine in our cluster. The second argument is just the name we give to our application, which we specify with a uniquely generated id using the uuid library. If this command is successful, you should see in your terminal where you are running the notebook a stack trace such as the following:
We can open the SparkUI using the address http://localhost:4040, which looks like this:

You can see our job name in the top-right hand corner, and we can use this page to track the progress of our jobs once we begin running them. The SparkContext is now ready to receive commands, and we can see the progress of any operations we execute in our notebook in the ui. If you want to stop the SparkContext, we can simply use the following command:
>>> sc.stop()
Note that if we are running locally we can only start one SparkContext on localhost at a time, so if we want to make changes to the context we will need to stop and restart it. Once we have created the base SparkContext, we can instantiate other contexts objects that contain parameters and functionality for particular kinds of datasets. For this example, we will use a SqlContext, which allows us to operate on DataFrames and use SQL logic to query a dataset. We generate the SqlContext using the SparkContext as an argument:
>>> sqlContext = SQLContext(sc)
To generate our first RDD, let us load the movies dataset again, and turn it into a list of tuples using all columns but the index and the row number:
>>> data = pd.read_csv("movies.csv")
>>> rdd_data = sc.parallelize([ list(r)[2:-1] for r in data.itertuples()])
The itertuples() command returns each row of a pandas DataFrame as a tuple, which we then slice by turning it into a list and taking the indices 2 and greater (representing all columns but the index of the row, which is automatically inserted by Pandas, and the row number, which was one of the original columns in the file ). To convert this local collection, we call sc.parallelize, which converts a collection into an RDD. We can examine how many partitions exist in this distributed collection using the function getNumPartitions():
>>> rdd_data.getNumPartitions()
Since we just created this dataset locally, it only has one partition. We can change the number of partitions in an RDD, which can change the load of work done on each subset of data, using the repartition() (to increase the number of partitions) and coalesce() (to decrease) functions. You can verify that the following commands change the number of partitions in our example:
>>> rdd_data.repartition(10).getNumPartitions()
>>> rdd_data.coalesce(2).getNumPartitions()
If we want to examine a small sample of data from the RDD we can use the take() function. The following command will return five rows:
rdd_data.take(5)
You may notice that there is no activity on the Spark UI until you enter commands that require a result to be printed to the notebook, such as getNumPartitions() or take(). This is because Spark follows a model of lazy execution, only returning results when they are required for a downstream operation and otherwise waiting for such an operation. Besides those mentioned, other operations that will force execution are writes to disk and collect() (described below).
In order to load our data using the PySpark DataFrames API (similar to Pandas DataFrames) instead of an RDD (which does not have many of the utility functions for DataFrame manipulation we illustrated above), we will need a file in JavaScript Object Notation (JSON) format. We can generate this file using the following command, which maps the elements of each row into a dictionary and casts it to JSON:
>>> rdd_data.map( lambda x: json.JSONEncoder().encode({ str(k):str(v) for (k,v) in zip(data.columns[2:-1],x)})).
>>> saveAsTextFile('movies.json')
If you examine the output directory, you will notice that we have actually saved a directory with the name movies.json containing individual files (as many as there are partitions in our RDD). This is the same way in which data is stored in the
Hadoop distributed file system (HDFS) in directories.
Note that we have just scratched the surface of everything we can do with an RDD. We can perform other actions such as filtering, grouping RDDs by a key, projecting subsets of each row, ordering data within groups, joining to other RDDs, and many other operations. The full range of available transformations and operations is documented at http://spark.apache.org/docs/latest/api/python/pyspark.html.
Now that we have our file in the JSON format, we can load it as a Spark DataFrame using:
>>> df = sqlContext.read.json("movies.json")
If we intend to perform many operations on this data, we can cache it (persist it in temporary storage), allowing us to operate on the data Spark's own internal storage format, which is optimized for repeated access. We cache the dataset using the following command.
>>> df.cache()
SqlContext also allows us to declare a table alias for the dataset:
>>> df.registerTempTable('movies')
We can then query this data as if it were a table in a relational database system:
>>> sqlContext.sql(' select * from movies limit 5 ').show()
Like the Pandas DataFrames, we can aggregate them by particular columns:
>>> df.groupby('year').count().collect()
We can also access individual columns using similar syntax to Pandas:
>>> df.year
If we want to bring all data to a single machine rather than operating on dataset partitions which may be spread across several computers, we can call the collect() command. Use this command with caution: for large datasets it will cause all of the partitions of the data to be combined and sent to the Drive, which could potentially overload the memory of the Driver. The collect() command will return an array of row objects, for which we can use get() to access individual elements (columns):
>>> df.collect()[0].get(0)
Not all operations we are interested in performing on our data may be available in the DataFrame API, so if necessary we can convert the DataFrame into an RDD of rows using the following command:
>>> rdd_data = df.rdd
We can even convert a PySpark DataFrame into Pandas DataFrame using:
>>> df.toPandas()
In later chapters, we will cover setting up applications and building models in Spark, but you should now be able to perform many of the same basic data manipulations you used in Pandas.