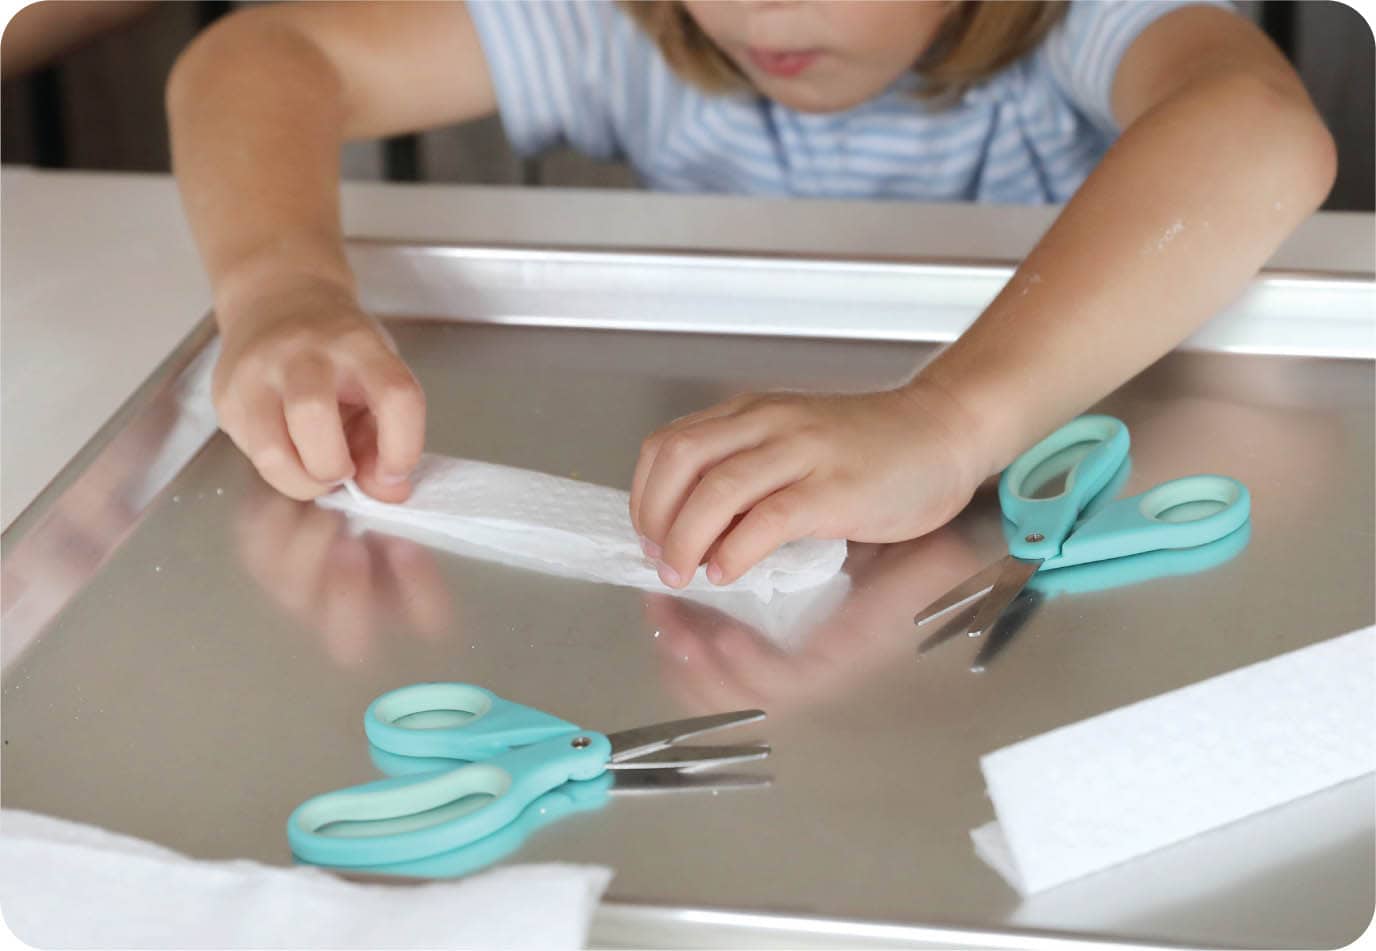
1. Cut, fold, and trim six paper towels into V-shaped “wicks” that are long enough to reach from the bottom of one jar to the bottom of the next jar without sticking up into the air. Ideally, each wick will be folded over twice and will barely rest on the rims of the jars. FIG. 2.
FIG. 2 Fold paper towels into long strips.
2. Line seven jars up on a sheet pan. Fill one of the end jars and then every other jar with water. FIG. 3.
FIG. 3 Line up seven jars and fill every other jar with water.
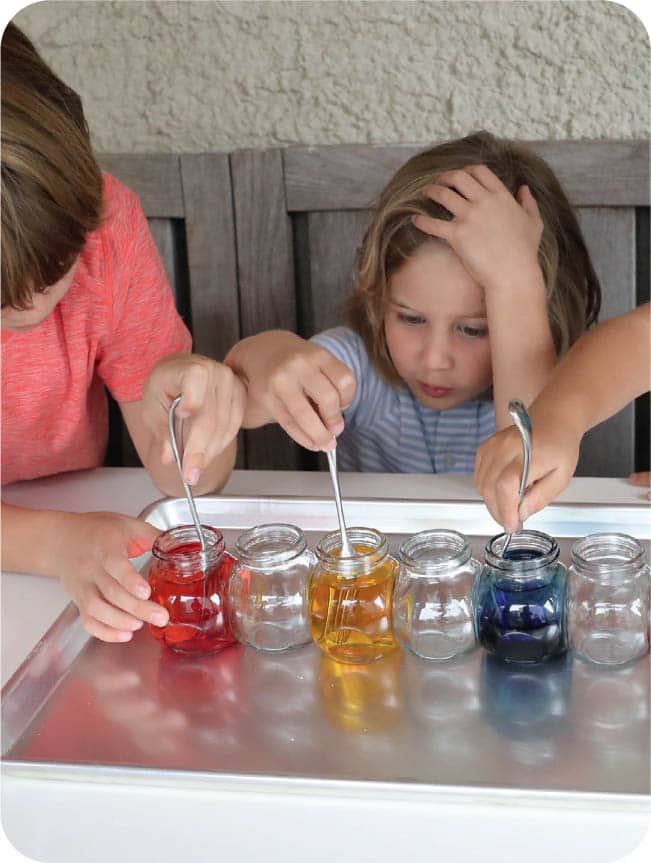
3. Add several drops of red food coloring to each of the water-filled jars on the ends. Add blue food coloring to one of the other water-filled jars and yellow food coloring to the final water-filled jar. FIG. 4.
FIG. 4 Add red food coloring to jars on each end and yellow and blue to the other two jars.
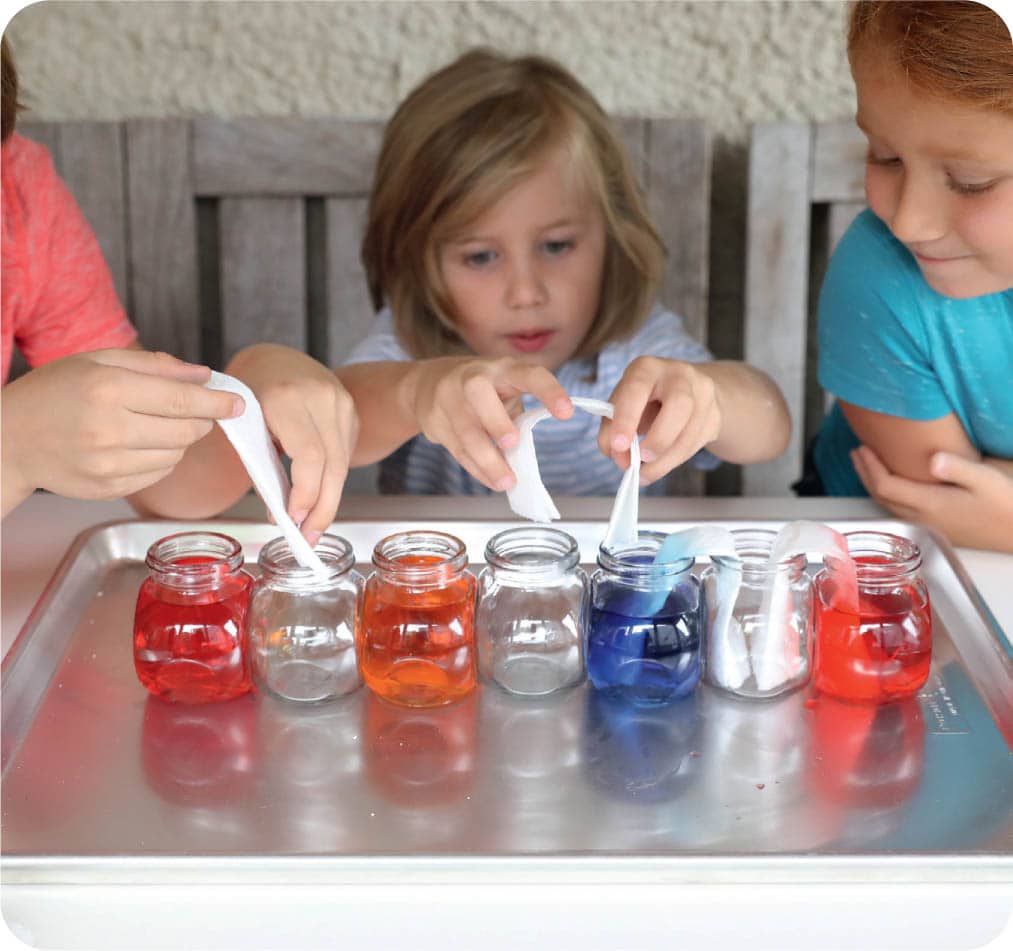
5. Make paper towel bridges between each of the jars so that the ends of the folded towels sit evenly in each jar. FIG. 6.
FIG. 6 Make the paper towels into bridges between the jars with their ends in the colorful water.
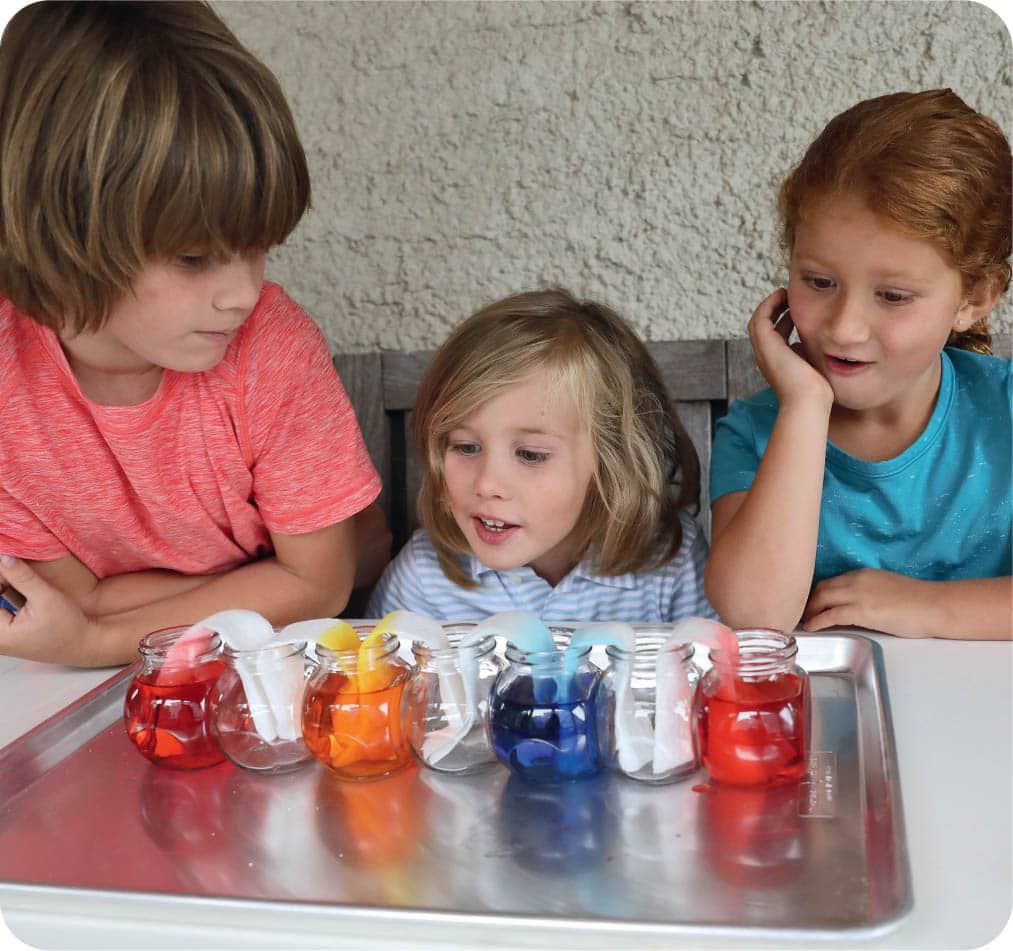
6. Watch as the water begins to move up the paper wicks via capillary action. FIG. 7.
FIG. 7 Watch as the water moves through the paper towels via capillary action.
7. Try to predict what colors will be created in the empty glasses. FIG. 8.
FIG. 8 Observe the color mixing that occurs.
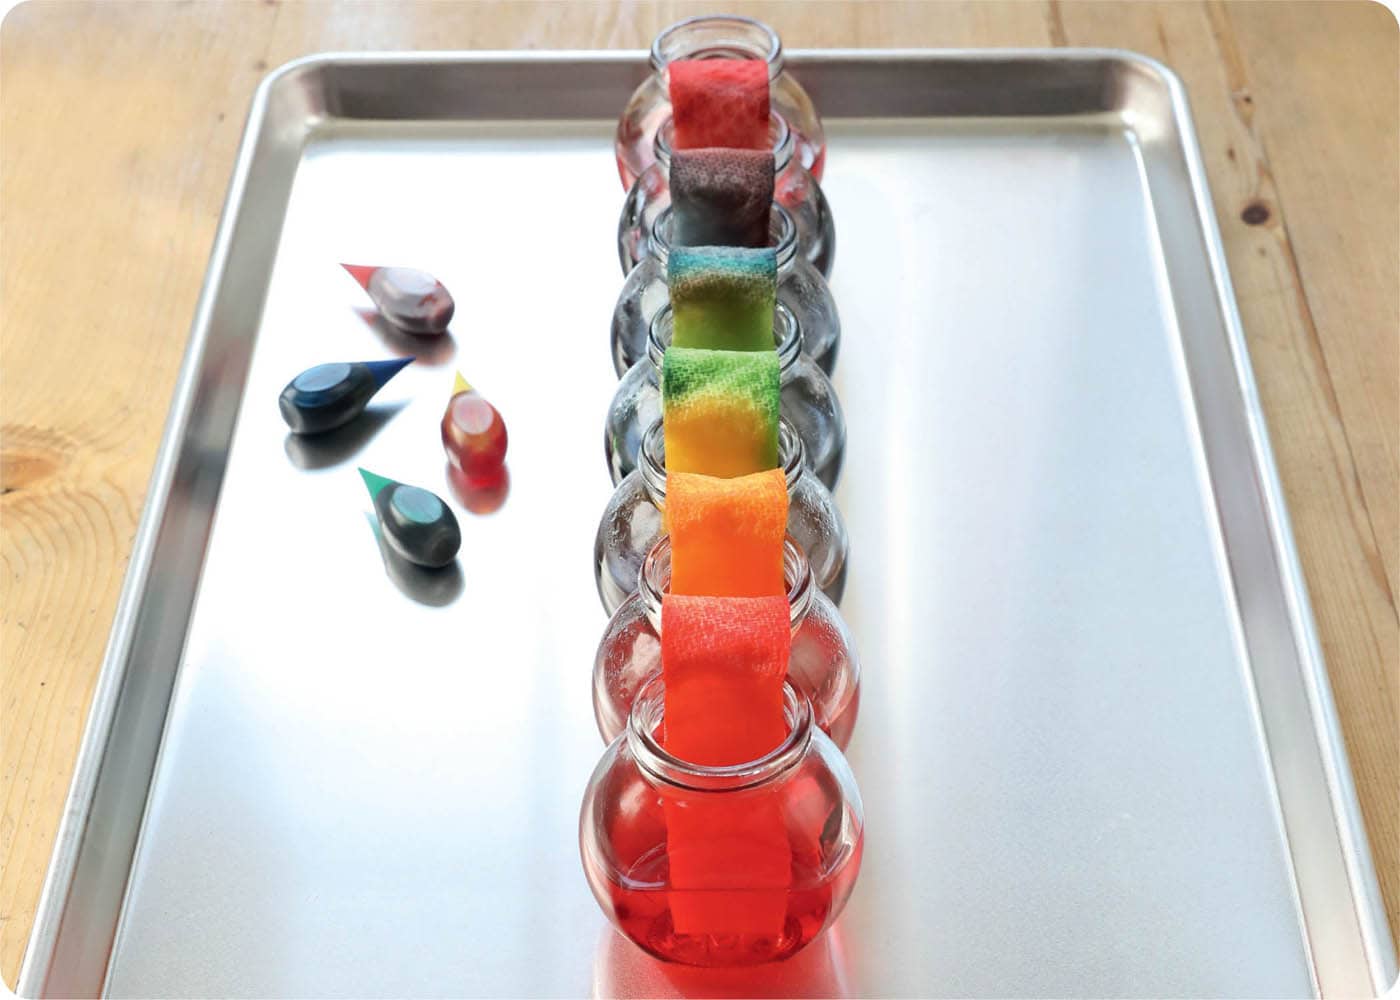
8. Leave the jars alone until they have all filled to the same level with liquid. Observe the colors created by the mixing of primary colors red, yellow, and blue.
PROTOCOL
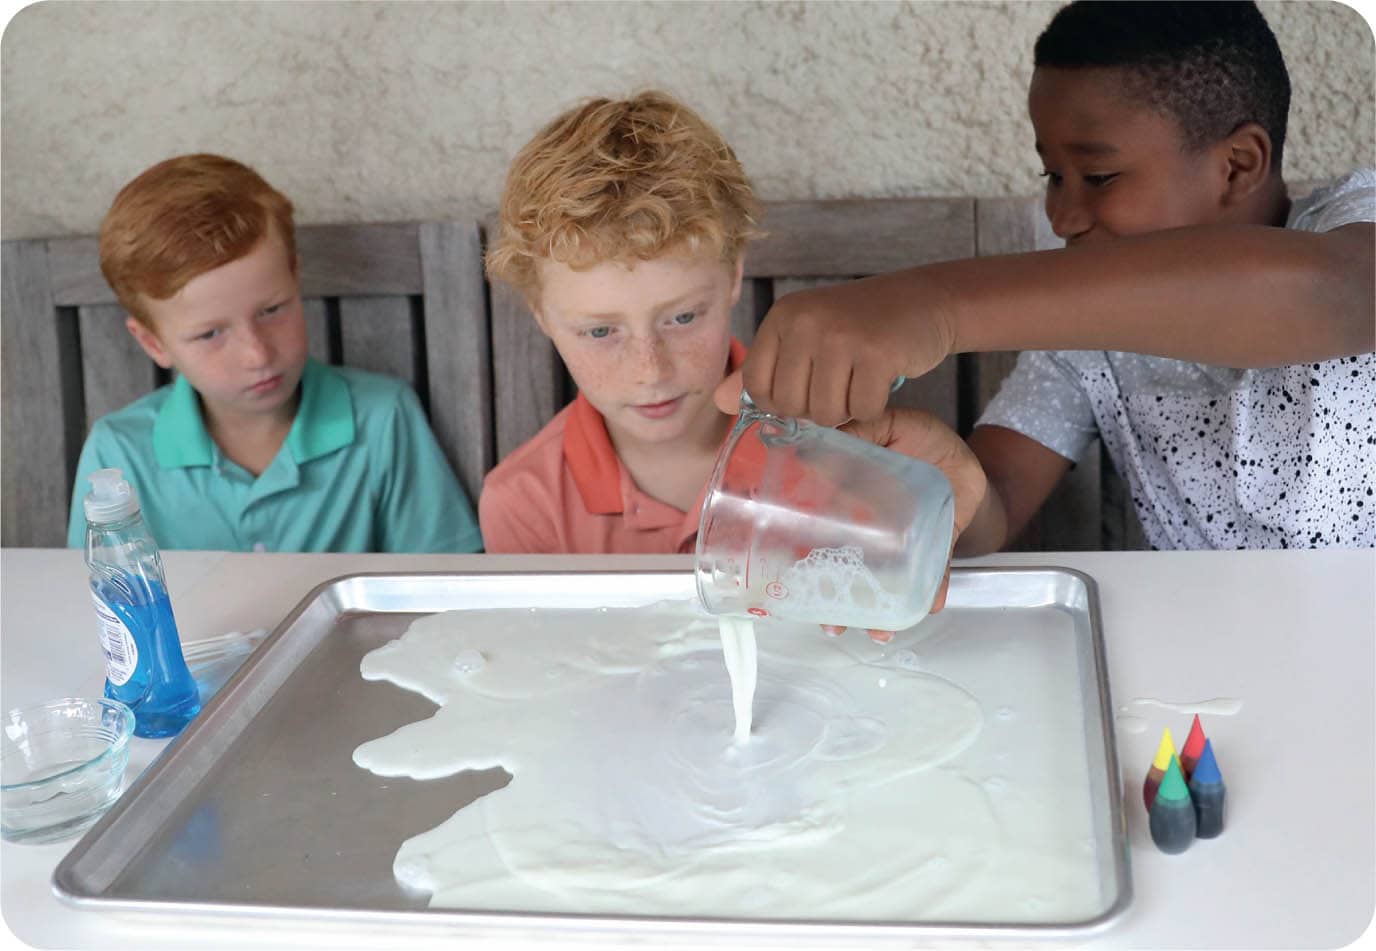
1. Pour milk onto a sheet pan or a plate to form a thin layer. FIG. 2.
FIG. 2 Pour a thin layer of milk onto a sheet pan.
2. Mix together water and dishwashing detergent or liquid hand soap in a small dish. FIG. 3.
FIG. 3 Mix dish detergent and water together in a small bowl.
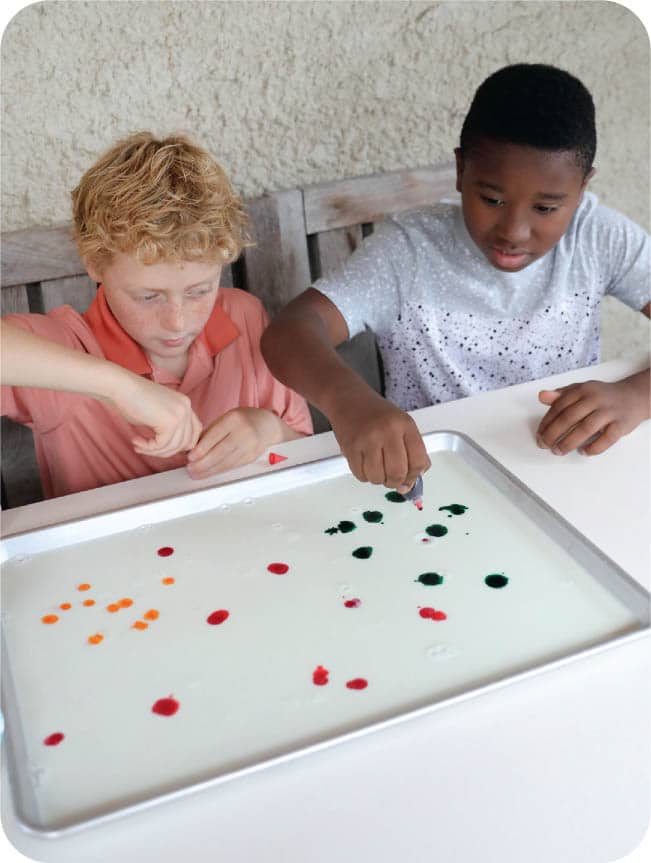
3. Add several drops of food coloring to the milk on the pan. Use multiple colors and space the drops out. FIG. 4.
FIG. 4 Drip liquid food coloring into the milk.
4. Dip a cotton swab into the dish detergent solution. FIG. 5.
FIG. 5 Dip a cotton swab in the detergent/water mixture and touch it to the surface of the milk without stirring.
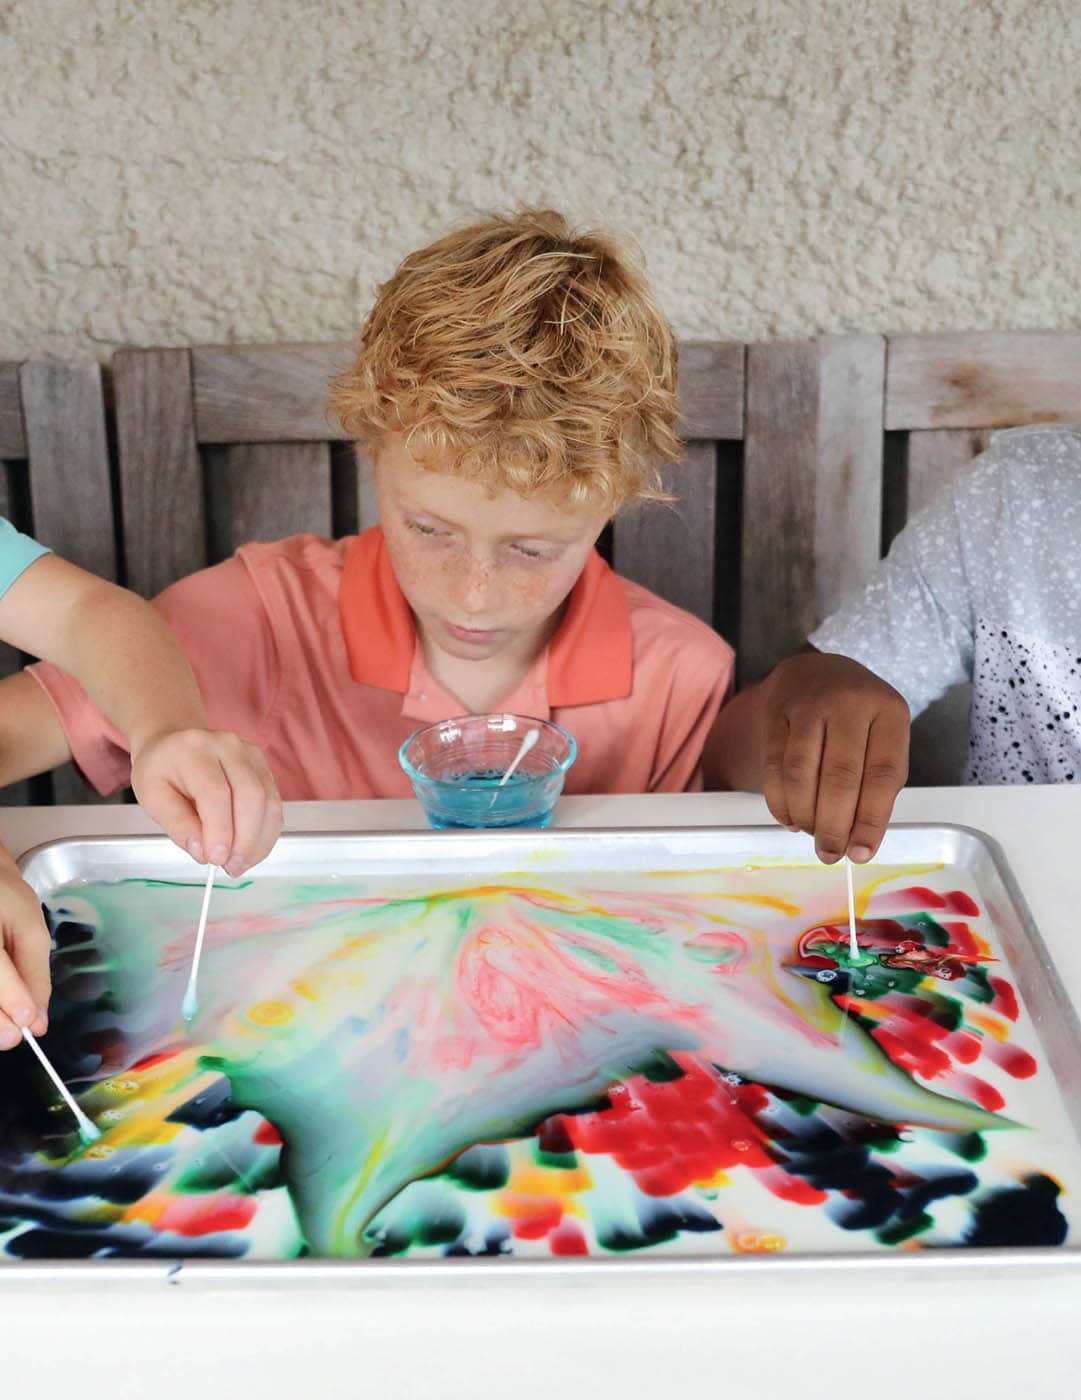
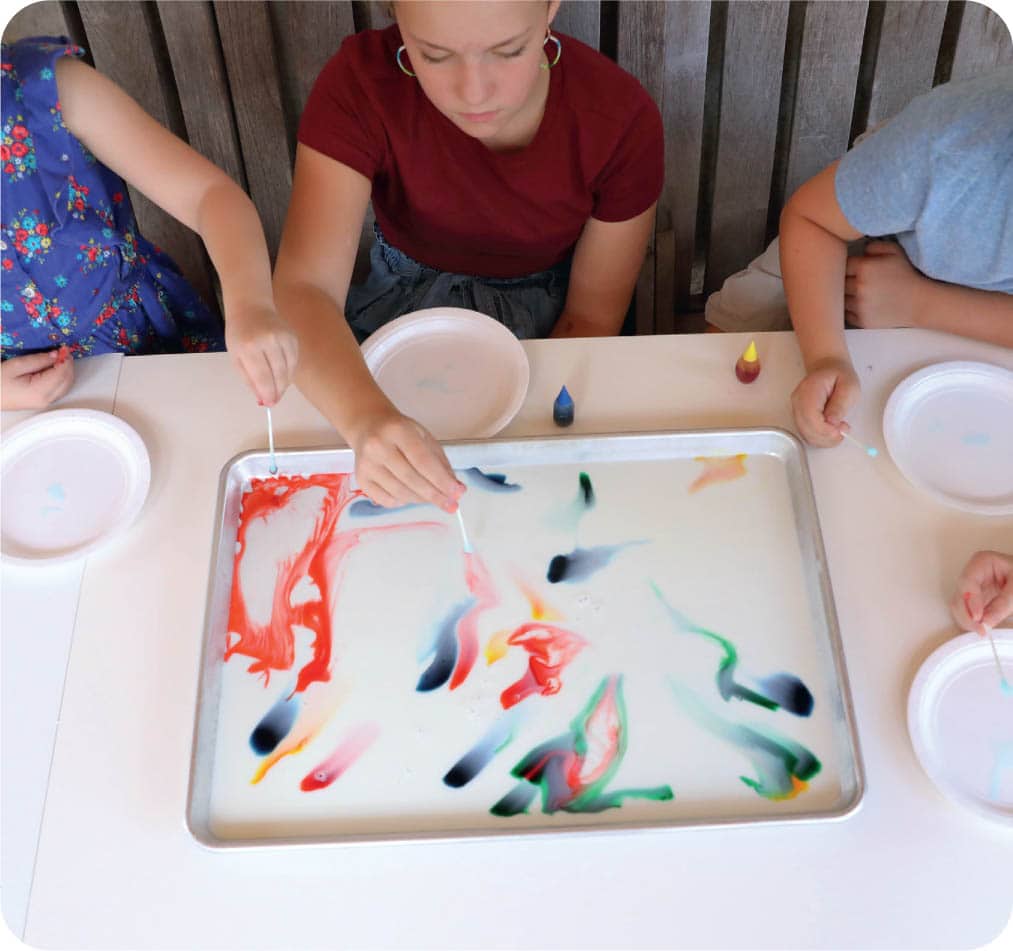
5. Carefully, touch the wet swab to the milk. Try not to stir it around. The detergent will break the surface tension of the milk, allowing the food coloring to swirl around in beautiful patterns. FIG. 6, FIG. 7.
FIG. 6 The dish detergent is a chemical called a surfactant that can break the surface tension of the milk.
FIG. 7 When the surface tension is broken, food coloring swirls around to create beautiful patterns.
6. You can keep rewetting your cotton swab with soapy water and touching it to the milk. Touch the swab to the bottom of the plate and hold it there for a few seconds. FIG. 8.
FIG. 8 Touch more soap to the surface and then leave the sheet pan undisturbed for several minutes to see what happens to the colors.
7. Take a photo of your colorful science project.
PROTOCOL
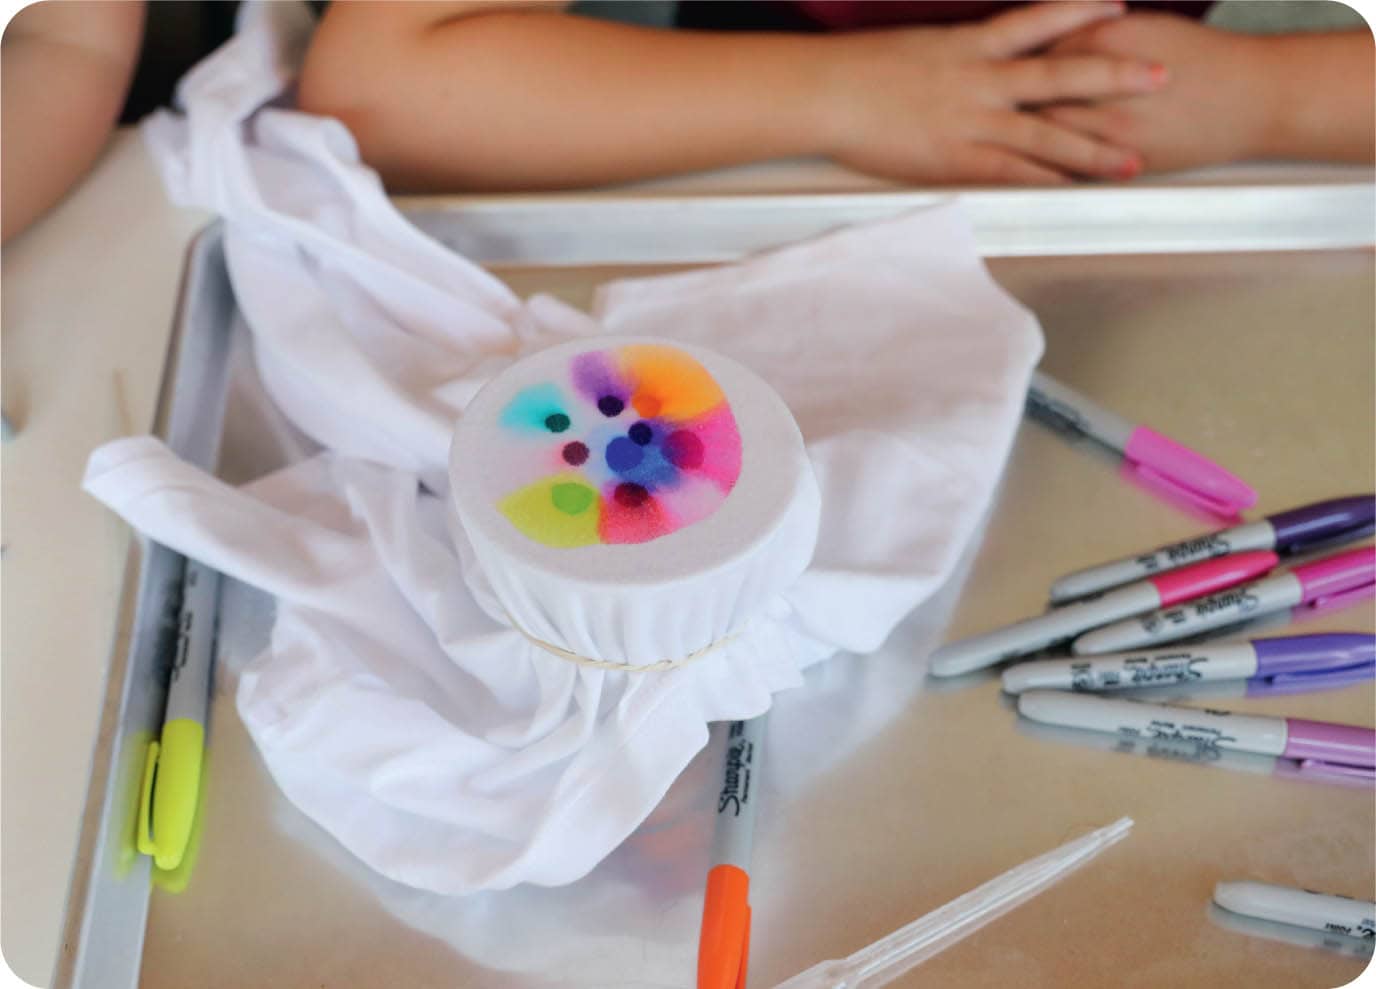
1. Stretch a T-shirt or other cloth item over the mouth of a cup or jar and secure it with rubber bands. Set the jar on a sheet pan. FIG. 2.
FIG. 2 Use a rubber band to secure fabric onto a cup or jar.
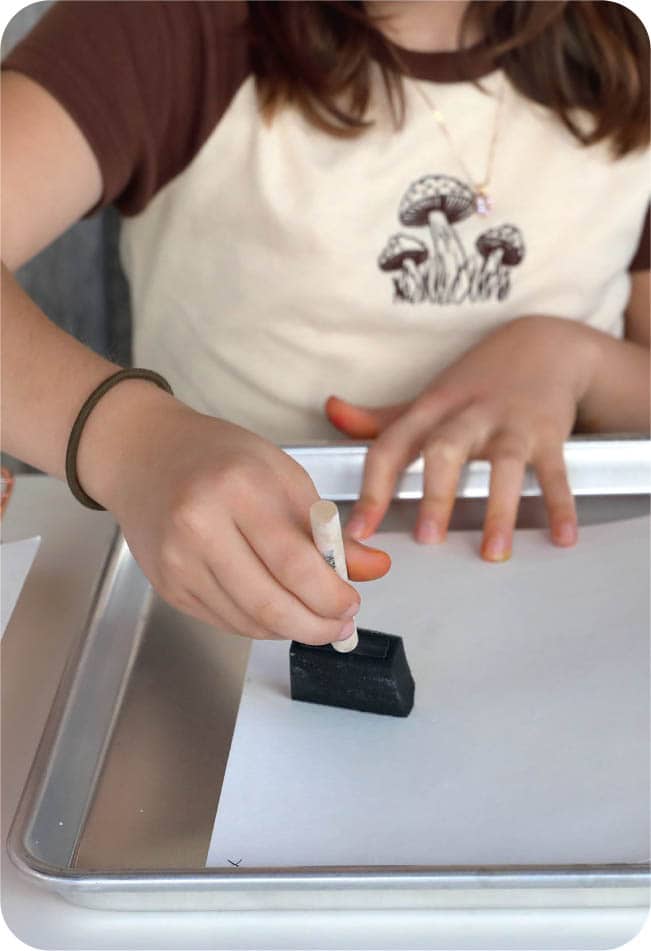
2. Use permanent markers to make several dime-sized dots of different colors on the stretched cotton. FIG. 3.
FIG. 3 Draw large dots of color on the fabric with permanent marker.
3. Set a bottle of rubbing alcohol on the sheet pan. Label alcohol with a poison symbol so it is not mistaken for water. Fill an eyedropper or syringe with alcohol and drip it onto the spots of color until the alcohol starts to soak outward, carrying the ink with it. The pan will catch any stray drips. FIG. 4.
FIG. 4 Drip rubbing alcohol (isopropyl alcohol) onto each dot.
4. Repeat steps 1 to 3 on different areas of the item, decorating until the design is complete. FIG. 5, FIG 6, FIG. 7.
FIG. 5 Observe the ink as it spreads out with the alcohol, which is a chemical called a solvent.
FIG. 6 You can do the same thing with white shoelaces, if you have some on hand.
FIG. 7 Perform this lab in a well-ventilated area and supervise small children. Rubbing alcohol is poisonous, if consumed.
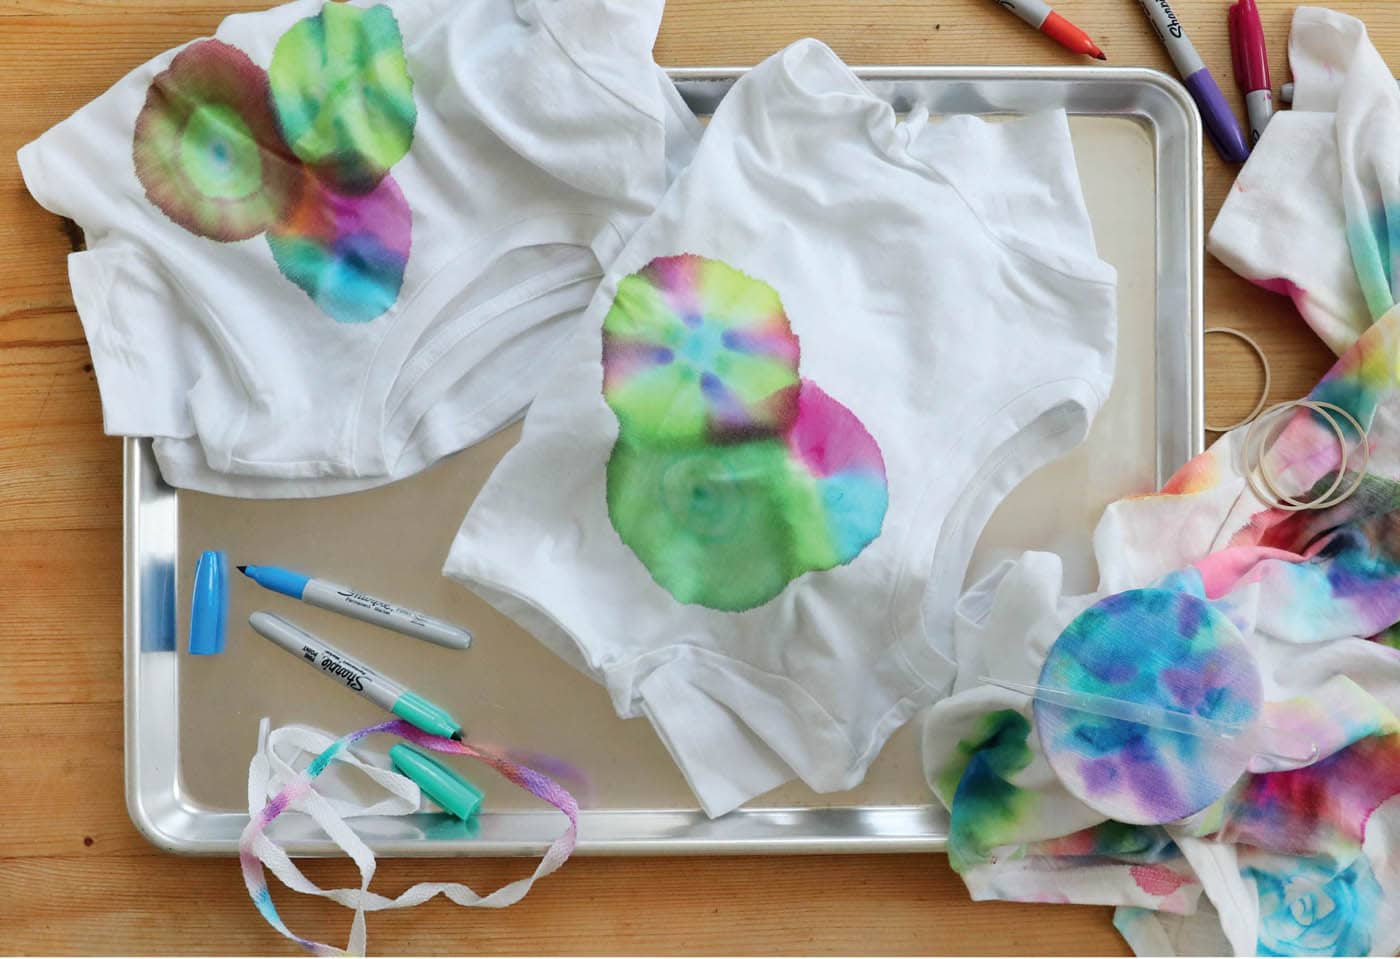
5. Allow the dyed cotton to dry overnight. When completely dry, hang it in the sun for a few hours or put it in the dryer for 15 minutes to set the color. Wash marker tie-dye separately from other clothes. FIG. 8.
FIG. 8 Once it is dry, fabric containing permanent marker will retain its color when washed.
PROTOCOL
1. Mix alum into 6 cups (1.5 L) water. Note: Alum solution may be saved and used in Lab 21 for fabric dyeing.
2. Sponge or brush the solution onto several pieces of heavy paper, such as watercolor paper, and lightly mark the side you treated with a pencil. Alternately, dip the paper in the alum solution. Allow the paper to dry completely. FIG. 2.
FIG. 2 Brush or sponge alum solution onto the paper. Dry.
3. In a blender, blend 1 tablespoon (128 g) carrageenan into ½ gallon (2 L) water for 30 seconds. Pour into a container for storage. Combine another tablespoon (128 g) carrageenan with ½ gallon (2 L) of water and mix again. Combine the two batches and let them sit overnight. (They’ll keep for about 2 days.)
4. When you are ready to marble, pour a thin layer of carrageenan (or cornstarch) solution onto a sheet pan. FIG. 3.
FIG. 3 Pour carrageenan- or cornstarch-thickened water onto a sheet pan.
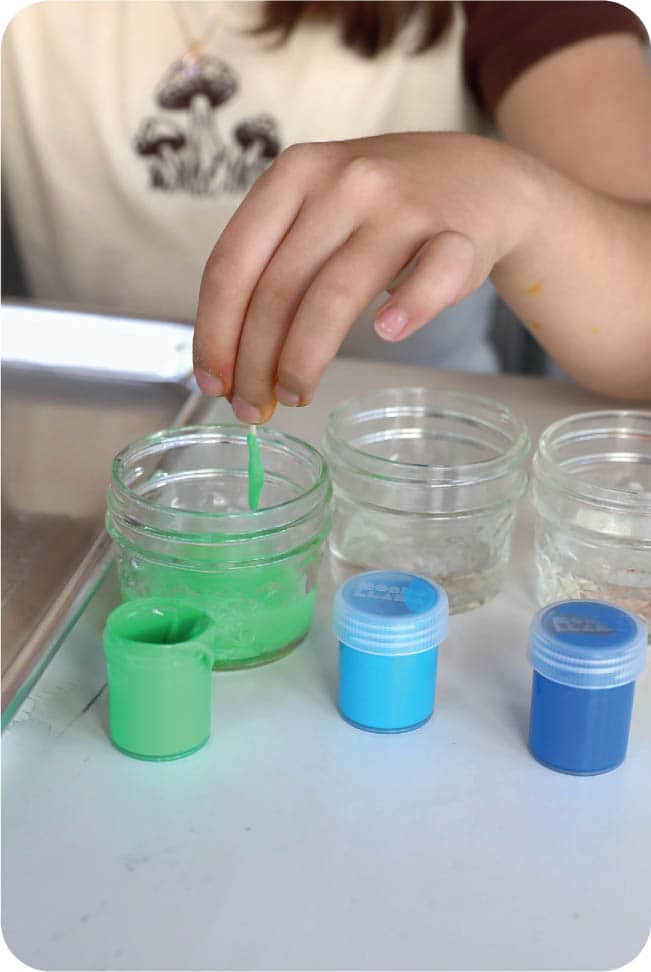
5. Add some water to acrylic paint and mix until it is the consistency of whole milk. FIG. 4.
FIG. 4 Use water to thin acrylic paint.
6. Drip or use a brush to spatter the thinned liquid acrylic paint into the water. Cover the entire surface with paint. FIG. 5.
FIG. 5 Drip and splatter paint onto the thickened water in the sheet pan.
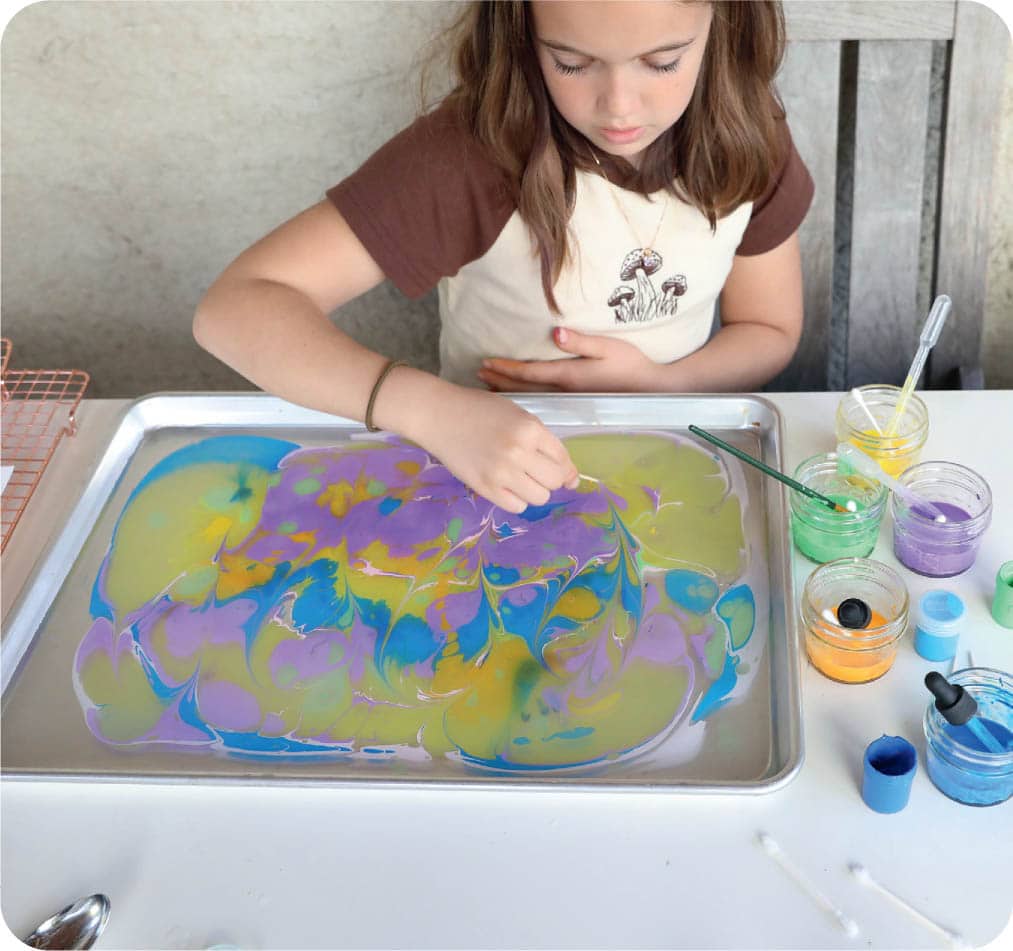
7. Use toothpicks to make marbled patterns. FIG. 6.
FIG. 6 Use a toothpick to create designs in the paint.
8. When your design is complete, carefully place a piece of paper on the paint, alum-side down, and smooth it gently to remove bubbles. FIG. 7.
FIG. 7 Lay a piece of paper, alum-side down, on the paint.
9. Carefully lift the paper out of the paint. Drag it against the edge of the pan to remove excess paint, if you wish. FIG. 8.
FIG. 8 Lift the paper carefully and rinse in the sink. Try not to leave fingerprints on the front of the paper. Set it on a baking rack or sheet pan to dry.
10. Briefly rinse the colorful paper in the sink to wash off extra paint so that you can see the design more clearly.
11. Dry the paper on a baking rack or sheet pan.
PROTOCOL
1. Remove any loose leaves from a head of the Napa cabbage. FIG. 2.
FIG. 2 Remove any loose leaves from the cabbage.
2. Fill four containers three-quarters full with warm (not hot) water. FIG. 3.
FIG. 3 Fill four containers with water.
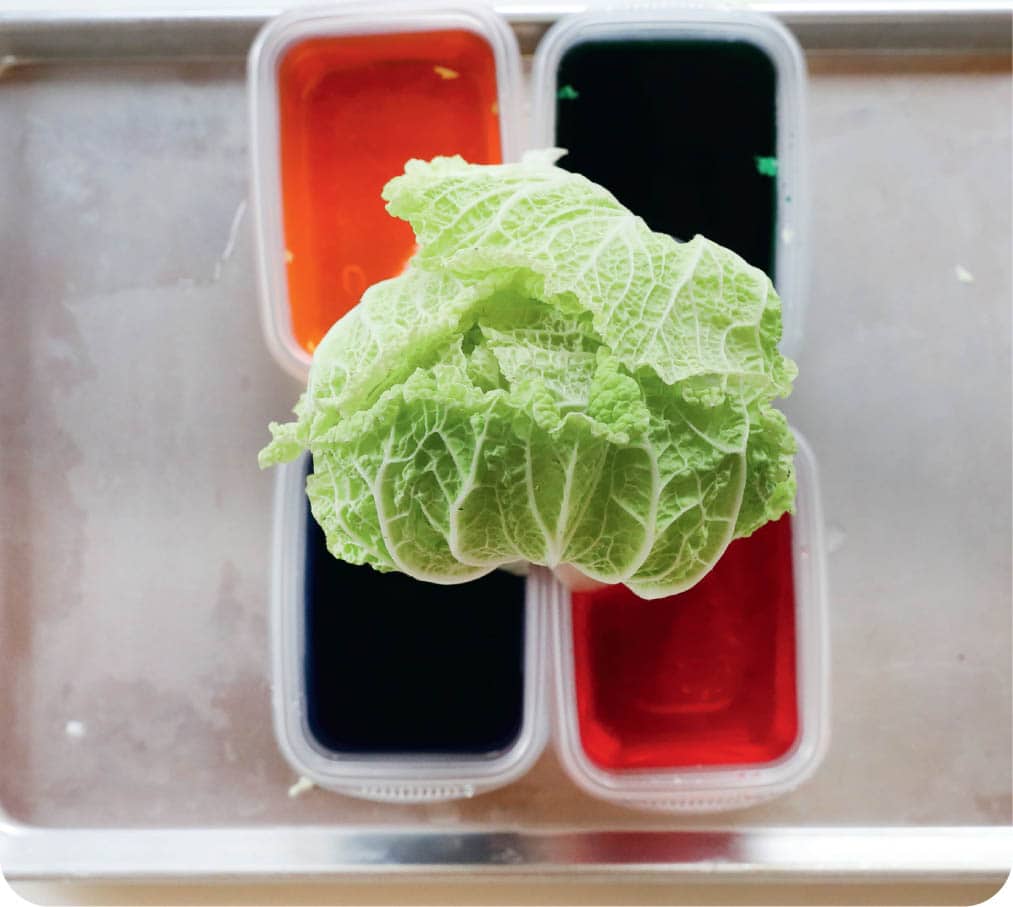
3. Add ten or more drops of blue food coloring to the first container, ten or more drops of red food coloring to the second container, ten or more drops of yellow food coloring to the third container, and ten or more drops of green food coloring to the fourth container. FIG. 4.
FIG. 4 Add food coloring to each container: red, blue, yellow, and green.
4. Arrange the containers of colorful water in a tight formation in the center of a sheet pan.
5. Using a sharp knife, cut the cabbage in half vertically, from the bottom up, leaving the top 4 inches (10 cm) or so intact so that cabbage is still together at the crown. If possible, try to cut down the middle of large leaves. Rotate the cabbage and repeat so that the bottom section is cut into four parts. FIG. 5.
FIG. 5 Cut the base of the cabbage into four equal sections, leaving the leaves above the cuts intact.
6. Use rubber bands to secure the bottoms of each quarter of the cabbage. FIG. 6.
FIG. 6 Secure each section with a rubber band, make a fresh cut at the bottom, and place each section in a different color.
7. Make a fresh cut at the bottom of the cabbage, a few inches up from the old cut.
8. Place each quarter of the cabbage in a container of water so that one is in red, one is in blue, one is in yellow, and one is in green.
9. Check the cabbages every hour or so to observe how the food coloring is moving up into the leaves. Leave the cabbage in the colored water overnight. FIG. 7.
FIG. 7 Let the cabbage sit for 24 hours. Check it every few hours to see what is happening.
10. Study the leaves closely to see where the dye traveled. FIG. 8.
FIG. 8 Remove the cabbage from the water and observe the paths of the food coloring.