
Start Making!
Session Flow

In this chapter we provide an overview of how each Start Making! session typically flows. We describe each aspect of the session flow—from getting ready for the session to documenting and displaying projects at the end. We encourage you to adapt this flow to meet the needs and interests of your makers.

Session Goals
For each session, we provide a list of goals. The goals include gaining experience with new tools, exploring new concepts, and developing a range of skills.
✓ Getting Ready
Before each session, you will gather materials and set up the space. We provide a list of suggested materials for each session.
We also recommend that you create one or more projects of your own before the session. This will help you get to know the activity and create examples that you can share during the demo.

 Opening
Greet the youth and initiate an icebreaker or a warm-up activity to build relationships among the youth as well as the facilitators.
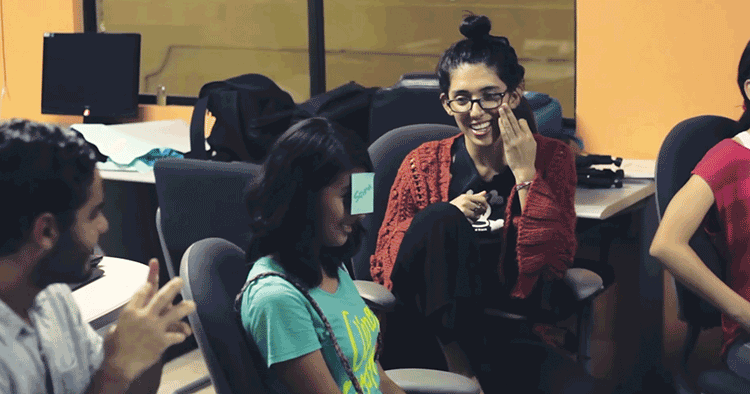
Opening activity (Casa de La Juventud Clubhouse, Mora, Costa Rica)
 Demoing
Gather the youth into a circle around a table containing only the necessary materials. Share one or two example projects. Then, demonstrate how the project works and the basic steps makers need to take to get started designing their own project.

Introducing how to make a paper circuit (Flagship Clubhouse, Museum of Science, Boston, MA)

Introducing an activity (CLT Clubhouse, Bangalore, India)
 Building a First Project
Get hands-on! Prompt makers to build their first version of the project by following the demonstrated steps and adding their own personal flair.

Making an initial project (Youth Connections Clubhouse, Lismore, Australia)
 Taking It Further
Add new elements to the first basic activity, or prompt the makers to come up with their own versions to work on. Here you’ll share more examples and help makers generate even more ideas.

Experimenting with an activity (Youth Connections Clubhouse)
 Open Make
Help the makers imagine, design, and make final projects, either individually or in small groups. Build on earlier activities and sessions to incorporate new interests, media, or tools.

Working on a project during Open Make time (Casa de La Juventud Clubhouse)
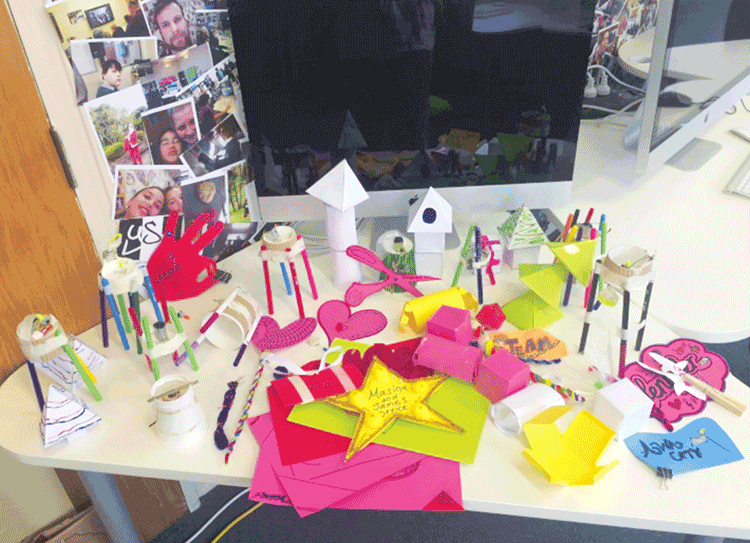
Open Make Box
In addition to the basic materials list for each activity, we also recommend you create an Open Make box that includes a broader range of materials and tools. These boxes can be used during the Open Make times to expand creative possibilities for making a variety of projects.
How to Build Your Open Make Box
These are our suggestions. You can replace or add your own items to the list.
- Butcher paper
- Foam sheets and boards
- Cardboard
- Felt sheets
- Mini hot glue gun and glue sticks
- Tacky glue
- Electrical tape and/or duct tape
- Scissors
- Precision knives and cardboard cutters
- Markers
- Glitter pens
- Ping-Pong balls
- Necklace cords
- Pin backs
- Ribbon
- Googly eyes, sequins, beads
- Embroidery thread
- Wooden craft sticks
- Other craft materials

Your Open Make box can also include leftovers or scraps from earlier sessions. Save packaging from other materials, including snacks, and encourage youth to scavenge around their homes for items such as egg cartons, plastic or foam food containers, empty plastic bottles and caps, and boxes.
Taking the Open Make Box Further
Depending on the technical skills of your makers and facilitators, you may also want to create a box with more complex or advanced tools. Here are just a few items you could collect in this box:
- Soldering irons
- Other conductive materials, such as conductive paint and/or pens
- Bandage scissors (perfect for cutting cardboard)
- Power drills
- Basic hand tools like hammers, saws, and box cutters
- A multimeter, to test your circuits; especially helpful for e-textile circuits
- Electronic prototyping tools, such as Arduino, Raspberry Pi, LilyPad, Chibitronics circuit stickers, or BBC micro:bit
- Safety goggles
 Sharing and Reflecting
After the Open Make, encourage makers to come back together as a group to reflect on what they made together (or to spend some time reflecting in their journals), to share their work with others, and then to clean up together.

Sharing ideas (Flagship Clubhouse)
Create and Use Journals
Individually, each maker can create or decorate a notebook in which they can brainstorm ideas, document projects, and also reflect on their process.
Idea Wall
Set aside an area where makers can post ideas in a common place, such as on a whiteboard or a wall of the room, which they can draw from later. These ideas can include thoughts on materials, tools, techniques, stories, questions, or problems they want to solve.
 Documenting and Displaying
Encourage and help youth to document their process. They can draw sketches, take photos, and record video describing what they are making. Set up a physical space in which to display their creations. Make sure the display space is visible to everyone. You may also want to provide them with opportunities to post and share their projects and stories online.
Project display area (Awa City Clubhouse, Whanganui, New Zealand)
Choosing Activities and Adapting Sessions
You can choose how many sessions and which parts of the suggested Session Flow to include in your own version of the Start Making! design, depending on how much time you have.
Here are a few hints on how to adapt each session to your situation:
- Know your makers. If you’re engaging youth and mentors who are new to your space, you’ll need to set aside more time for icebreakers and other activities that help them get to know each other. Also, you may want to simplify the session to focus on just building an initial project; you can wait until later in the program to offer Open Make opportunities.
- Find the buzz. Poll your young makers ahead of time to find out what materials, technology, and projects excite them most.
- Keep an open mind. Makers might be interested in any of the materials and tools, so keep an open mind and provide a variety of options rather than making assumptions based on gender, age, or background. Encourage everyone to participate in all of the session activities, such as sewing, electronics, and robotics.
- Try something new. You can find a wealth of ideas for creative maker projects online that could fit well within the Start Making! program design. Invite everyone to suggest activities or projects based on their own interest areas.
Additional Resources
- Start Making! demo videos for facilitators: bit.ly/start-making-facilitation-playlist
- Online stores for electronic materials: adafruit.com, sparkfun.com, digikey.com
- Maker Shed online store: makershed.com
