CHAPTER 1 GRIND
NAILING THE BASICS
Like many labor-intensive exploits that take place in the kitchen, when it comes to making sausage, plenty of prep work is involved. Pay careful attention if you want to present a beautiful and delicious product. We believe the following four rules are the most important things to keep in mind when making sausage.
• Pick the best meat; quality meat makes quality sausage.
• Always use fresh ingredients; they make a difference.
• Use the right tools.
• Employ proper technique.
PICK THE BEST MEAT
Meat is the foundation of a sausage—or at least, in this book it is. So why would you pick anything other than excellent?
First and foremost, look for a local or regional product that is free of hormones and steroids and was given free range or was pasture raised. That will provide you with quality meat that has better flavor and texture.
Second, use your senses: look, touch, and smell.
LOOK
Take a look at the color of the meat you’ve selected. The darker the piece of meat, the more developed the muscles are, and the more flavorful the meat will be. Take chicken, for example. Thighs and legs are darker, juicier, and much more fatty and delicious than its dryer competitor, the breast. Furthermore, meat with a higher fat content provides additional moisture in cooking, which is delicious and ideal for sausage.
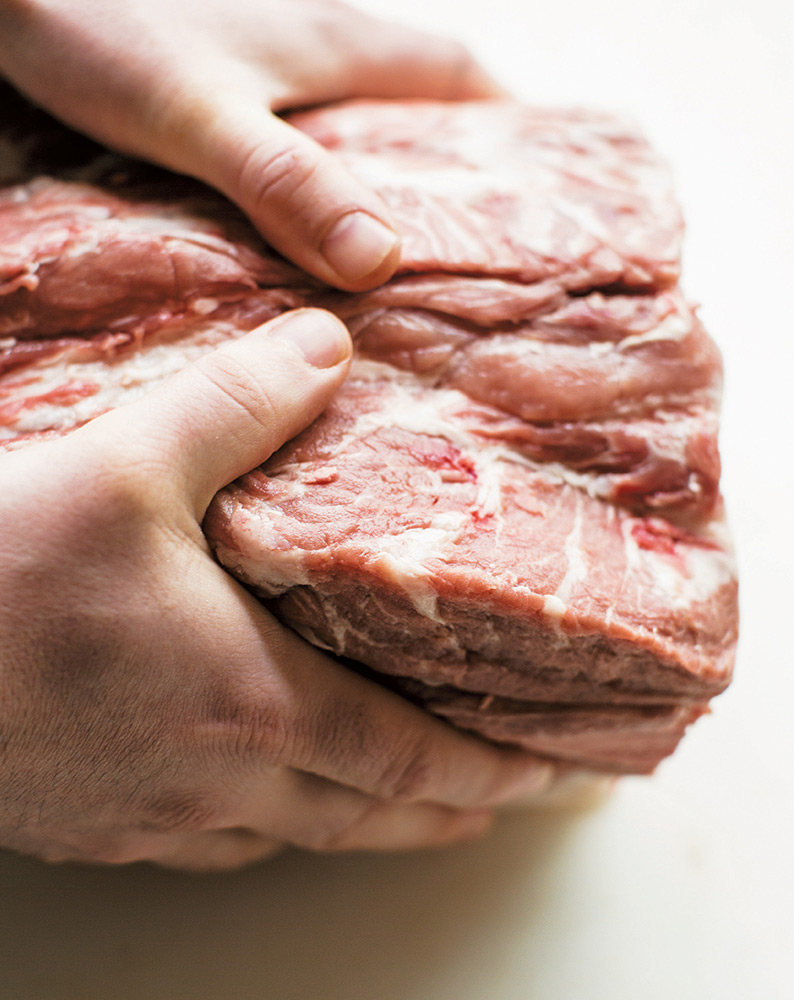
TOUCH
Pick up the piece of meat and feel it, even if it’s packaged. An ideal product is one that is fresh and not previously or currently frozen. So take a look, read the package, and find out whether the meat you’ve chosen has been in the freezer. Then feel the meat: You want it to be firm, but not hard. It should have some give, but not be soft or wiggly like jelly. Think about how your muscles feel.
SMELL
Go on, give the meat a sniff. One of the best ways to check the freshness of a meat product is to smell it. If it smells even slightly off or has any sort of off-putting odor, pick a different piece. Of course, good, aged beef will give off a stronger and earthier odor, but your nose will naturally distinguish the difference between a sweetly strong beefy smell from a rank piece of meat.
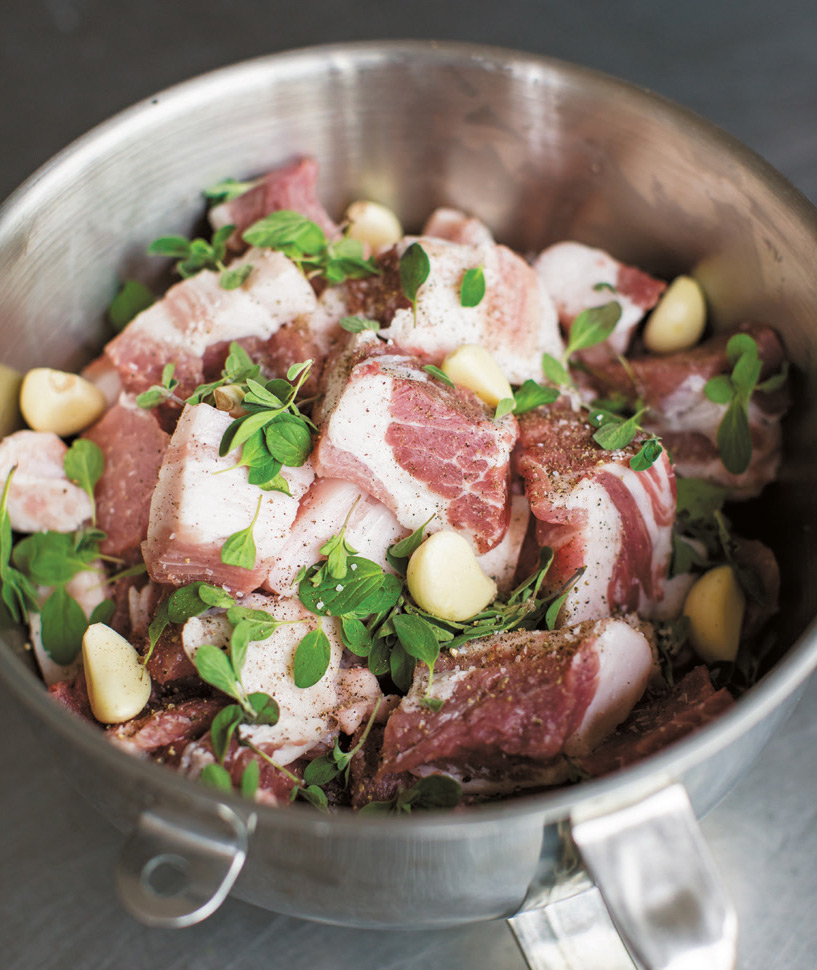
Once you’ve selected your piece of meat, all you need to do is dice it up and toss it into the grinder.
Of course, if you don’t have (or don’t want to buy) a meat grinder or if you are uncertain about grinding meat yourself, find trusted local butchers who choose responsible farmers for sourcing their animals, and ask them to grind it for you. But really, grinding meat is easy and fun. Give it a go!
ALWAYS USE FRESH INGREDIENTS
Fresh herbs, local vegetables, whole spices, dairy from happy cows, and eggs from happy chickens will make a big difference in your final product. Yes, it might cost you a little more up front, but the return on that investment will be so incredible, you’ll forget all about your down payment. So go on and invest in the best.
Plenty of online debate exists regarding the appropriateness of dried herbs versus fresh, and the fight for the dried variety has been a strong and valiant one. But when it all boils down, fresh herbs provide a more potent, full, and longer lasting flavor that you won’t get from dried herbs. The oils that fresh herbs release and the richness of flavor they provide is far superior to what the flaky, dried kind will put out, so do it right and go fresh. We promise you’ll taste the difference.
Just like herbs, spices are much better fresh as well—meaning freshly ground. Certain recipes of ours do call for ground spices, but we always start with the spice in its truest form and then grind it ourselves, using a spice grinder. This method provides fuller, stronger, richer flavors, unlike pre-ground spices that have been sitting on the shelves and releasing their delicious fumes into the nostrils of unassuming passersby. Plus, the larger grind and the non-uniformity of the ground pieces will provide for better texture and bigger bursts of flavor.
USE THE RIGHT TOOLS
Making sausage doesn’t require an extensive amount of tools, but there are a few essential items you’ll need to get the job done properly. The best and most important tool, however, is one that you already have: your hands. Your hands are by far your most valuable instruments in the kitchen—particularly in the realm of sausage. So don’t be afraid to get your hands into the meat of the mix.
SCALE
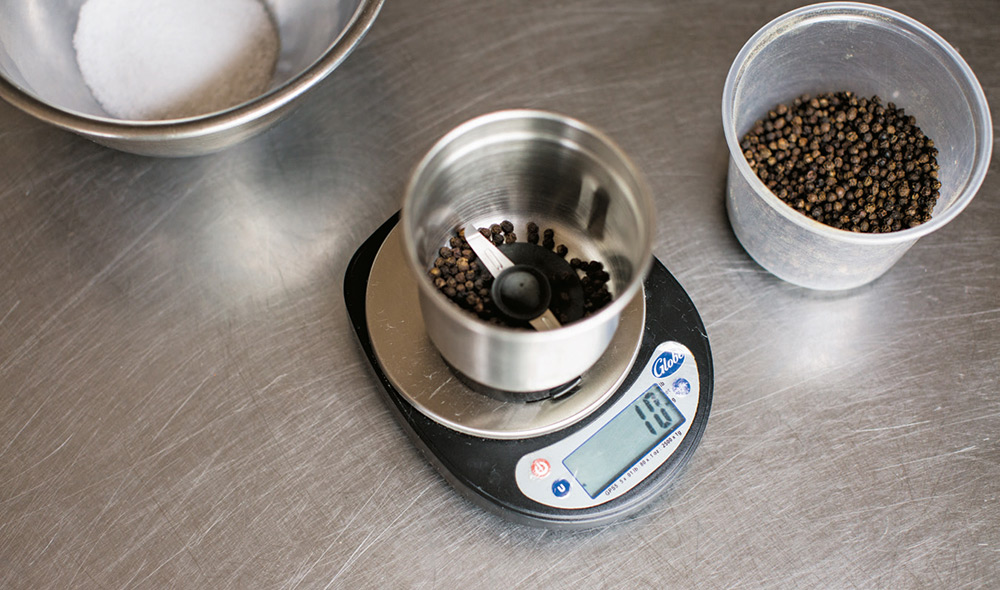
That being said, a scale is critical in making sure all of your ingredients are measured properly, providing you with a consistent product every time. A small and inexpensive digital scale is suitable for measuring spices and herbs, and a packing scale could be used to measure larger ingredients such as meat.
We weigh our spices and herbs to ensure an accurate reading instead of using measurements with a tablespoon or teaspoon. As James always likes to say, “a pound [454 g] of bowling balls and a pound [454 g] of feathers weigh the same amount” but the mass of the two are much different. A tablespoon of bowling balls and a tablespoon of feathers are quite distinctive!
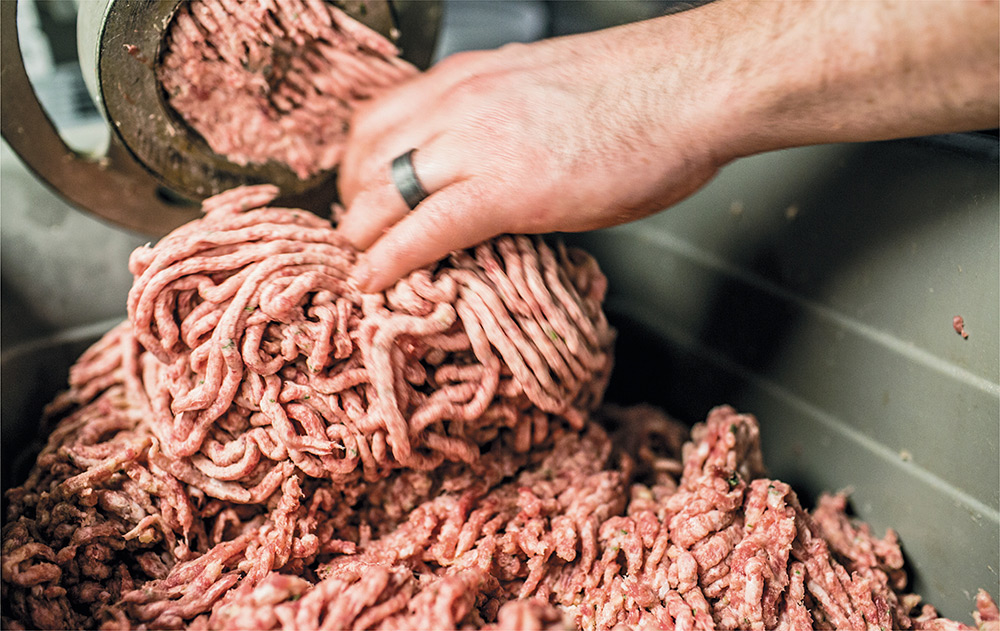
MEAT GRINDER
Beginning with a large piece of meat, dicing it down, and then grinding it yourself is your best bet for consistency and quality. But even so, how much cooler is it to go from points A to Z totally on your own? No matter which kind of a grinder you have or how mighty your machinery, grinders are crucial to making a sausage that will have a chewy and consistent texture.
A meat grinder can cost anywhere from $50 to $500, but the most important factor to consider is maintaining a sharp blade. When the blade becomes dull, it slows down the grinding process and adds heat to the meat as it continually and slowly pulverizes the same spot. That slow and hot pulverization will deteriorate the emulsification—meaning the equal distribution of ingredients (particularly the fat) and the overall structure—of the sausage.
Avid sausage makers might invest in pricier machinery that will last a lifetime, while fair-weather sausage makers could simply buy the attachments for their electric mixer. It’s up to you.
SPICE GRINDER
For better flavor in your sausage, a spice grinder is a crucial tool. Ground spices will suffice, but whole spices are generally less expensive and taste better, too. A coffee grinder will work in place of a spice grinder as well, but be sure to wipe it out thoroughly to remove any stray coffee grinds before using it for your spices.
STUFFER
If you intend to exclusively make loose, unstuffed sausage, then a sausage stuffer is obviously of no use to you; you can excavate this tool from your box.
On the other hand, if you’re a link-lover ready to whip up some weenies, a stuffer is essential for stuffing the meat into its casing.
Both horizontal and vertical stuffers exist, but we prefer and recommend the vertical, stainless steel canister-style stuffer. They can be a little pricey, but a decent one won’t completely break the bank; they usually cost between $50 and $200. Again, for the electric mixer–equipped there is also a stuffing attachment, which works in conjunction with the grinding attachment. These are best used for smaller batches, and they require quite a bit of muscle power.
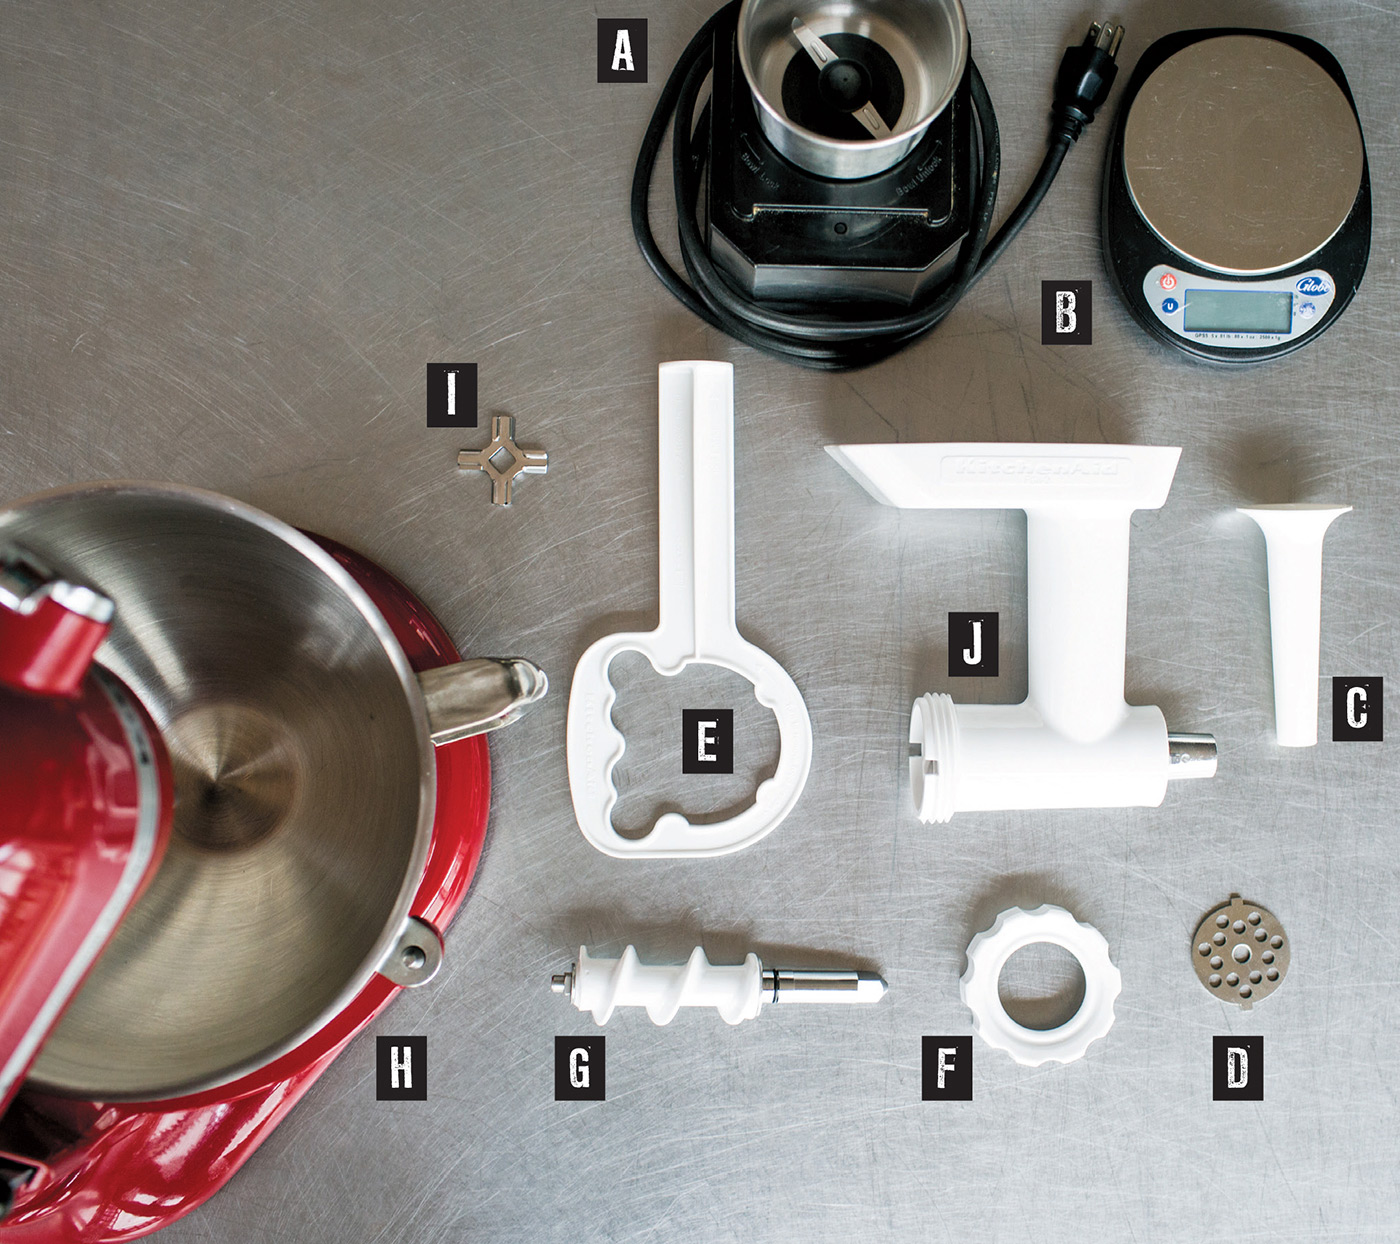
Use the right tools: (a) spice grinder (b) scale (c) horn (d) die/plate (e) plunger (f) cap (g) worm (h) mixer (i) blade (j) arm.
CASINGS
When you make sausage links, consider these factors when selecting a casing: the ingredients in the sausage, the grind (or coarseness) of the meat, and the desired use for the sausage. At Porter Road Butcher, hog casings are our most common casing of choice, but we do employ smaller sheep casings for hot dogs, and we use easily peelable synthetic casings for larger, smoother sausages such as bologna and mortadella.
You can buy many different types and sizes of casings, but we will stick with just two main varieties here: natural casings and synthetic casings.
An interesting note about casings: There is no such thing as an organic casing. All casings come from commodity pork, which means there is no way for sausages to be 100 percent organic. It’s something we would like to change, but at this point in time beggars can’t be choosers, and we choose to eat Bacon Jalapeño Bratwursts, just as they are. What can you do?
NATURAL CASINGS are generally preferable when making “dinner sausages,” as in sausages that you’ll be eating whole, like a hotdog or bratwurst. Although it makes some people a little squeamish to hear it, natural casings are, in fact, the intestines of an animal. Once cleaned and lubricated, the intestines can stretch and twist without breaking, which makes them perfect for stuffing and twisting into sausage links.
Casings must always be used fresh, and they should never, ever be frozen. If frozen, casings will crack and therefore won’t be able to hold stuffing. If you find yourself with excess casings after making a batch of sausage, instead of freezing them, simply cover them with salt and stick them into the refrigerator to keep them fresh and ready for your next sausage-making adventure! Just try to use them within the next couple of months so they are still fresh and good.
SYNTHETIC CASINGS are made from things like cellulose and other derivatives of vegetable matter. They are rubbery in appearance and not recommended for eating. We generally use these for large sausages such as bologna and mortadella. It would be pretty frightening if any pig had an intestine that was 6 inches (15 cm) in diameter …
POKER
A seemingly simple tool that’s very important, pokers are three-pronged devices used to poke tiny holes into the sausage casing, allowing liquid and steam to escape while it is cooked, thus preventing your sausage from bursting open. You could use a thumb-tack or sewing needle as an excellent substitute.
Sausages that are going to be smoked should not be poked. As the sausage heats up in the smoker, the fat will leach out of those holes and drip out, leaving you with a shriveled, fat-less, moisture-less sausage link. So don’t poke ’em!
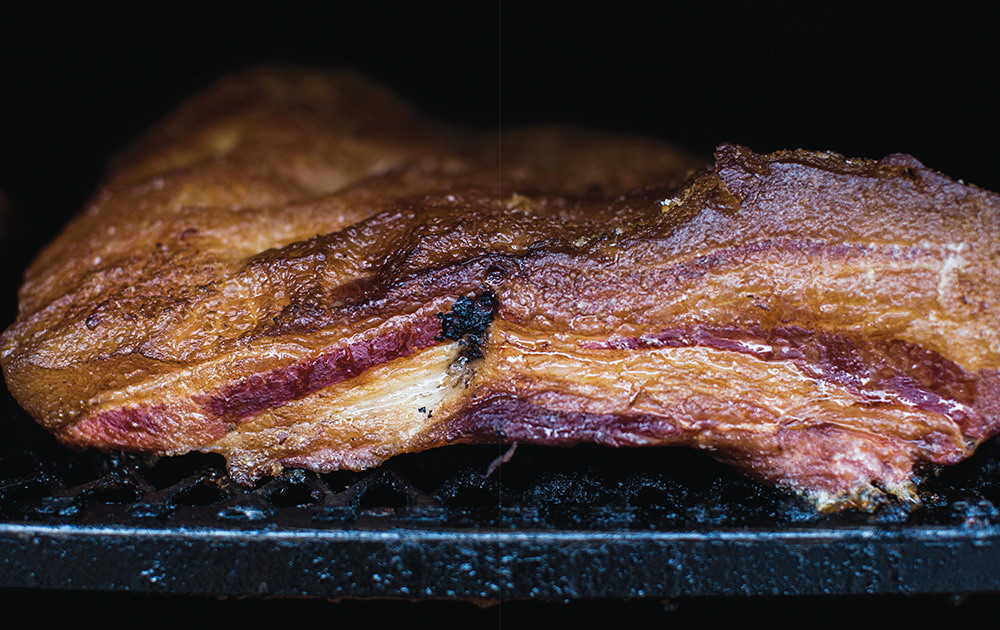
SMOKER
Again, not all sausages require smoking. In fact, there are some varieties that we never smoke! But smoking your sausage is another great way to add flavor and further impress your dinner guests.
LEARN THE TECHNIQUE
Many steps make up the road toward delicious and flavorful sausages, and the journey traveled can often look intimidating—but it shouldn’t! More so, it should look like a sweet African safari on which you are about to embark: very exciting, a little bit scary, but overall fun. By following our step-by-step instructions, you’ll be cranking out all sorts of sausages in no time.
STEP 1: SANITIZE
The first step in making sausage, sanitization is crucial to ensuring your sausage avoids contamination. Particularly in a home kitchen, germs and contaminants thrive all over: on the counter, in the sink, and on improperly cleaned kitchen tools, to name a few. Make sure your workspace, tools, and most importantly, your hands, are all clean before you do anything. Constantly wash your hands and keep your workstation clean throughout the entire process to avoid cross-contamination.
STEP 2: CHILL GRINDING AND MIXING EQUIPMENT
One of the most important things to remember while making sausage is to keep everything cold. If the meat becomes too warm, it won’t grind properly, which will ruin the emulsification (structure) and prevent both liquid and fat from absorbing into the meat. That leads you to a dry, crumbly, and less flavorful sausage and that leads to sadness.
Refrigerate the equipment you’ll be using to grind and mix your sausage for at least 30 minutes to allow it to properly chill.
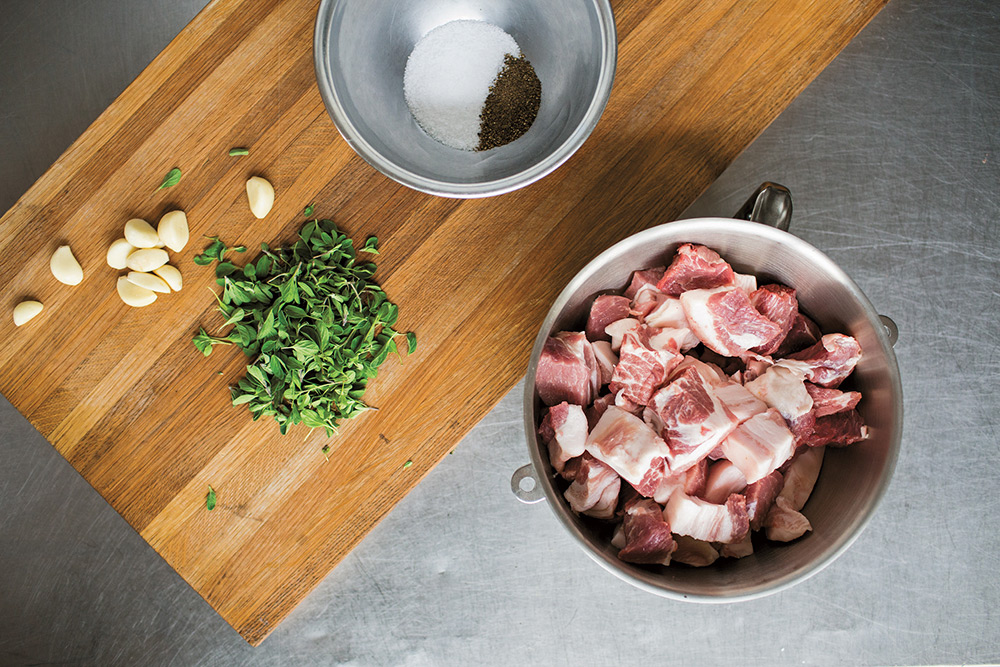
STEP 3: WEIGH AND PREPARE INGREDIENTS
Use your digital scale to accurately measure out all of your ingredients. Keep wet ingredients separate from dry ingredients until it’s time to mix. Wash and thoroughly dry herbs before using and weighing them.
Trim your meat before you weigh it; any sinews, bone fragments, or silver skin you remove will affect the weight. When weighing meat, create an ideal fat-to-lean ratio of 70 percent meat to 30 percent fat. Once the meat is trimmed, cleaned, and weighed, dice it into 1- to 2-inch (2.5 to 5 cm) cubes, small enough to fit into the hole of your grinder. Return meat to the refrigerator after it’s been measured to keep it very cold.

STEP 4: MISE EN PLACE

Literally, that means “to put into place.” Before you begin grinding or mixing, gather all of your essential items and have them available and ready for use: grinding tools, mixing tools, ingredients, and so on. Have everything you need at your workstation, and eliminate anything that is unnecessary. The best part? Having all of the ingredients measured out and tools by your side makes you feel like you’re hosting your own television cooking show. And that feels great.

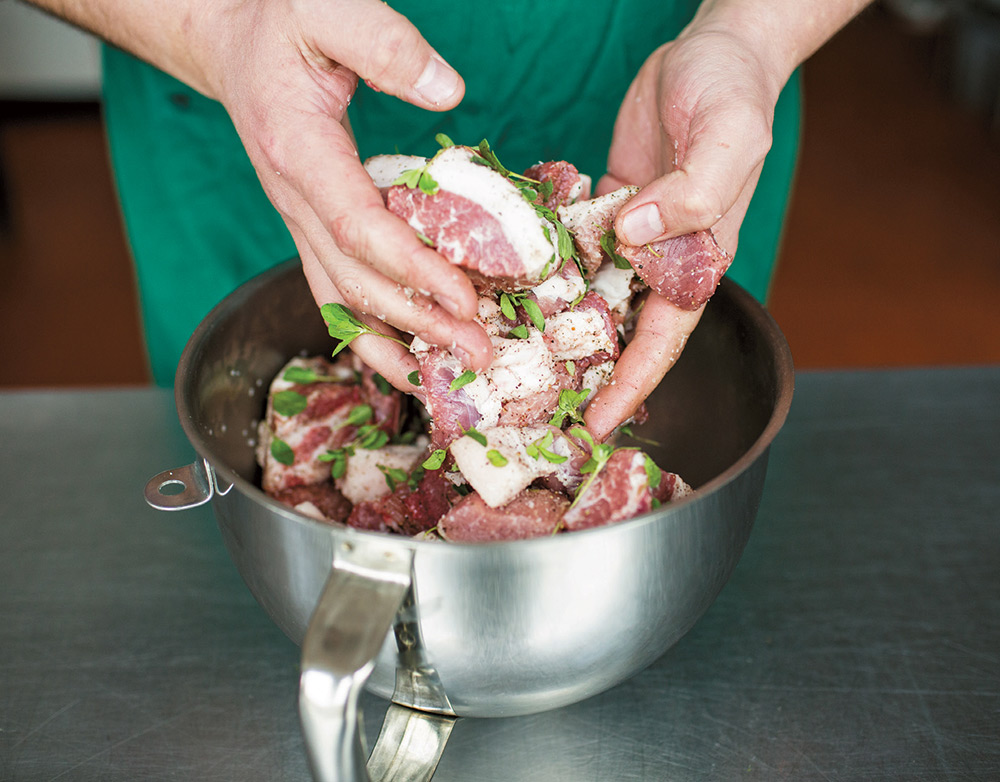
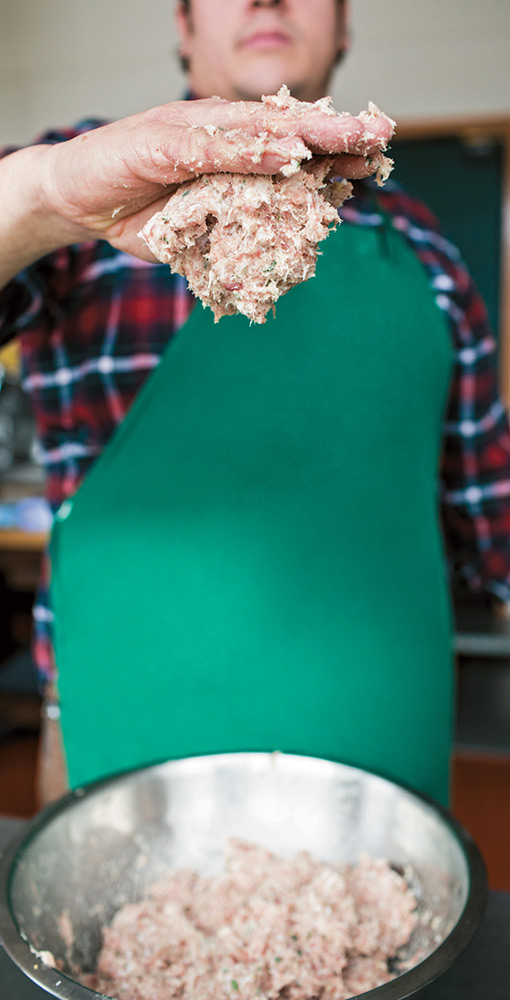
STEP 5: MIX MEAT AND SEASONINGS
Using your hands, combine the diced meat and other ingredients in a large bowl or container. Remember: your hands are your best tools in the kitchen! Make sure the seasoning is distributed as evenly as possible. Return the meat to the fridge.
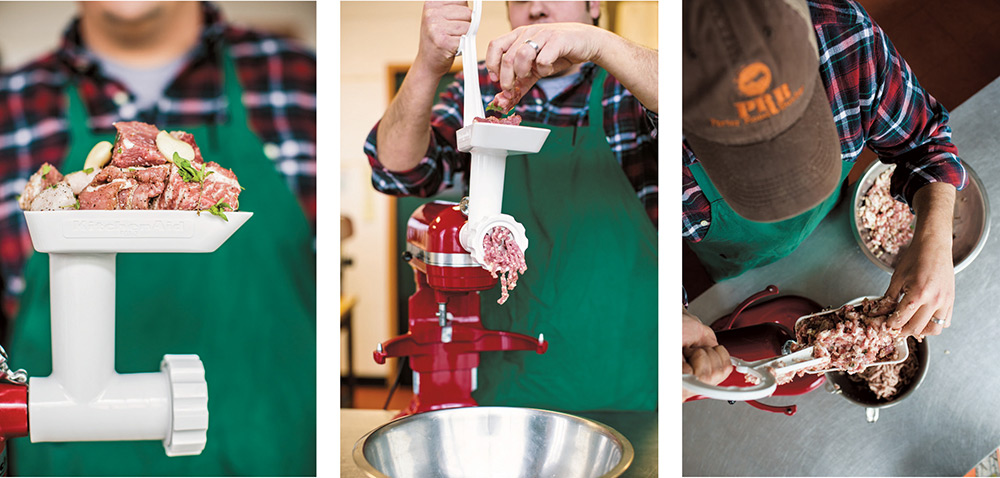
STEP 6: GRIND SEASONED MEAT
Assemble your cleaned and chilled grinder, turn it on, and slowly add meat into the feed tube. Be careful to not overload or overfill the grinder. Add the meat slowly, piece by piece, so the elbow doesn’t overfill. If you notice any smearing or clogging on the die, turn off the grinder and clean out the die. Smearing could also come as a result of the meat’s temperature, so check it out to make sure it’s still chilled.
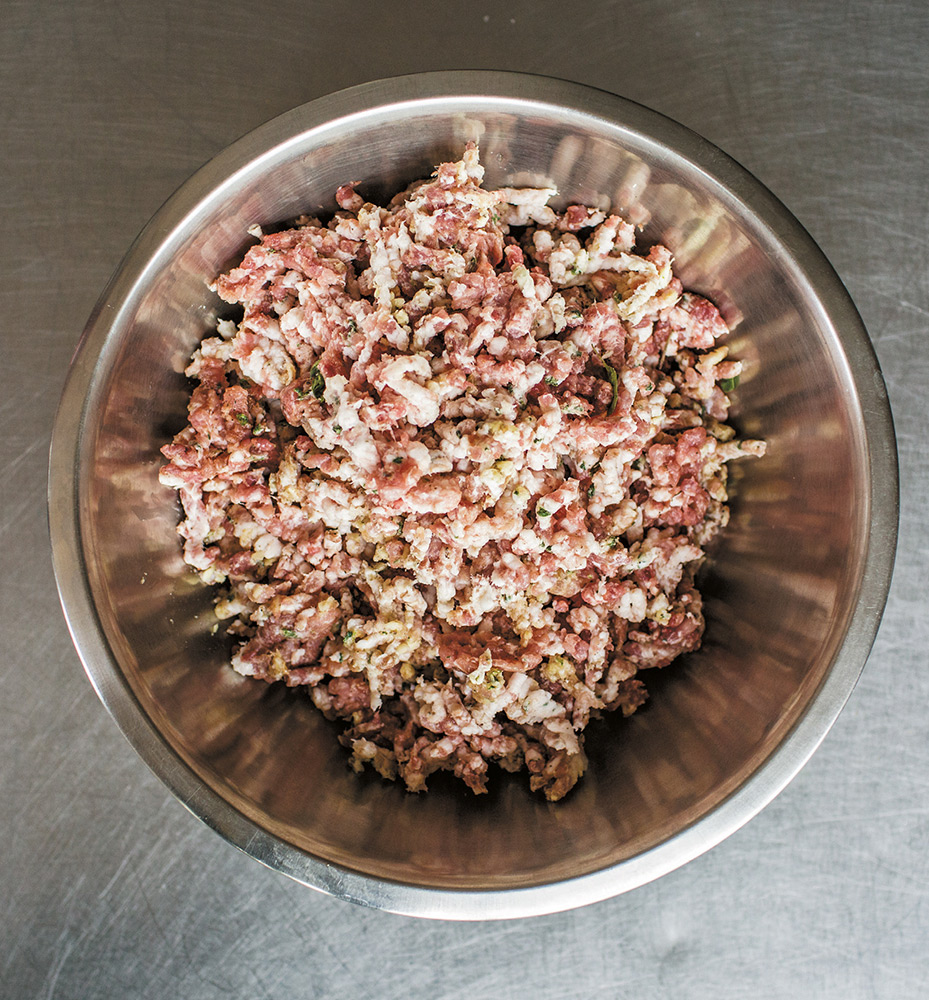
This is also a time in which you could grind the meat again, if you are going for a sausage that is firmer and less crumbly. The more you grind the meat, the finer the texture will become and the firmer the sausage will be as well. Once the seasoned meat has been ground, you have the option to add liquid for more flavor or moisture.
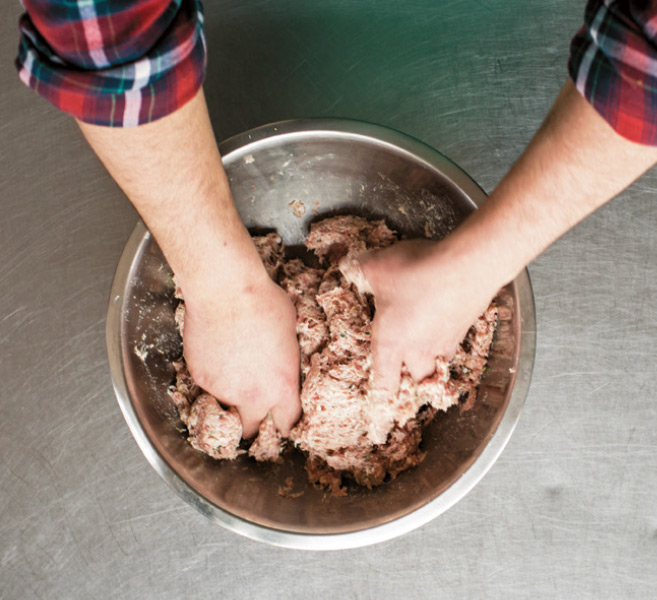
STEP 7: MIX
Using either your hands (preferable) or your electric mixer with a paddle attachment, mix the ground meat and ingredients together. The more you mix, the firmer the bite of your sausage will become. Most sausages need anywhere from 2 to 4 minutes of mixing. You will know when your sausage is thoroughly mixed if it sticks to your palm when you hold some in your hand and then turn your hand palm-side down.
This could be the end of the road! If you are making loose, unstuffed sausage, then you’ve arrived at your final destination. On the other hand, if you will be stuffing your sausage into links, return your ground meat to the fridge to chill.
STEP 8: CLEAN YOUR CASINGS

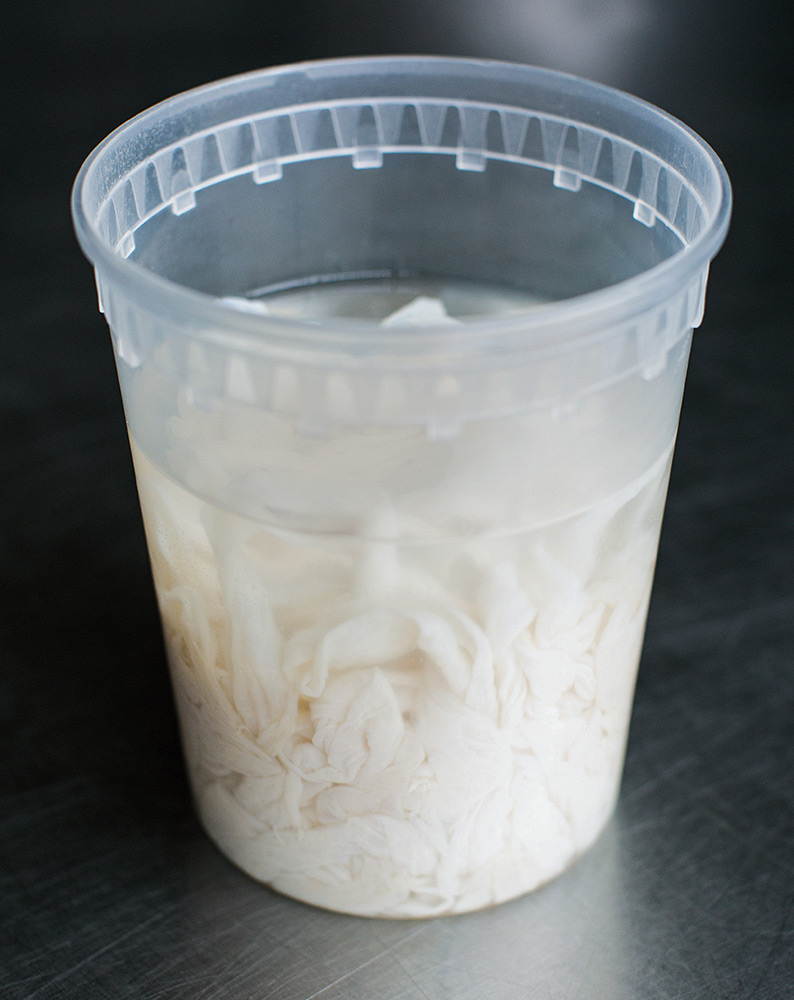
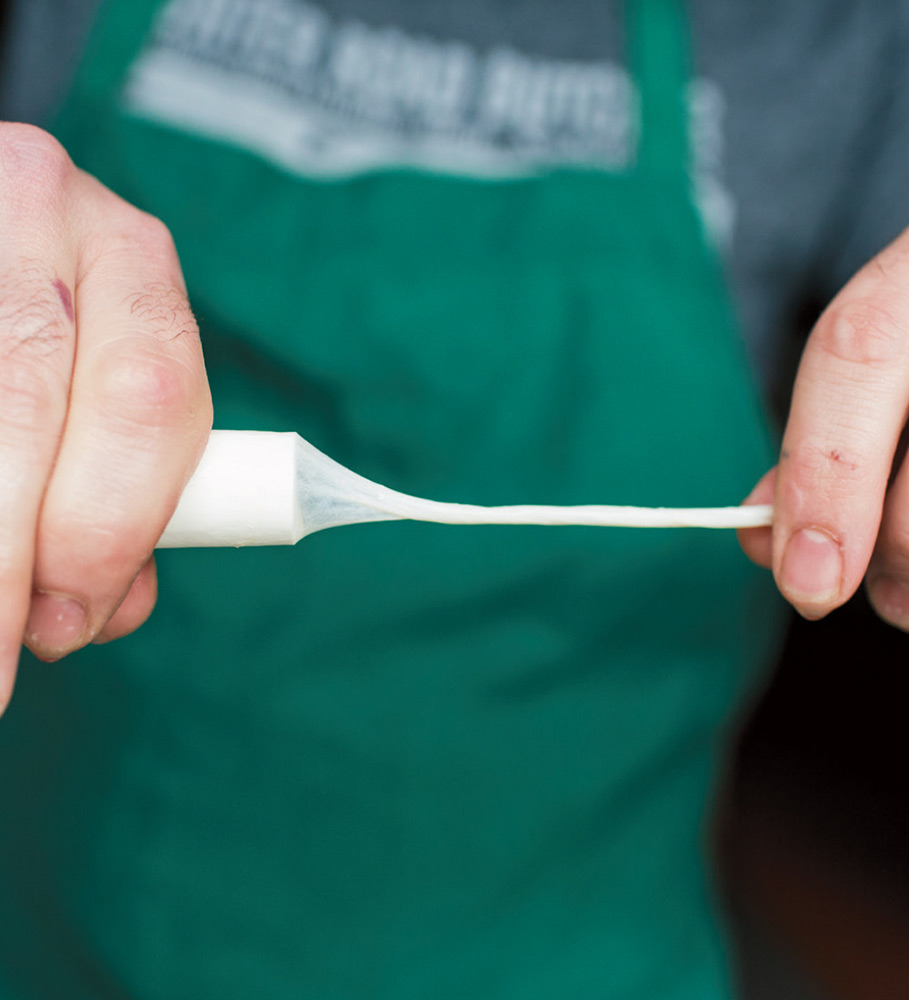
When using natural casings (recommended), soak them in water and find one end of the intestine. Hold one end of the casing up to the nozzle of your sink and, supporting the rest of the casing with one hand, carefully rinse the inside of the casing. Do this several times with each casing to make sure they are thoroughly cleaned and to check for holes. If you find any holes in your casings, cut those sections out.
Once the casings have been thoroughly cleaned, allow them to rest in water while you assemble your stuffing equipment. You can allow the casings to rest in water in a sealed container for up to one week. If you don’t use all of your clean casings, just repack them in salt and keep them in the refrigerator, but remember: Never freeze casings.
If you are using synthetic casings, simply soak them in water until they are rehydrated.

STEP 9: IT’S TIME TO STUFF!
Here’s where the fun really begins!
Assemble your stuffer or stuffing attachment and fill the sausage canister with the chilled, ground, and seasoned meat. Press down and compact the meat to eliminate any air pockets.
Lubricate the feeder tube with water and slide the casing onto the tube. Once the casing is entirely scrunched onto the feeder tube, pull 2 inches (5 cm) of casing off the tip of the tube. Grasp the casing end with one hand and begin cranking with the other hand.
Once you can see meat begin to make its way out of the tube, pinch off the end of the casing so the meat is forced to expand inside of it as you slowly pull away, keeping a grip on the casing. Be sure both the casing and the counter on which the sausage will fall are very wet and lubricated to prevent any ripping or sticking.
When about 3 to 4 inches (7.6 to 10 cm) of sausage have made their way into the casing, let go of the end and use one hand to feed the casing off of the tube while the sausage is being cranked out with your other hand.
As you are doing this, be mindful about filling the casing. You want to find that sweet spot where the casing is filled with meat and a little amount of air remains, but not so full that it will bust when you begin twisting.
Once all of the meat has been stuffed into the casing, leave 6 inches (15 cm) of empty casing on the end and cut off any excess to reserve for future use.
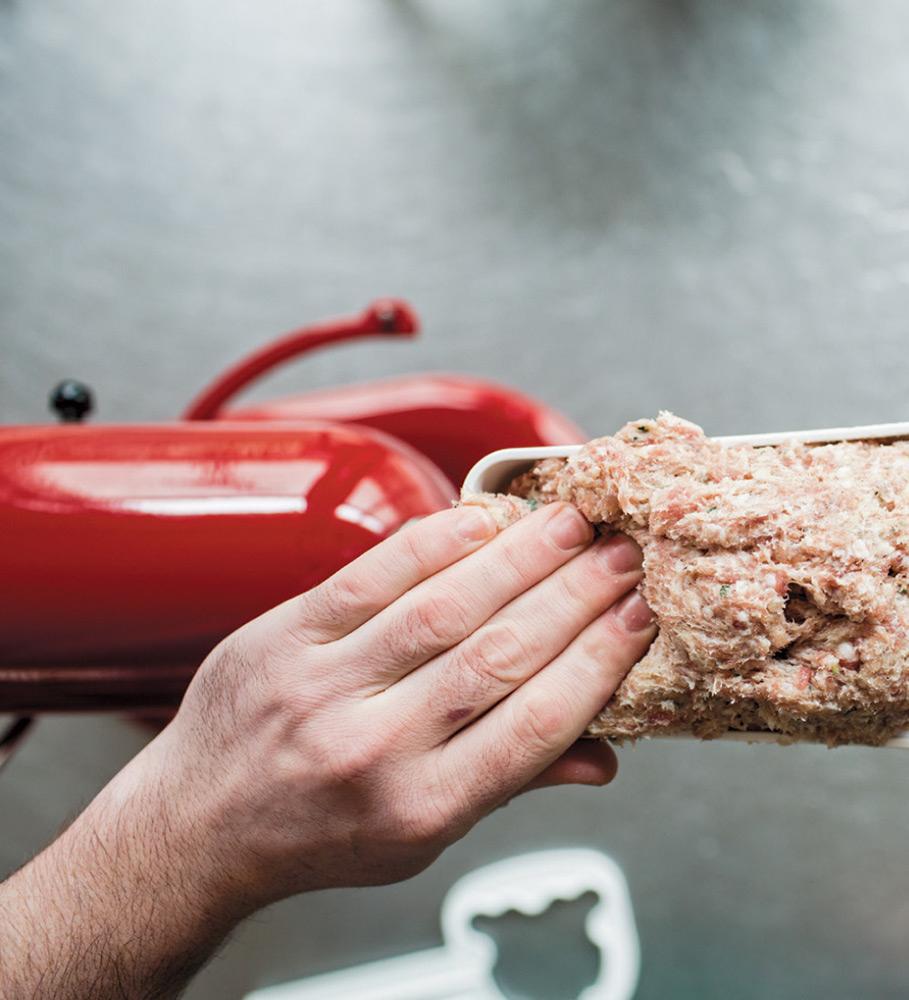
Fill the sausage canister with the chilled, ground, and seasoned meat. Press down and compact the meat to eliminate any air pockets.
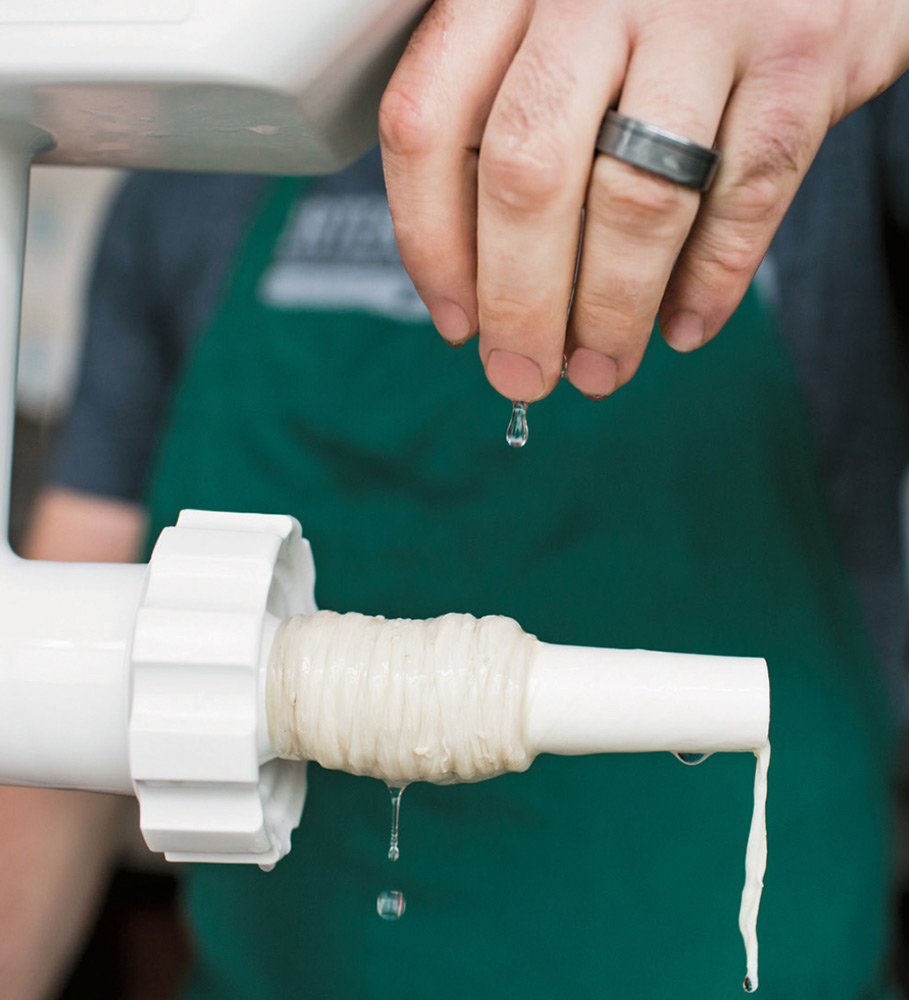
Lubricate the feeder tube with water and slide the casing onto the tube.
Once the casing is entirely scrunched onto the feeder tube, pull 2 inches (5 cm) of casing off the tip of the tube.

Grasp the casing end with one hand and begin cranking with the other hand.
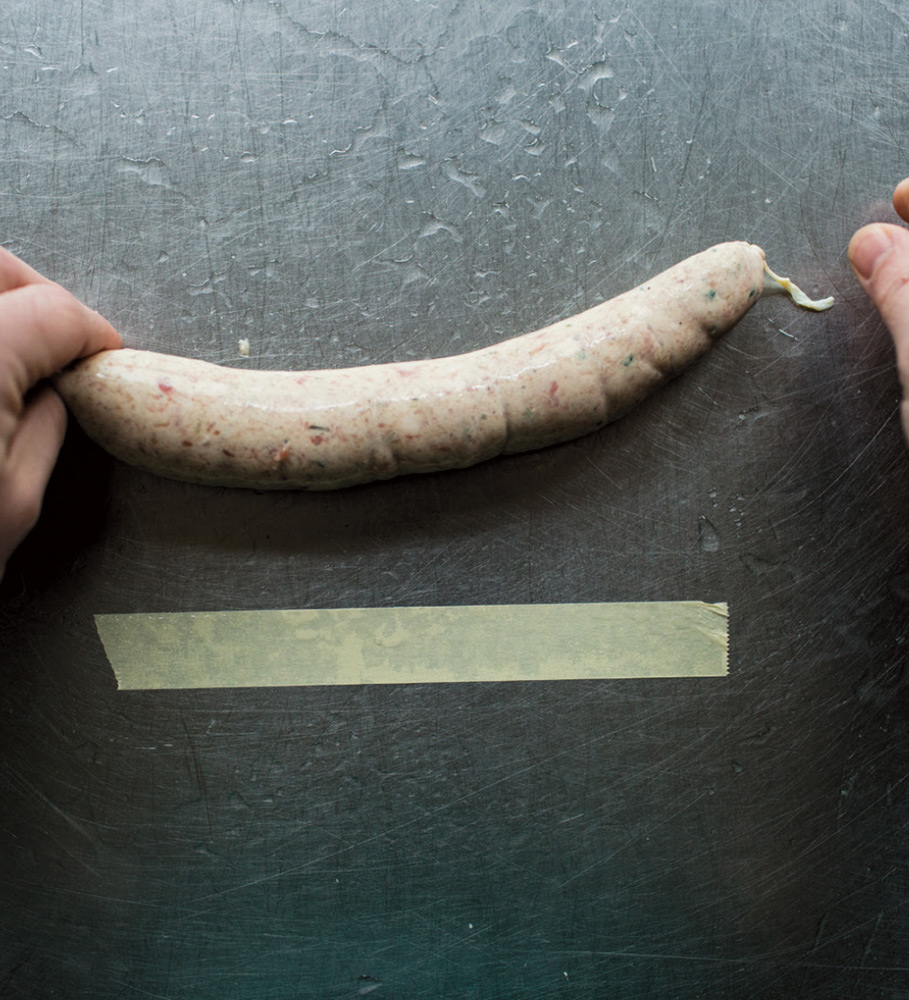
Measure the desired length of the sausage and mark your workspace with either a piece of tape or marker, ensuring consistency in the length of your links.
Then, keeping a hold on the pinched spot, slide one hand down to the beginning mark and pinch off the next length. Now, twist! Pick up the sausage, holding onto the two pinched spots, and swing it like a jump rope.

When you get to the end, tie it off with a simple knot.

Use a sausage poker to poke each sausage three times, or where air bubbles are visible. These tiny holes will allow the liquid to release while the sausages cook and prevent them from exploding.
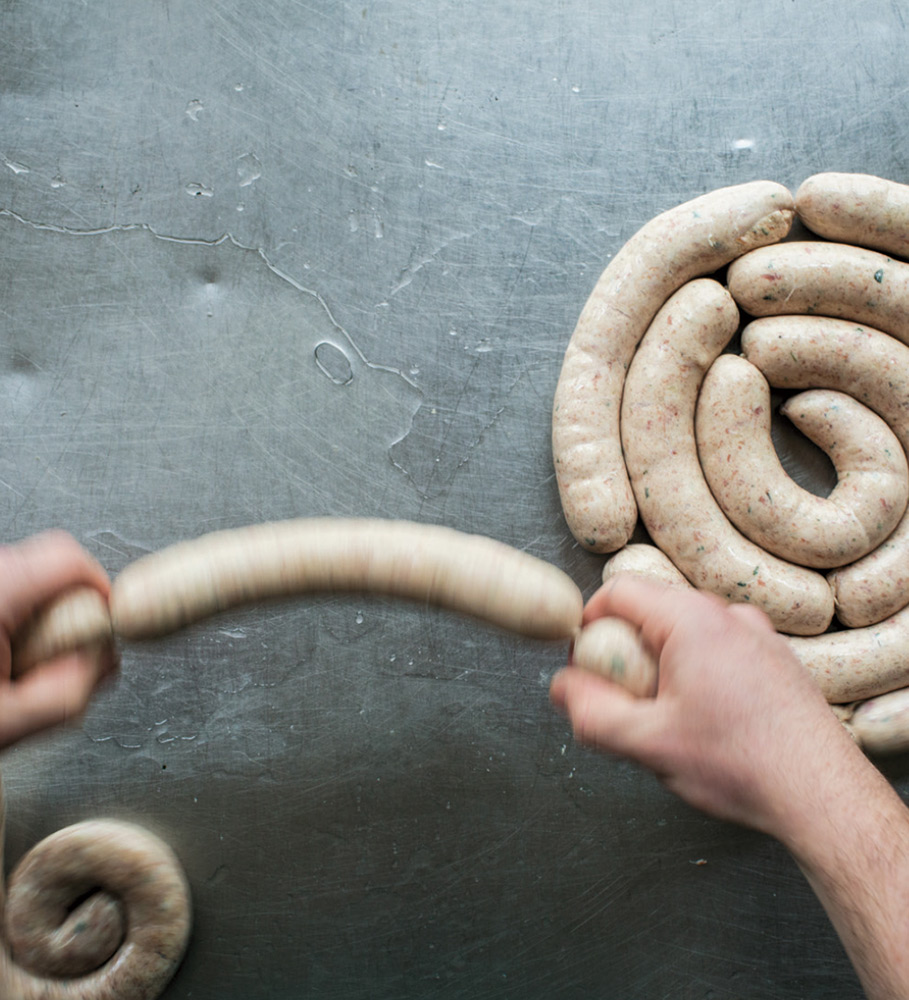
STEP 10: TIE OFF AND TWIST
Tie off one end of the sausage, and twist making a simple knot.
Measure the desired length of the sausage and mark your workspace with either a piece of tape or marker, ensuring consistency in the length of your links. Starting from the tied-off end, use one hand to pinch at the appropriate length. Then, keeping a hold on the pinched spot, slide your other hand down to the beginning mark and pinch off the next length. Now, twist! Pick up the sausage, holding onto the two pinched spots and swing it like a jump rope. Repeat the process until no sausage remains. When you get to the end, tie it off with a simple knot.
Use a sausage poker to poke each sausage three times, or where air bubbles are visible. These tiny holes will allow the liquid to release while the sausages cook and prevent them from exploding.
As mentioned earlier, do not poke the sausages if you are planning to smoke them.
For best results, refrigerate the sausages overnight, uncovered, to dry out the casing. This will make the sausage slightly firmer to the touch and add ease for cooking. Snip the sausages at the twists to make them into separate links, or leave as a whole rope of links like those you might have seen in cartoons.