
- Set up the test exactly as in the man-in-the-middle attack lab. On the victim, let's fire up the browser and type in https://www.google.com. Let's use Wireshark to monitor this traffic. Your screen should resemble the following:
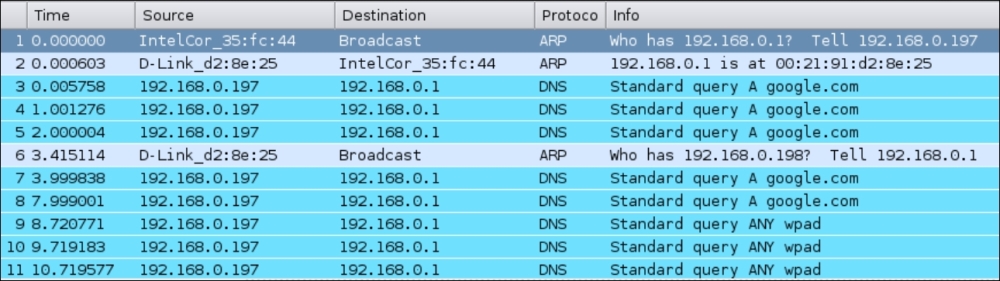
- Apply a Wireshark filter for DNS and, as we can see, the victim is making DNS requests for https://www.google.com:

- In order to hijack the browser session, we will need to send fake DNS responses that will resolve the IP address of https://www.google.com to the hacker machine's IP address
192.168.0.199. The tool that we will use for this is calleddnsspoofand the syntax is as follows:dnspoof –i mitm-bridgeThe output of the command is as follows:

- Refresh the browser windows and now, as we can see through Wireshark, as soon as the victim makes a DNS request for any host (including
google.com), Dnsspoof replies back:
- On the victim's machine, we see an error that says Unable to connect. This is because we made the IP address for
google.comas192.168.0.199, which is the hacker machine's IP, but there is no service listening on port 80:
- Let's run Apache on Kali using the following command:
apachet2ctl startThe output of the command is as follows:

- Now, once we refresh the browser on the victim, we are greeted with the It Works! default page of Apache:
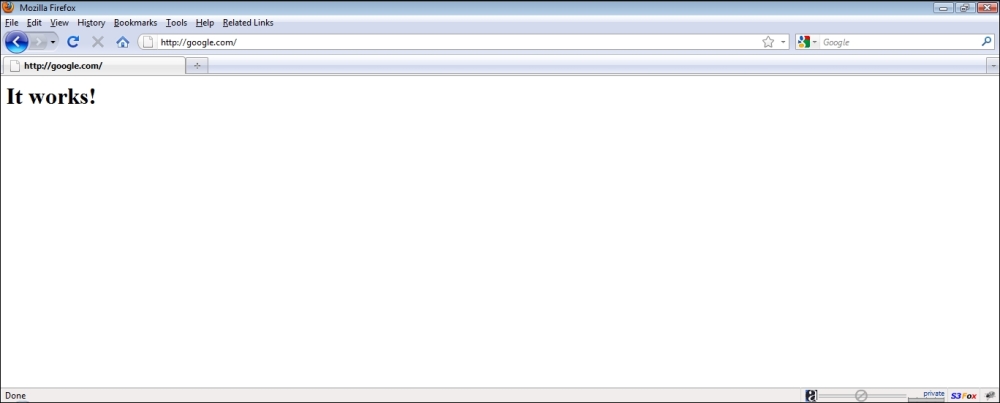
- This demonstration shows how it is possible to intercept data and send spoofed responses to hijack sessions on the victim.
We did an application hijacking attack using a Wireless MITM as the base. So what happened behind the scenes? The MITM setup ensured that we were able to see all the packets sent by the victim. As soon as we saw a DNS request packet coming from the victim, the Dnsspoof program running on the attacker's laptop sent a DNS response to the victim with the attacker machine's IP address that of google.com. The victim's laptop accepted this response and the browser sent an HTTP request to the attacker's IP address on port 80.
In the first part of the experiment, there was no listening process on port 80 of the attacker's machine and thus, Firefox responded with an error. Then, once we started the Apache server on the attacker's machine on port 80 (the default port), the browser's requested received a response from the attacker's machine with the default It Works! page.
This lab shows us that, once we have full control of the lower layers (Layer 2 in this case), it is easy to hijack applications running on higher layers such as DNS clients and web browsers.
The next step in session hijacking using a wireless MITM will be to modify the data being transmitted by the client. Explore software available on Kali called Ettercap. This will help you create search and replace filters for network traffic.
In this challenge, write a simple filter to replace all occurrences of security in the network traffic to insecurity. Try searching Google for security and check whether the results show up for insecurity instead.