In this task, I will explain the following three special effects of the prezi:
- Three-dimensional background
- Voice-overs
- Video of the eye
To create voice-overs, you'll need sound editing software. I used Audacity (audacity.sourceforge.net) for it. To create the video of the eye looking through the prison bars, you'll need Adobe Flash Professional and, depending on the file format, a converter. I bought the original video available at iStockphoto.com.
Let's start with how I used a 3D background in the prezi.
What I often do while designing a prezi is scroll through a stock photo site, such as iStockphoto.com. I type in one or two keywords and search for the inspirational pictures. These pictures give me new thoughts and new ideas.
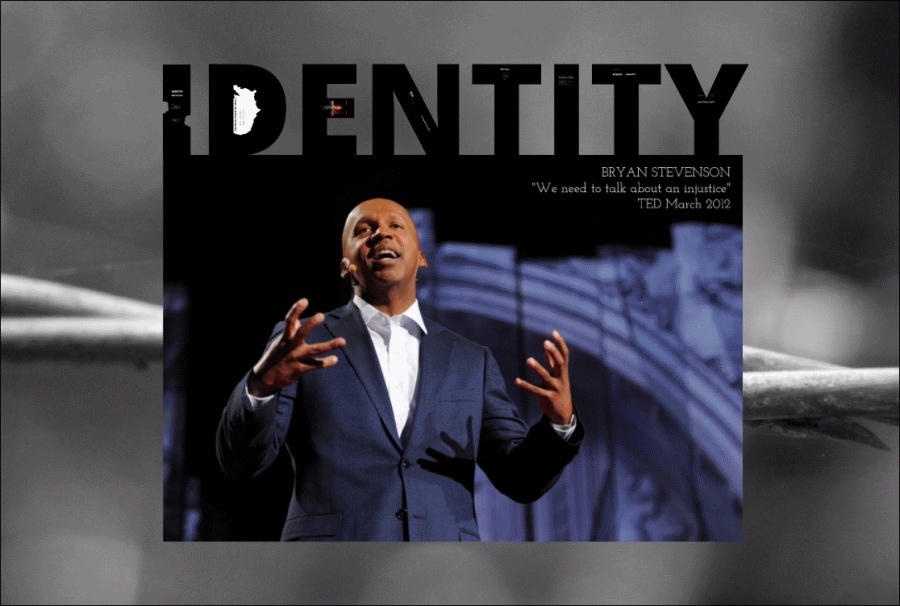
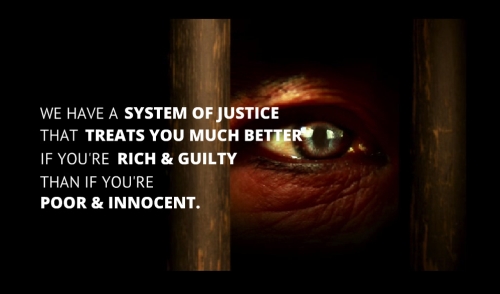
This was exactly what I was doing while working on my prezi for the Prezi + TED contest. I searched the terms prison, barbed wire, and black and white and found the following image:
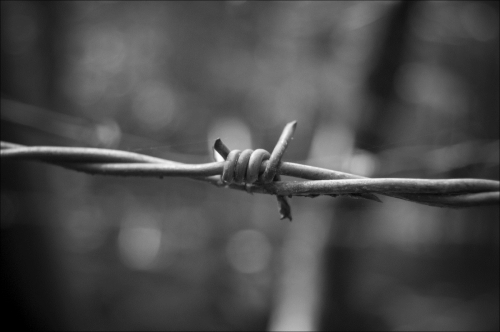
The image was beautiful, simple, and perfect for my presentation. I loved the blurred background and the simple detail of the barbed wire.
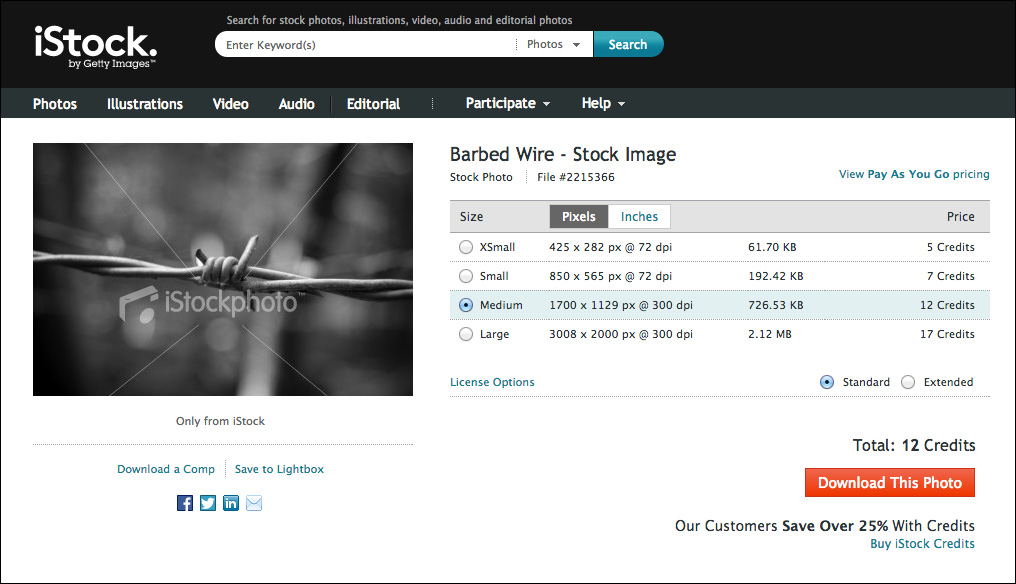
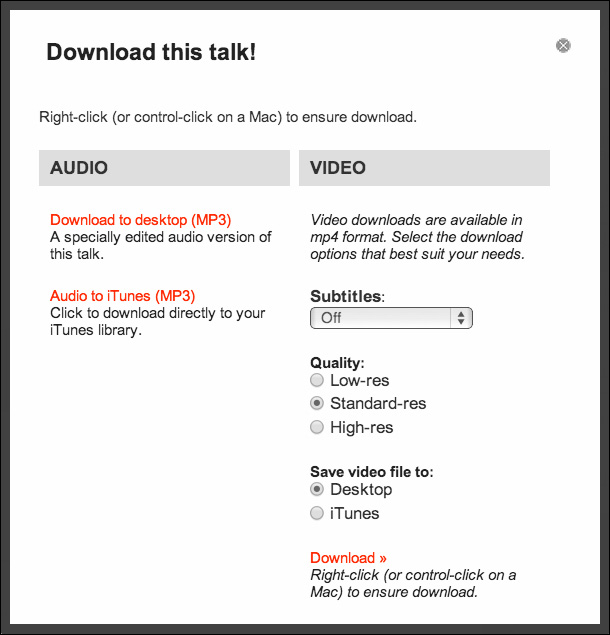
If you are not sure if an image works for your presentation, you can try it out with a comp, which is a free image of low resolution, with a watermark just to test the image. At iStockphoto.com, you can click on Download a Comp, as shown in the following screenshot:
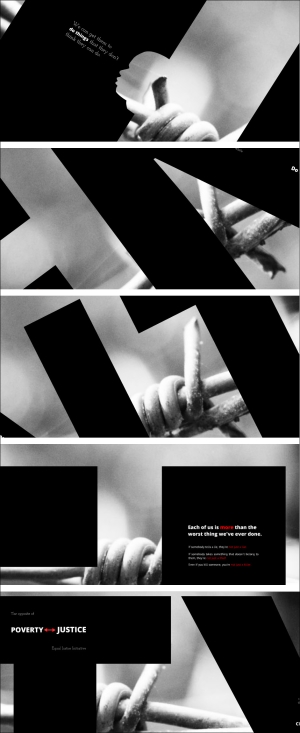
Before I put this picture as 3D background in the prezi, I felt that the prezi wasn't finished. Take a look at the following two images and you will you know what I mean. The prezi needed something else, and the three-dimensional background was the missing element.
The following screenshot shows the prezi without a three-dimensional background:
The following screenshot shows what the prezi looks like with the three-dimensional background:
I added the barbed wire image as the three-dimensional background by navigating to Themes | Customize Current Theme.
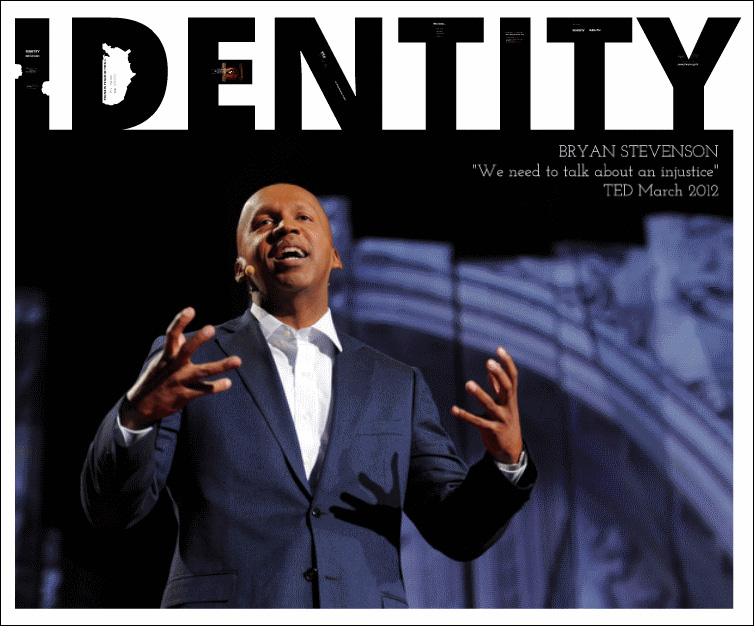
A three-dimensional background moves with a different speed while zooming in and out and gives you the illusion of three dimension. The three-dimensional background does not only give you 'an illusion'. It gives you an illusion of three-dimensions. It's hard to precisely predict what you will see in the three-dimension background. In my prezi, it was even better than I could imagine. When you move through the prezi, you'll see just a small piece of the picture every time because you are "looking through" the word IDENTITY. So, you don't see the whole image of the barbed wire, but you definitely get the feeling of it. You'll only see a glimpse of the barbed wire when moving from letter to letter, and it isn't visible inside the letter where the content is. At the end, you'll see the barbed wire in the background, but you won't be able to see the center of the picture, the "most dangerous part." The photo of Bryan Stevenson is covering this part, and I think that makes the effect really strong.
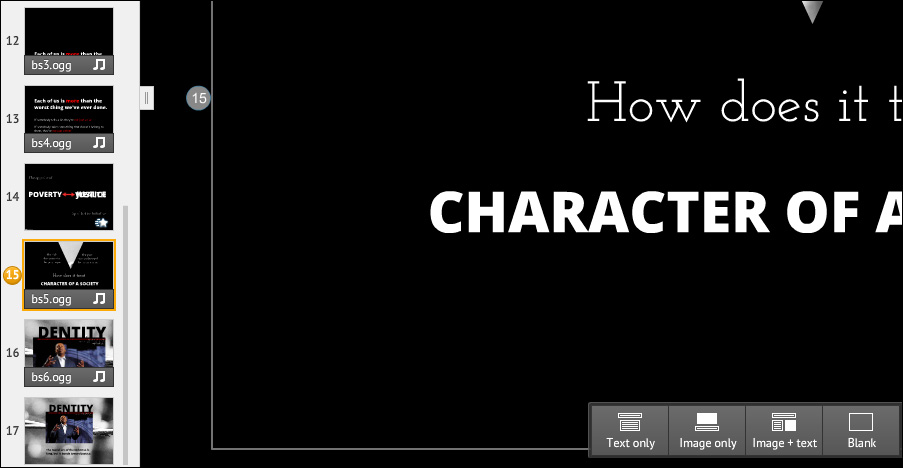
In the following screenshot, you can see five snapshots of moving through the prezi while seeing a glimpse of the barbed wire:
You can add sound to your prezi by using background music and or voice-overs. As my prezi was inspired by a speech, I used parts of the original speech as voice-overs in the prezi.
Luckily, TED provides not only the transcript of the speech but also the audio file. You can download it from the site ted.com, as shown in the following screenshot:
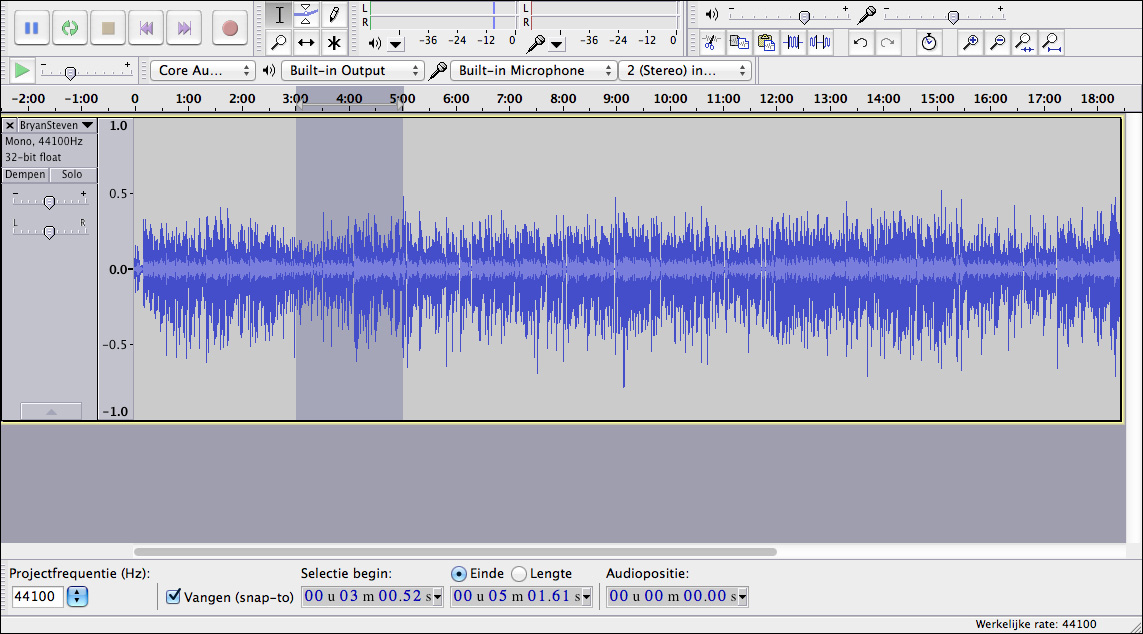
I used the software Audacity to cut the audio file. Perform the following steps:
- In Audacity, navigate to File | Open to open the audio file.
- Then, select the part of the audio you want to cut; just click-and-drag in the audio file. As an example, I selected a part of 2 minutes in the next image. You can fine-tune this at the bottom of the screen. When you click on the Play button, you can listen to your selected part, as shown in the following screenshot:
- When you are satisfied with your selected part of the audio file, you can cut that part with the Ctrl/Cmd + X keys, open a new audio file with the Ctrl/Cmd + N keys, and paste it with the Ctrl/Cmd + V keys.
- Navigate to File | Export to save your new audio file as MP3.
- You can also add effects such as Fade-in and Fade-out. Select the part of the audio file you want to fade-in or fade-out, usually a small part of the beginning or the end of the sound file, and navigate to Effects | Fade-in or Effects | Fade-out.
- Test your changed audio file and export it as MP3.
Now, you can add your audio file to your prezi. You can add it to a path step by performing the following steps:
- First, click on the path step in the left sidebar of the Prezi editor.
- Then, right-click on the Add Voice-over to Path Step option or navigate to Insert | Add Voice-over to Path Step.
- Find your audio file and open it to add it to the specific path step.
In the following screenshot, you can see the path steps that contain audio files; they are denoted by the small musical notes symbol in the left sidebar:
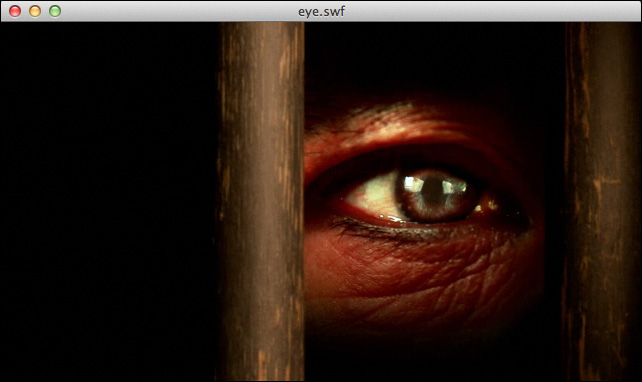
I was asked many questions about the always-moving eye in the prezi IDENTITY. I will explain how you can do it. Take a look at the following screenshot:
I bought the video from iStockphoto.com and downloaded the video in 640 x 360 pixels resolution and in the MOV format. The file size was 25.7 MB. It's ok if your video is in another file format.
Before you can use the video in Flash, you have to convert it to FLV. I used Adobe Media Encoder for it, but you can also use the tools available at www.zamzar.com or any tool. Perform the following steps:
- In Adobe Media Encoder, navigate to File | Add Source, search the video file, and open it.
- For the Output File option, select FLV and Match Source Attributes (High Quality). You could also choose another output resolution, depending on the source resolution, but it makes no sense to select a resolution higher than the source file.
- Navigate to File | Start Queue (or use the Play button) to start the conversion. My output file is 1.5 MB and that's fine. Refer to the following screenshot:
Now, open a new Flash file in Adobe Flash Professional and perform the following steps:
- Navigate to File | Import | Import Video.
- A dialog box opens. Click on the Browse button, search for the FLV file, and select it.
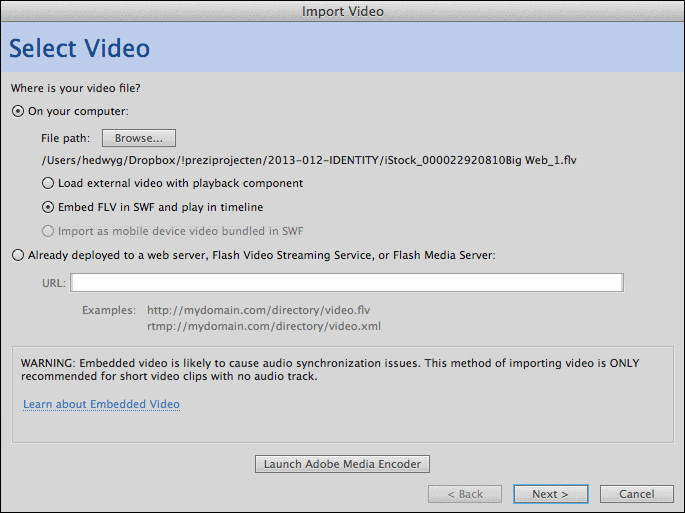
- Select the Embed FLV in SWF and play in timeline option and click on Next, as shown in the following screenshot:
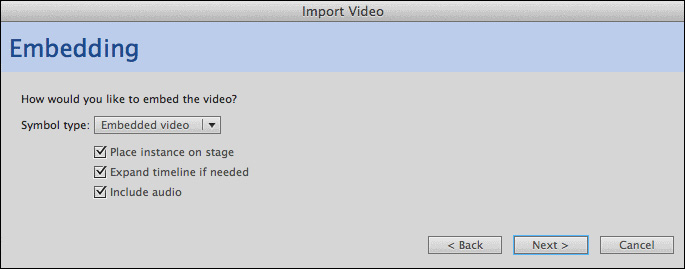
- Select the Place instance on stage and Expand timeline if needed options and click on Next again, as shown in the following screenshot:
- Click on Finish.
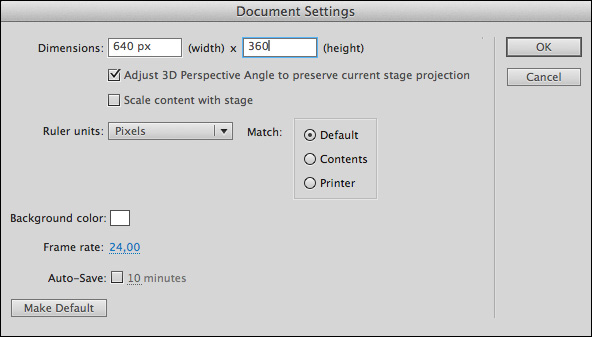
- Click on the movie and press the Ctrl/Cmd + I keys to find the width and height of the movie.
- Navigate to Modify | Document and change the dimensions accordingly so that the stage has the same size as the movie, as shown in the following screenshot:
- Save your Flash file and press Ctrl/Cmd + Enter to publish your movie. A SWF file will be created.
The SWF file contains the never-ending video and you are ready to use it in Prezi now. The file size of my SWF file was 1.3 MB. Take a look at the following screenshot: