Serialization and Deserialization
In Chapter 13 we gained knowledge of classes and objects. This chapter will extend our knowledge and explain how we can save an object so it can be recreated when required. The processes we will investigate are called serialization and deserialization. By serializing we are saving the state of the object. We will also require some of the knowledge we gained in Chapter 16 on file handling as we will write binary data , XML data, and JSON data to a file as part of the serialization process.
Serialization is a process to convert an object into a stream of bytes so that the bytes can be written into a file. We will normally do this so the serialized data can be stored in a database or sent across a network, for example, to a message queue to form part of a transaction process. The byte stream created for XML and JSON is platform independent; it is an object serialized on one platform that can be deserialized on a different platform. All fields of type private, public, and internal will be serialized.
The class being serialized must have the [Serializable] attribute above the class. In this example the class will be called Customer , so the code will look like Listing 18-1.
Serializable class
The class will have fields or properties that will have get and set accessors, but it is the fields that are serialized, and each of the three formats will be treated differently. Binary serialization will use the public and private fields including readonly members, XML will use the public fields and properties, and JSON will use the public properties.
The class with the Main() method will instantiate the class.
The formatter class is used to serialize the object to the required format, for example, binary, XML, or JSON.
A file stream object is created to hold the bytes that are created after a named file has been created and opened for writing.
The Serialize() method is then used to serialize to a stream, and we are using the FileStream class for this, as we discussed in a previous chapter.
Finally, the stream must be closed.
Deserialization
Deserialization is the process of taking the serialized data, which is a stream, and returning it to an object as defined by the class. We will use FileStream to read it from the disk.
Attribute [NonSerialized]
Serializable class with a NonSerialized field
From March 2022 the Microsoft documentation notifies us that
Due to security vulnerabilities in BinaryFormatter , the following methods are now obsolete and produce a compile-time warning with ID SYSLIB0011:
Formatter.Serialize(Stream, Object)
Formatter.Deserialize(Stream)
IFormatter.Serialize(Stream, Object)
IFormatter.Deserialize(Stream)

An alert box labeled warning reads, the binary formatter type is dangerous and is not recommended for data processing.
These methods are marked obsolete as part of an effort to wind down usage of BinaryFormatter within the .NET ecosystem.
Stop using BinaryFormatter in your code. Instead, consider using JsonSerializer or XmlSerializer .
Let’s code some C# and build our programming muscle.
Serialization is about objects , and an object as we know is an instance of a class. So let’s create the class first, with its types, properties, methods, constructor, getters, and setters. The class will be called CustomerBinary.
- 1.
Right-click the solution CoreCSharp .
- 2.
Choose Add.
- 3.
Choose New Project.
- 4.
Choose Console App from the listed templates that appear.
- 5.
Click the Next button.
- 6.
Name the project Chapter18 and leave it in the same location.
- 7.
Click the Next button.
- 8.
Choose the framework to be used, which in our projects will be .NET 6.0 or higher.
- 9.
Click the Create button.
- 10.
Right-click the project Chapter18 in the Solution Explorer panel.
- 11.
Click the Set as Startup Project option.
- 12.
Right-click the Program.cs file in the Solution Explorer window.
- 13.
Choose Rename.
- 14.
Change the name to CustomerBinary.cs.
- 15.
Press the Enter key.
- 16.
Double-click the CustomerBinary.cs file to open it in the editor window.
- 17.
Amend the code, as in Listing 18-3, with the namespace and class.
Serializable class – CustomerBinary
- 18.
Amend the code, as in Listing 18-4, to add the class fields.
Serializable class with fields
- 19.
Amend the code, as in Listing 18-5, to add the constructor.
Adding our own constructor
Info
We are now going to create getters and setters for the private members of the CustomerBinary class. As we saw in Chapter 13, private members are not accessible directly from outside the class. To make them available for reading, we use a getter method, and to make them available for changing, we use a setter method.
A get and a set, where we can read the member value and change the member value
A get, where we can only read the member value but not change its value
A set, where we can only change the member’s value but not read it

A set of codes highlights the private field and the get and set accessors for the member inside the property.
Property containing a getter and a setter
Remember, we do not always need to have a get and a set for every member; it will depend on what we need. If we have a lot of members, then it would take us a little time to code each getter and setter, so remember we could use the built-in functionality of Visual Studio 2022 . When we create the getter and setter for each member, we should ask ourselves, “Where do we want them to be located in our code?” The Visual Studio 2022 “shortcut” might add them as a block where we have our cursor, it might add them as a block at the end of the code after the constructor , it might add them as a block after the members, or indeed it might add them individually under the corresponding members.
With C# there are a number of different approaches that have evolved to create the getters and setters for the members we have created. The different approaches are shown in Listings 18-6, 18-7, 18-8, and 18-9.
Get by returning the variable or assign the new value
Use get; and set; in the auto-implemented properties
Use get; and a private set;
We could also have a private get and public set, and we can also have properties marked as public, private, protected, internal, protected internal, or private protected.
Approach 3: Available from C# 7
A get accessor does one thing: it gets the value of the member.
A set accessor does one thing: it sets the value of the member.
Use get and set with the fat arrow =>
- 20.
Amend the code, as in Listing 18-10, to add a getter and setter for each of the private properties of the CustomerBinary class.
Getters and setters for the private properties
Serializing the Object
- 1.
Right-click the Chapter18 project in the editor window.
- 2.
Choose Add.
- 3.
Choose Class
- 4.
Change the name to SerializedCustomer.cs.
- 5.
Click the Add button.
- 6.
The SerializedCustomer class code will appear in the editor window. Amend the code to add the Main() method, as in Listing 18-11.
Class template code with a Main() method
- 7.
Amend the code, as in Listing 18-12, to add some comments about serialization. You may choose to leave these out and go to the next step.
Add comments
- 8.
Amend the code, as in Listing 18-13.
Instantiate the class, passing it values
- 9.
Amend the code, as in Listing 18-14.
Instantiate the BinaryFormatter class, which we will use
- 10.
Add the code in Listing 18-15, to import the required namespaces for the BinaryFormatter and IFormatter.
Add the required imports
filename, the name , path, and extension of the file that will hold the data
For example, CustomerSerializedData.ser
file mode, the mode in which to open the file
For example, Open, Create, Append
file access, the access given to this file
For example, Read, Write, ReadWrite
- 11.
Amend the code, as in Listing 18-16.
Use FileStream to create the file that will hold the serialized data
- 12.
Amend the code, as in Listing 18-17.
Call the Serialize() method of the FileStream class
- 13.
Click the File menu.
- 14.
Choose Save All.
- 15.
Click the Debug menu.
- 16.
Choose Start Without Debugging.
- 17.
Press any key to close the console window that appears.
- 18.
In the Solution Explorer, click the Chapter18 project.
- 19.
Click the Show All Files icon, as shown in Figure 18-2.

A window titled solution explorer exhibits various icons, show all files is highlighted and has the following text, Solution CoreCSharp 15 of 15 projects.
Show All Files
- 20.
Click the Refresh button , as shown in Figure 18-3.

A window labeled solution explorer highlights the sync with the active document icon on the toolbar.
Refresh or sync
A navigation pane depicts the directory of chapter 18 with expanded folders and highlights the serialized customer file in the net 6.0 folder.
Serialized file has been written
Brilliant! We have a serialized file. The serialized file contains the state of the instance class; in other words, it has the customer details that we supplied when we used the constructor.
Deserializing the Serialized File to a Class
- 1.
Right-click the Chapter18 project in the Solution Explorer window.
- 2.
Choose Add.
- 3.
Choose Class
- 4.
Change the name to DeserializedFileToCustomerObject.cs.
- 5.
Click the Add button.
- 6.
The DeserializedFileToCustomerObject class code will appear in the editor window.
- 7.
Now add a Main() method as shown in Listing 18-18.
Class with the Main() method
- 8.
Amend the code, as in Listing 18-19, to add comments about deserialization. You may choose to leave these out and go to the next step.
Comments about deserialization
- 9.
Amend the code, as in Listing 18-20, to create an instance of the CustomerBinary class, the object, and set it null.
Create an instance of the CustomerBinary class
In the serialization code, we created an instance for the BinaryFormatter and based it on the interface IFormatter . Remember we said program to an interface. In this example however, we will create an instance of the BinaryFormatter that is based on the BinaryFormatter class, just to show a different approach. Both approaches are perfectly acceptable.
- 10.
Amend the code, as in Listing 18-21.
Create an instance of the BinaryFormatter
- 11.
Add the code in Listing 18-22, to import the required namespace for the BinaryFormatter.
Add the required import
- 12.
Amend the code, as in Listing 18-23.
Create a FileStream to allow file opening and reading
- 13.
Amend the code, as in Listing 18-24.
Try catch block while reading the serialized file
CustomerName calls the CustomerName property that will return the customerName private field.
CustomerAge uses the get accessor of the customerAge member.
CustomerName = "WHO" would use the set accessor of the customerName member.
CustomerAge = 21 would use the set accessor of the customerAge member.
- 14.
Amend the code, as in Listing 18-25.
Display the details of the deserialized CustomerBinary class
- 15.
Amend the code, as in Listing 18-26, to add a message in the catch block.
Catch block message
- 16.
Right-click the Chapter18 project in the Solution Explorer panel.
- 17.
Choose Properties.
- 18.
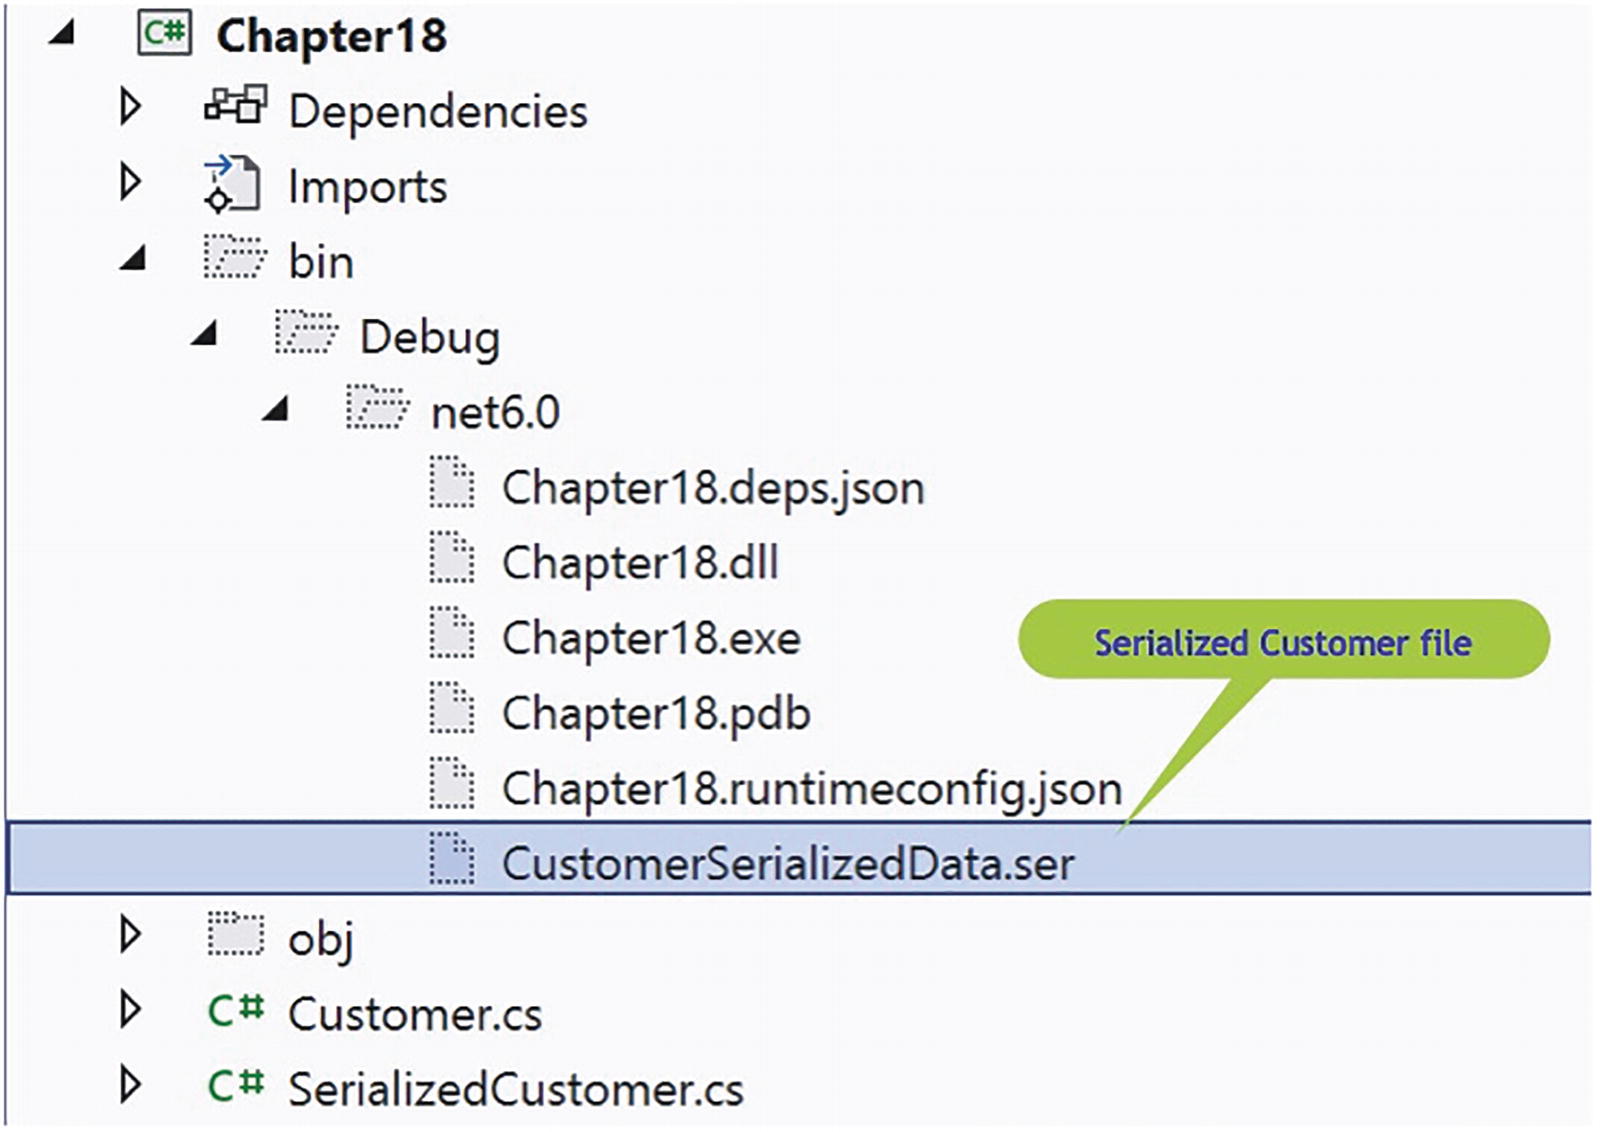
Set the Startup object to be the Chapter18.DeserializedFileToCustomerObject in the drop-down list, as shown in Figure 18-5.
A section of a window labeled startup object depicts a drop-down list, with chapter 18, deserialized file to customer object highlighted and selected.
Set the startup program
- 19.
Close the Properties window.
- 20.
Click the File menu.
- 21.
Choose Save All.
- 22.
Click the Debug menu.
- 23.
Choose Start Without Debugging.

A console window depicts the deserialized customer data, name, age, account number, address, and years as a customer, with the executable file path.
Details from the deserialized file
- 24.
Press any key to close the console window that appears.
Access Modifier [NonSerialized]
- 25.
Open the CustomerBinary.cs class.
- 26.
Amend the code, as in Listing 18-27.
NonSerializable member
- 27.
Click the File menu.
- 28.
Choose Save All.
Now set the SerializedCustomer.cs file as the Startup object and run the code again to create the new version of the CustomerSerializedData.ser file with the default value being written.
- 29.
Click the Debug menu.
- 30.
Choose Start Without Debugging.
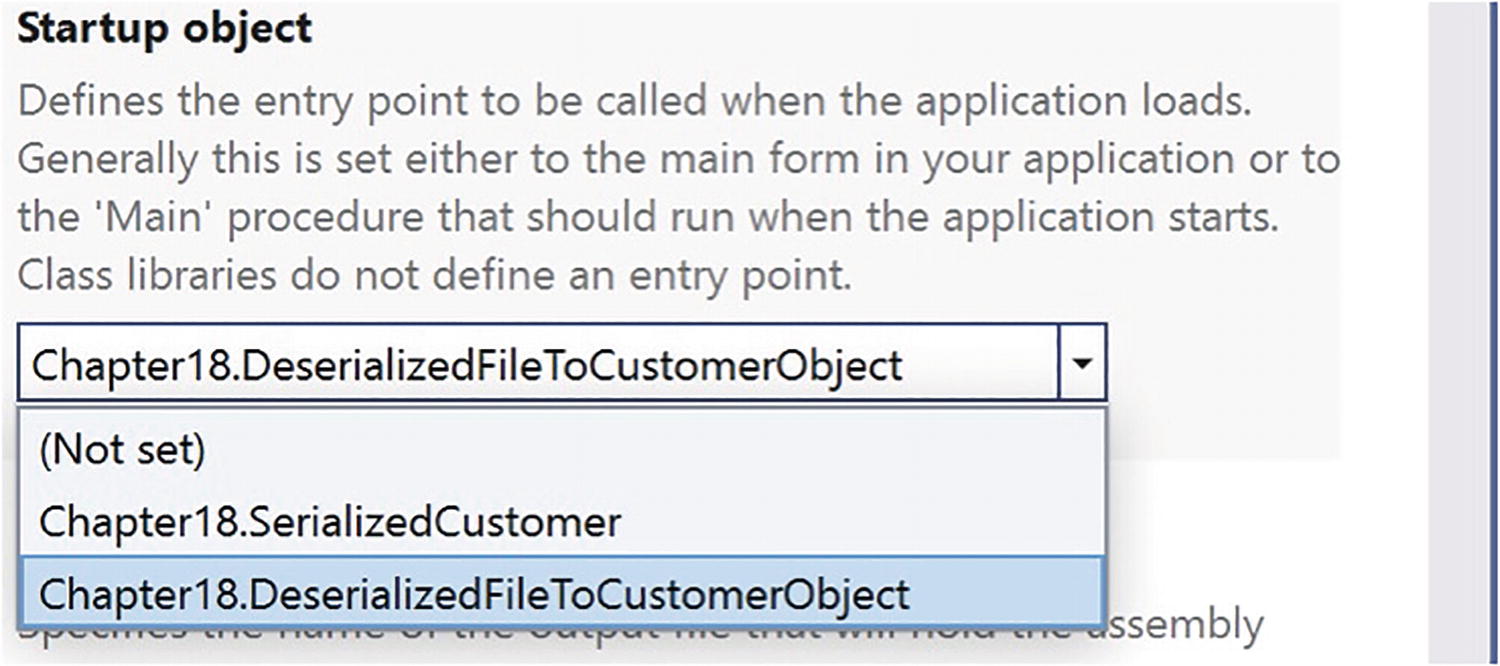
A console window depicts the deserialized file, and highlights the nonserialized private int customer age, with a default value of zero.
Details from the deserialized file with age nonserialized
Brilliant! We can serialize and deserialize a class, or strictly speaking the instance of the class. But, as we were cautioned at the start of the chapter, due to security vulnerabilities in BinaryFormatter, the methods are now obsolete, so we will now look at serialization in a different way, using XML.
Serialization Using XML
When we perform XML serialization , the serialization only applies to public fields and property values of an object, and the serialization does not include any type information – no methods or private fields will be serialized. If we need to serialize all private fields, public fields, and properties of an object, then we can use the DataContractSerializer rather than XML serialization, but this will not be covered in this book.
When serializing an object to XML, certain rules apply:
The class needs to have a default constructor. In the CustomerBinary class that we created earlier, we coded our own constructor, thereby overwriting the default constructor. This means that we will need to add a default constructor, a constructor that is parameterless.
Only the appropriate public fields and properties of the class will be serialized.
- 1.
Right-click the CustomerBinary.cs file in the Solution Explorer panel.
- 2.
Choose Copy.
- 3.
Right-click the Chapter18 project in the Solution Explorer panel.
- 4.
Choose Paste.
- 5.
Right-click the new CustomerBinary – Copy.cs file.
- 6.
Choose Rename and rename the file as CustomerXML.cs.
- 7.
Amend the CustomerXML file as in Listing 18-28, which has had the comments removed for ease of reading.
Change class name and constructor name to CustomerXML
- 8.
Amend the file to include a default constructor, as in Listing 18-29.
Added a default constructor
- 9.
Amend the customerAge field to remove the [NonSerializable] and make all the fields public, as in Listing 18-30.
Make all fields public
- 10.
Amend the code to remove the unnecessary accessors, as in Listing 18-31.
Class with getters and setters removed
Now that the class being serialized to XML has the required elements, a default constructor, and public fields, we can create the serialize and deserialize code, which we will do in a similar way to binary serialization, using two separate classes.
Creating the Serialization Code
Create an instance of the CustomerXML class using our custom constructor to pass values to the fields in the class:
Create an instance of the XmlSerializer informing it that we are using a class of type CustomerXML. This is like binary serialization when we used the BinaryFormatter or IFormatter:
Create an instance of StreamWriter and pass it the name of the file we wish to add the XML to, in our case CustomerSerialisedData.xml:
Call the serialize method of the XmlSerializer , passing it the StreamWriter name and the instance of the object to be serialized:
Close the StreamWriter instance:
- 11.
Right-click the Chapter18 project in the Solution Explorer.
- 12.
Choose Add.
- 13.
Choose Class.
- 14.
Name the class XMLSerialisation.cs .
- 15.
Click the Add button.
- 16.
Amend the code, as in Listing 18-32, to add a Main() method and code the steps needed to serialize to XML.
Adding the code to serialize the CustomerXML object
- 17.
Right-click the Chapter18 project in the Solution Explorer panel.
- 18.
Choose Properties.
- 19.
Set the Startup object to be the XMLSerialisation in the drop-down list.
- 20.
Exit the Properties window.
- 21.
Click the File menu.
- 22.
Choose Save All.
- 23.
Click the Debug menu.
- 24.
Choose Start Without Debugging.
- 25.
Press the Enter key to close the console window.

A navigation pane depicts the chapter 18 directory with expanded folders and highlights the customer serialized data X M L file in the net 6.0 folder.
XML serialized file
The XML data from the CustomerSerialisedData.xml file execution
Creating the Deserialization Code
Create an instance of the CustomerXML class setting its value to null:
Create an instance of the XmlSerializer informing it that we are using a class of type CustomerXML, same code as in the serialization class:
Create an instance of StreamReader and pass it the name of the file we wish to read the XML from, in our case CustomerSerialisedData.xml:
Call the deserialize method of the XmlSerializer, passing it the StreamReader name, then cast the returned value to a CustomerXML object, and assign this to the myCustomer instance of the CustomerXML object we created in the first step:
As the deserialization may cause an exception, we will add the code within a try catch block.
Now we will display the details of the object created from the XML file by calling the accessor from the myCustomer instance of the CustomerXML class, for example, customer name would be displayed using the code
Close the StreamReader instance:
- 26.
Right-click the Chapter18 project in the Solution Explorer panel.
- 27.
Choose Add.
- 28.
Choose Class.
- 29.
Name the class XMLDeserialisation.cs.
- 30.
Click the Add button.
- 31.
Amend the code, as in Listing 18-34, to add a Main() method and code the steps needed to deserialize to a CustomerXML object and then display the details of the customer.
Adding the code to deserialize XML to a CustomerXML object
- 32.
Right-click the Chapter18 project in the Solution Explorer panel.
- 33.
Choose Properties.
- 34.
Set the Startup object to be the XMLDeserialisation in the drop-down list.
- 35.
Exit the Properties window.
- 36.
Click the File menu.
- 37.
Choose Save All.
- 38.
Click the Debug menu.
- 39.
Choose Start Without Debugging.
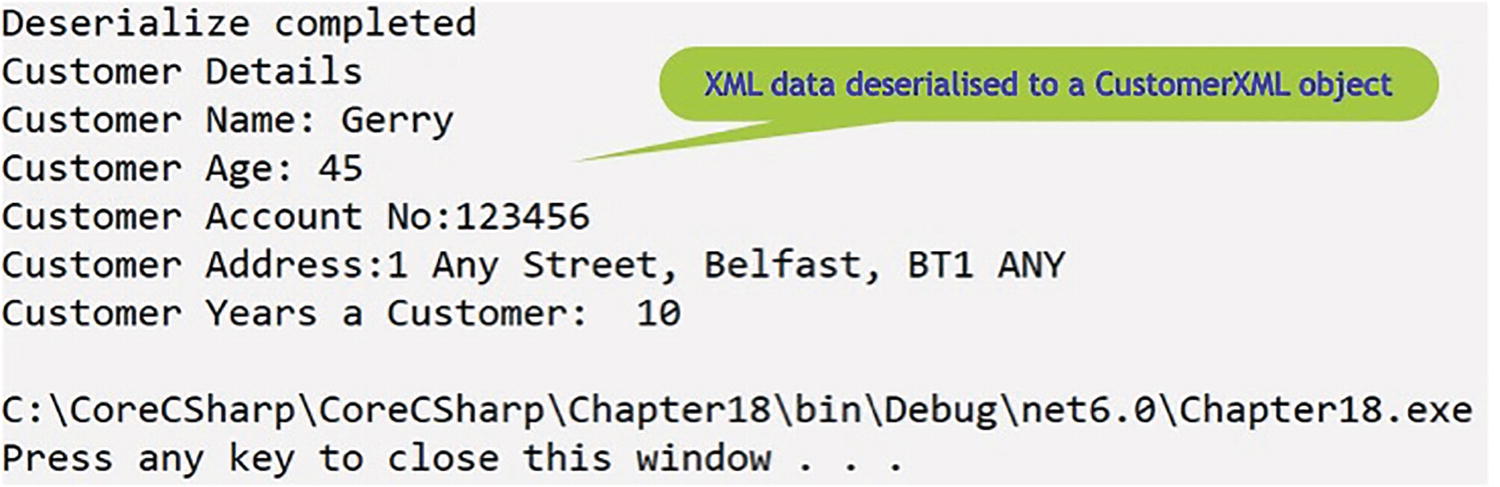
A console window depicts the X M L data deserialized to a customer X M L object, with 45 as the customer age value.
XML file returned as a CustomerXML object
- 40.
Press the Enter key to close the console window.
Brilliant! We can now serialize and deserialize C# objects in two different ways. XML is widely used in the commercial environment, but there is also another widely used format called JSON, and we will now complete our chapter by looking at how we can serialize and deserialize using the JSON format.
Serialization Using JSON
Stop using BinaryFormatter in your code. Instead, consider using JsonSerializer or XmlSerializer .
- 1.
Right-click the Chapter18 project in the Solution Explorer panel.
- 2.
Choose Add.
- 3.
Choose Class.
- 4.
Name the class JSONSerialisation.cs.
- 5.
Click the Add button.
- 6.
Right-click the Chapter18 project in the Solution Explorer panel.
- 7.
Choose Add.
- 8.
Choose Class.
- 9.
Name the class CustomerJSON.cs.
- 10.
Click the Add button.
- 11.
Double-click the CustomerJSON file to open it in the editor window.
- 12.
Amend the code as shown in Listing 18-35 to create the class and use a different way to get and set the member values.
Class that has auto-implemented properties and [JsonIgnore]
Add a Main() method
Inside the Main() method , we will create an instance of the class CustomerJSON by passing values to the constructor.
Call the JSON Serialize() method , passing it the instance of our CustomerJSON and assigning the returned JSON to a string variable called jsonString.
Display the returned JSON to the console.
- 13.
Amend the code, as in Listing 18-36, to add the Main() method and the class instantiation and perform the assignment.
Adding a Main() method and other code
- 14.
Click the File menu.
- 15.
Choose Save All.
- 16.
Right-click the Chapter18 project in the Solution Explorer panel.
- 17.
Choose Properties.
- 18.
Set the Startup object to be the JSONSerialisation in the drop-down list.
- 19.
Exit the Properties window.
- 20.
Click the Debug menu.
- 21.
Choose Start Without Debugging.

A console window depicts the J S O N serialization of the customer details, excluding the customer's age.
JSON format from the serialization displayed
- 22.
Press the Enter key to close the console window.
Great, but we haven’t written the JSON to a file. Obviously, we could have created the code for that within the code shown in Listing 18-36, but we will achieve it through a new method that we will create, and this will allow us to look at serializing using an asynchronous approach.
We will amend the class to
Add an async method called CreateJSON() , which will accept a CustomerJSON object.
Declare a string, assigning it the name of the file to be used.
Use an instance of the FileStream class to create the file – this is our stream.
Call the SerializeAsync() method , passing it the stream and the instance of our CustomerJSON object.
Dispose of the unmanaged resource of the stream.
Display the contents of the JSON file to the console.
- 23.
Amend the code, as in Listing 18-37, to add the new method outside the Main() method but inside the namespace.
Adding a CreateJSON() method
- 24.
Amend the code, as in Listing 18-38, to call the CreateJSON() method from within the Main() method, passing it the myCustomer object. The Main() method will need to be async so that we can await properly.
Adding a call to the CreateJSON() method
- 25.
Click the File menu.
- 26.
Choose Save All.
- 27.
Click the Debug menu.
- 28.
Choose Start Without Debugging.
- 29.
Press the Enter key to close the console window.
- 30.
Double-click the Customer.json file to open it in the editor window.
JSON file contents as shown in Visual Studio 2022
JSON file contents in “pretty” format
Notice CustomerAge was a [JsonIgnore] field so it does not appear.
We will amend the class to
Add a method called ReadJSON().
Declare a string, assigning it the name of the file to be used.
Use an instance of the FileStream class to open and read the file – this is our stream.
Call the DeSerialize() method, passing it the stream.
Display the contents of the JSON file to the console.
- 31.
Amend the code, as in Listing 18-41, to add the new method outside the Main() method but inside the namespace.
Adding a ReadJSON() method
- 32.
Amend the code, as in Listing 18-42, to call the ReadJSON() method.
Call the ReadJSON() method
- 33.
Click the File menu.
- 34.
Choose Save All.
- 35.
Click the Debug menu.
- 36.
Choose Start Without Debugging.

A console window depicts the customer J S O N object, with J S O N ignore, in square brackets, attribute used on the customer age with a value of 0.
Deserialized object showing the [JsonIgnore] attributed worked
- 37.
Press the Enter key to close the console window.
Chapter Summary
So, finishing this chapter on object serialization and deserialization, we should be familiar with the use of a class and the instantiation of the class to create an object. We realize that our object, instantiated class, will be treated like all the other objects we have in our code when the application is closed. When we close our application, our object and every other object will not be accessible. We saw in Chapter 16 that we could persist data by writing it to a text file, which is accessible to us after the application stops. So we can now think of serialization as a method to write the object with its real data to a file so we can reuse it at a later stage. We may want to transfer the object, with its state, to another computer over the network or Internet, and through serialization we can use different formats such as binary data, XML data, and JSON data. We also saw that deserialization allows us to reverse the process carried out by serialization, which means converting our serialized byte stream back to our object.
Wow, what an achievement. This is not basic coding. We are doing some wonderful things with our C# code. We should be immensely proud of the learning to date. In finishing this chapter, we have increased our knowledge further and we are advancing to our target.

An illustration of a round target with concentric circles and highlighted inner circles. The text below reads, our target is getting closer.