3. Books
The Kindle has built its reputation on having a great book-reading experience. The Kindle Fire continues this tradition, while adding a host of additional functionality.
This chapter covers reading, purchasing, and managing your Kindle books.
Books Library
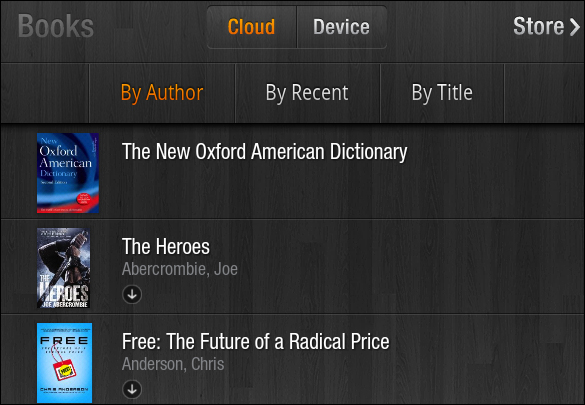
Tap Books on the Fire home screen to access your book library. By default the books on your device are displayed lined up on virtual shelves. Tap Cloud at the top of the screen, and all your Kindle books, both those on the device and those stored on Amazon’s servers, are displayed (Figure 3.1). You can tell the books apart because the ones that haven’t yet been downloaded to your Fire have an arrow icon at the bottom right of the cover.
Figure 3.1 The book library on your Kindle Fire displays all your Kindle books.
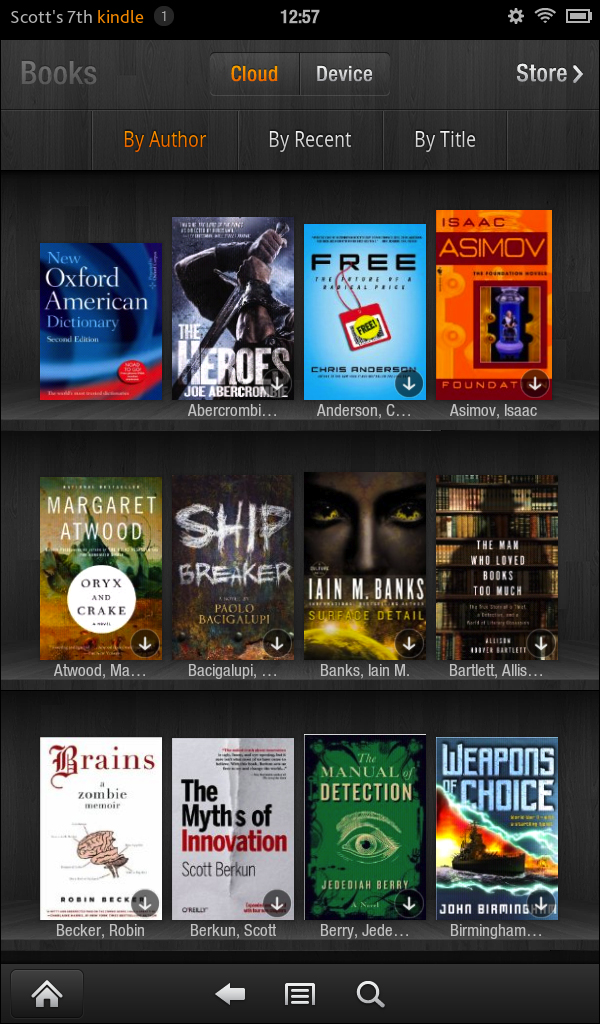
No matter which section of your library you’re looking at, Cloud or Device, you have the same three sort options: By Author, By Recent, and By Title. Tap the one you would like to use, and the books rearrange in that order (by default your most recently purchased books are displayed first).
Swipe up with your finger to scroll through all the books on either list.
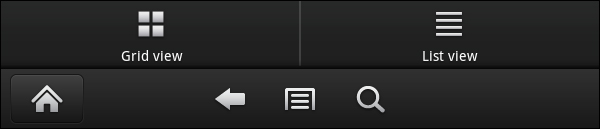
At the bottom of the screen you’ll find the options bar with the home, back, menu, and search buttons. Tapping the menu button lets you switch the view from grid to list (Figure 3.2).
Figure 3.2 Grid and list views are available by tapping the menu icon in the options bar.
List view displays all your books as a list (shocking, I know) and gives you a little more information at a glance (Figure 3.3). On the left is the book’s cover with the name of the book, the author, and the book’s status. A book can have a few different statuses:
Figure 3.3 You can sort your library by author, recent, or title.
• Not downloaded: This book is on the cloud but hasn’t been downloaded to the device. The download icon is displayed here.
• New: Newly downloaded books will display a New icon ![]() here.
here.
• Partially read: If you’ve read some of the book, your progress is displayed here as a percentage of the amount read.
Tap the search button to search your library. You can search by author or title (the actual text of the book will not be searched).
Reading
Tap a book that you would like to read in either your Cloud or Device library. If the book isn’t on your device, it will be downloaded and then opened; otherwise, the book opens to either the first page or the last page you were on thanks to WhisperSync (more about this in a moment).
Turning “pages” on the Fire is easy: To advance a page, either tap the right side of the screen or swipe to the left (to go back a page, do the opposite).
While you’re reading, you can add notes, highlights, and bookmarks to the book, which get synced to the cloud via WhisperSync. WhisperSync is a free Amazon service that wirelessly syncs all sorts of data from your Kindle books to Amazon’s servers. Whenever you open a book on another Kindle device or app, all of these additions are available to you thanks to WhisperSync.
Note
WhisperSync requires an active Internet connection to function.
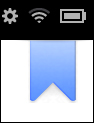
Tap the center of the screen to bring up the options bar, as well as the bookmark icon in the upper-right corner of the page (Figure 3.4). Tap the bookmark icon to save your current location (Figure 3.5).
Figure 3.4 Tap the center of the screen while reading a book to see the options bar and the bookmark ribbon.

Figure 3.5 Tap the bookmark ribbon to bookmark a page.
Tap the screen again to hide the options bar (which we’ll revisit shortly), and long tap your finger on a word in the book. The selected is highlighted in blue, and the word’s definition appears along with a menu (Figure 3.6).
Figure 3.6 A word’s definition appears when you tap it, along with a couple of other options.

If you want to see the full definition of the selected word, tap Full Definition. This will take you out of the book you’re reading and load the New Oxford American Dictionary (included with your Fire). Once you’re finished with the definition, tap in the center of the screen and tap the back button in the options bar to return to the book you were reading.
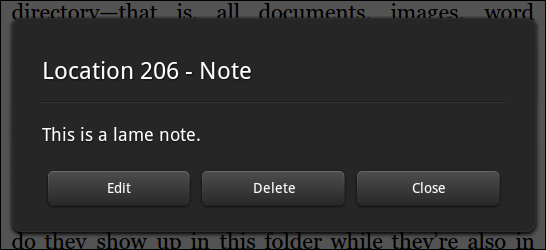
Under the definition are a couple of buttons: Note, Highlight, and More.... Tap Note, and a text field and keyboard appear at the bottom of the screen (Figure 3.7). Type in your text note and tap the Save button when you’re finished. A tiny note icon appears next to your selection indicating that a note is available (Figure 3.8). Tap it, and a pop-up with the note text appears along with the location of the note, as well as edit, delete, and close buttons (Figure 3.9).
Figure 3.7 Adding a note using the on-screen keyboard
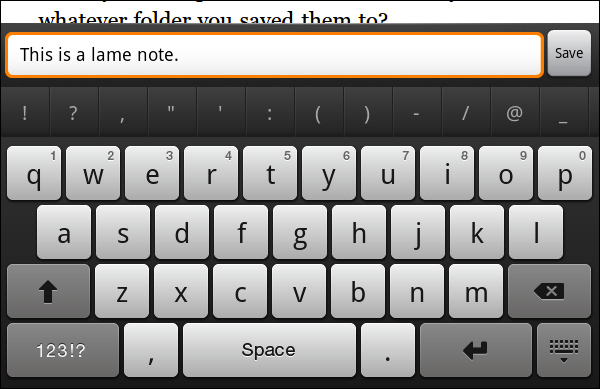
Figure 3.8 This blue icon means a note has been left in this location.
Figure 3.9 Tap the note icon to read the text of the note. You can edit or delete the note from here as well.
To select more than one word, first long tap a word. That word will be selected, and a little magnifying field appears showing you the words under your finger. While still pressing against the screen, move your finger along the words you’d like to highlight. You can also move your finger down to highlight entire lines of text (Figure 3.10). To expand your selection, tap and drag on the little blue handles at either end of the selection.
Figure 3.10 Selecting more than one word allows you to highlight entire passages.
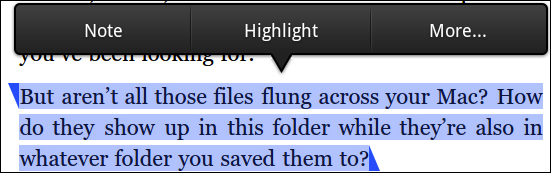
The same menu appears with the highlight option. Tap the highlight, and the selected text is highlighted in yellow (Figure 3.11).
Figure 3.11 Highlighting shows up in yellow.

To delete a highlight, long tap any word in the selection and tap Delete Highlight. Highlighting will be removed from the entire selection.
Tap the More... button to see three addition actions (Figure 3.12):
Figure 3.12 Tapping the More button reveals three search options.
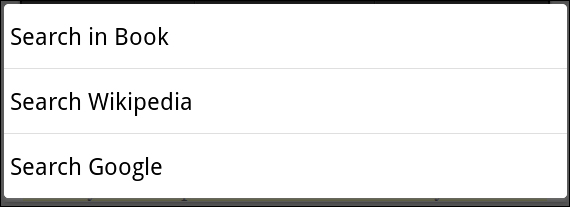
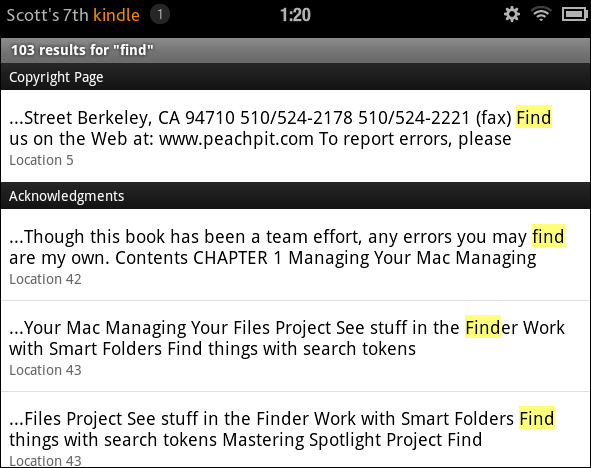
• Search in Book: This searches the full text of the book for whatever word or phrase you selected (Figure 3.13). The search term is highlighted in the results, which are grouped by chapter. You can also search inside the book by tapping the search button in the options bar of any book.
Figure 3.13 When you search within a book, the search term is highlighted. Tap a location to display it.
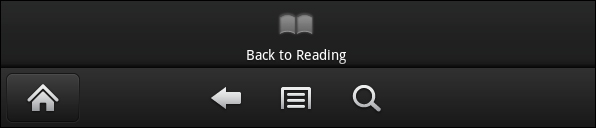
• Search Wikipedia: Tap this to search http://wikipedia.com for the selected text. To get back to your book, tap the menu icon and tap the Back to Reading button (Figure 3.14).
Figure 3.14 Tap the menu icon to reveal the Back to Reading button.
• Search Google: This functions just like Search Wikipedia, except that it performs a Google search using the selected words as the search term.
Navigation
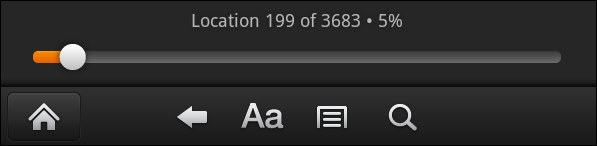
You have more options for navigating your Kindle books than just going back and forth one screen at a time. Tap the middle of the screen to bring up the options bar. Above the options bar your current location is displayed, along with the percentage of the book you’ve read and a slider (Figure 3.15). To quickly go to location in your book, just move the slider. The location number will change, and when you take your finger off the screen, the location you selected will be displayed.
Figure 3.15 The location bar allows you to quickly scrub to a new location.
Tap the menu icon in the options bar to bring up some important navigation (Figure 3.16 on the next page).
Figure 3.16 Tapping the content icon brings up several locations that you can jump to by tapping, including any notes, bookmarks, and highlights you’ve made.
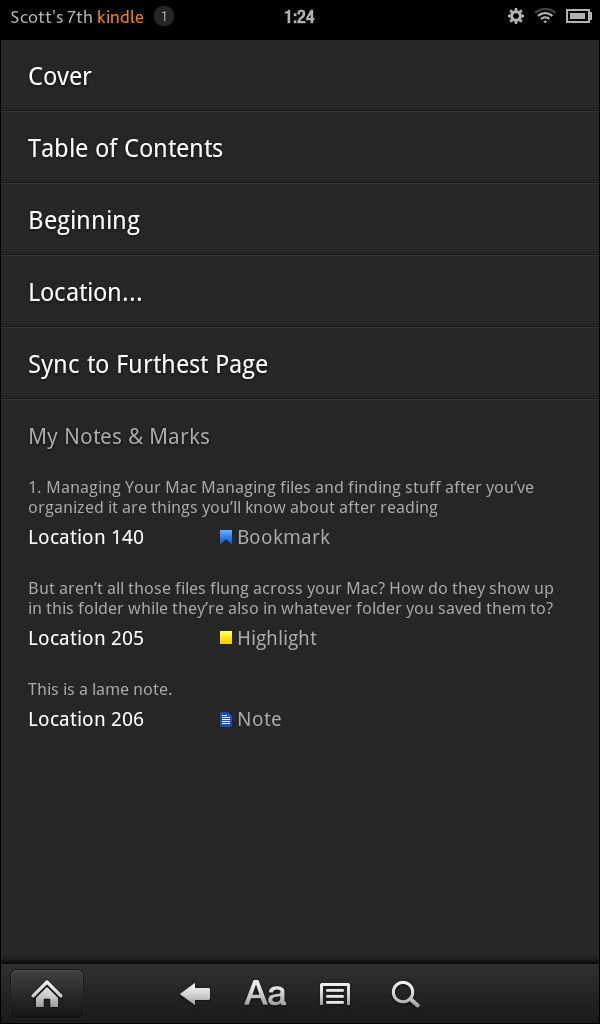
The top section of the navigation options lists a few options:
• Cover: Tap this to see the cover of the Kindle book.
• Table of Contents: The table of contents is just like the table of contents for any other book, only better. Each part of the table of contents is a link, and when you tap it, you’re taken directly to that section. A physical book can’t do that!
While you’re in the body of a book, you might come across some blue underlined text that looks suspiciously like a hyperlink (or just a link, as the kids say these days). Those are, in fact, links to either other locations in the book (like the table of contents) or a website. Tap it just like you would any other link, and you’re taken to that location/site.
• Beginning: No matter where you are in the book, you can hop right to the start of the book by tapping Beginning.
• Location...: If you have a location number, tap this, and then you can enter the number and jump right to it (Figure 3.17).
Figure 3.17 Enter a location and then tap Go to jump to the exact location in your book.

• Sync to Furthest Page: WhisperSync stores your current location, notes, bookmarks and highlights in Amazon’s cloud. Usually this syncing happens automatically, but sometimes it needs a little nudge. Sync to Furthest Page is that nudge.
The final section in the navigation is My Notes and Marks (shown in Figure 3.16). All of your notes, bookmarks, and highlights for this book are listed here. You can read the full text of your notes and the entire phrase that you’ve highlighted right from here.
Swipe up with your finger to scroll through the list, and tap an entry to go to that location in the book. If you long tap, a menu appears with two options: View and Delete (Figure 3.18).
Figure 3.18 Long tapping a note, bookmark, or highlight allows you to view or delete it.

Appearance
I love physical books, but despite the great pleasure I take in reading them, holding them, and even smelling them, they do have some issues. As I am aging (seemingly more rapidly than ever), my eyes aren’t what they used to be. Sadly, a physical book doesn’t care. It was typeset with a particular font, font size, and margins, and that’s the way it is.
Kindle books, on the other hand, allow you much greater control over how the text actually looks on your screen.
To see your text options, tap the middle of the screen and then tap the text button in the options bar (Figure 3.19). The text options are broken up into two groups just like those that are available when you’re reading a magazine in text view (see Chapter 2 for more details).
Figure 3.19 The Font Style options allow you to change the font size, among other things.

Font Style lets you set the font size from eight choices, set the line spacing and margins out of three options, and set the color of the background and text.
Just tap each option, and the change is applied.
Typeface gives you a list of fonts you can choose for your book.
Tip
These changes are global, so they will impact how all of your books are displayed on the Kindle Fire.
Store
Tap the Store button at the top right of the book library to buy some books from Amazon. The store looks very much like the Newsstand store (Figure 3.20). It works pretty much the same way, too.
Figure 3.20 The Kindle Store on the Fire
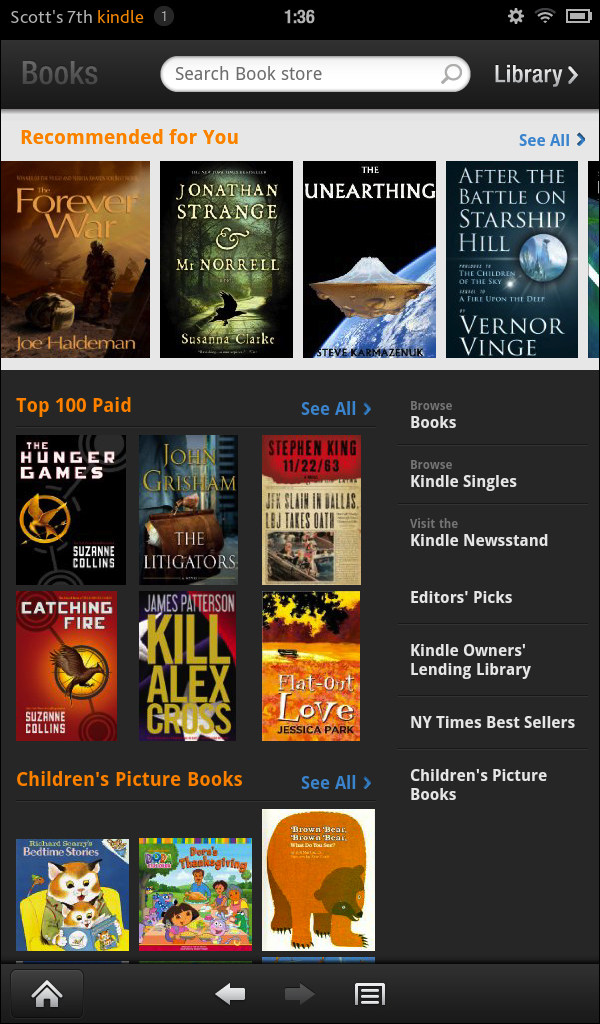
Various groupings of books are shown, with recommendations based on your purchase history at the top. Swipe with your finger to see all the recommended books. Tap the See All button at the top right of each grouping to see all the books listed.
At the right of the screen you’ll see a listing of the various sections of the Kindle Store: Books, Kindle Singles, Kindle Newsstand, Editor’s Picks, Kindle Owners’ Lending Library, NY Times Best Sellers, and Children’s Picture Books. Tapping a section either brings up a list of categories within that section of the store that you can then see a list of books from or takes you directly to the section.
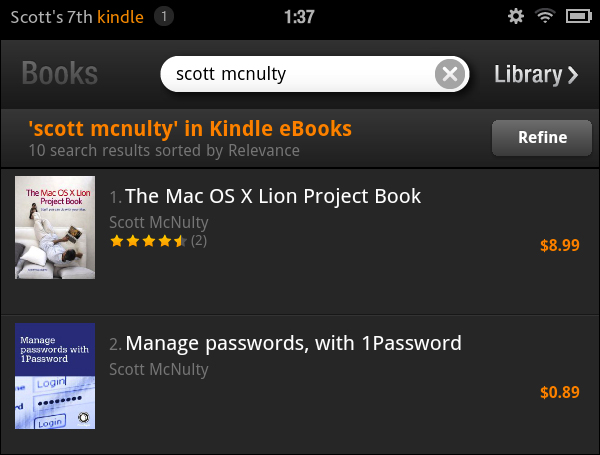
At the top you’ll see a search field that you can use to search for your favorite author or a book title. Tap the field, type your query, and tap Go. The search results return with the book cover, title, author, star rating, and price in a list (Figure 3.21). Tap the Refine button to further refine your search results. You can change the sorting method, limit which categories of books you want to include, and filter based on average customer review.
Figure 3.21 A search in the Kindle Store shows the cover of the book, title, author, rating, and price.
Note
All of the results in the store, whether they are search-generated or a list of books, use the Refine button in the same way.
Tap a book to see its details page that lists a description, print length, similar items, customer reviews (you might have to swipe up with a finger to see the reviews), product details (like sales rank), and a link to the title’s entry on Amazon.com (Figure 3.22).
Figure 3.22 A book’s entry in the Kindle Store. Tap the orange button to buy the book.
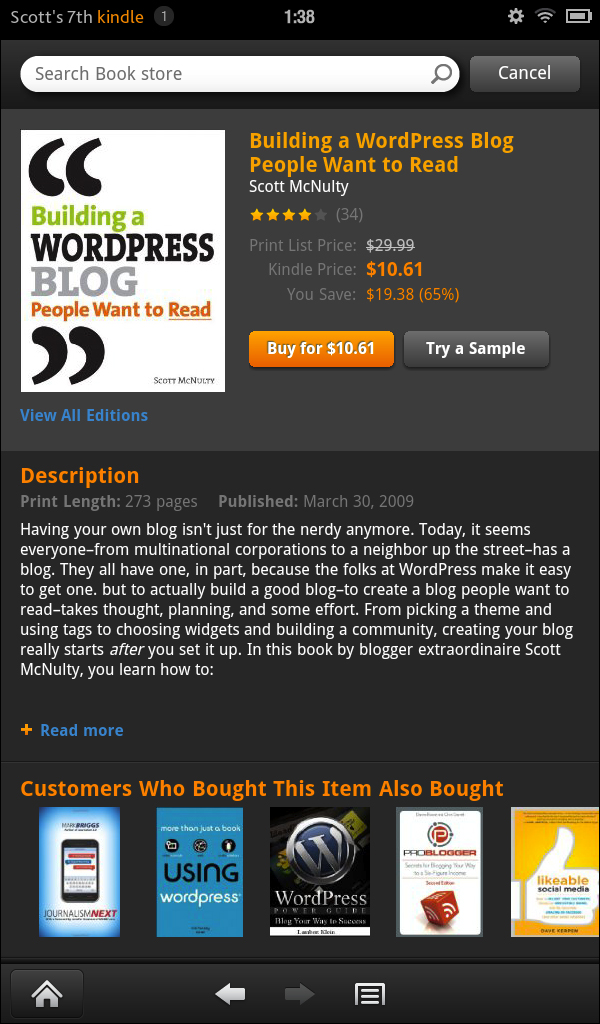
What will be of most interest are the two buttons near the top of the screen. One is labeled “Buy for...” with the price of the book, and the other is Try a Sample.
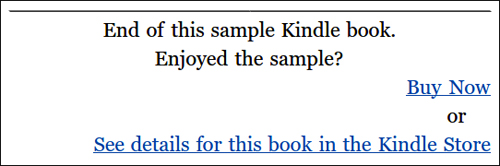
When you tap Try a Sample, a small sample of the book is added to your book library, and the button turns green (Figure 3.23). Tap it to read the sample. When you get to the end of the sample, you have the option to purchase the full book by tapping the Buy Now link or tapping the “See details...” link to return to that book’s entry on the Kindle Store (Figure 3.24).
Figure 3.23 After you tap the Try a Sample button and the download is complete, it turns into a green “Read sample now” button.
Figure 3.24 At the end of a sample are two links: a Buy Now link and a link to the book’s entry page.
Samples are denoted with a small icon in your library (Figure 3.25).
Figure 3.25 A sample is labeled in your book library.

The Kindle Store options bar includes a menu icon. Tap it to reveal some shortcuts to parts of the store (Figure 3.26). Storefront will take you back to the storefront no matter what screen you’re on, Books will take you to the books section, Kindle Singles (short e-books about a variety of topics written just for the Kindle store) takes you to that section, and Kindle Account actually takes you to the Manage Your Kindle section of Amazon.com.
Figure 3.26 The menu options in the Kindle Store let you jump to different sections with a tap.

Children’s Books
The Kindle Fire has some tricks up its sleeves just for children’s books. The e-ink Kindles aren’t the best way to read kid’s books since they so often feature great color pictures that would be rendered in black and gray. Not so much fun.
The Kindle Fire, however, has a great color screen, which is why there is a whole section of the Kindle Store devoted to Fire-optimized children’s picture books. Some of these books feature Kindle Text Pop-Up, which expands the text on the page and makes it very easy to read.
Tap the Children’s Picture Books button on the right side of the screen in the Kindle Store to see the list of available books. The description of the book will tell you whether it features Kindle Text Pop-Up or not (Figure 3.27). Purchase the book as you normally would.
Figure 3.27 This children’s book supports the Kindle Text Pop-Up technology.

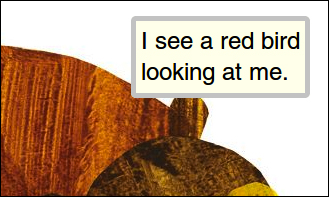
Open the book, and you’ll see that it features large pictures and relatively little text. Some these books won’t allow you to change orientation when you’re reading them because the pictures are so big they fit only in landscape mode. Double tap some text, and it will pop it up for easier reading (note that the Text button in the options bar doesn’t offer you any controls over the fonts for these particular books) (Figure 3.28).
Figure 3.28 Kindle Text Pop-Up in action
Graphic Novels
Graphic novels are sort of like picture books for adults in that they feature lots of artwork. Most graphic novels, though, also include a lot of text to move the story along. Some of that text can be hard to read, especially since you can’t pinch to zoom when reading a graphic novel on the Fire (I assume this limitation will be addressed in a software update).
However, if you double tap a panel, Kindle Panel Preview kicks into effect. The panel zooms out so you can read the entire panel (Figure 3.29). Tap the right of the screen to go to the next panel. You can read the entire comic panel by panel so you won’t miss a word of dialogue. Double tapping again brings you to the standard full-page view.
Figure 3.29 Kindle Panel Preview lets you read a graphic novel panel by panel.

Tip
To find graphic novels in the Kindle Store, tap the Books section and select Comics & Graphic Novels from the categories list.
Kindle Owners’ Lending Library
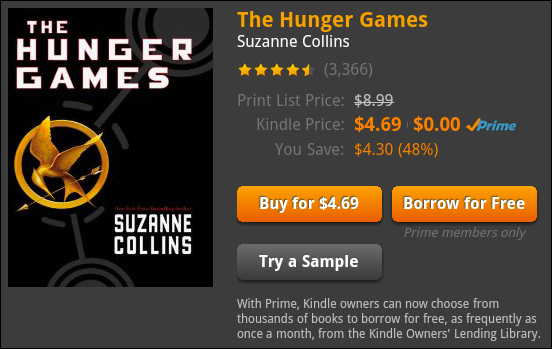
The Kindle Owners’ Lending Library is available only to Kindle owners who also happen to be Amazon Prime members (remember, a free one-month Prime trial is included with your Kindle Fire) (Figure 3.30). Just like it sounds, you can borrow Kindle books from a selection available in the Kindle Owners’ Lending Library at no additional cost. As you can see in Figure 3.30, any book in the lending program has a Borrow for Free button. Tap that button, and the book is downloaded to your device and added to your library. The borrowed book looks just like any other book in your Lending Library.
Figure 3.30 A book in the Kindle Owners’ Lending Library. Tap Borrow to download the book to your Fire.
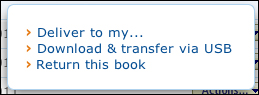
To return a borrowed book, log into Manage Your Kindle (www.amazon.com/myk/) and select “Return this book” from the Action menu (Figure 3.31).
Figure 3.31 To return a borrowed book, click the “Return this book” link available in the Manage Your Kindle site.
Although you can borrow only one book a month from the Lending Library, you have as long as you need to read the book. Take your sweet time, but keep in mind that you can borrow only one book at a time.
The Kindle Owners’ Lending Library is available only on hardware Kindles; the Kindle applications are not supported.
Tip
Many public libraries allow you to borrow books using your Kindle. Check this website to see whether your local library supports Kindle lending: http://search.overdrive.com/.
From Amazon.com
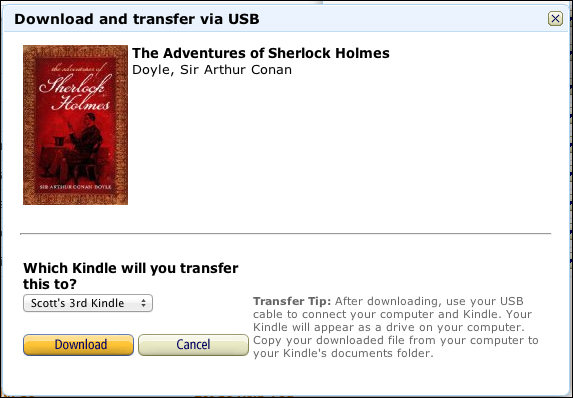
If you’re away from your Kindle Fire but you have a hankering to buy a book, you can do it right from Amazon.com and send it to your Kindle Fire. Find the Kindle book you want to buy in the Kindle Books section of Amazon.com.
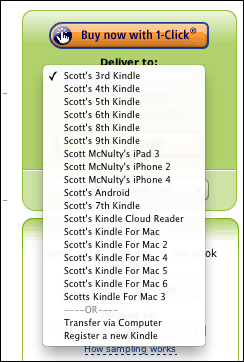
Select your Kindle from the “Deliver to” drop-down either in the green “Buy now with 1-Click” box or in the “Try it free” box (Figure 3.32). Then click either the orange 1-Click button or the “Send sample now” button. When next you turn on your Fire and it is connected to the Internet, the book will be available in your library.
Figure 3.32 Select which Kindle you want your Amazon.com book order to.
One thing to note is that no matter which Kindle you send your purchased Kindle books to, they will appear in the Cloud section of the Books library. Samples, however, are available only on the Kindle they were either requested from or delivered to.