Let's publish an ASP.NET Core 2.0 web app in Azure using Visual Studio:
- Create a new ASP.NET Core 2.0 project in Visual Studio or use one of the existing applications that we have created thus far in the book. We will use one of the web apps that we developed in the book thus far for illustration purposes.
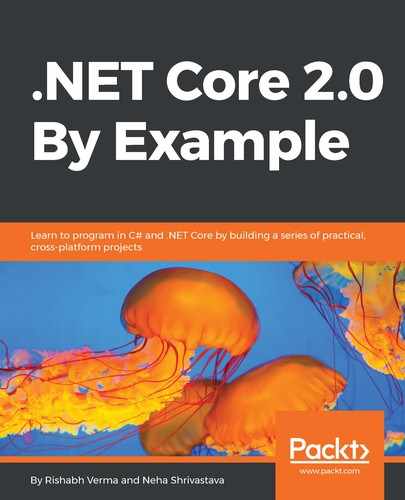
- Right-click the project. On the context menu, click Publish:

- This will display a nice-looking user interface, presenting us with three options. We can publish on:
- Microsoft Azure App Service: The container for the web app.
- IIS, FTP: For deploying on IIS or FTP on a virtual machine.
- Folder: To publish the app in the local filesystem.
- Import profile: To import a publish profile from the Azure portal and publish the app. We will see this later in the chapter.
- Microsoft Azure Virtual Machines: To publish the app in a virtual machine hosted in Azure.
We will select the Microsoft Azure App Service. That gives us two options: either to select an existing App Service or create a new one. We can use either of the options. This is to illustrate that we can create a brand new App Service directly from within Visual Studio or use an existing App Service that you created. Click on the Publish button and we will get a series of dialogs. If you are not logged in with your Azure subscription credentials, you will need to do so.

- You will notice that on the top right, it shows my Microsoft account with which I am logged in. I need to enter an App Name that is unique. Subscription will be auto-populated. But, if you have multiple subscriptions, you must choose the subscription that you wish to use. Both Resource Group and App Service Plan can be either created brand new or chosen from an existing one. Here, in the screenshot, I have chosen an already existing one. Click Create. It will show a Summary screen:

- Click on Publish and the app will be published on Azure. Visual Studio saves the publish settings file for the project. This can take a while the first time we publish because Visual Studio has to push up all the assemblies and artifacts that are needed for the App Service. But once it's published into Azure, and we just make a change to something like a Razor view file or script file and publish the next time, all Visual Studio needs to do is upload just the few changed files.

- After some time, upon successful publishing, the deployed application will open in the browser, as shown in the following screenshot:

Behind the scenes a publishing profile is created by Visual Studio, so let's have a quick look at it.