MORTARBOARD
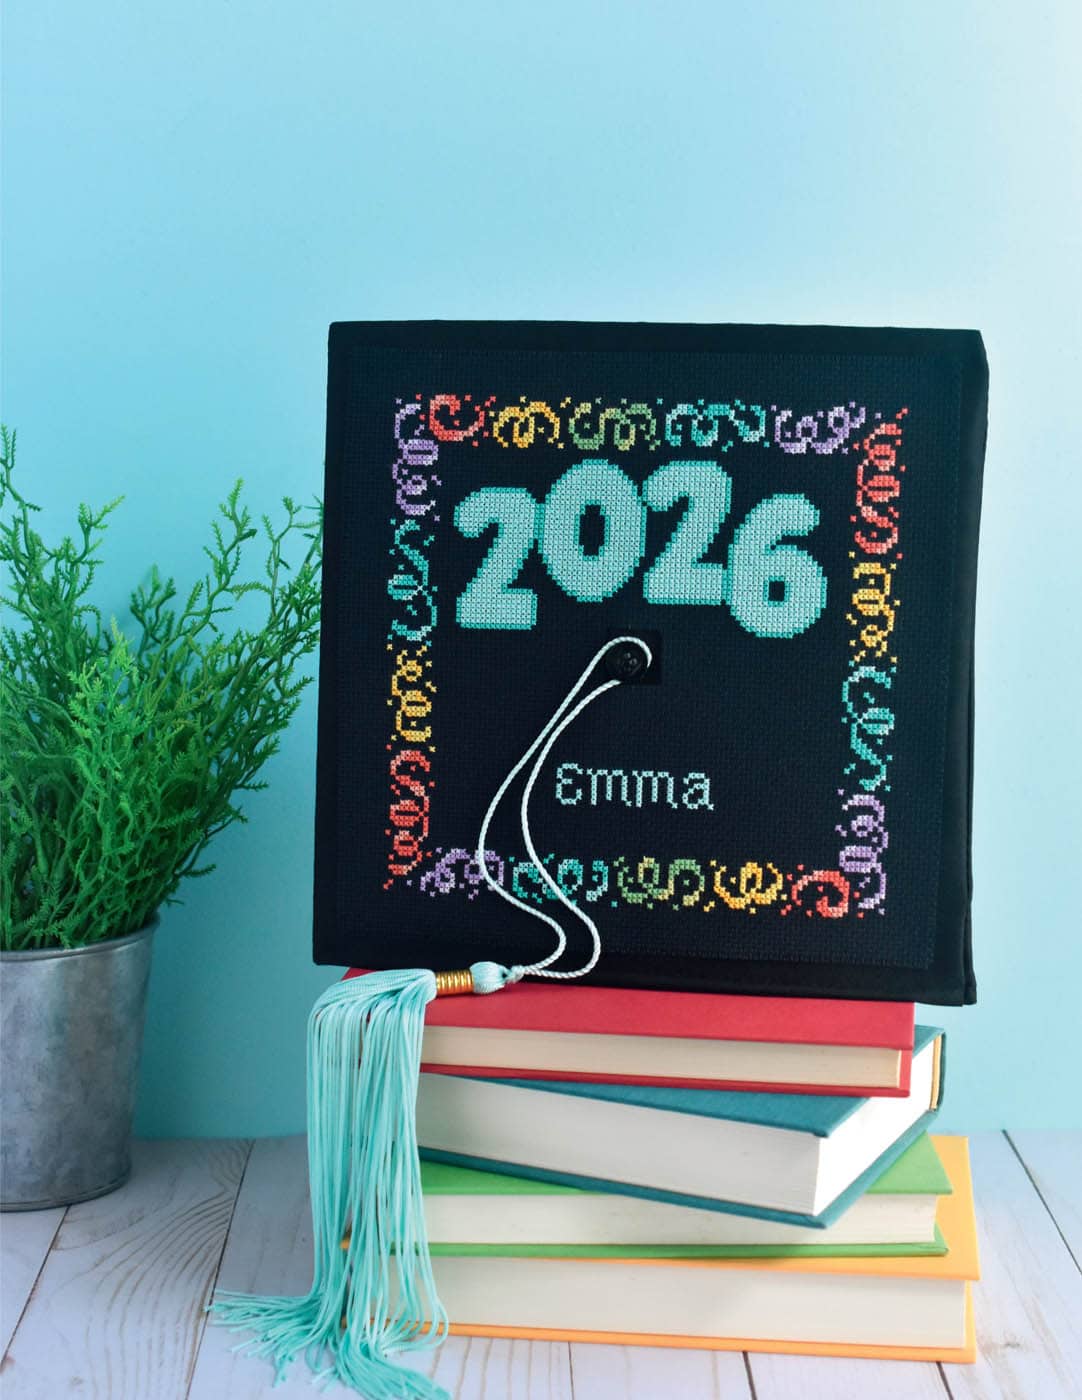
Customize a graduation hat with cross stitch! There’s no reason to leave your mortarboard plain when you can top it with a design that’s uniquely you. This is a perfect project to make for yourself or stitch as a gift. Even if it’s never worn, it makes a fantastic keepsake for any graduate.

|
|
|
|
|
|
|
|
|
|
 352 (DMC)
 989 (DMC)
 351 (DMC)
 964 (DMC)
 743 (DMC)
 958 (DMC)
 742 (DMC)
 211 (DMC)
 472 (DMC)
 209 (DMC)
About the Sample Design
This project uses the Celebration Streamers Border (here) adapted to fit on a square. You can do this by removing the green streamers from the long sides. At the top, the graduation year uses the Extra-Large Numbers (here) with the numbers all touching, and the two center numbers raised 6 rows from the others. This helps leave plenty of space in the center of the design for the hat’s tassel.
In the lower half, the graduate’s name is stitched with the Playful Alphabet (here). The whole piece is on black Aida cloth to match the color of the mortar board.

STEP 1
Create the design for the top of the hat by either modifying the chart with this project or creating your own with the help of the Planning Your Design section on this page. Not all mortarboards are the same size, so stitch the outline of the chart size on the Aida, making sure there’s enough room around the edges to fill the hat. Remove the hat’s tassel if possible.
STEP 2
Cross stitch the design. After you stitch the piece, wash and iron your cross stitch.

STEP 3
Trim the fabric down so there are 10 rows of Aida on each side around the design. Be sure to adjust the trim size of the fabric if your hat is much larger or smaller than the 9½-inch sample.

STEP 4
Pull and remove the threads of one row on each side. This will stop the fabric from fraying.
STEP 5
Gently fold the fabric in half and make a small cut through the fold.
STEP 6
Cut a 1-inch square out of the center of the fabric. This will allow the tassel to come through.

STEP 7
Apply tabs of double-sided fabric tape around the outside edge of the cross stitch as well as around the center hole. You don’t need to make solid lines of tape, but add enough to secure the fabric.

STEP 8
Peel off the tape’s backing and press the fabric onto the top of the hat. If the tassel doesn’t come off of the hat, be sure to pull it through the hole before you press the cross stitch into place. Reattach the tassel, if needed.