
Robomongo is a GUI tool for managing MongoDB that runs on Mac OS X, Windows, and Linux. It allows you to create new databases and collections and to run queries. It gives you the full power of the MongoDB shell in a GUI application, and has features including multiple shells, multiple results, and autocompletion. And to top it all, it's free.
Open a web browser, and browse to http://robomongo.org/.
The following steps explain how to install Robomongo on Mac OS X:
- Click on the Download for Mac OS X button.
- Click on the Mac OS X Installer (.dmg) link to download the file.
- Once downloaded, double-click on the installer file.
- Drag the Robomongo application to the
Applicationsfolder. - Open the
Applicationsfolder, and double-click on Robomongo to start it up. - In the MongoDB Connections window, create a new connection:
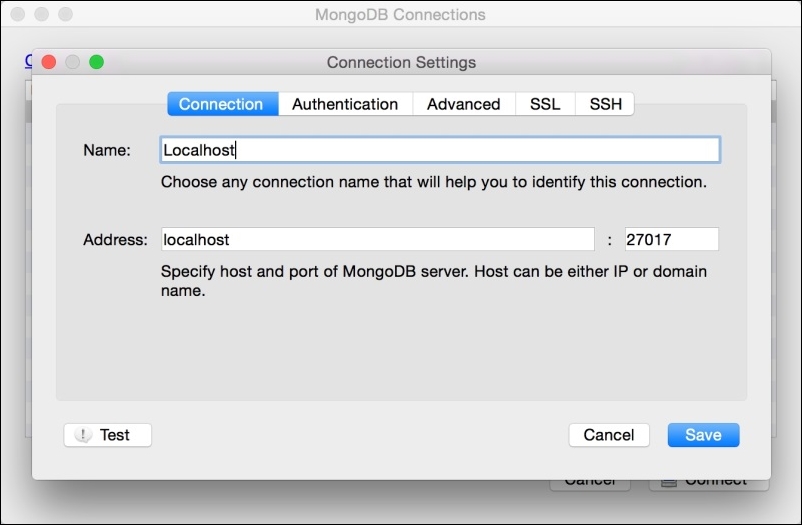
- Click on Save.
- Highlight your new connection and click on Connect.
- Assuming that you have MongoDB running, you should see the default system database.
The following steps explain how to install Robomongo on Windows:
- Click on the Download for Windows button.
- Click on the Windows Installer (.exe) link to download the file.
- Once downloaded, double-click on the installer file, and follow the install instructions, accepting all the defaults.
- Finally, run Robomongo.
- In the MongoDB Connections window, create a new connection:

- Click on Save.
- Highlight your new connection, and click on Connect.
- In the View menu, select Explorer to start browsing the existing MongoDB databases. As this is a brand new instance, you will only have the system collection.
..................Content has been hidden....................
You can't read the all page of ebook, please click here login for view all page.