
We installed Java and Maven to compile and package our Java source code and installed Tomcat to deploy and run our application. So now we have to start write Spring MVC code so that we can compile, package, and run the code. We can use any simple text editor on our computer to write our code, but that won't help us much with features like finding syntax errors as we type, auto-suggesting important key words, syntax highlighting, easy navigation, and so on.
An integrated development environment (IDE) can help us with these features to develop the code faster and error free. We are going to use Spring Tool Suite (STS) as our IDE.
STS is the best Eclipse-powered development environment to build Spring applications. Let's take a look at how we can install STS:
- Go to the STS download page at http://spring.io/tools/sts/all.
- Click on the STS zip link to download the zip file that corresponds to your Windows operating system architecture type (32 bit or 62 bit); this will start the download of the zip file. The STS stable release version at the time of this writing is the STS 3.7.3.RELEASE based on Eclipse 4.6.
- Once the download is finished, go to the downloaded directory and extract the
.zipfile into a convenient directory of your choice. - Open the extracted
sts-bundledirectory, you will find a directory calledsts-3.7.3.RELEASE. Just open that directory and create a desktop shortcut for theSTS.exe
We have almost installed all the tools and software required to develop a Spring MVC application; so now, we can create our Spring MVC project on STS. However, before jumping into creating a project, we need to perform the following two final configurations on our STS in order to use STS effectively:
- Configuring Maven on STS
- Configuring Tomcat on STS
The aforementioned settings are just a one-time configuration that you need to set up on your newly installed STS; you need not perform this configuration every time you open STS
To build our projects, STS uses Maven build tool internally. But we have to tell STS where Maven has been installed so that it can use the Maven installation to build our projects. Let's take a look at how we can configure Maven on STS:
- Open STS if it is not already open.
Tip
When you open STS for the very first time after installing, it will ask you to provide a workspace location. This is because when you create a project on STS, all your project files will be created under this location only. Provide a workspace directory path as you wish and click on the OK button.
- Navigate to Window | Preferences | Maven | Installations.
- On the right-hand side, you can see the Add button to locate Maven's installation.
- Click on the Add button and choose our Maven's installed directory, and then click on the Finish button, as shown in the following screenshot:
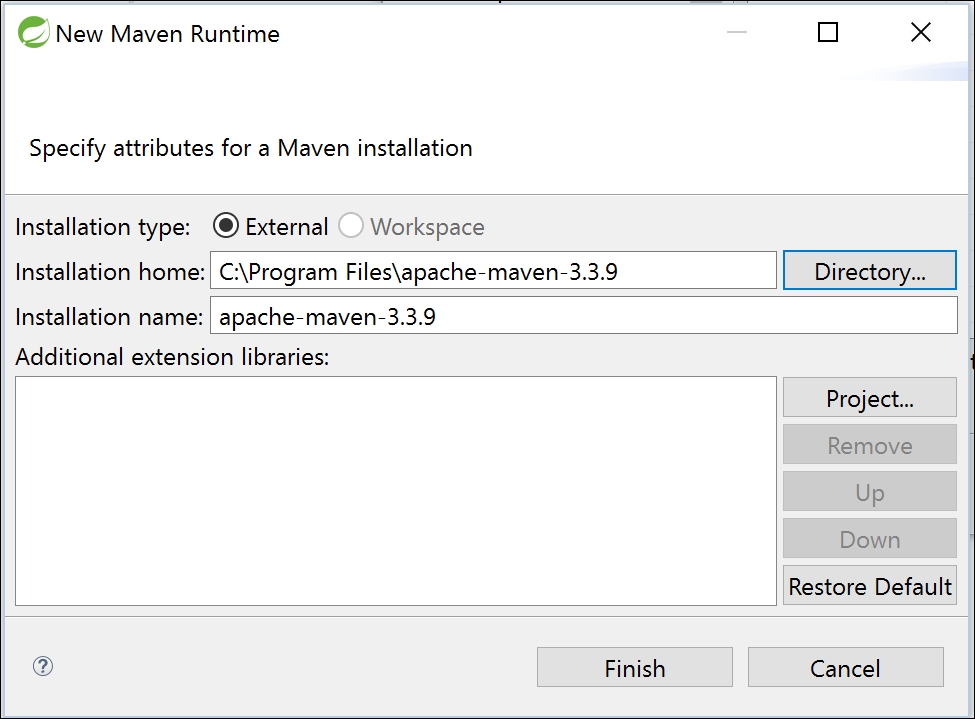
Selecting Maven's location during the Maven configuration on STS
- Now don't forget to select the newly added Maven installation as your default Maven installation by selecting the checkbox;
- Click on the OK button in the Preferences window and close it.
As mentioned previously, we can use the Tomcat web server to deploy our application, but we have to inform STS about the location of the Tomcat container so that we can easily deploy our project in to Tomcat. Let's configure Tomcat on STS:
- Open STS from the desktop icon, if it is not already open.
- Go to the menu bar and navigate to Window | Preferences | Server | Runtime Environments.
- You can see the available servers listed on the right panel. Now click on the Add button to add our Tomcat web server.
Tip
You may also see Pivotal tc Server Developer Edition (Runtime) v3.1 listed under the available servers, which comes along with the STS installation. Although STS might come with an internal Pivotal tc Server, we chose to use the Tomcat web server as our server runtime environment because of its popularity.
- A wizard window will appear; type
tomcatin the Select the type of runtime environment: text box, and a list of available Tomcat versions will be shown. Just select Tomcat v8.0 and select the Create a new local server checkbox. Finally, click on the Next button, as shown in the following screenshot: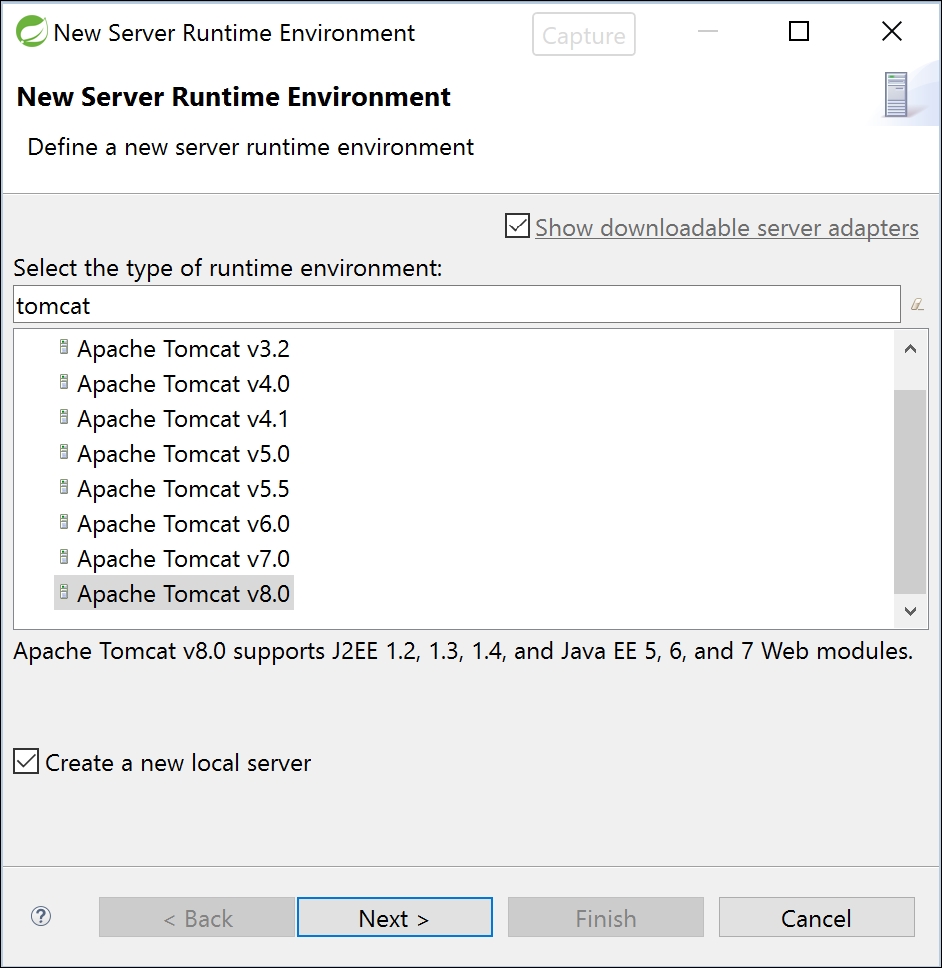
Selecting the server type during the Tomcat configuration on STS
- In the next window, click on the Browse button and locate Tomcat's installed directory, and then click on the OK button. You can find Tomcat's installed directory under
C:Program FilesApache Software FoundationTomcat 8.0if you have installed Tomcat in the default location. Then, click on the Finish button, as shown in the following screenshot: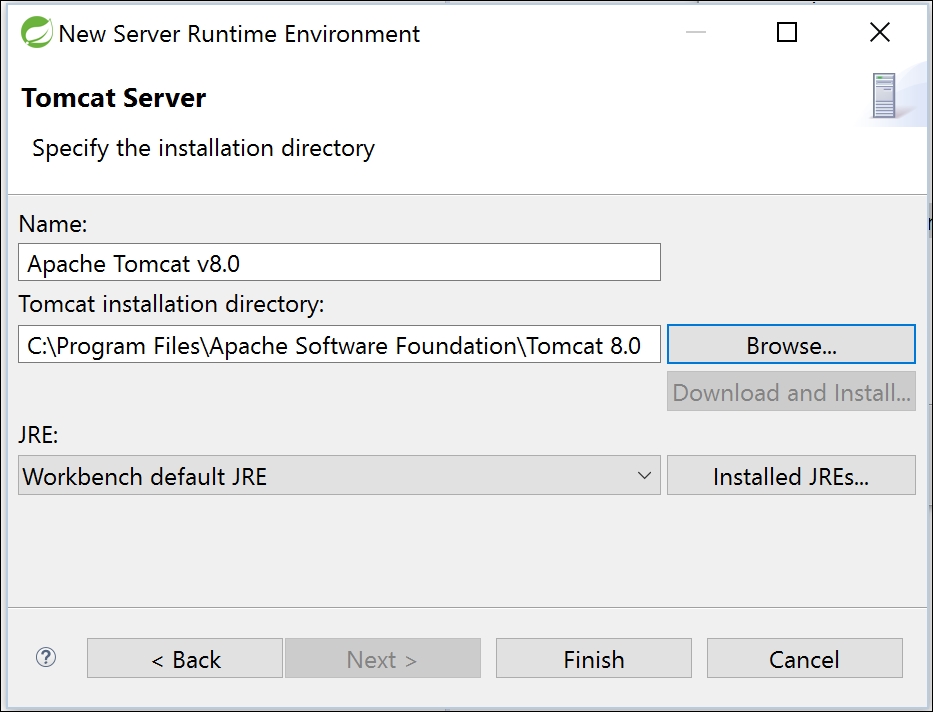
Selecting the Tomcat location during the Tomcat configuration on STS