2
Navigating Filmora’s Interface
In this chapter, we will learn about how to create new projects and where to find our pre-existing projects, how to navigate Filmora’s intuitive user interface, how to import and use pre-existing resources, and how to access advanced options.
It is important to pay attention during this chapter and go at your own pace, as these will be our basic building blocks and features that we will be using in a more advanced way later in this book.
In this chapter, we’re going to cover the following topics:
- Humble beginnings – creating a new project!
- What’s all this? – navigating Filmora’s interface
- Personalizing our project!
- Premium ingredients – an in-depth look at the media library
Humble beginnings – creating a new project!
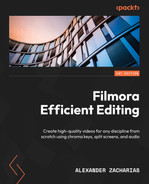
Upon opening our Filmora 11 software, we will be shown the introduction screen:
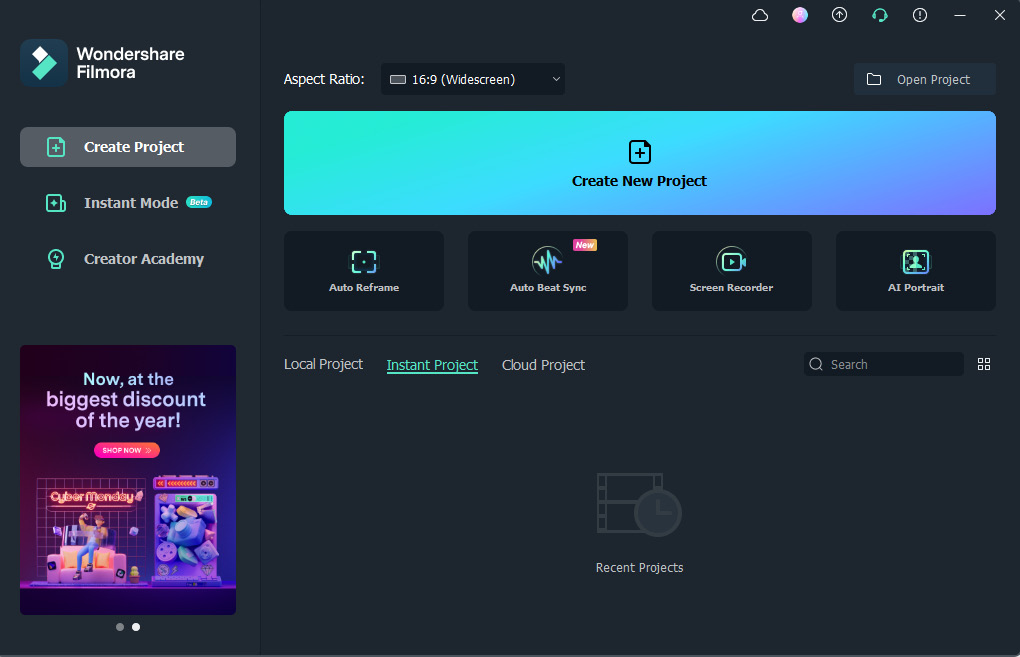
Figure 2.1: Wondershare Filmora 11 introductory screen
On this screen, you have a few options that will determine your workspace and this is also where you can find your pre-existing Filmora projects – but let’s start at the beginning and explain everything:
- Select Project Aspect Ratio: On the top left-hand side of our newly opened window, we can find a dropdown in which we can change the aspect ratio of our projects depending on what type of video we want to create or our target social media platform
- The New Project button: Below our aspect ratio dropdown, we will find a self-explanatory button that we can click to create a new project
- The Open Project button: Another self-explanatory button where we can open projects located on our system, USB, or external hard drive
- The Support Center button: In the top right-hand corner, we have a blue button in the shape of a headset that we can click, and it will open up the support center web page in our default browser whenever we need technical assistance.
- The Online Info button: On the right-hand side of the Support Center button, we have our information button, which we can click and it will open up the Filmora 11 guide for quick reference.
- Project library: Lastly, on the right-hand side, we have our project library with a search bar where we can find all our recently created and edited projects for quick and easy access.
For our current purposes, we should leave our aspect ratio to the default, 16:9 (Widescreen), and click on the New Project button to get started!
What’s all this? – Navigating Filmora’s Interface
After clicking on the New Project button, you will be faced with the following screen:
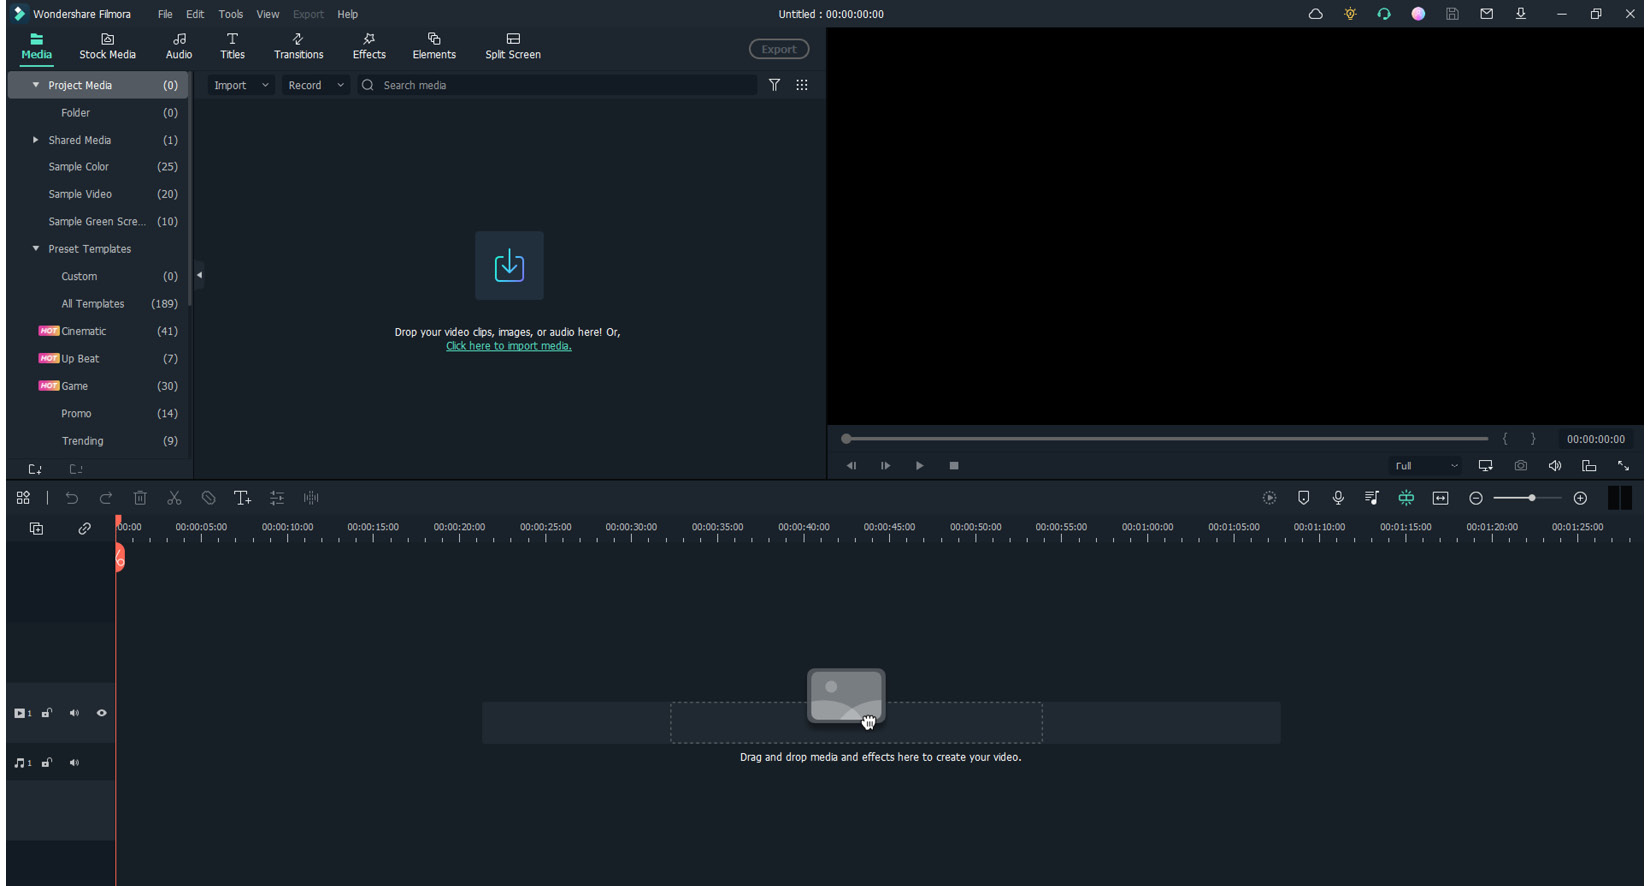
Figure 2.2: The Wondershare Filmora 11 user interface
Now, I know you may be looking at this and thinking to yourself, “this looks extremely complicated and confusing," please trust me when I say it’s the opposite! It’s very easy to understand and even easier to use, but I know that you might need a little persuading, so what we’ll do is go through every single thing we can see here one by one in detail in this chapter and the next chapter.
First, we have our generic software menus: File, Edit, Tools, Export, and Help. These work exactly as you’d expect them to across all other software except for very few exceptions, which we will get to once we need them!
Figure 2.3: The menus in Wondershare Filmora 11
At the top left, we have our media library where we keep our resources; at the top right is our preview panel where we can (well…) preview our video; and on the bottom half of the screen, we have our timeline, which is the most important feature. We’ll be looking at the timeline in depth in the next chapter, along with the preview panel.
Now that we have understood our interface, let’s see how we can personalize our interface based on our needs.
Personalizing our project!
Now, it’s time to personalize Filmora 11 to increase our productivity using the Preferences menu. Personally, I use the default preferences, but I will show you how to customize them in case you choose to change them.
From the top menu, you can click File and then Preferences to open the preferences window:

Figure 2.4: The File menu

Figure 2.5: The General tab of the Preferences window
We have five categories inside the preferences window: General, Folders, Editing, Save, and Performance. We will go through each category to make sure you know how to change these options if you so wish to:
- We will start with the General tab. In this category, you can change the language and appearance (dark mode is the default appearance) and check how often to check for updates – those are pretty much the important things you need to know for this category.
- Next up, we have the Folders tab where we can choose where our different media resources are saved.
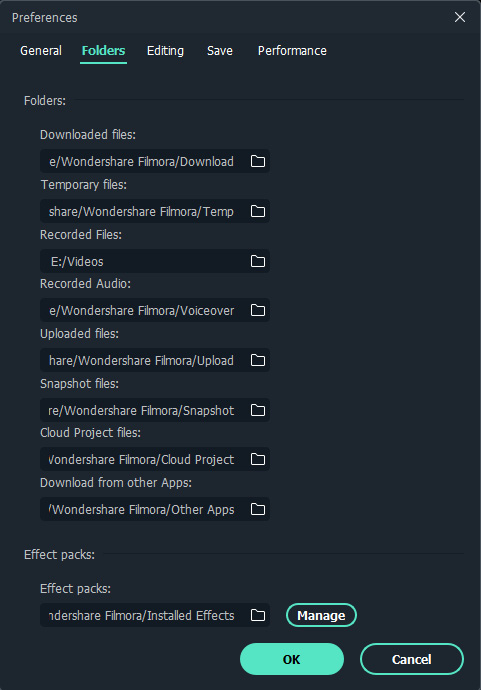
Figure 2.6: The Folders tab in the Preferences window
- The third category is the Editing tab where we can adjust the parameters for our editing tools, which we will learn more about in Chapter 3, Adding Our Source Material, Using the Timeline, and Creating Our First Project.
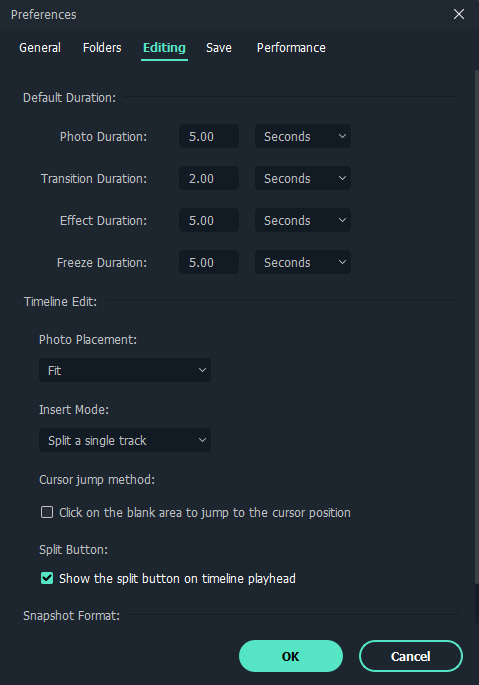
Figure 2.7: The Editing tab in the Preferences window
- Next, we have the Save tab where we can choose where to save our projects and backups and set how much time should pass before our project is backed up. My advice is to keep it at five minutes or less, as if you leave it too long, you may lose data if anything happens to the software.

Figure 2.8: The Save tab in the Preferences window
- And finally, we have our Performance tab where we can enable GPU acceleration to make the video rendering faster, and enable background rendering, which will allow us to render whilst editing. I personally wouldn’t recommend background rendering, as it makes Filmora 11 run a bit slower, and if we make a mistake and have to erase something, all the rendering for that part will have been for nothing.

Figure 2.9: The Performance tab in the Preferences window
Now that we’ve set up our workspace, it is time to learn the tools and libraries that we will be using very often on our video editing adventure!
Premium ingredients – an in-depth look at the media library
Our media library, as mentioned previously, is where we can store and select clips, audio, titles (text), transitions, effects, elements, and split-screen functionalities. The best thing about these menus is that they are very organized and it’s very easy to find what you’re looking for with ease:

Figure 2.10: The Filmora 11 resource libraries
The Media library
We will now look further into these resource libraries, starting with Media.
Upon clicking on Media, we will see a few folders called Project Media, Shared Media, Sample Colors, Sample Video, and Sample Green Screen. On the left- and the right-hand side, we will see a place where we can add and view resources:
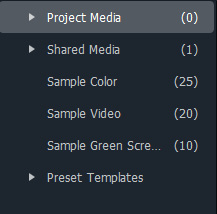
Figure 2.11: Media library folders in the Media panel
We will now find out what all these folders are.
Project Media
Here is where we can find all our imported media, edit our video, and record our voice or screen.
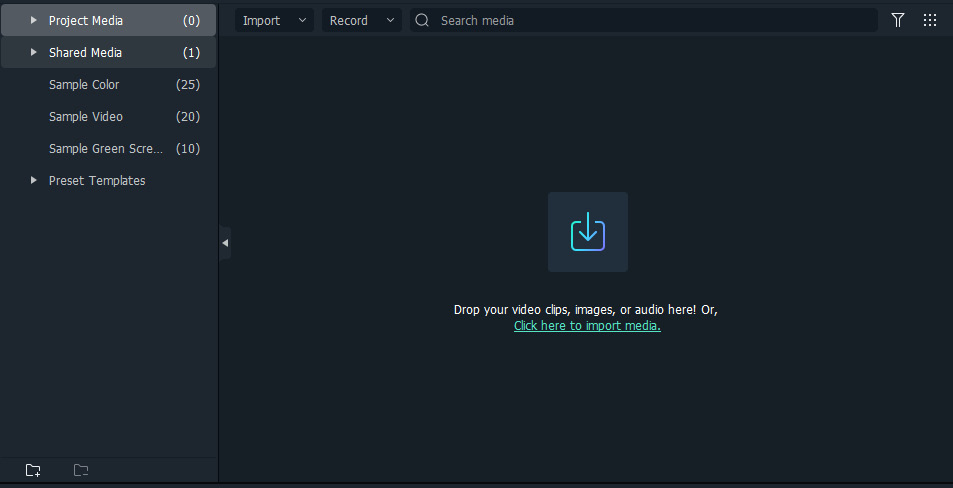
Figure 2.12: The Project Media folder in the Media panel in the media library
Shared Media
The second folder is the Shared Media folder, which is a folder where we can add resources to be able to access them throughout all our projects – both pre-existing ones and new ones:

Figure 2.13: The Shared Media folder in the Media panel
Sample Colors
In this folder, we can find high-quality color and gradient samples that will cover the entire background of our video, which is very handy for quickly setting up our prototype videos or placing them as placeholders:

Figure 2.14: Sample Colors in the Media panel
Sample Videos
The Sample Videos folder is similar to Sample Colors but instead, here we have videos that we can use for free in our own videos. In one of our projects, we will use some of these to create our videos:
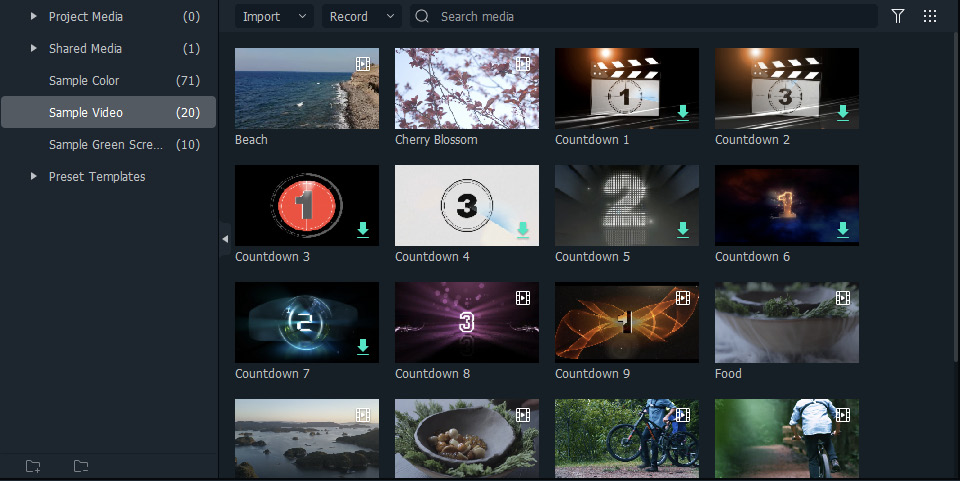
Figure 2.15: Sample Videos in the Media panel
Sample Green Screen
In the Sample Green Screen folder, we get a handful of green screen effects that we can add to our video for added effect. We will use most of these for our projects later in the book:
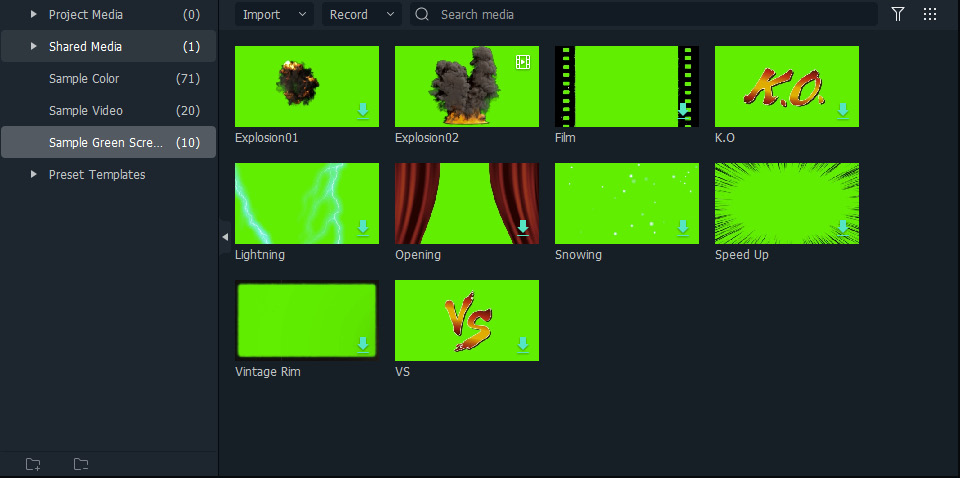
Figure 2.16: Sample Green Screen in the Media panel
The Audio library
The next resource menu we will be looking at is the Audio library. As mentioned beforehand, this includes audio that we can use for free and also includes any premium audio that we purchase from Filmstock:

Figure 2.17: The Audio library in the Media panel
Again, we will be using some of these audio clips in our projects later in this book.
The Titles library
In this Titles resource library, we can find different text formats and text animations that help us add text to our videos in the form of headers, openers, lower thirds, subtitles, end credits, plain text, and callouts. Some of these titles have innate animations that we can configure and personalize, and some are simple text.

Figure 2.18: The Titles library in the Media panel
The Transitions library
In the Transitions resource library, we can find exactly what it says – transitions. These are used to be able to easily and fluently change between video clips and are very important when making cuts, as we don’t want to disorientate the viewer or make our videos look badly edited:

Figure 2.19: The Effects library in the Media panel
The Effects library
Effects are mainly used to make our video more fun and engaging to watch. There are thousands of different effects out there and all video editors have them, but in my experience, Filmora 11 makes them extremely easy to use. Some of the effects we’ll be using later in this book from this menu include filters, overlays, LUTs (different color presets), and many more!

Figure 2.20: The Effects library in the Media panel
The Elements library
Elements are very similar to effects and we will be treating them as such in this book. The main difference is that elements are exactly that – small animation effects such as fireballs, explosions, sketches, and many more that we can add to spice up our videos and, just as with effects, make them more fun and engaging.
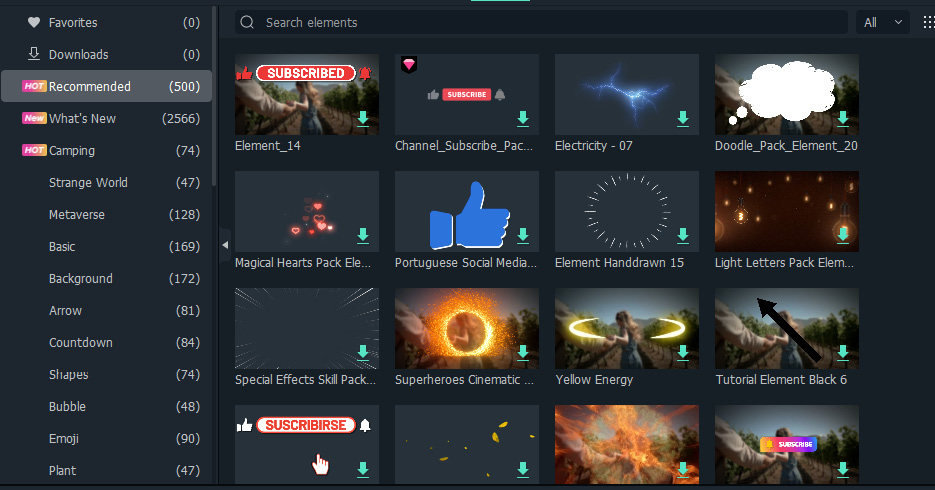
Figure 2.21: The Elements library in the Media panel
The Split Screen library
Split screens are a way to split our video into parts so that we can show many video clips at the same time. It’s a very handy tool that is very valuable to know and that we are going to use in our projects:
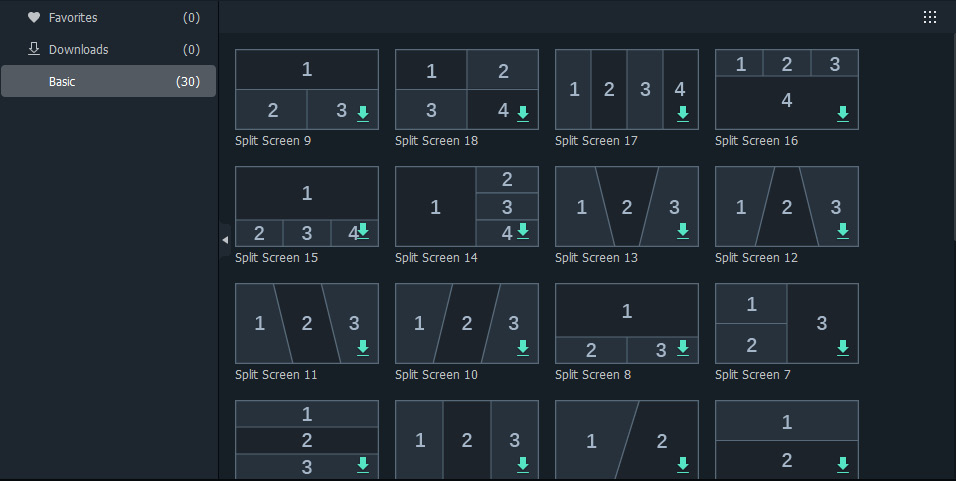
Figure 2.22: The Split Screen library in the Media panel
Summary
To summarize what we have learned in this chapter, we are now able to create and open projects, distinguish and locate the resources and libraries that we need to create our videos, and also start personalizing our interface to suit our needs and preferences!
In the following chapter, we will finish covering everything that we need to learn about the interface, which is the preview panel and timeline, and learn how to use the tools they come with by creating a small video using the resources given to us by Filmora!