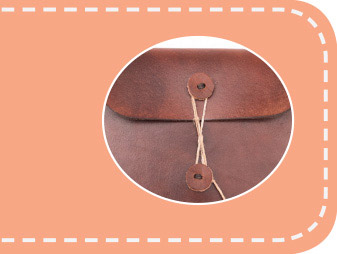
Laptop Sleeve
Laptops and tablets are made to travel, so they need a protective case. This leather sleeve template is designed to be customized for your particular model. It will fit like a glove and encase your sleek technology in tactile, hand-dyed leather. A simple string closure keeps everything secure.
Finished size
Varies, 6¼×8¼ inches (15.9×21cm) for an iPad mini
Materials
1 piece 4–5 ounce (1.6–2mm) vegetable-tanned leather approximately 2½ times the length and width of your device, for body (6¼×18½ inches [15.9×47cm] for an iPad mini)
1 piece 6–7 ounce (2.4–2.8mm) vegetable-tanned leather, 1×2 inches (2.5×5cm), for closure
Twine, for closure
Fiebing’s oil dye, dark brown
Fiebing’s Bag-Kote (gloss)
5-strand waxed nylon thread
Cement
Template
Laptop Sleeve (idiotsguides.com/leather)
Tools
Chipboard
Mechanical pencil
Precision knife
Cutting mat
Straightedge
Leather shears
Scissors
Clean rags
Latex gloves
Mallet
Makeup sponge
Spray bottle
Adjustable stitching groover
Single-prong pricking iron, 3/32 inch (0.2cm)
Multi-prong pricking iron, ⅛ inch (0.3cm)
Awl
2 harness needles, #00
Stitching horse
Round hole punch, 5/8 inch (1.6cm)
Techniques Used
Working with Templates
Cutting
Finishing Leather
Edge Finishing: Edge Dyeing
Punching: Using Hole Punches
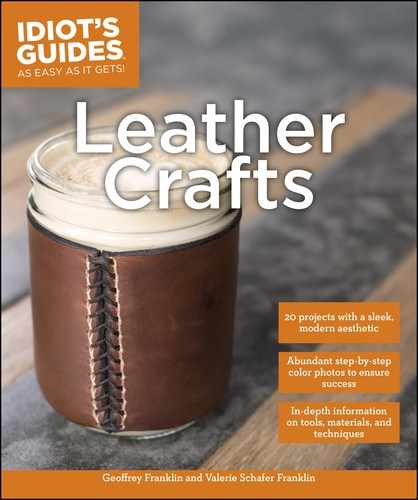
Hardware: Making a String Envelope Closure
Hand Stitching
Cementing
Shaping Leather: Folding
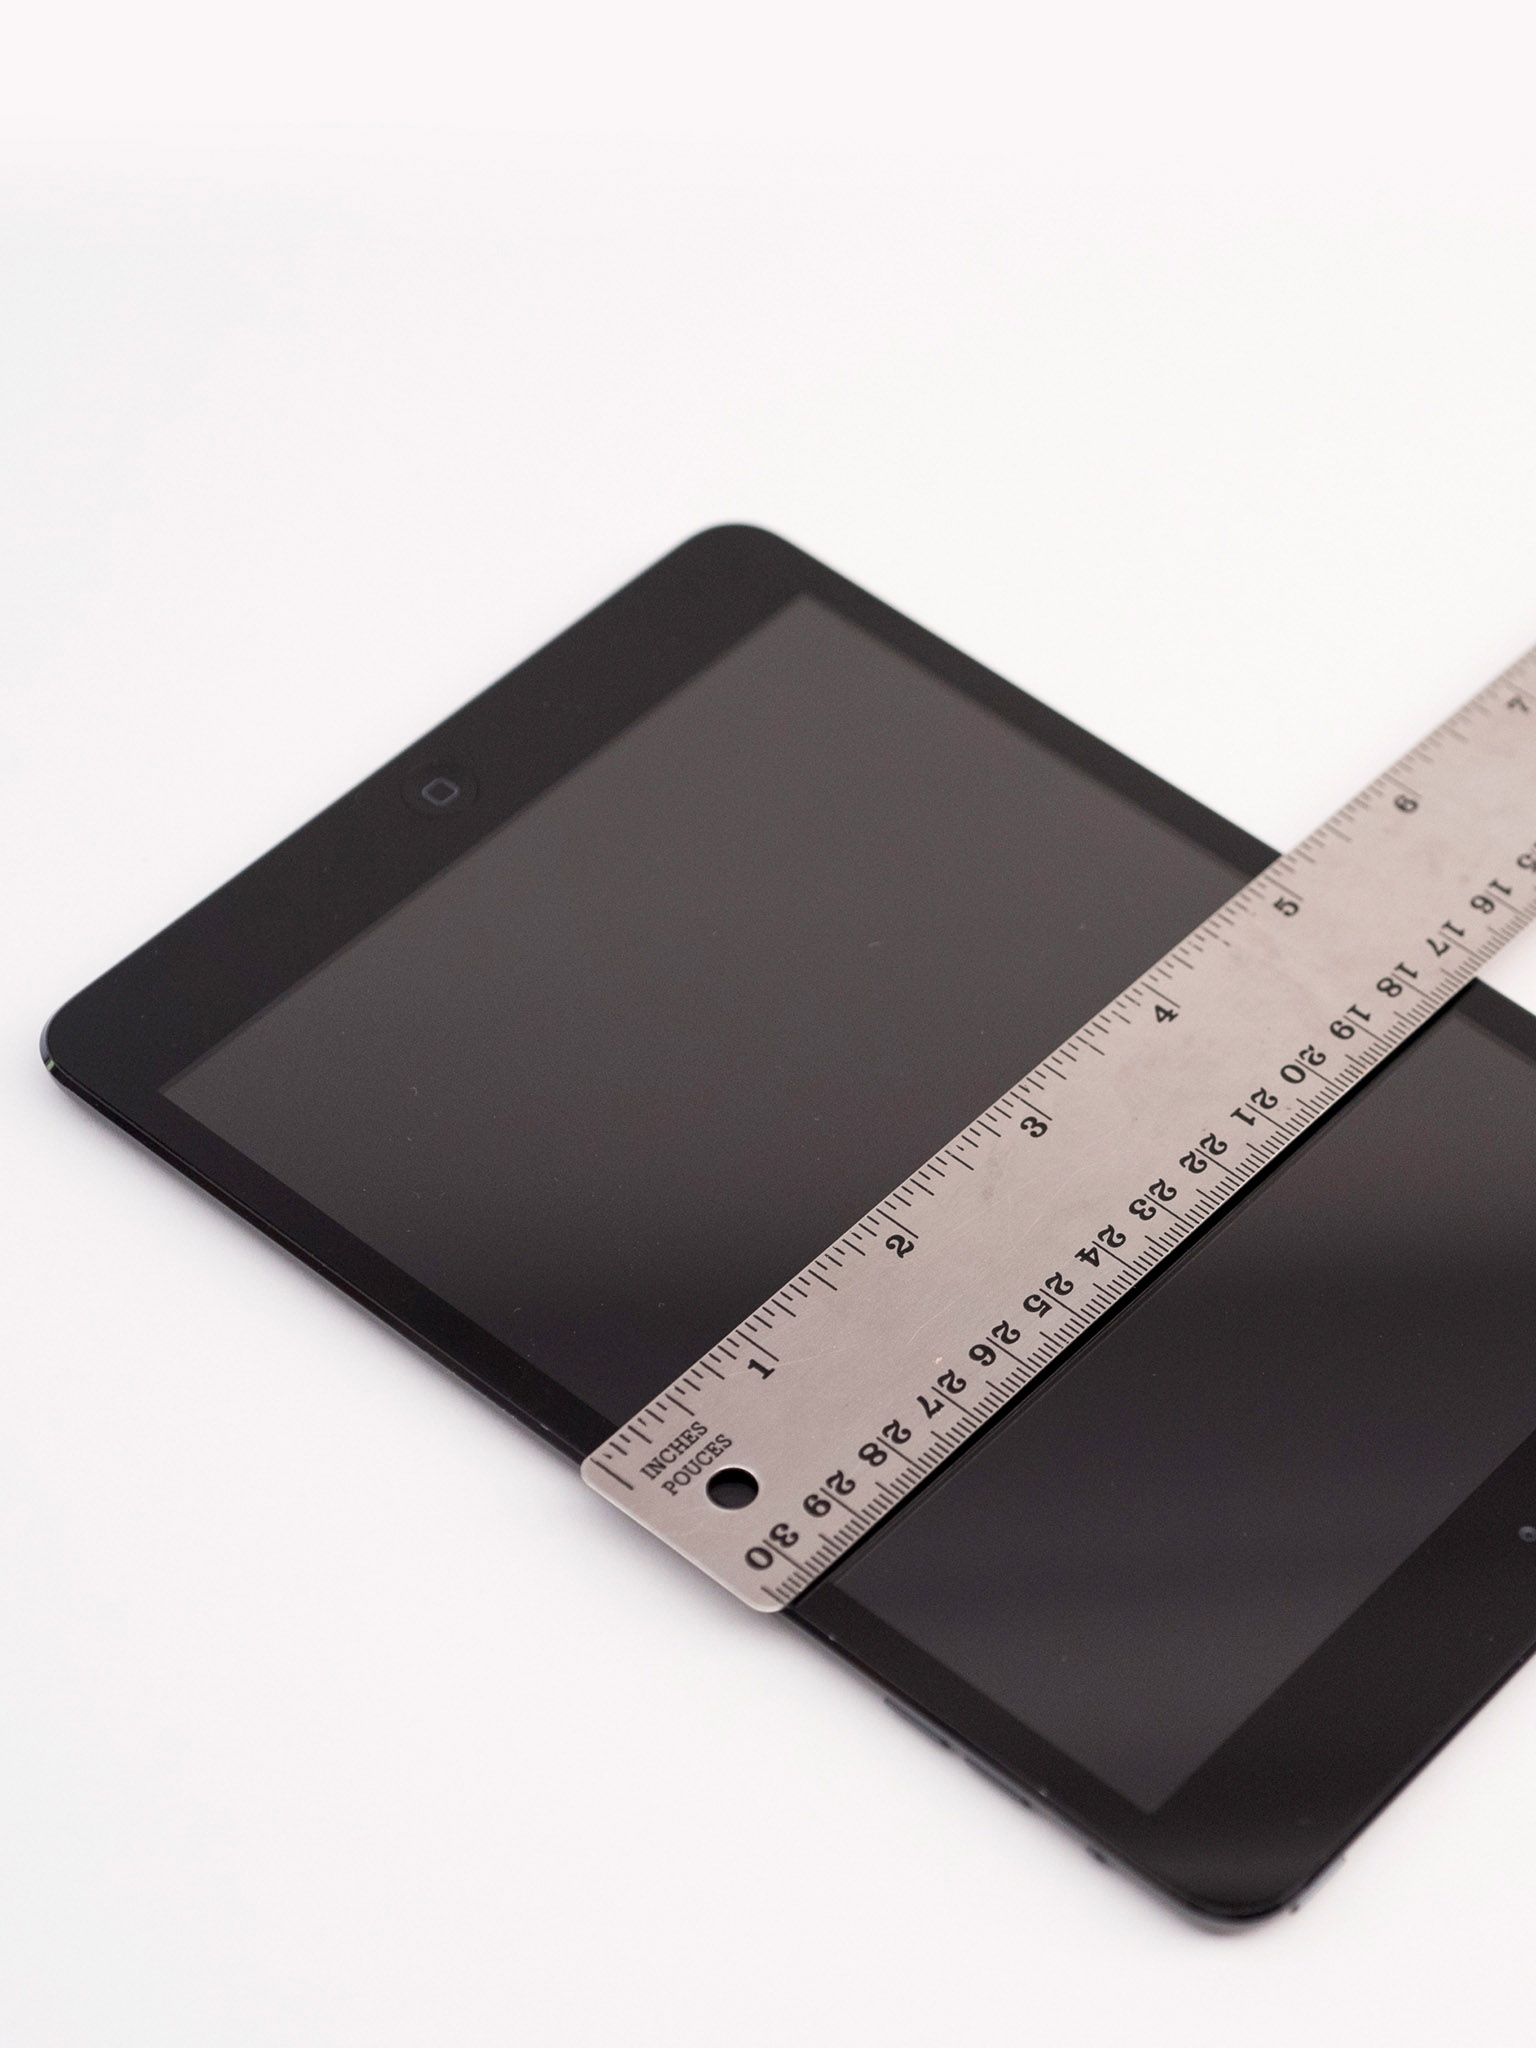
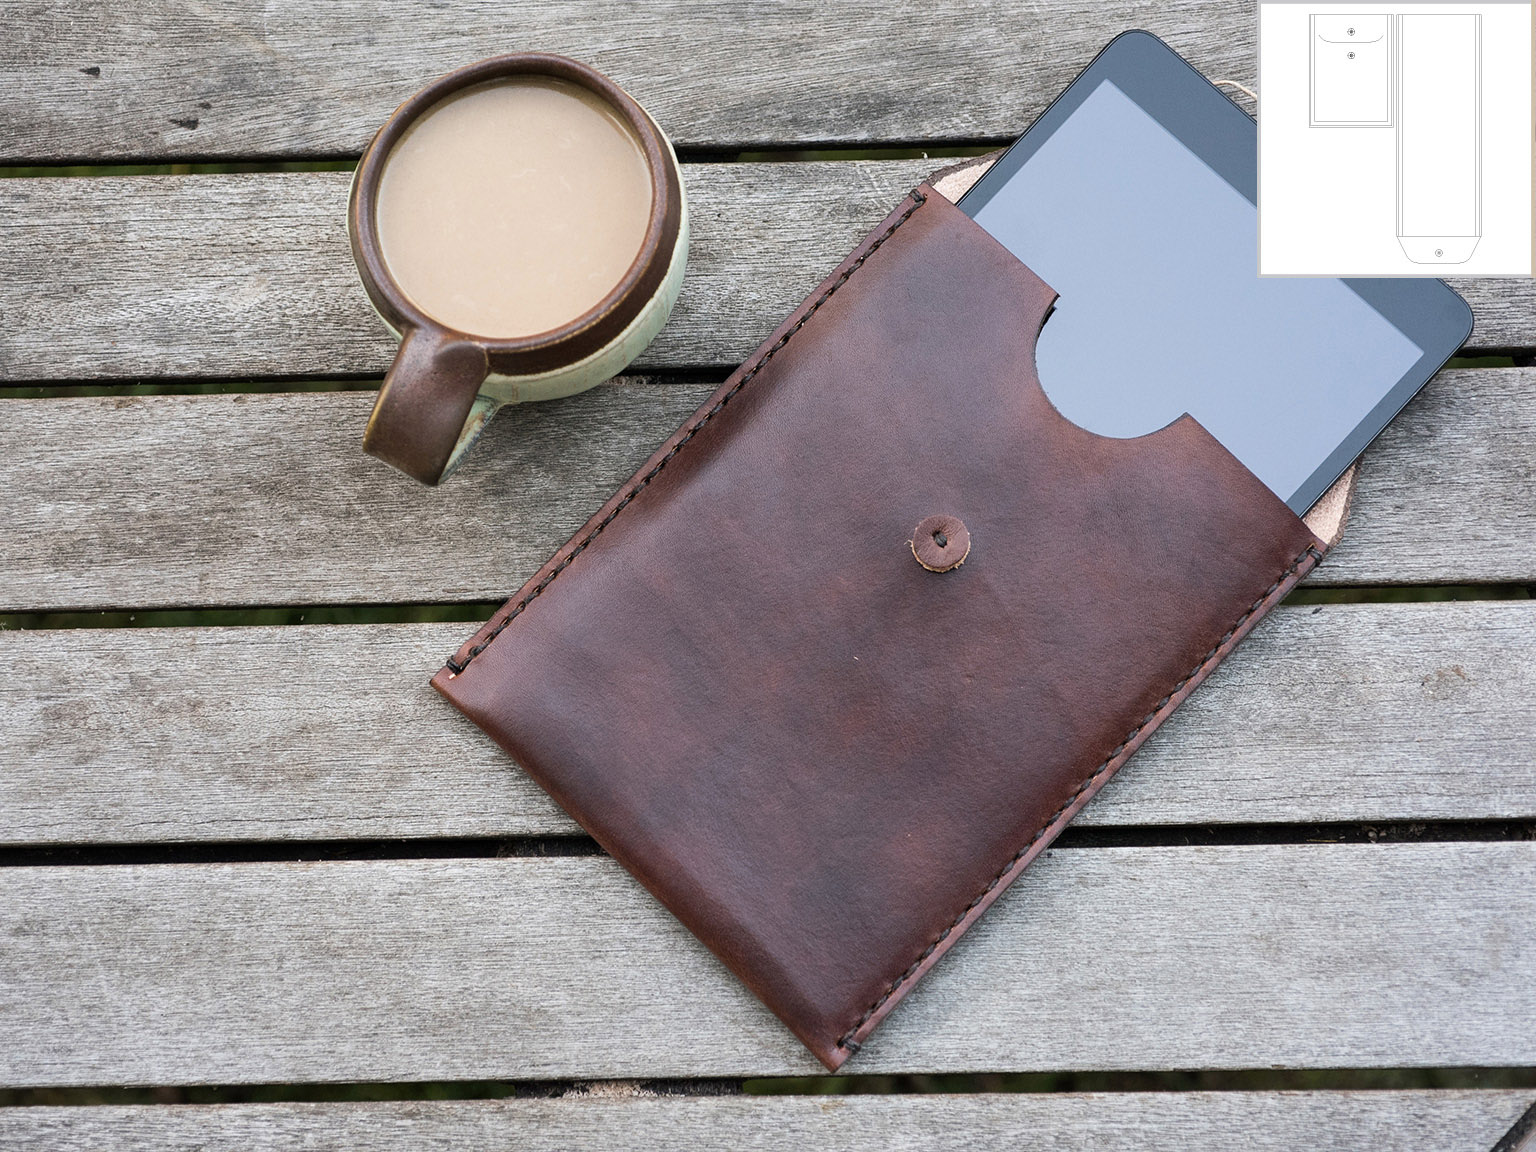
1 Adjust the template pattern. The template is designed for an iPad mini. To make a sleeve for a different device, first measure its length, width, and height. Using these measurements, revise the template for your device, as prompted on the template.

2 Prepare the template. Transfer the paper template pattern to chipboard. Cut out the chipboard using a precision knife and straightedge.

3 Trace and cut the project. Using a mechanical pencil, trace the chipboard template onto the large piece of leather. Cut along the traced lines, using the precision knife and straightedge for straight edges and leather shears for curved edges.

4 Dye the edges. Using a makeup sponge, carefully apply the oil dye to the edges of the cut leather piece.
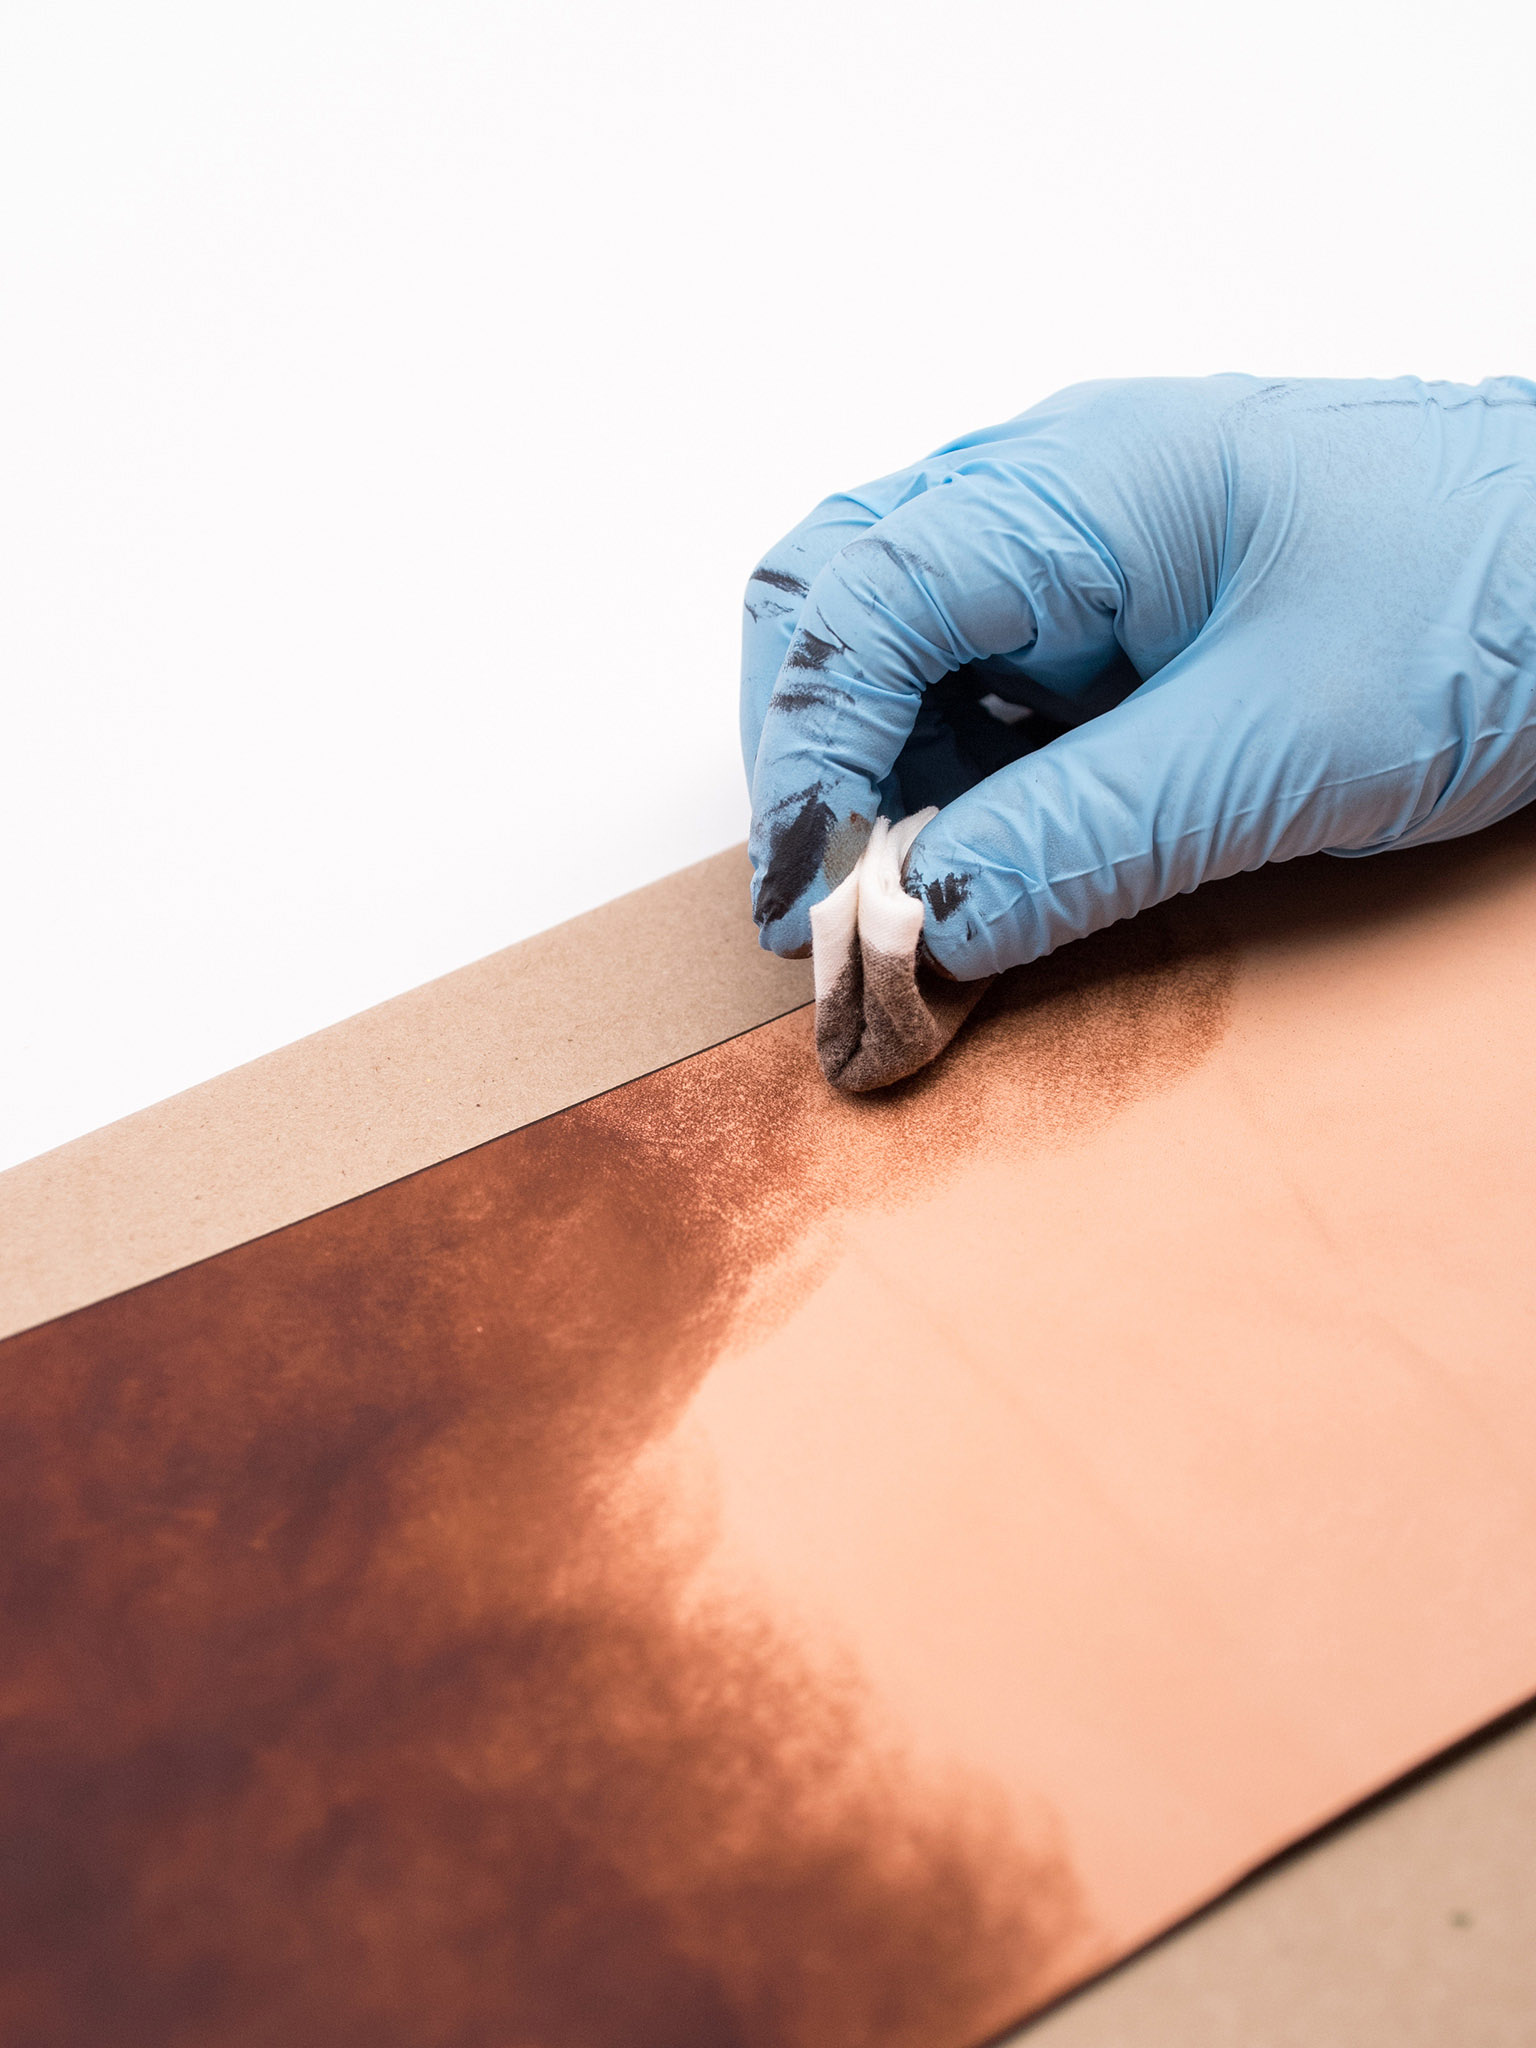
5 Dye the surface. Using a clean rag, rub oil dye over the front surface of the large piece of leather as well as the small piece of 6–7 ounce (2.4–2.8mm) vegetable-tanned leather. Allow enough time to dry—at least an hour—before proceeding to the next step.

6 Gloss the surface. Using a clean rag, rub gloss over the front surface to finish and protect the leather. Allow enough time to dry—at least six hours or overnight— before proceeding to the next step.
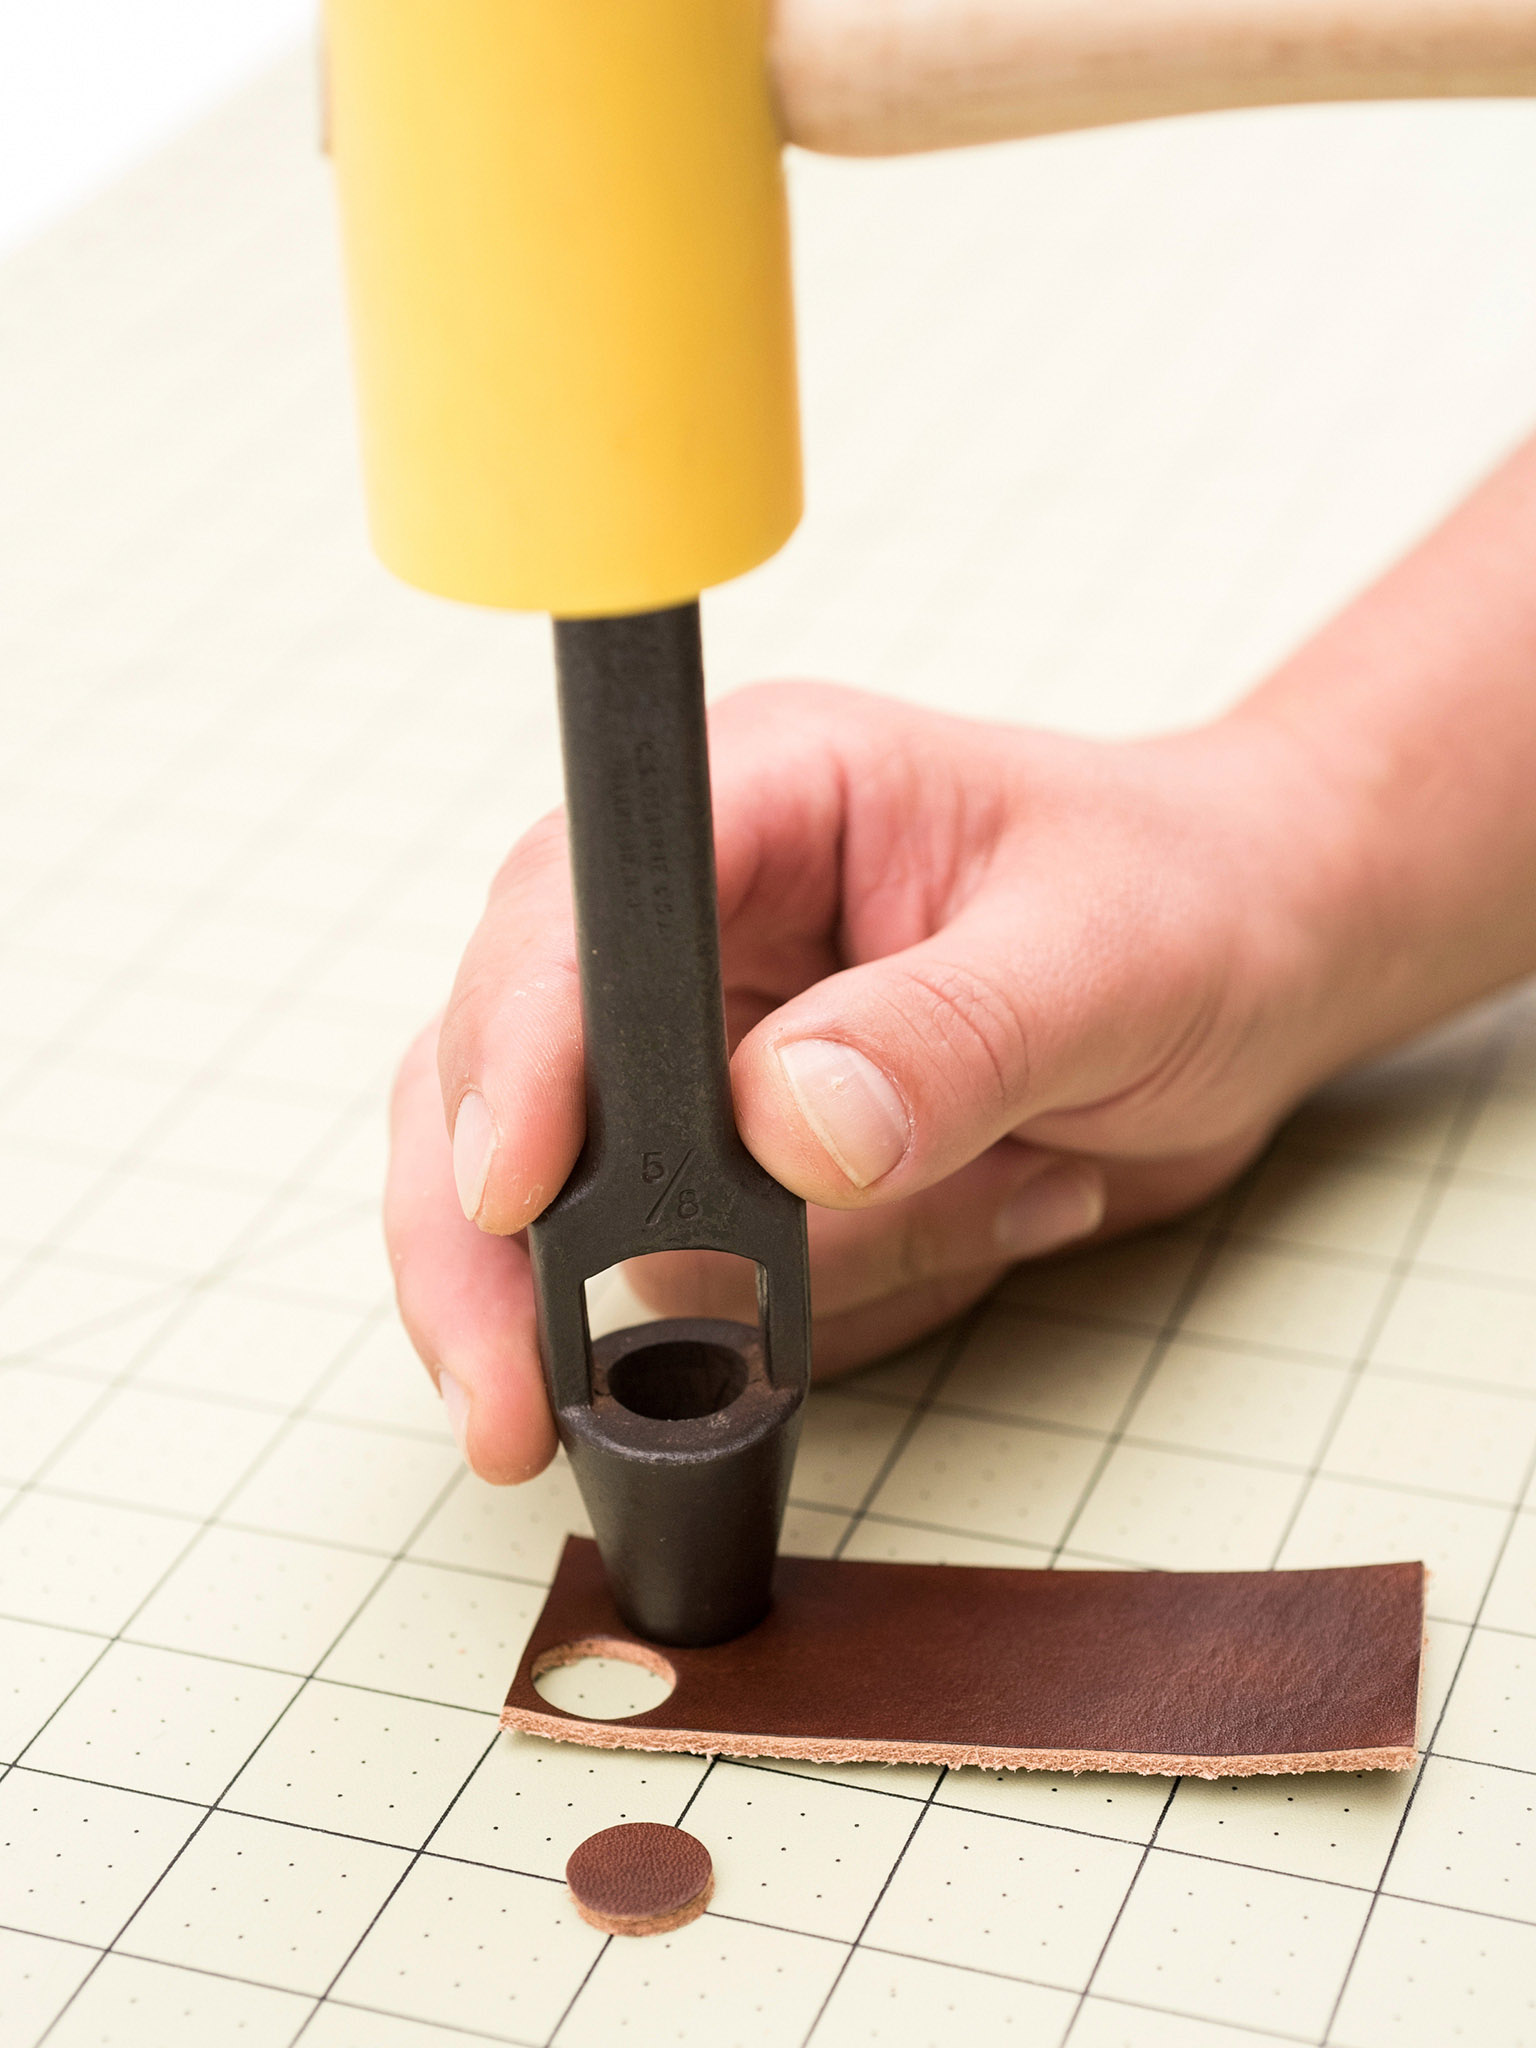
7 Make the string closure buttons. Punch two rounds in the 6–7 ounce (2.4–2.8mm) vegetable-tanned leather using the 5/8-inch (1.6cm) round hole punch.

8 Mark the string closure stitch holes. Using an awl, mark the locations of the string closure stitch holes on the main body and on the rounds from Step 7, as shown on the template.

9 Punch the string closure holes. Using the single-prong pricking iron, punch the string closure holes where marked on the rounds and the main body.

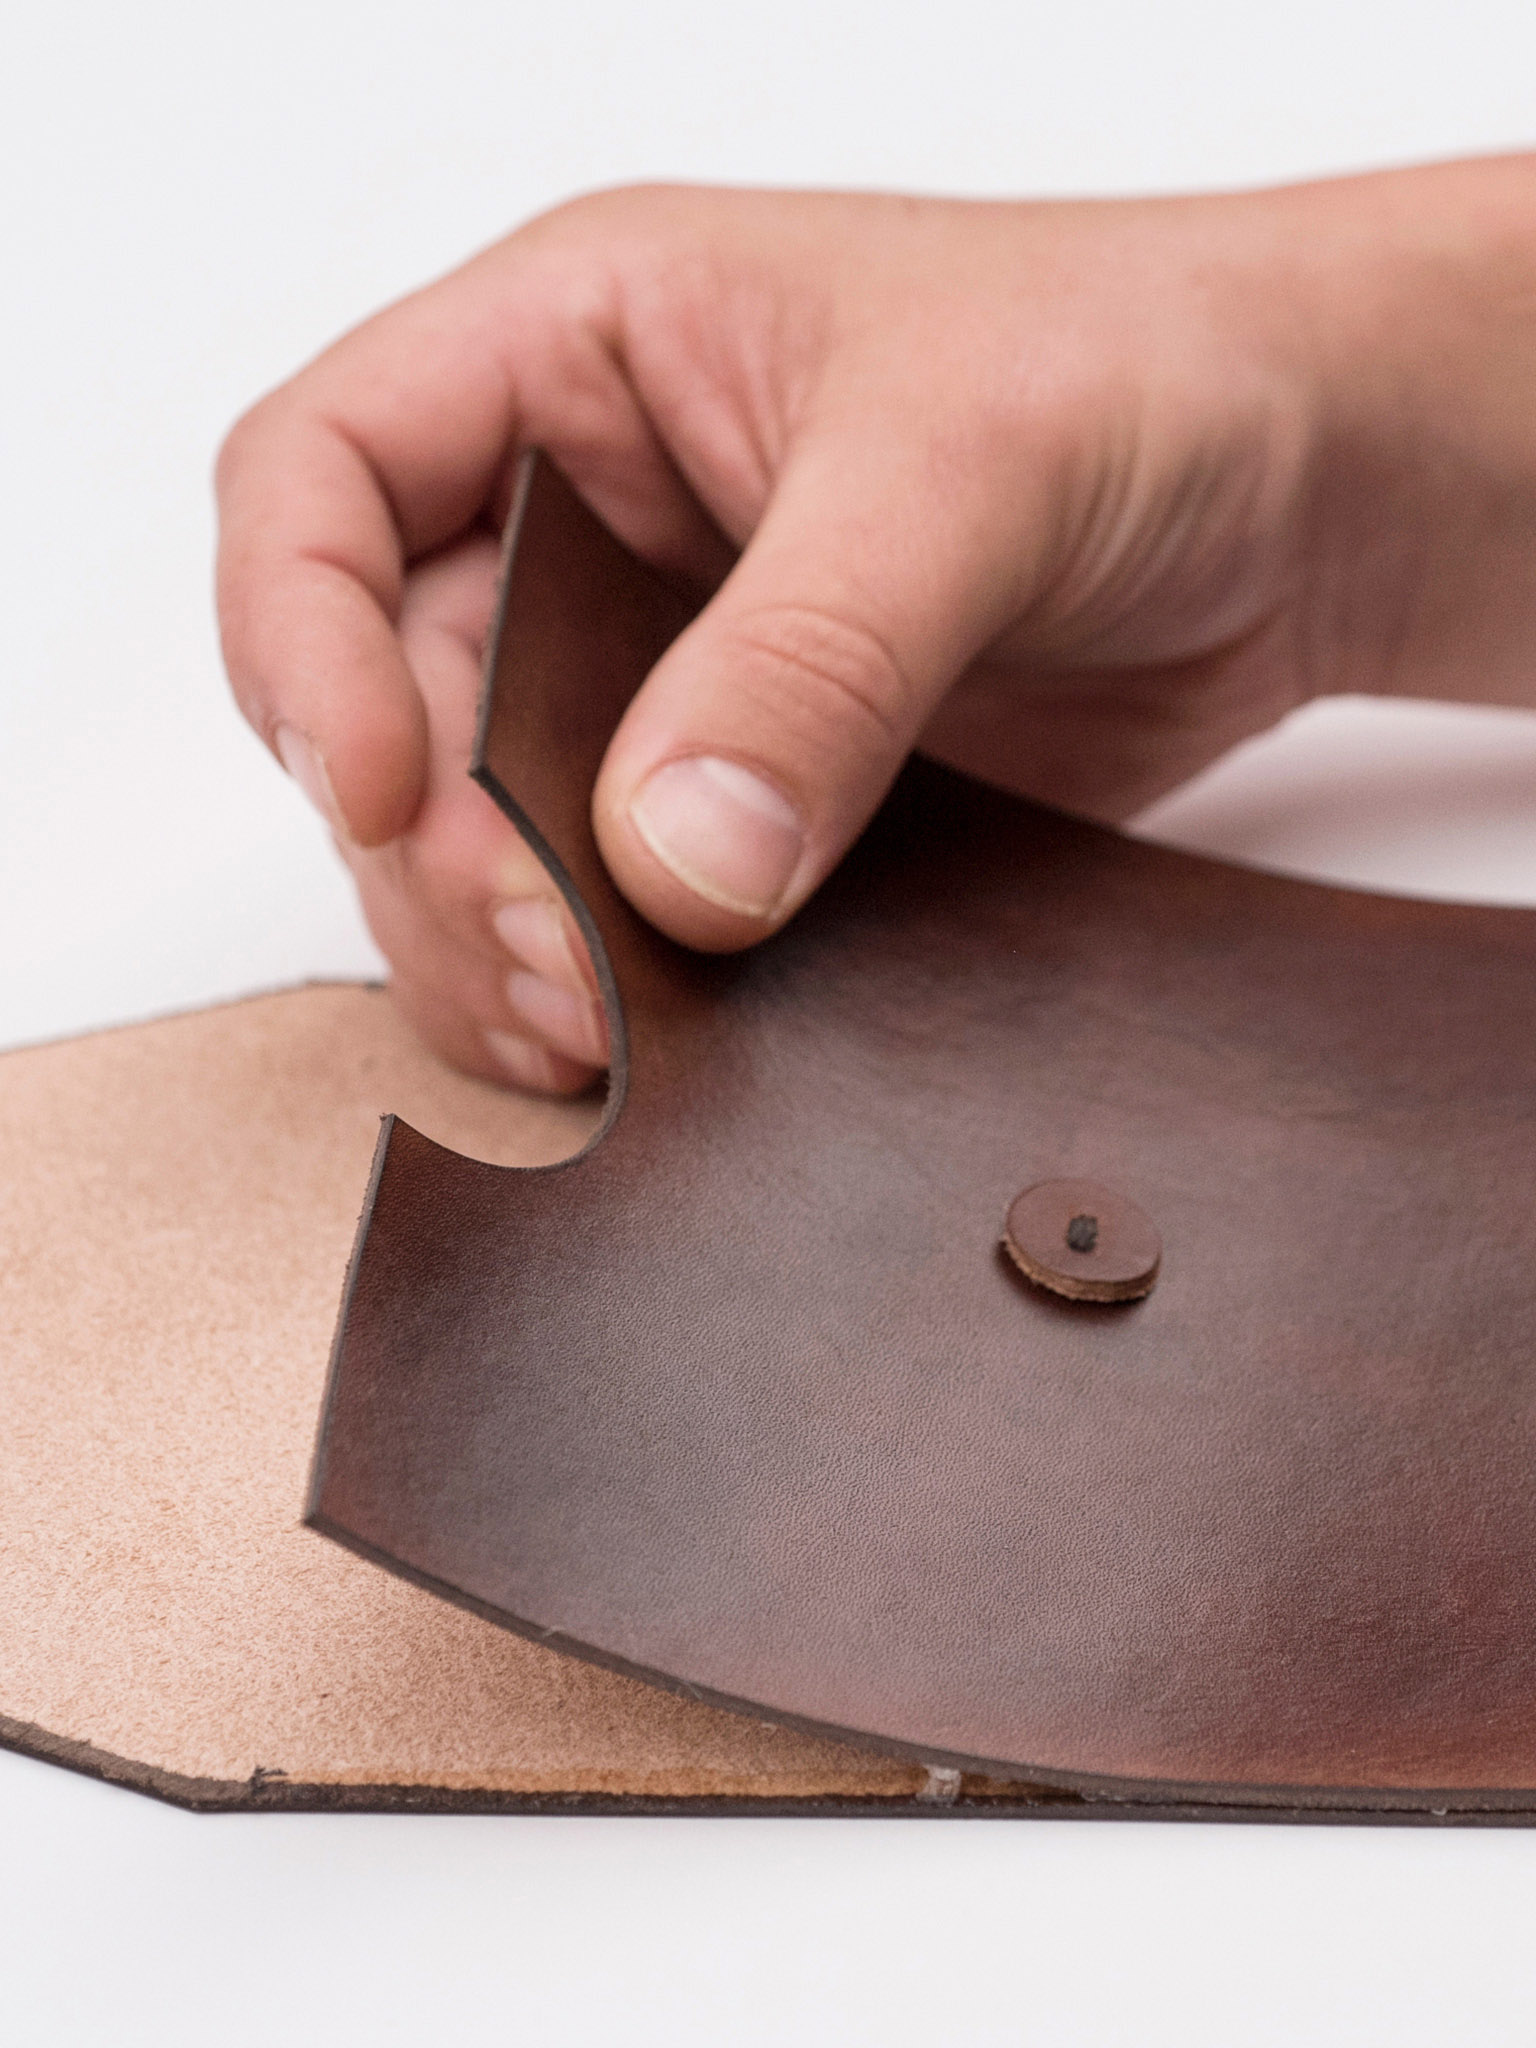
10 Stitch the string closure buttons. Stitch the rounds from Step 7 to the top flap and project body using a saddle stitch.

11 Mark the fold line. With the project rough side up, mark the fold line with a mechanical pencil, as shown on the template. Gently fold the leather and make a small mark at the top of the edge.
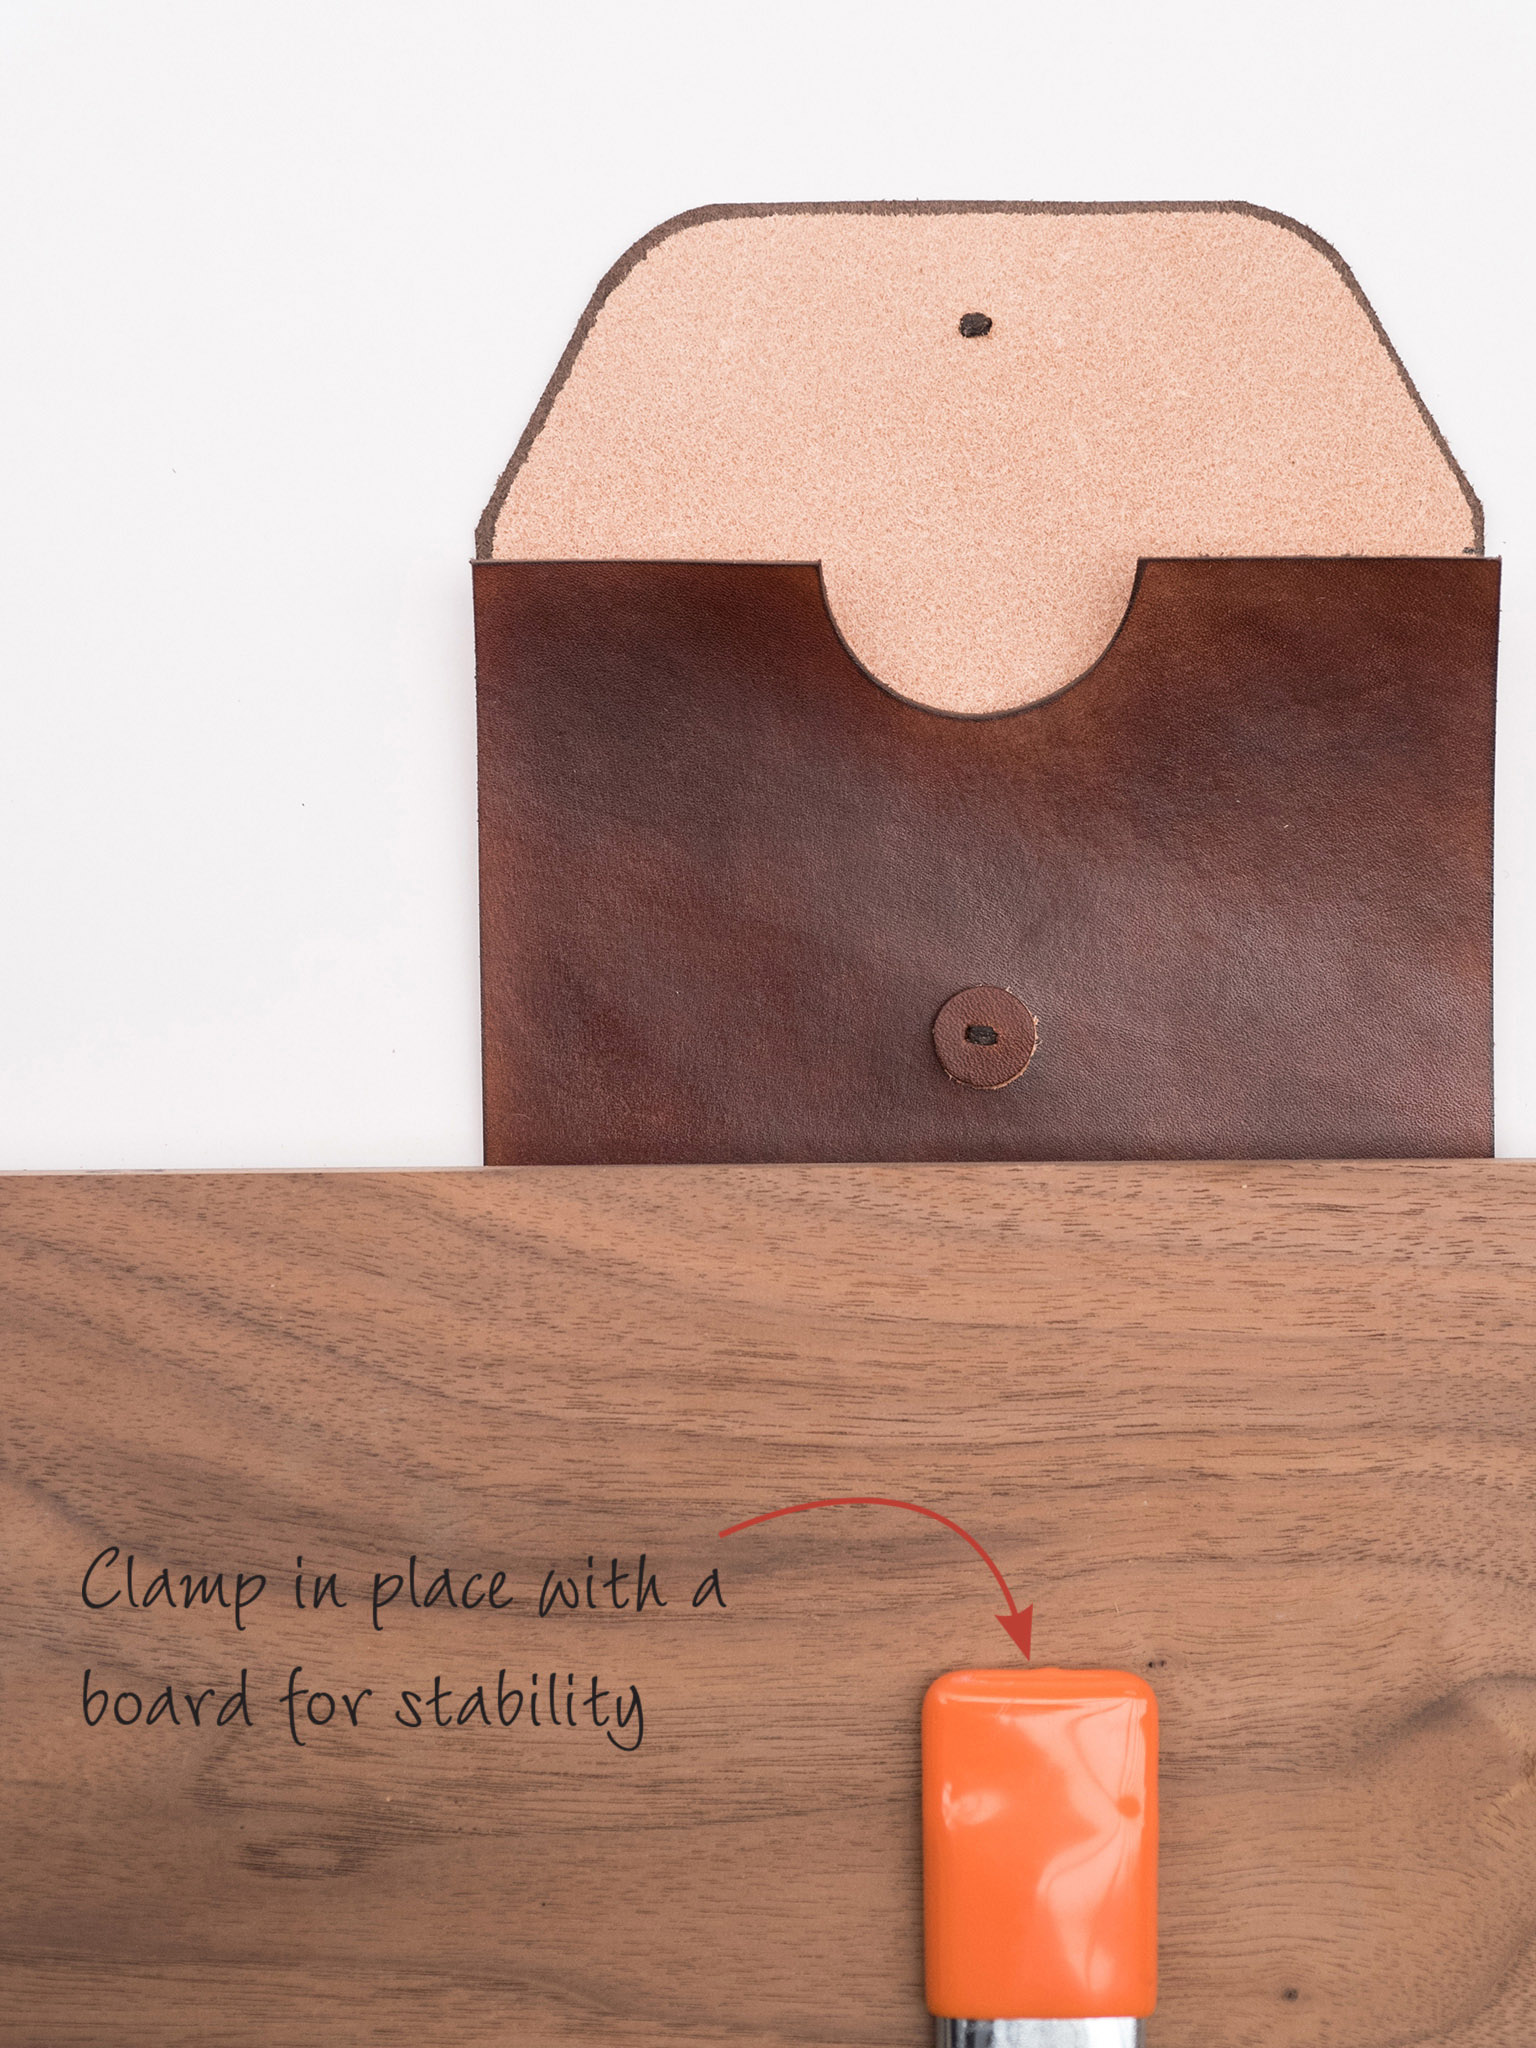
12 Fold the leather and dry. Mist the rough side of the leather at the fold line, fold, and clamp. Allow to dry at least an hour.

13 Cement the sides. Apply a thin coat of cement ⅛ inch (0.3 cm) wide to the long edges on the rough side of the leather, up to the mark made in Step 11. Allow the cement to dry approximately 30 seconds before proceeding to the next step.
14 Fold and dry the cement. Fold the leather in half lengthwise at the fold line, paying careful attention to line up the edges flush with each other. Hold for a few seconds and place under a book or heavy object to dry for at least 5 to 10 minutes.
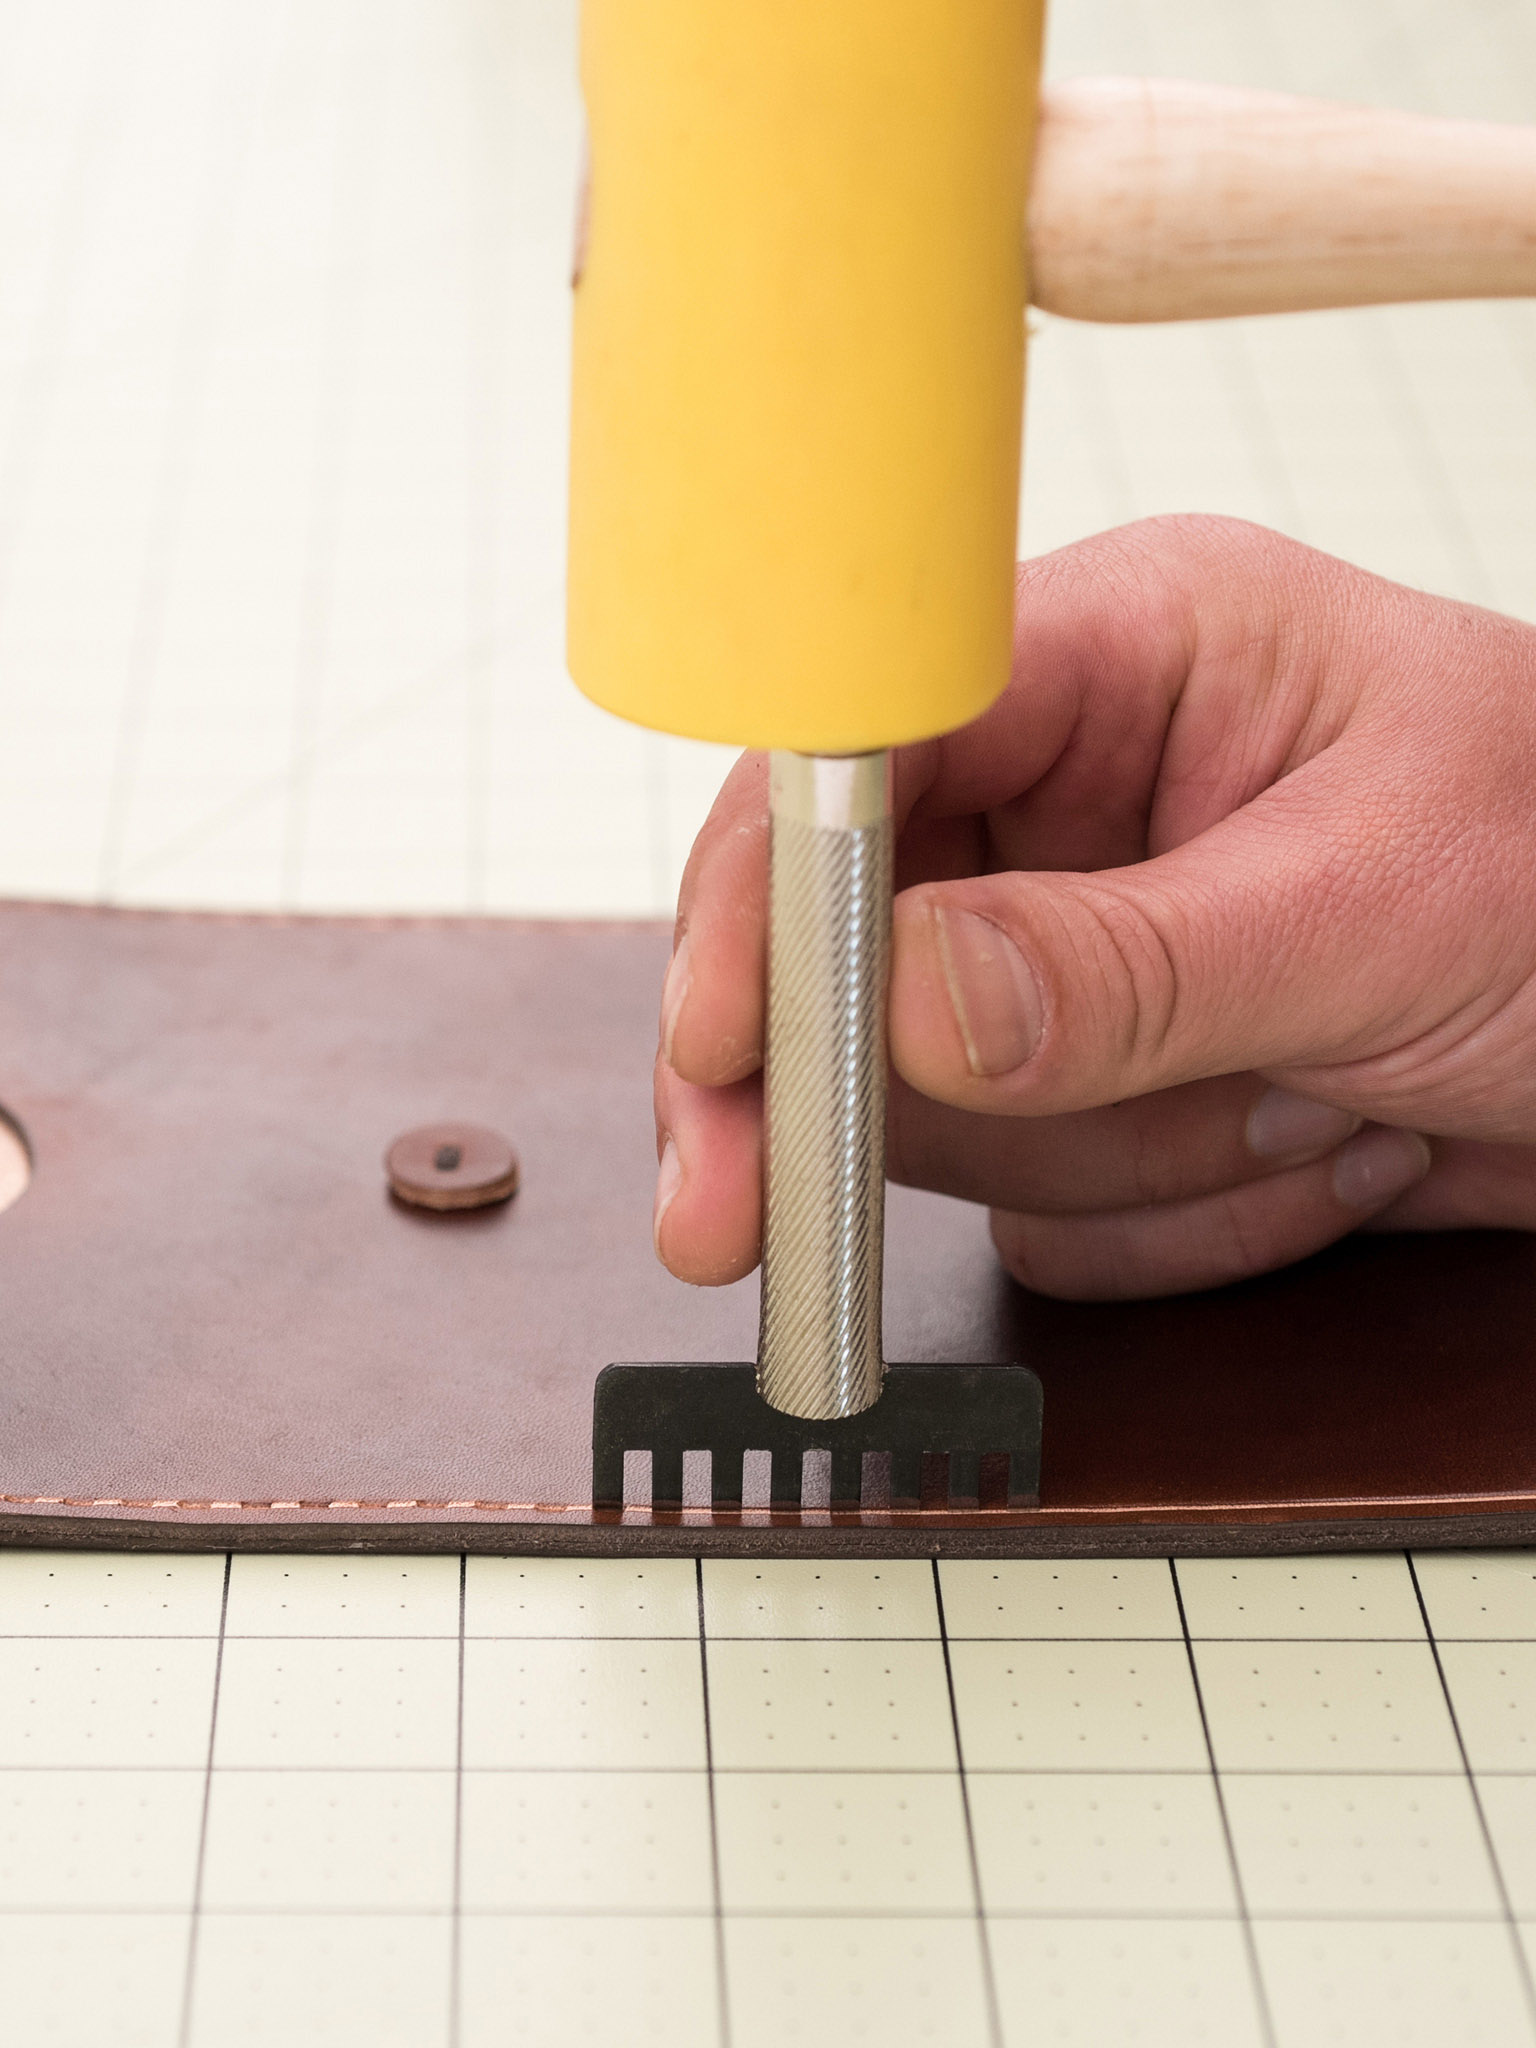
15 Prepare the Project for stitching. Using first the stitching groover and then the pricking iron, punch the stitch holes evenly along the long edges, where cemented.

16 Position the project for stitching. Place the project in the stitching horse and open each stitch hole with the awl.
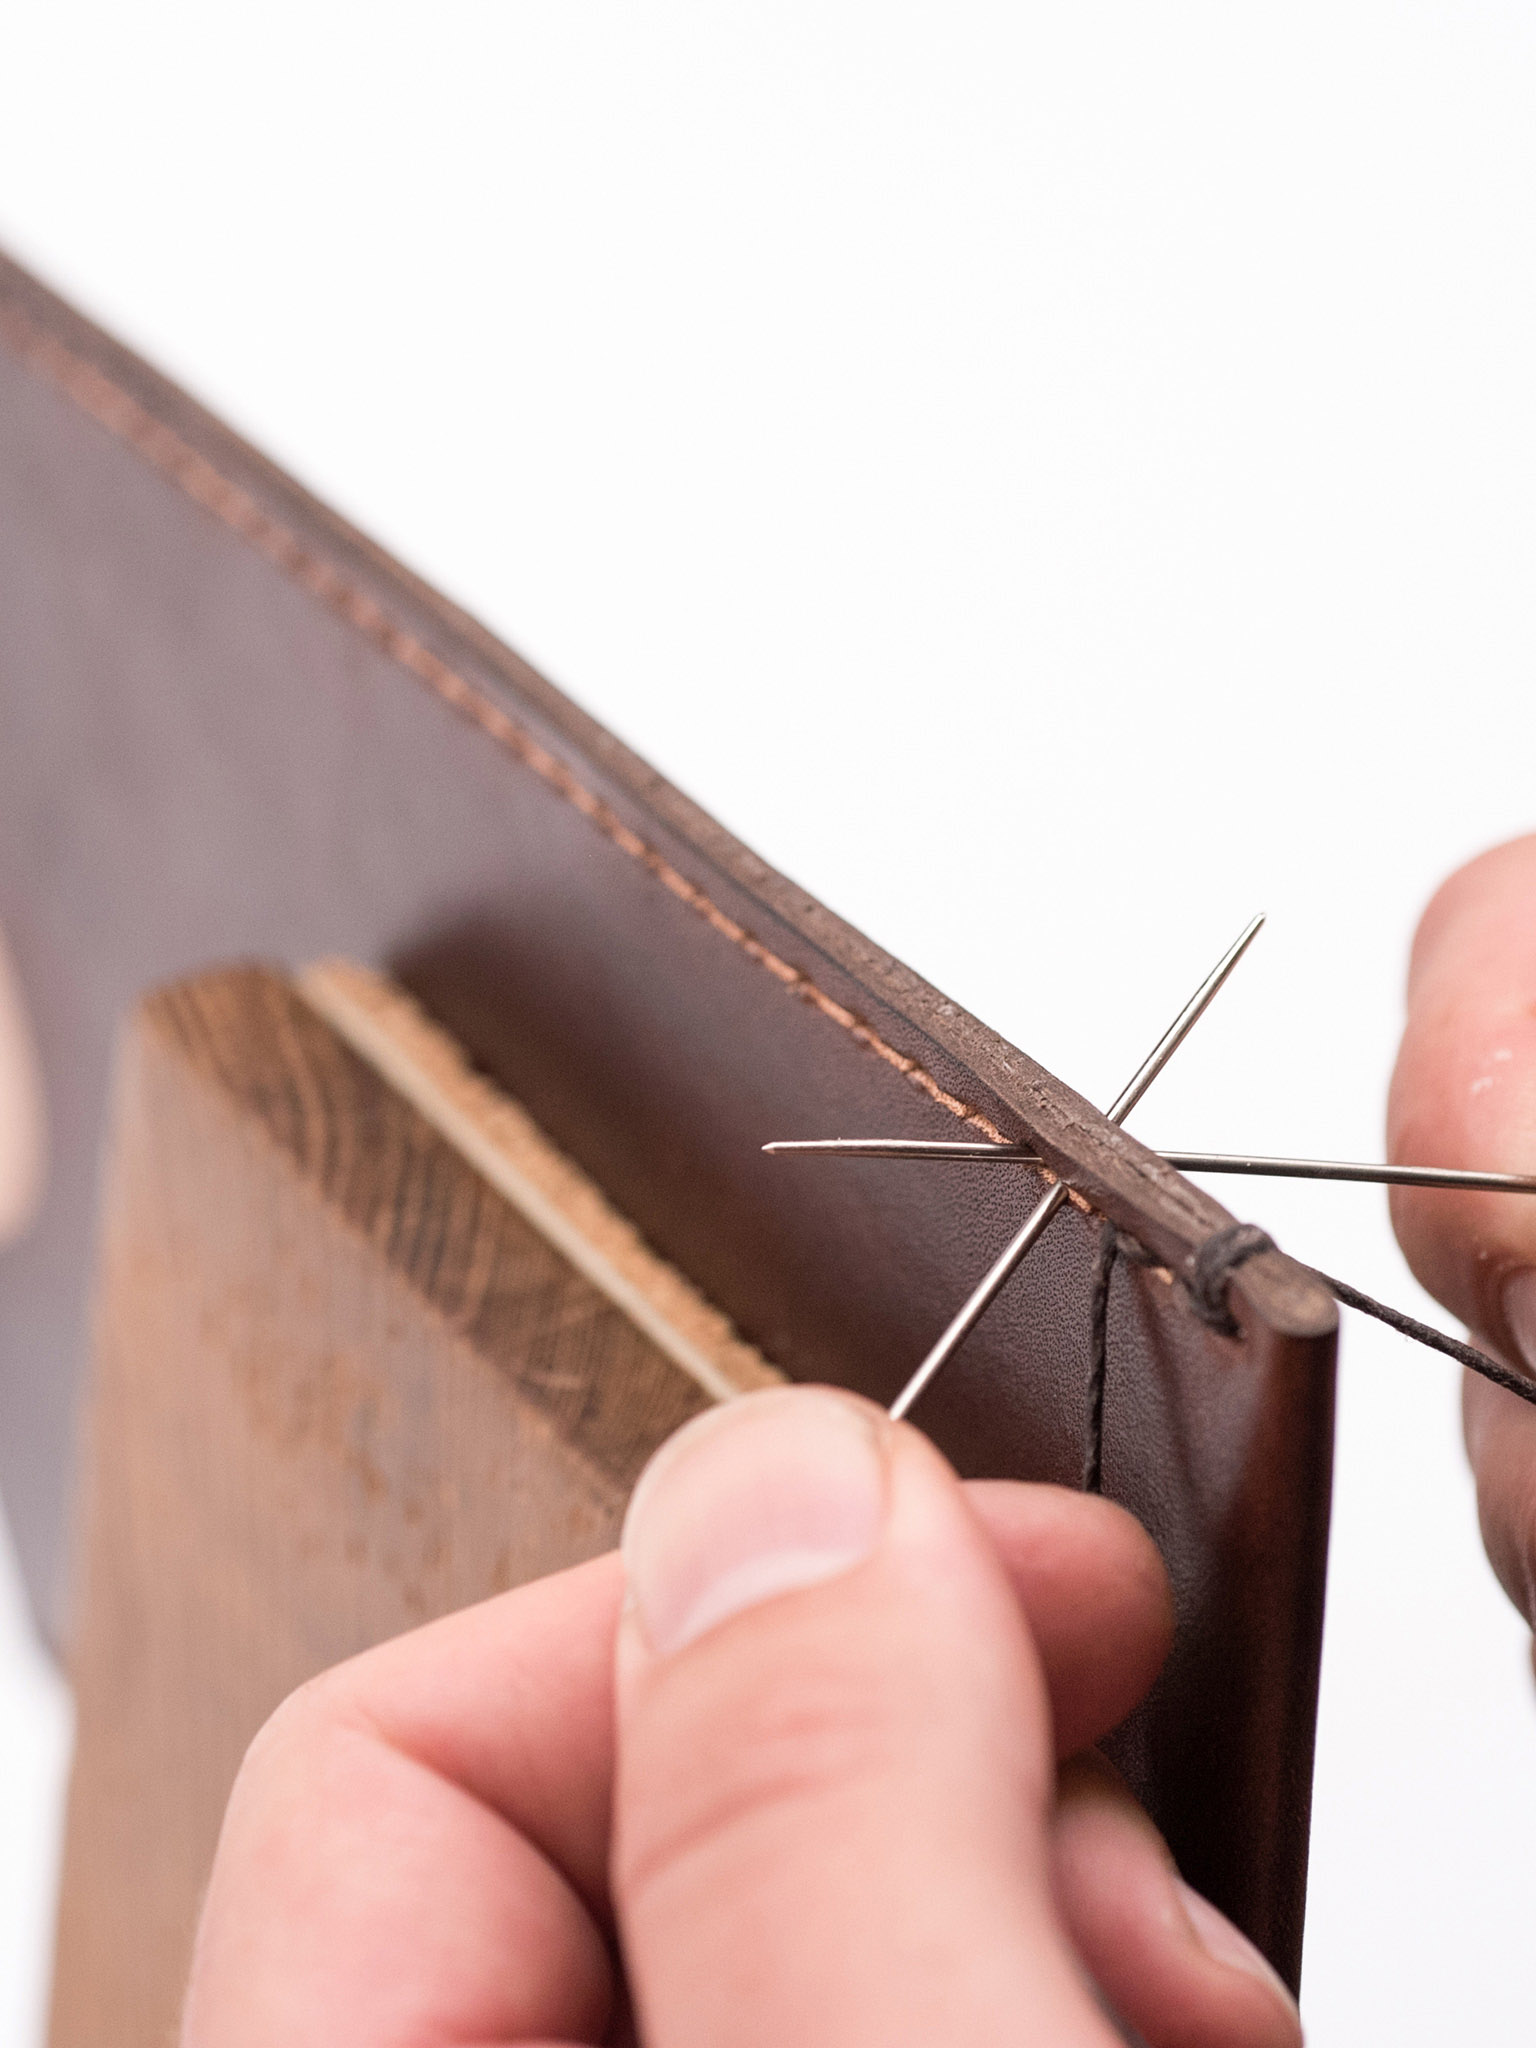
17 Stitch up the sides. Using a saddle stitch, sew the cemented sides of the project from the fold line to the top flap and tie off.

18 Assemble the closure. Using the scissors, cut a length of twine approximately three to four times the length of the space between the two string closure buttons. Tie one end of the string to the leather button on the flap using a standard double knot.