
Coaster Box
This round box is designed to keep your Drink Coasters neatly organized, but you can also use it to store keepsakes. It’s made from the same vegetable-tanned leather as the coasters and introduces a new stitching technique. The box makes a beautiful coffee table or bar set conversation piece.

Finished size
1¾×43/8 inches (4.5×11.1cm) in diameter
Materials
1 piece 6–7 ounce (2.4–2.8mm) vegetable-tanned leather, 13×8 inches (33×20.3cm)
Waxed nylon thread
Leather dressing
Wax (optional)
Template
Coaster Box (idiotsguides.com/leather)
Tools
Cardstock
Mechanical pencil
Precision knife
Cutting mat
Straightedge
Leather shears
Edge beveler
Clean rag
Adjustable stitching groover
Single-prong pricking iron, 3/32 inch (.024cm)
Multi-prong pricking iron, ⅛ inch (0.3cm)
Awl
2 harness needles, #00
Burnisher (optional)
Hole punch, 1 inch (2.5cm) (optional)
Mallet (optional)
Techniques Used
Working with Templates
Cutting: Using a Straightedge
Cutting: Using Leather Shears
Finishing Leather: Dressing
Edge Finishing: Edge Beveling
Edge Finishing: Edge Burnishing
Punching: Using Hole Punches
Hand Stitching: Using a Stitching Groover
Hand Stitching: Using a Pricking Iron
Hand Stitching: Using an Awl
Hand Stitching: Baseball Stitch
Hand Stitching: Box Stitch

1 Prepare and Trace the template. Transfer the paper template pattern to cardstock and cut it out. Using a mechanical pencil, trace each of the four cardstock template pieces onto the leather.
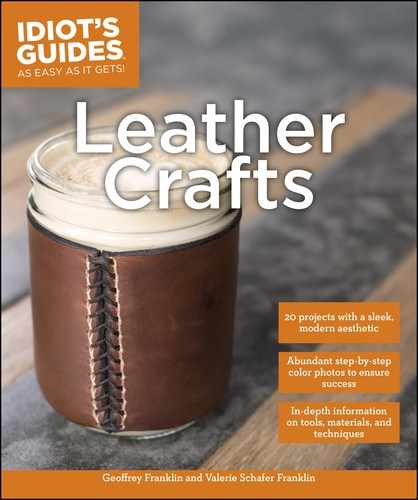
2 Cut the rectangles. Using a straightedge and precision knife, cut out the rectangular pieces of leather.
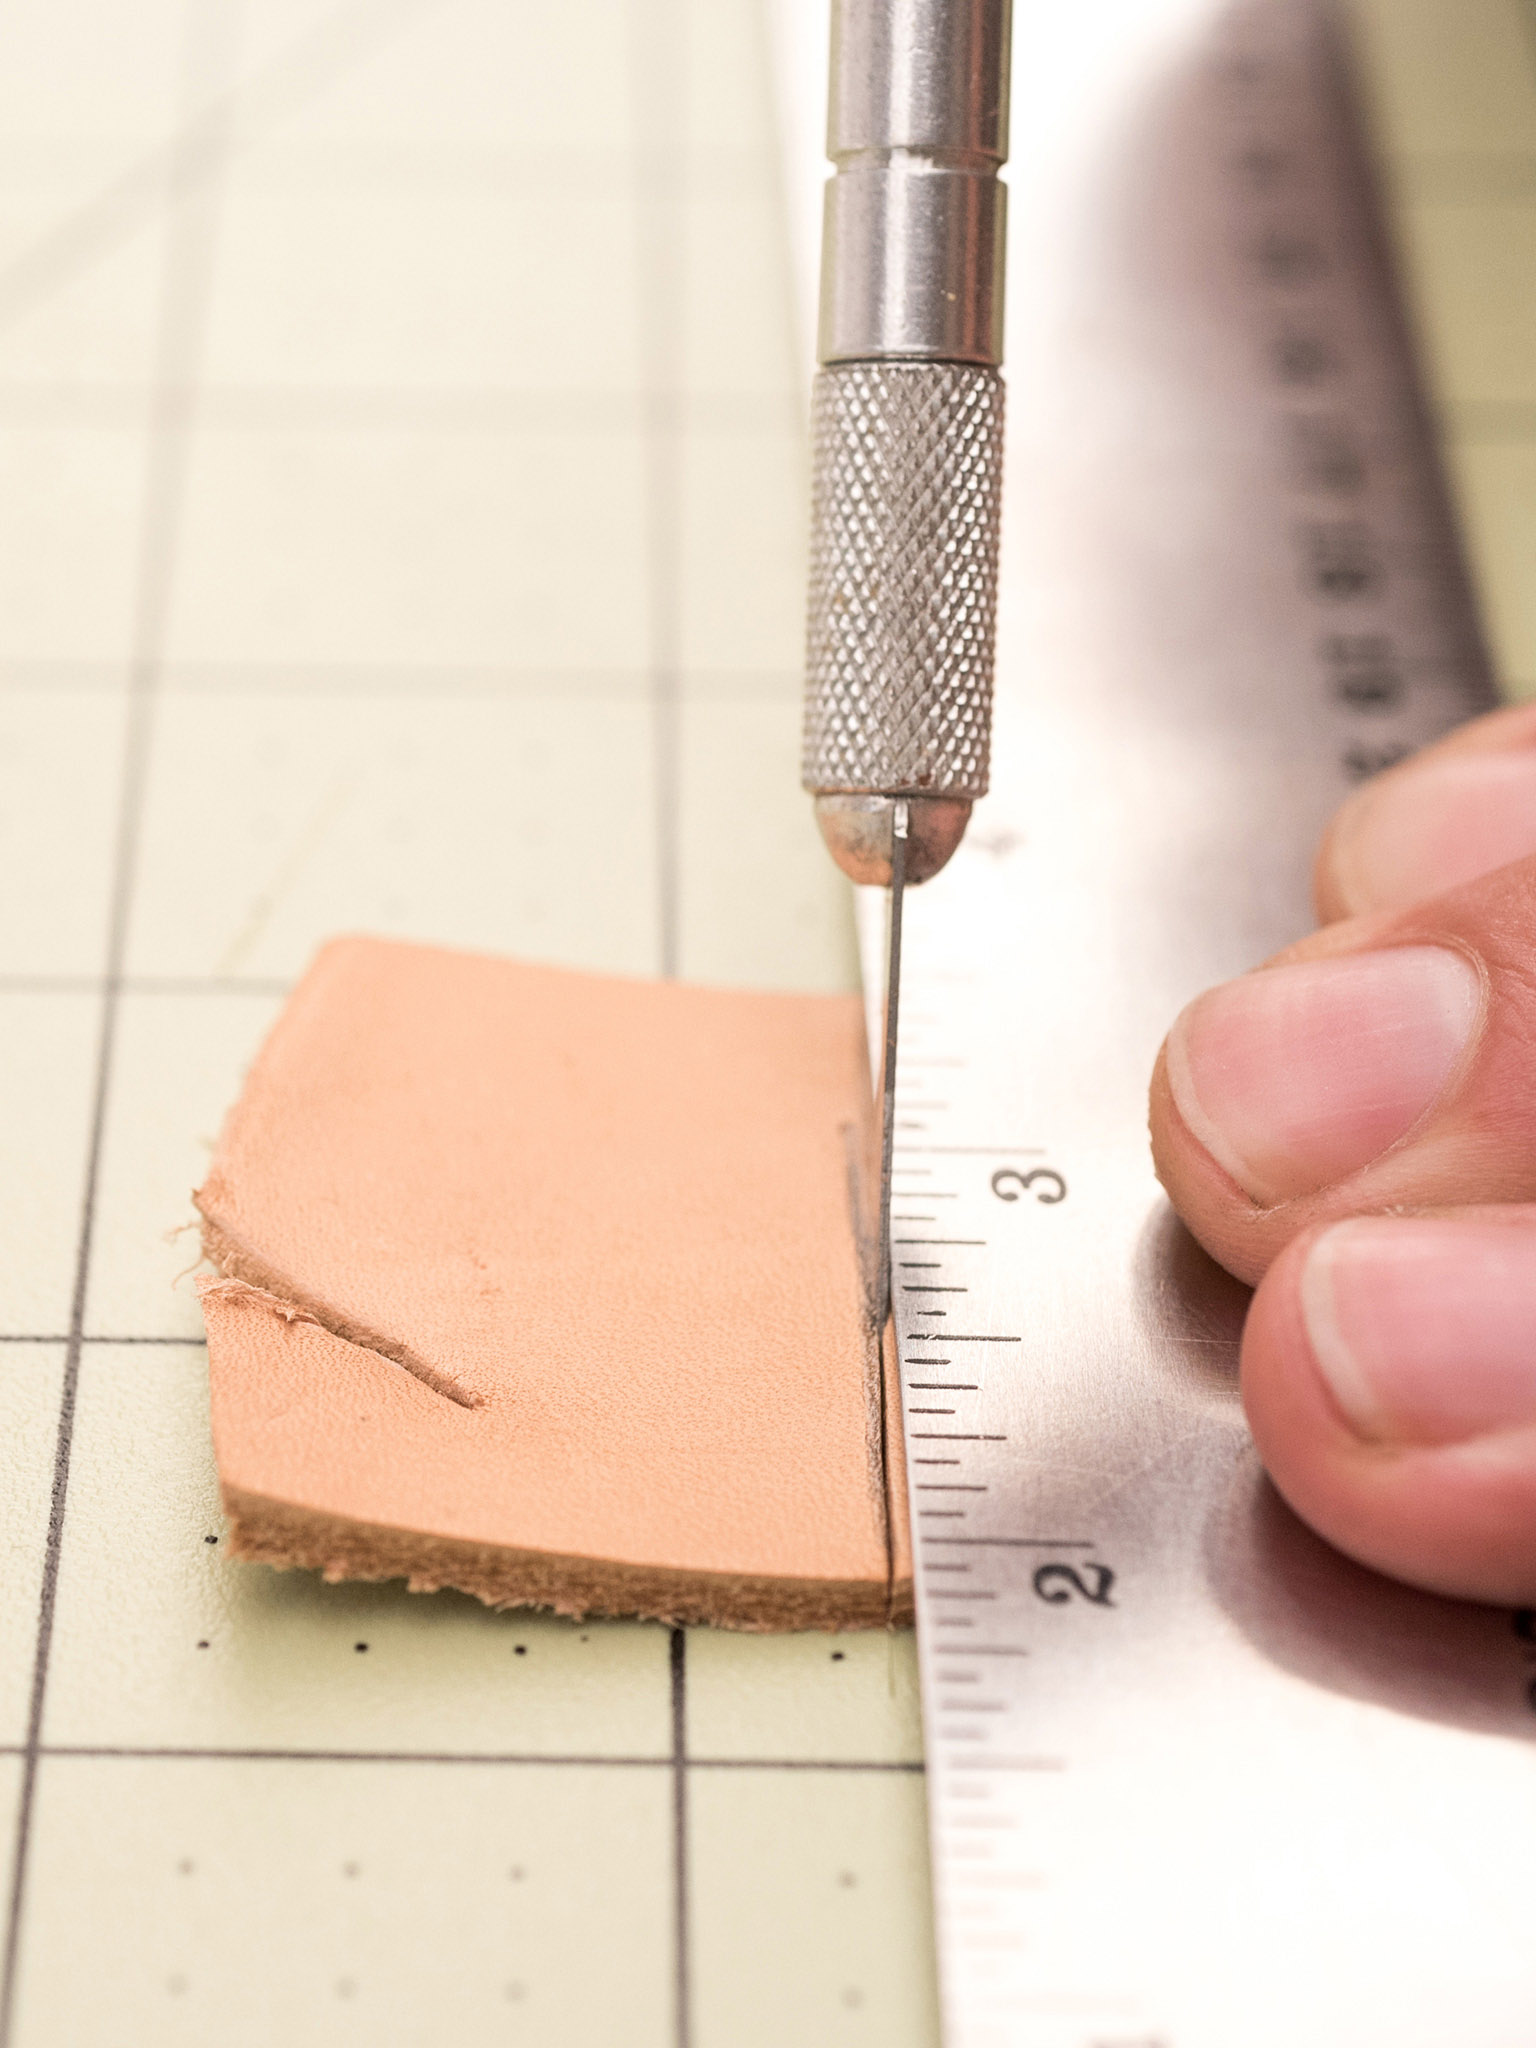
3 Cut the rounds. Using leather shears, cut out the circular pieces of leather.

4 Punch hole for easy removal (optional). To make a handy finger hole to assist in pushing the coasters out of the box, measure and mark the center point of the smaller round using a mechanical pencil. Punch a hole where marked using the 1-inch (2.5cm) hole punch.

5 Bevel the edges. On each rectangular piece of leather, bevel one of the long edges, front and back.

6 Apply leather dressing. Using a clean rag, apply a coat of leather dressing to the finished surface of all four pieces to enrich the leather and enhance the finish.

7 Cut the stitch guide lines. Set the adjustable stitching groover to ⅛ inch (0.3cm) and cut a stitching groove on the un-beveled long side and both short sides of each rectangle, and around the perimeter of both rounds (marked on the template as dashed lines).
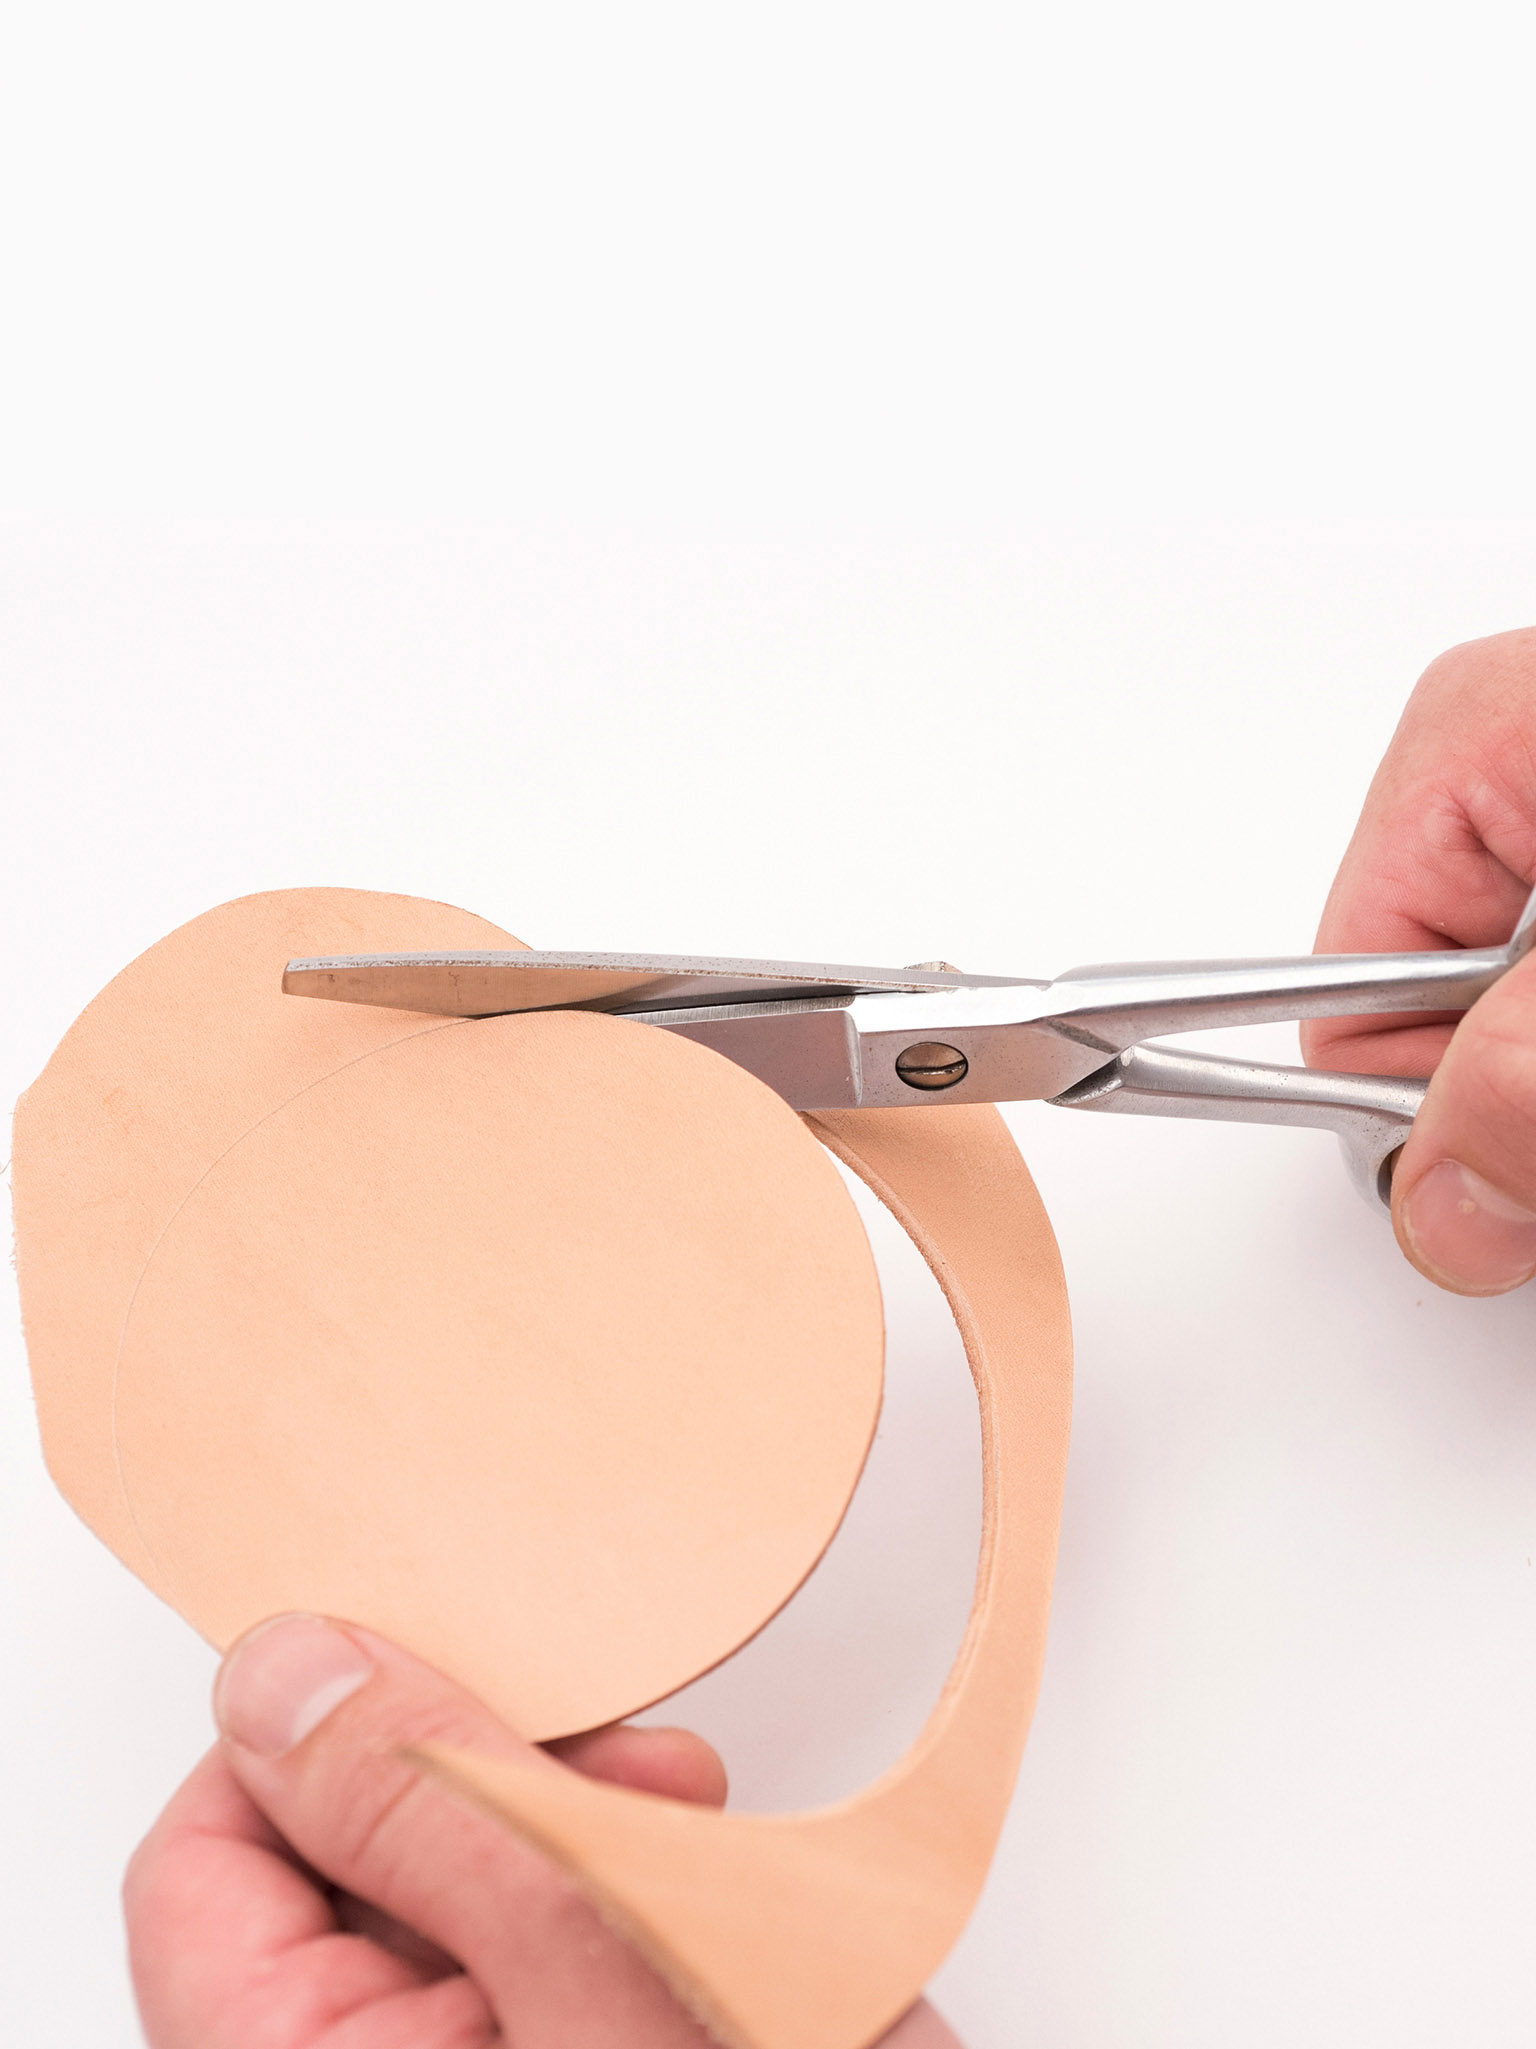
8 Burnish the edges. For a finished look, apply wax and burnish the beveled edges of the rectangles.
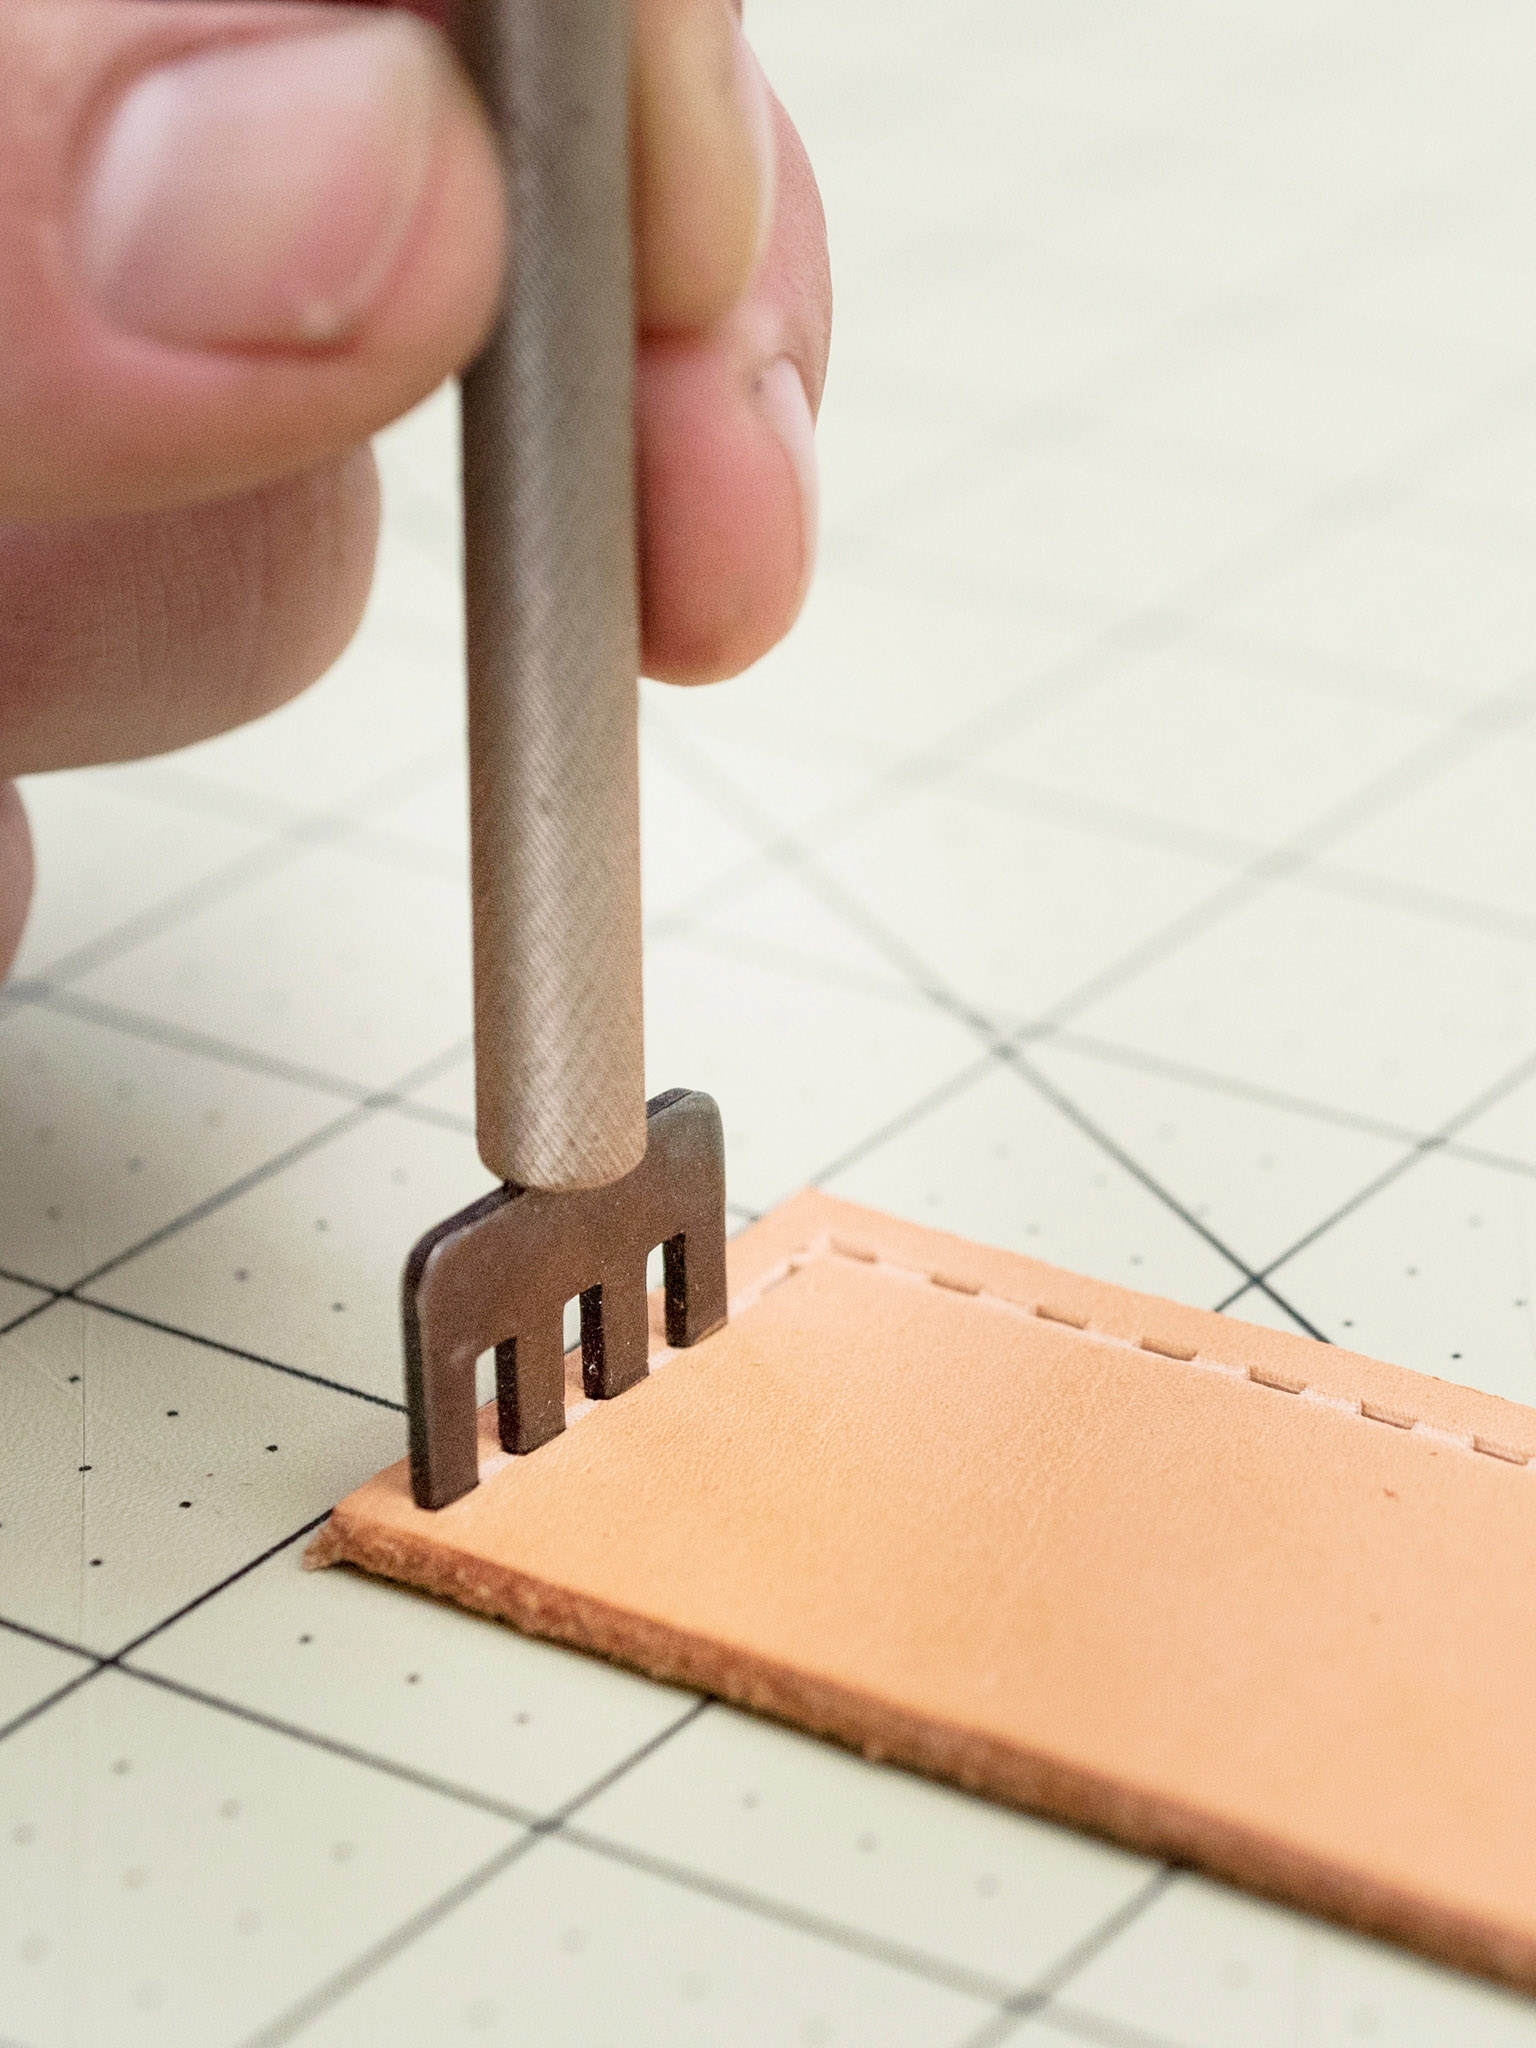
9 Prepare the rectangles for stitching. Using the multi-prong pricking iron, punch stitch holes on the rectangles along the stitching grooves.

10 Stitch the rectangles into rings. Stitch together the short sides of the rectangles using a baseball stitch.

11 Align the box base. Hold the smaller ring’s stitch holes up to the smaller round (with the finger hole punch in the center). This is the base of the box.
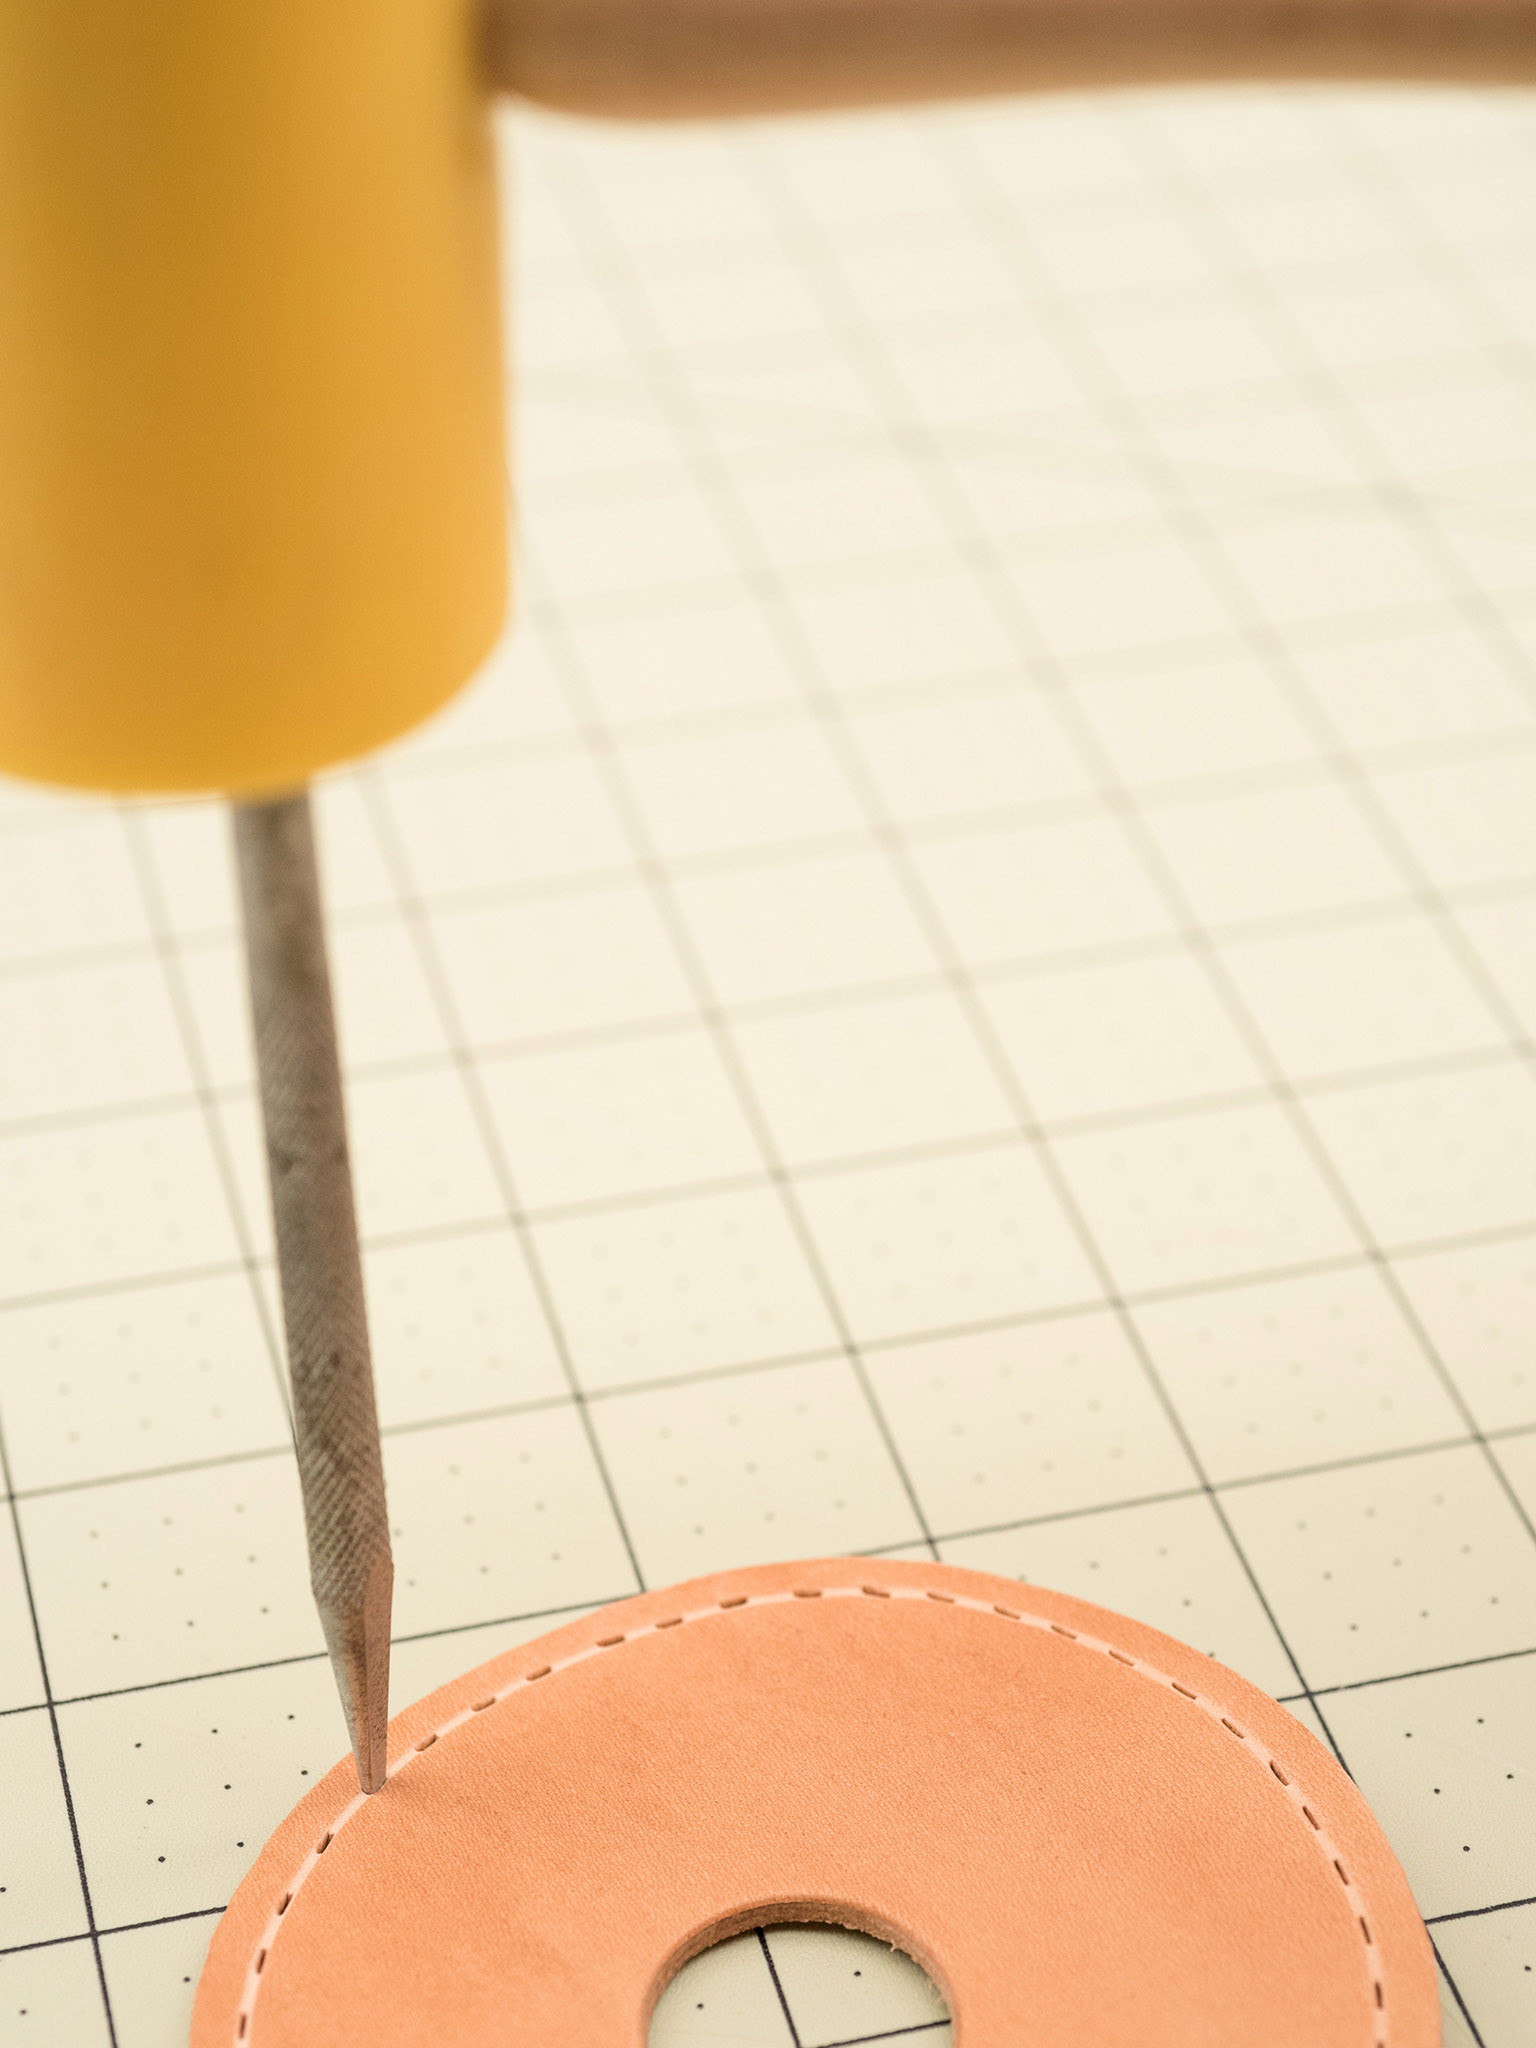
12 Prepare the base for box stitch. Using the awl or mechanical pencil, make a small mark on the round, inside the stitching groove, corresponding to each stitch hole on the ring. Each mark on the round should align with a stitch hole on the ring.
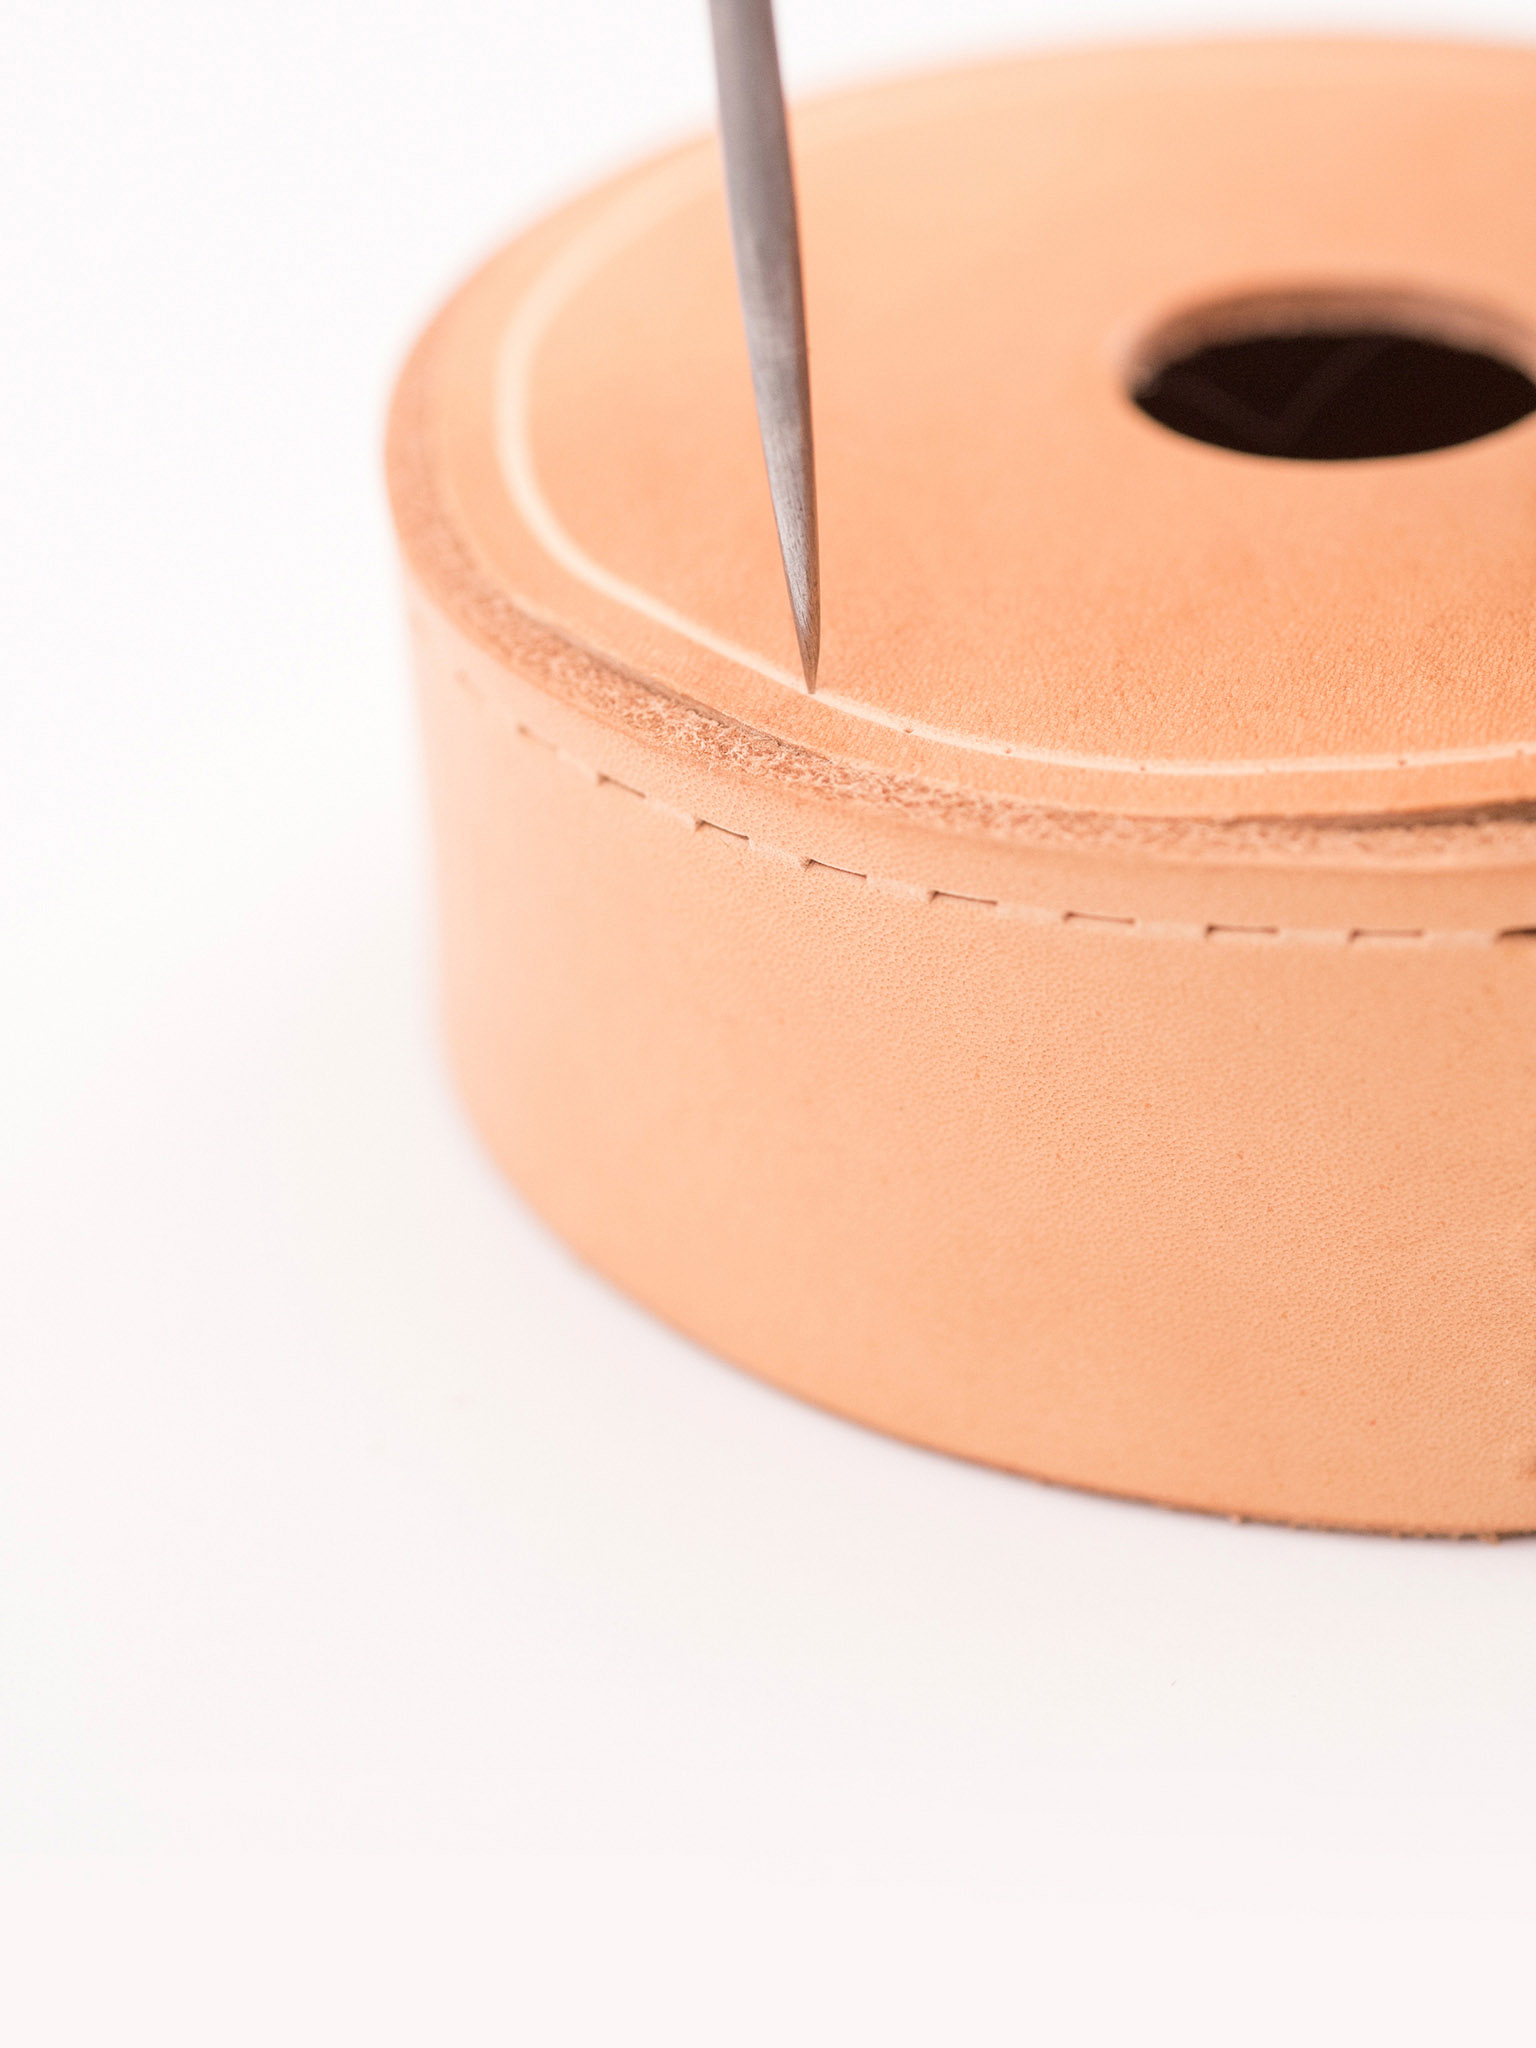
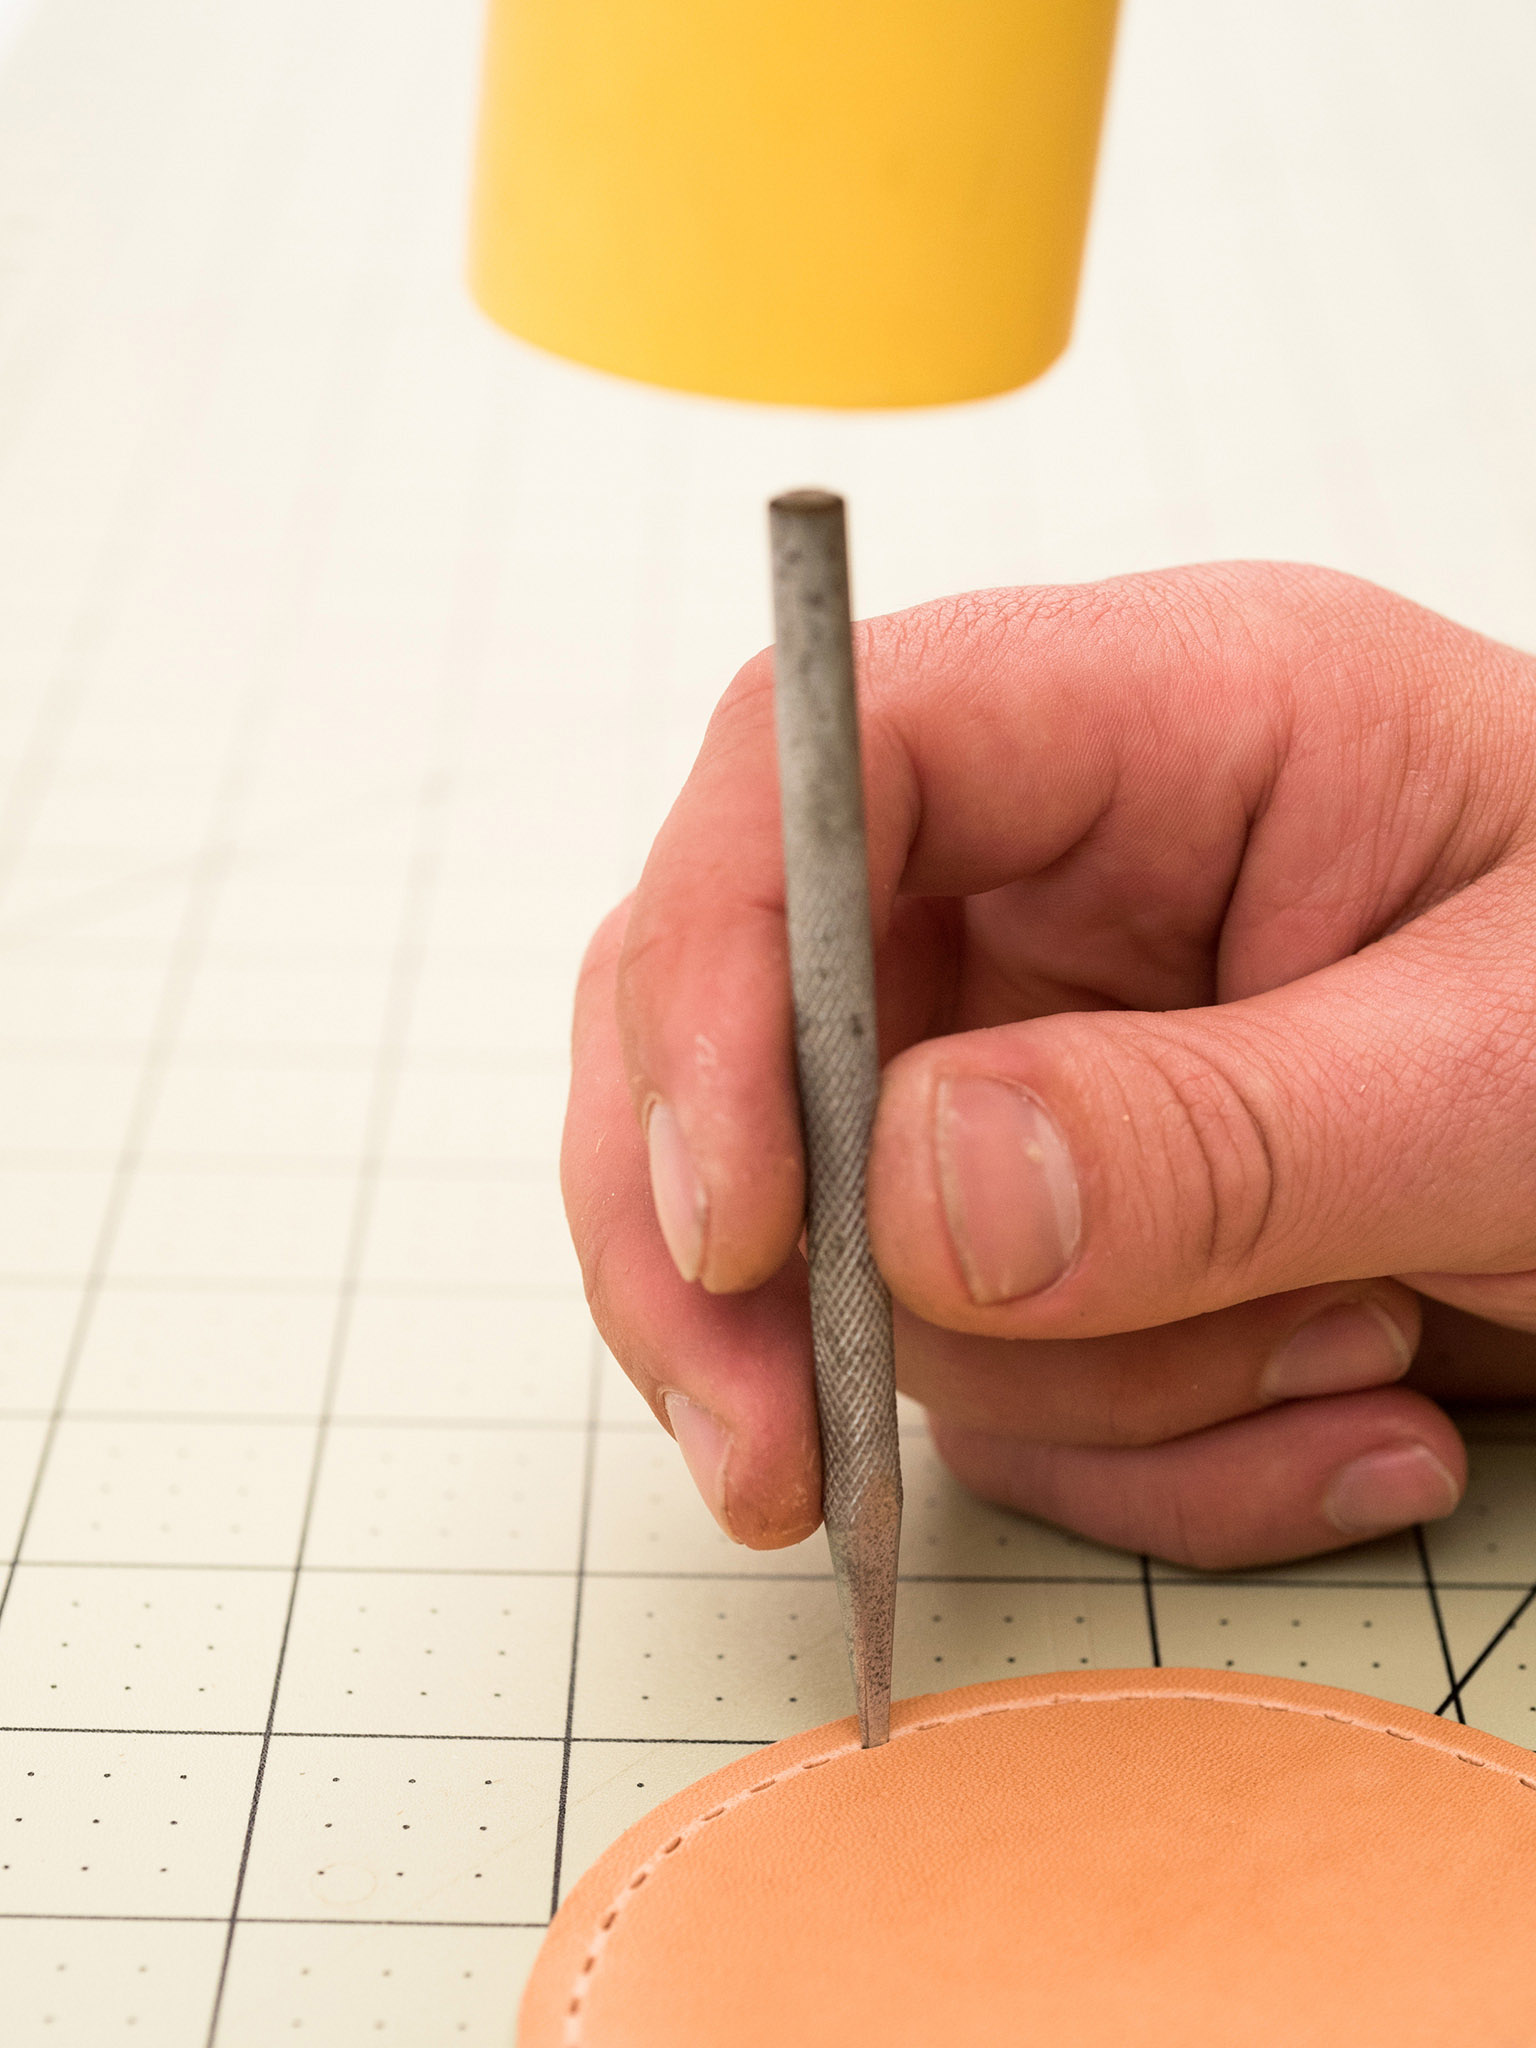
13 Prepare the base for stitching. Punch each stitch hole on the round using the single-prong pricking iron to punch each hole, keeping the stitch holes in stitching groove.

14 Stitch together the base. Stitch the base ring to the round using a box stitch.

15 Prepare the lid for Box stitch. Position the larger round within the larger ring. Using the awl or mechanical pencil, make a small mark on the round, inside the stitching groove, corresponding to each stitch hole on the ring.
16 Prepare the lid for stitching. Punch each stitch hole on the round using the single-prong pricking iron to punch each hole, keeping the stitch holes in stitching groove.

17 Stitch together the lid. Stitch the lid ring to the round using a box stitch.
