
There are several things you can do to help make your tables more easily readable, including adding borders to cells to keep the information separate, aligning text in cells both horizontally and vertically, and merging cells so that, for example, the title of a table can run across all the columns in the table.


Try This!
You can use the Draw Table tool to draw borders around cells one by one. Click the Draw Table tool on the Table Tools, Design tab, and then, using the pencil-shaped mouse cursor, click on any cell edge to draw a line. This method draws only one cell edge at a time. To get rid of any cell border, you can use the Erase tool on the same tab.
See Also
For information about formatting table styles and adding background colors, see "Formatting Objects".
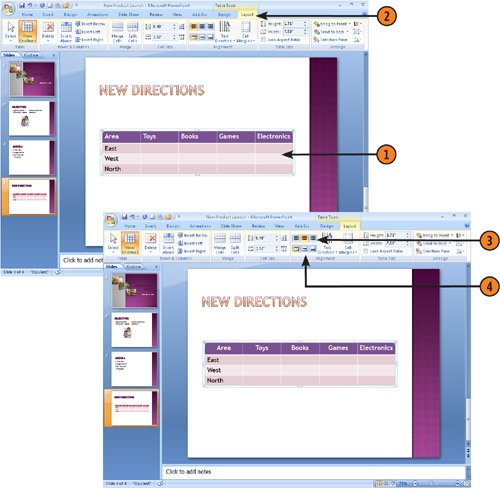
 Click and drag across the cells to select the ones whose text you want to align.
 Click the Align Left, Center, or Align Right buttons to align the text from left to right in the cells.
 Click the Align Top, Center Vertically, or Align Bottom buttons to align the text between the top of the cells and the bottom of the cells.

Try This!
To return the merged cells to individual cells again, click and drag to select the cell, and then on the Table Tools, Layout tab click the Split Cells button. In the dialog box that appears, enter the number of columns or rows you want to split the merged cell into and click OK. The merged cell is split into the number of individual cells you indicated.