

When you want to create a report that displays records from one or more tables, the Report Wizard is the fastest way to create the report and include all the desired field captions and contents. However, sometimes a main report simply serves as a shell for one or more subreports, and the main report displays little or no information from the underlying tables. In this case, it is often easier to create the main report by hand in Design view.
In this exercise, you will use a query as the basis for the shell for a report that lists sales by category. A CategoryName section will list the current category, but the Page Header, Detail, and Page Footer sections will contain no information.
USE the GardenCo database in the practice file folder for this topic. This practice file is located in the My DocumentsMicrosoft PressAccess 2003 SBSReportsByDesign folder and can also be accessed by clicking Start/All Programs/Microsoft Press/Access 2003 Step by Step.
OPEN the GardenCo database and acknowledge the safety warning, if necessary.
On the Objects bar, click Queries.
Click Sales by Category to select it.
On the Insert menu, click Report.
Double-click Design View to open a blank report.
Tip
The Page Header, Detail, and Page Footer sections you see in Design view are the default sections for a new report, but you don’t have to use them all, and you can add others.
A small window also opens, displaying a list of the fields in the Sales by Category query.
On the View menu, click Report Header/Footer.
The sections are now enclosed in the Report Header and Report Footer sections.
On the View menu, click Sorting and Grouping.
The Sorting and Grouping dialog box appears, in which you can specify the fields that will be used to group the records in the report.
Click the down-arrow to the right of the Field/Expression box, and click CategoryName.
In the Group Properties area, set Group Header to Yes.
An icon appears in the selector button to the left of CategoryName to indicate that it is a group heading, and the CategoryName Header section selector appears in the Design view window.
Close the Sorting and Grouping dialog box.
Click the Report selector in the upper-left corner of the report, and then press
 to open the Properties dialog box.
In the Properties dialog box, click the Format tab, and scroll down until you see the Grid X and Grid Y properties. Set them each to
10.The grid, which is represented by dots in the report background, becomes easier to use when aligning controls.
On the Format tab, set the height of each section by clicking the section selector and then setting the Height property as follows:
Section
Setting
Report Header
1″Page Header
0″Category/Name Header
2.2″Detail
0″Page Footer
0.2″Report Footer
0″Move the Properties dialog box to view the results. (Resize the window to see all sections, if necessary.)
Click the Save button, type
Sales by Categoryas the name of the report, and then click OK.If the toolbox isn’t displayed, click the Toolbox button on the toolbar.
The toolbox is now displayed.
To give the report a title, click the Label control in the toolbox, and then click the top of the Report Header section, about 2 inches from the left edge.
Access inserts a very narrow label.
Type
Sales by Category, and press .
.The label expands to hold the text you type, and when you press
, Access selects the label control and displays its properties in the Properties dialog box.Scroll down, and set the label’s font properties as follows:
Property
Setting
Font Name
Times New Roman
Font Size
20
Font Weight
Bold
Font Italic
Yes
The text in the label reflects each change. By the time you finish making all the changes, the text has outgrown its frame.
On the Format menu, point to Size, and then click To Fit.
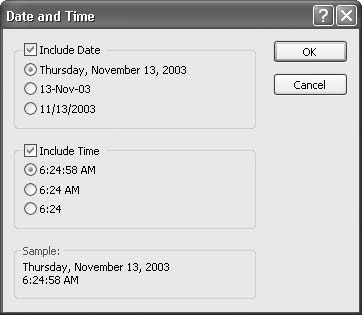
On the Insert menu, click Date and Time to display the Date and Time dialog box.
Make sure that Include Date and the first (long) date format are selected, clear the Include Time check box, and click OK.
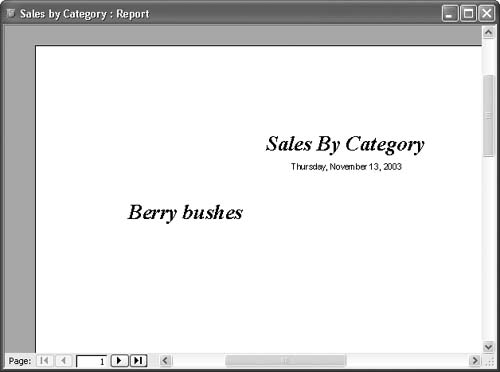
A text box containing =Date() appears in the upper-left corner of the Report Header section. If the report has no Report Header section, the text box appears in the Detail section.
Drag the new text box containing =Date() below the title, adjust the width of the box to match the width of the title, and click the Center button on the Formatting toolbar to center the date in the box.
Drag the CategoryName field from the field list window to the top of the CategoryName Header section. (You might have to scroll up to see this field.)
Delete the Category Name label that was inserted with the text box.
Select the text box, and set its font properties to the same settings as those used for the report title, in step 18.
On the Format menu, point to Size, and then click To Fit.
Position the text box with its top against the top of the section and its left edge 0.2 inch (two dots) in from the left, and then drag the right edge of the text box to about the 2.4-inch mark.
Click the Save button to save the report, and then display it in Print Preview.
Return to Design view, and add a label below CategoryName. Click the Label button in the toolbox, click directly below the left edge of the text box, type
Product:, and then press.Because this label is not associated with a control, you will see another error. Click the icon, and then click Ignore Error.
Set the font properties that you set for CategoryName in step 25, except for Font Size, which should be 12.
Right-click the label, point to Size on the shortcut menu, and then click To Fit.
Position the label at the bottom of the CategoryName text box, aligning their left edges.
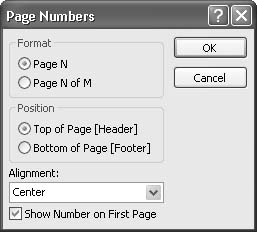
Insert a page number in the Page Footer section by clicking Page Numbers on the Insert menu to display the Page Numbers dialog box.
In the Format area, select the Page N of M option; and in the Position area, select the Bottom of Page [Footer] option. Click the down arrow to the right of the Alignment box, and click Center. Then click OK.
Access centers a text box containing the expression = "Page" & [Page] & "of" & [Pages] in the Page Footer section.
Save the report, and then preview the results.
Close the report.

CLOSE the GardenCo database.