Chapter 16. Building an App
Imagine yourself walking through the broad, worn oak doors of Dunn & Lewis Memorial Library in search of knowledge. As you enter, you are greeted with a seemingly never-ending sea of wooden shelves rivaling the Great Library of Alexandria. You stagger from shelf to shelf but have no idea what books are available and where they are located. Frustrated, and alone, you are about to leave the library for good when an old librarian beckons you closer.
The librarian has a musty, but familiar, smell of old books and mahogany about him. You walk closer, but before you can go much further he points knowingly to a flyer taped on the wall that heralds your salvation: an app is available for download to help you find the books you need. Your days of wandering are over!
But, where is the app? You can’t download it. What do you mean it doesn’t exist yet? The librarian whispers quietly in a gruff voice, “If you build it, they will download it,” and disappears into the darkness of the corridor.
We’re going to build this app.
Now, forgetting about our ominous and magical librarian for a moment, in Chapter 15, we showed you how to set up your environment and create the simplest, most bare-bones application possible. In reality, however, apps are much more complex. For starters, they are usually more than just one screen. In order to really learn a platform it’s necessary to build something of sufficient complexity—beyond the basic “hello world” example—so you can get an understanding of the boundaries and nuances of the technologies used. To give us something complex enough to work on, we’re going to build an app for a library—yes, the same app foretold by our librarian guide—to help patrons of Dunn & Lewis Memorial Library find the books they need.
-
Create a new project for our app.
-
Give a brief overview of the app we’re building.
-
Add a simple welcome screen.
Let’s get started before the blood moon rises and our project is doomed!
Creating a New Project
Ideally, you’ve gotten your environment set up already. If not, head over to the first chapter of Part II and spend some time to get both Android and iOS ready for development. Once you’re ready to go, let’s dive in with Android first.
Android Studio
If you are not coming to the new project flow directly from the installation flow, you can always get here by selecting File from the Android Studio toolbar, then New Project.
Android Studio will allow you to choose from some basic project templates, like Basic Activity or Empty Activity, or more advanced things like Java Library (.jar, straight Java) or Android Library (.aar, Java, plus resources and other Android specific files). You may want to try some of these others out later, but for now, let’s just go with Empty Activity, as shown in Figure 16-1.
The first step in the create project flow is to configure your project. Here, you’ll determine the application’s location on disk, the namespace, and the minimum API that your application will support. This last bit is actually pretty important. You can always check out distribution numbers for the various Android versions.

Figure 16-1. Choose project
At the time of this writing, it looks like it’s pretty safe to choose OS 19, codename KitKat, version 4.4. That covers all but a couple percent of the installs at this time. However, if your app is likely to target more technically savvy users, or affluent countries, you might want to choose OS 20, codename Lollipop, version 5.0. This will cost you about 7% of the world, but will make development a bit easier. Android 5 was a big step forward in Android development and is a line of demarcation for a lot of modern APIs. This is your decision, but for this simple project, we’ll choose Kitkat, as shown in Figure 16-2.

Figure 16-2. Configure project
That’s really it! Run your project from the toolbar shortcut (looks like a green Play button) or press control/command + R or from Run select Run App or Run from the submenu.
The first time you do this, you’ll need either a connected device or to create and launch an emulator, as shown in Figure 16-3.

Figure 16-3. Create emulator and choose emulator or device
Now, you should see “Hello World!” print to the screen, as shown in Figure 16-4.

Figure 16-4. Hello World!
You should also see a toolbar with My Application (or the application you provided in the project configuration step). So how does it know to say “Hello World!”? Well, the Empty Activity project template isn’t really empty—if you open MainActivity.java, you’ll see a reference to a layout file, R.layout.activity_main. Find that file in res/layout or just control/command-click the line in the code editor. You’ll probably see a ConstrainLayout, with a TextView child. Note the android:text attribute of the TextView is set to the string value of “Hello World!”
Let’s make a quick edit. Change the text value of the TextView to say “iOS is awesome!” “iOS?!” you exclaim—yep, iOS…let’s get the whole competition nonsense out of the way. Both platforms are incredible. You may prefer a feature or syntactical turn in one or the other, but let’s face it—both do an amazing job allowing us to express our ideas.
Anyway—run your app again. Now you should see something a little different, as shown in Figure 16-5.

Figure 16-5. iOS is awesome!
That’s it! You’ve downloaded and installed Android Studio, created a basic app, and changed some visual values. While this is a pretty basic example, don’t worry—in a couple chapters we’ll walk you through creating a full-featured app using all of the tasks in the first part of this book.
Xcode
The process of setting up an iOS project in Xcode is similar to Android Studio, but there is a bit more of a software wizard process to follow. To get started, you’ll want to launch Xcode by going to Applications and double-clicking the Xcode application. Whenever Xcode launches, you’ll see a screen similar to Figure 16-6.

Figure 16-6. Xcode splash screen
Click the “Create a new Xcode project” button to start your project. A new Xcode window will open, and you’ll be presented with a list of templates to provide a project skeleton with some views and boilerplate code to get your started quickly. There are a number of options available for building both applications and libraries, but we’re going to focus in on the application options available. Our particular project will have a number of screens, but for now we’re going to use “Single View App” as a way to get up and running quickly without too much overhead. Select that as an option and hit Next in the template chooser.
Tip
If you don’t see the Xcode launch screen, don’t fear! Head over to the menu bar and select File > New > Project to get started.
Next, there are a number of options we can use to bootstrap the project. Most of these options are fine with their defaults. We can change everything on this screen later, but it’s helpful to set some of them ahead of time. The first option we should fill in is Product Name. This is part of the name iOS uses for our application internally, along with the organization identifier. By default, it’s also the name that’s displayed to the user underneath the icon of the app on a device’s launch screen. Let’s put “Library Buddy” as the name of our application.
The Organization Identifier field is usually a reverse domain-style identifier of a company or organization (or individual!). Feel free to use whatever identifier you’d prefer, but for the purposes of this book, we’ll use “com.oreilly” as our identifier.
Make sure the language selected is Swift and none of the checkmarks for Core Data or unit and UI tests are checked. Click Next to move forward. Select the file location where you want the project to live and hit the Create button to create the project. Whenever the project is finished being created, you’ll see the project open up in an Xcode window with the project files displayed on the left side.
Click the “Build and Run” button (it looks like a play button) in the top left of the project window. This will build the project, open up an iOS Simulator, and run the application. You should see something like Figure 16-7 running inside an iOS device on your desktop when the project is built and running.
Warning
If there isn’t an iOS Simulator selected by default in the drop-down near the “Build and Run” button described previously, you’ll need to use it to select one. If no simulators are listed, head to the menu bar and select Window > Devices & Simulators to bring up the Device Organizer. Select Simulators at the top of the window and then click the “+” button at the bottom left of the screen to add a new simulator to use for development.

Figure 16-7. Our “Single View Application” running in an iOS Simulator within Xcode
In the interest of fairness with our Android example—and to demonstrate a complete lack of bias or prejudice against one platform or another—let’s go ahead and add a label to our application’s screen that gives praise to Android. In the list of files, click on Main.storyboard, click the “+” button at the top right of the window, and drag a label object onto the blank white canvas. Double-click on the label so you can change the text to “Android is awesome!” Drag the label to center it in the view and build and run the application like you did before and you’ll see a screen that looks like Figure 16-8.
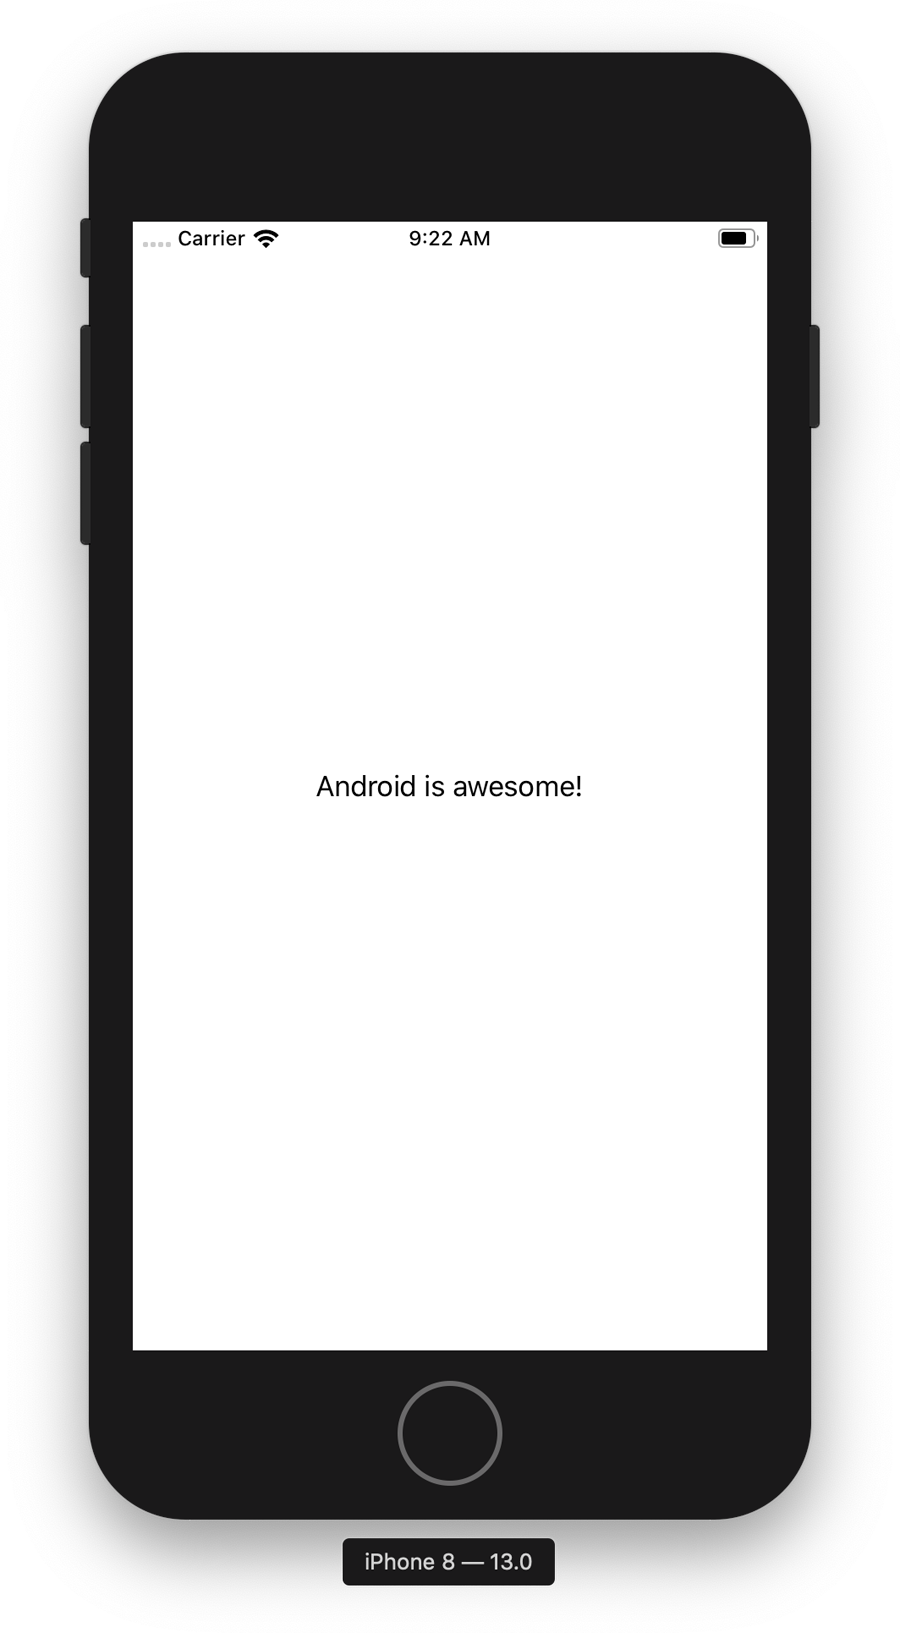
Figure 16-8. Android is awesome!
All right, we’ve got our project created and it’s (ideally) able to build and run on an iOS Simulator. Before we go further, let’s talk about what we’re building.
App Architecture
Without getting into too much detail, the application we’re building over the next few chapters will have a number of unique screens that display different types of data. Whenever the app launches, we’ll have a Welcome screen, along with three buttons. These three buttons will take you to different parts of the app: a listing of all the books available; a listing of all books a user has saved for later; and a search screen where a user can search for a specific title or author.
From these screens, we’ll also build out a separate, reusable screen that is used by each of these screens to list all the information about a particular book.
One of the benefits of Android and iOS is that you are not locked into a specific choice in terms of how to structure your app. There are a number of options available, but both platforms seem to have a preference for MVC- or MVVM-style application development. As such, we’ll use that approach to build our apps.
Model-View-Controller
Model-View-Controller or MVC is, arguably, the most common approach to application development. Basically, it’s an architectural pattern that guides the code structure of the objects that make up your application. The “model” in MVC is a representation of the data the application needs. This could be persisted data (i.e., books saved for later) or transient data that is received from a network request. There is a separation between this data and the views an application contains; controllers are objects that facilitate communication between both the data model and views.
Typically, the controller is responsible for getting data from a database or a network resource, and it gives that data to a view or view model that’s passed to the view for display. There are special controllers that are responsible for displaying the views themselves as well. In Android, these are Activity objects and in iOS, they are UIViewControllers.
The primary goal of an MVC architecture is to utilize and respect the inherent boundaries in objects to prevent close coupling of objects. This makes maintenance easier, and it provides a defined, straightforward way to think about code.
With MVC in mind, let’s look at how we can create the first screen a user sees when they open up the app: the welcome screen.
Building Our First Screen
If you recall from our preceding example, the application screen inside the emulator on Android and simulator on iOS is pretty basic and devoid of any kind of design or data. We should fix that.
Note
Note that both Android and iOS use the notion of a “launch screen.” This is a static image displayed while the application itself is performing setup operations. Note that very little can be done to decorate this beyond drawable objects, and things like interactive UI elements or network requests are either impossible or unadvisable.
Android
In the Android framework, the launch screen happens during app initialization and only displays an XML drawable. That means no logic, and not even Drawable class instances are available (although, after API 26, custom XML drawables are allowed, which could reference back to a Drawable subclass). Also be aware that this happens so early in the process that the framework doesn’t have access to many of the values we might normally take advantage of, like API version, so trying to provide different drawable files for different versions would fail. We’ll provide detailed instruction on how to set this up in the following section.
Launch Screen
In the Android framework, the launch screen displayed while the application is initializing is exactly equal to the theme’s window background. This can be any Drawable instance, which of course means it can be a group of drawing operations grouped within a single instance. For our example, let’s use a black background and center our logo, using a layer-list XML Drawable. We’ll name the file launch_drawable.xml and save it in res/drawable:
<?xml version="1.0" encoding="utf-8"?><layer-listxmlns:android="http://schemas.android.com/apk/res/android"><item><colorandroid:color="#FF000000"/></item><item><bitmapandroid:gravity="center"android:src="@drawable/dlml_logo"android:tileMode="disabled"/></item></layer-list>
You’ll notice a reference to a compiled bitmap resource. In your favorite photo editing software, generate some stylized version of the application name, library name, maybe a symbolic representation, or just the initials—whatever, it’s up to you. As with all compiled resources in Android, file names must be all lowercase, words separated with underscores, and only alphanumeric characters: a-z and 0-9. Let’s name the image file dlml_logo.xml and save it in our res/drawable directory. The system will make this a constant value of the global R class, in the following format: R.{resource_tye}.{file_name_minus_ext}, so in this case, R.drawable.dlml_logo would be an integer identifier for the Bitmap resource of our logo.
If you so choose, you could create a double-sized image and add it to the /res/drawable/xhdpi directory. See the preceding note for specifics on density-specific images.
Moving on from general resources and returning to our examination of theme implementation, in a values file (let’s use the styles.xml that Android Studio should already have created for you, in the res/values directory), let’s replace the project default theme with a simple theme of our own:
<?xml version="1.0" encoding="utf-8"?><stylename="DlmlTheme"parent="Theme.AppCompat.Light.NoActionBar"><itemname="android:windowBackground">@drawable/launch_drawable</item></style>
Obviously, we could and probably should set a number of other theme-specific values, like color, action bar, and coordinator layout support, etc., but for the purpose of this example, we’ll keep it simple.
To register this theme with your app, you’ll use the application’s manifest AndroidManifest.xml. You’ll be using this manifest file several times when configuring your application, but we’ll take it one step at a time. For now, let’s just register our theme:
<?xml version="1.0" encoding="utf-8"?><manifestpackage="com.dlml"xmlns:android="http://schemas.android.com/apk/res/android"xmlns:tools="http://schemas.android.com/tools"><applicationandroid:icon="@mipmap/ic_launcher"android:label="@string/app_name"android:roundIcon="@mipmap/ic_launcher_round"android:supportsRtl="true"android:theme="@style/DlmlTheme"/></manifest>
That’s it! Now, when your application launches, before the user can interact, they’ll see the drawable we provided in launch_drawable.xml. At first, while your application is still young and innocent and lightweight, this might only flash momentarily, or launch may happen so fast the user doesn’t see it at all, but as more activities, permissions, assets, resources, external libraries, and build configurations are added, initialization time will increase, so it’s usually a good idea to let the user know what application is being launched and that they’re not simply hung, but rather being hand-crafted a unique experience.
iOS
After you’ve added a screen on Android, you’ll find it’s not altogether different on iOS. We’re going to start within the storyboard editor in Xcode. Click on our application’s main storyboard, Main.storyboard, within the project navigator on the left side of the screen. This will bring up the storyboard editor.
Tip
There is also LaunchScreen.storyboard. This is used to present a design when the application is launching, but before it’s active.
Storyboards are a format for keeping views—called “scenes”—and their transitions between other scenes organized within an Xcode project. They can, and should, contain multiple scenes that are linked together via segues—predetermined transitions between scenes—as well as simple views like buttons, labels, etc., within the scenes themselves. Storyboards can even link to other storyboards!
When we open up Main.storyboard, you should see one scene called View Controller Scene in the document outline on the left. This scene is automatically created as part of the boilerplate code created in the Single View Application we created earlier. We could reuse this scene and rename it, but instead we’re going to create a new scene.
First, click the Library button, the leftmost button near the top right of the project window. This will bring up a floating window where you can drag and drop views and components onto the storyboard editor. Scroll down until you see the View Controller object in the list of results, or search for “view controller” as shown below.
Next, drag the View Controller object from the window down onto the storyboard editor canvas. Place the new view controller scene wherever you’d like on the canvas. Additionally, you can double-click on the View Controller object and a new scene will be placed within the canvas for you.
Now, let’s add some text to this view. We do this by using the Library window again and find the Label object. Drag the label over our new view controller scene. Whenever you hover over the scene, it’ll highlight blue to indicate that this is the scene where the label will be embedded. Once you are on the correct scene, let go of the label and it’ll appear selected on the screen. You’ll also notice it appears within the Document Outline in our new scene on the left side of the editor as shown.
Let’s change the text of the label to display something else. Within the storyboard editor, there are a number of inspectors you can toggle through on the right side of the screen. These inspectors change context based on the object selected. With the label still selected—or by clicking on it to select it—click the Attributes inspector icon, which happens to be the fourth button from the left. You should see a screen like the one shown in Figure 16-9.

Figure 16-9. Attributes inspector in Xcode
The Attributes inspector—as well as the subsequent Size and Connections inspectors—is where most of the configuration of views themselves is done within Xcode. Within the subsection called “Label” you can see a number of options that correspond to settings for the Label object we have added to the scene. There is a text field with the string “Label” set as its value. Changing that value will change the text the label is currently displaying. Let’s update it to something like “Welcome.” We can also change the appearance or font of the label within this inspector if we’d like.
Once you’re happy with how your label looks, you could build and run the application like we did earlier in this chapter by clicking the “Build and Run” button near the top of the project window. However, it won’t get you very far. Nothing will have changed as far as the app is concerned, partially due to the giant arrow pointing to the left of the original view controller scene that was included in the project template. That arrow indicates that this is initial view controller to be shown from the storyboard.
Changing this is as simple as ticking a checkbox.
Select our new view controller scene, not the individual views inside it, by clicking directly on the scene in the Document Outline on the left side of the screen or by clicking the white rectangle above the simulated phone screen. If the Attributes inspector isn’t active, click it again once the view controller scene has been selected. Under the View Controller subsection, there is a checkbox labeled Is Initial View Controller that should be unchecked. Check this checkbox and the giant, magic arrow should move beside your new view controller.
Let’s build and run the application and see what happens.
You should see within the simulator that the app has started up and used our new scene as the default scene that’s displayed. Hooray!
Don’t celebrate quite yet, though.
Although we’ve added a new screen to our application, we probably want more functionality than just displaying a static screen. In fact, we might want to change and reference some of the views on the screen in code to make them a bit more dynamic. We’ve been using the storyboard editor to create our view. Let’s take a look at the other side of displaying views in iOS: the view controller.
Adding a view controller
To create a new view controller in Xcode, one that will control our Welcome scene, we need to add a new file. To do this, click the “+” button on the bottom left of the Xcode screen and New File… or go to File > New > File in the menu bar. Clicking either of these options will bring up the same modal window to select the type of file we’ll be adding to our project.
We could select Swift File as an empty Swift file for almost any code file, but for this particular type of object file we’re creating, let’s select Cocoa Touch Class because a view controller is part of Cocoa Touch—the framework that drives iOS—and click Next.
Within this screen, set the subclass to be UIViewController and the name to be WelcomeViewController. Make sure “Also create XIB file” is unchecked and the language is Swift before clicking Next and the Create button to use the default location. You should now see a new file added to the project navigator on the left side of the screen named WelcomeViewController.swift.
Tip
There is a convention of naming view controllers with a suffix of ViewController. This is standard practice and encouraged over naming your view controller something like WelcomeController or WelcomeScene to follow conventions.
This file contains some boilerplate code that looks like this:
importUIKitclassWelcomeViewController:UIViewController{overridefuncviewDidLoad(){super.viewDidLoad()// Do any additional setup after loading the view.}/*//MARK:- Navigation// In a storyboard-based application, you will often want to do a// little preparation before navigationoverride func prepare(for segue: UIStoryboardSegue, sender: Any?) {// Get the new view controller using segue.destination// Pass the selected object to the new view controller}*/}
This is a fairly empty file at the moment and currently only declares an object named WelcomeViewController that inherits from UIViewController. If you’ll remember from earlier in the chapter, UIViewController is the base class from which view controllers inherit; it’s similar (but not exactly the same) to Activity in the preceding Android section.
Now that we have our view controller created, let’s wire this up to our view controller scene from before.
Head back over to our storyboard editor by clicking on Main.storyboard in the project navigator on the left side of Xcode. Once you’re inside the editor, click on our new view controller scene, the one we set earlier to be the initial view controller for the app, to select it in the editor. Show the Identity inspector by clicking the third button from the left on the right side of the screen. Under the Custom Class subsection there is a field called “Class” that currently has a grayed-out UIViewController displayed. This is the class, or type, of object that owns this view. Set this field to WelcomeViewController.
The first thing you might notice is that the name of our scene has changed in the Document Outline on the left. Before it read “View Controller Scene,” and it now reads “Welcome View Controller Scene.” Let’s go ahead and delete the original view controller scene that came with the project template by clicking on the scene title in the Document Outline and hitting the Delete button.
Outlets for our views
Remember how we mentioned before that we wanted to be able to control views from within the view controller? We’re going to do that now with an outlet.
An outlet is a way to bind a particular view to a view controller. This view is then able to be configured and passed around as a reference via code. As such, it’s easiest if we start there. Head back over to our WelcomeViewController.swift file. Let’s first delete the commented-out boilerplate code to wind up with a class that looks like so:
importUIKitclassWelcomeViewController:UIViewController{overridefuncviewDidLoad(){super.viewDidLoad()// Do any additional setup after loading the view}}
Right below the class declaration, add the following line:
@IBOutletweakvarheaderLabel:UILabel!
This creates a property in the class called headerLabel that is of a type UILabel, which happens to be the same type of object our label is in our view controller scene. Now, let’s have our welcome view controller change the color of the label whenever the scene loads by adding the following line at the end of our already existing viewDidLoad() method:
headerLabel.textColor=.red
This sets the textColor property on the label after the view is loaded to red. The whole WelcomeViewController.swift file should now look like so:
importUIKitclassWelcomeViewController:UIViewController{@IBOutletweakvarheaderLabel:UILabel!overridefuncviewDidLoad(){super.viewDidLoad()headerLabel.textColor=.red}}
We’ve added an outlet to our view controller class, but building and running the application now won’t change anything yet. We’re so close! We still need to wire up the welcome label in our storyboard.
Wiring it all up
Head back over to the storyboard editor. Hold the Control button down and hold the mouse button or trackpad button down over the yellow “Welcome View Controller” icon in the floating rectangle above the scene. Drag your mouse cursor over to the welcome label we created and a blue line connecting the two should appear. Release the mouse button and a floating window labeled Outlets will appear; the headerLabel property we created on WelcomeViewController should be listed. Click on headerLabel and the window should disappear.
Within the Connections inspector on the right side of the screen, you can confirm that headerLabel is now connected to Header Label within our scene.
Build and run the application by clicking on the “Build and Run” button in the top left of the project window and you should now see a label with red text displaying the word “Welcome” on your simulator screen.
What We’ve Learned
Let’s talk about what you’ve learned in this chapter.
First, we learned how to create a new project in both Android Studio and Xcode. Next, we talked a little bit about the Model-View-Controller, or MVC, architectural pattern. We also discussed the app we’re building at a very high level. Finally, we walked through the process of adding a new screen—in our case a simple welcome screen—to the library app we’re building. We also learned how to create the visual components of a view and how to wire it all up and manipulate it inside of the code.
Whew. This was a long chapter and we’ve just started building something useful. Let’s take a deeper dive into our application and learn how to display some lists of data in the next chapter, as well as adding a bit more style to our app!