
Now that you've checked the servo motor controller and the servos, you'll need to connect the servo controller up to the Raspberry Pi and make sure you can control the servos from it. Remove the USB cable from the PC and connect it to the Raspberry Pi.
Let's now focus on the motor controller by downloading the Linux code from Pololu at www.pololu.com/docs/0J40/3.b. Here are the steps to do so:
- First, log on to your Raspberry Pi by putty, then type
wget.http://www.pololu.com/file/download/maestro-linux-100507.tar.gz?file_id=0J315. - Move the file using
mv maestro-linux-100507.tar.gz?file_id=0J315 maestro-linux-100507.tar.gz. - Unpack the file by typing
tar -xzfv maestro-linux-100507.tar.gz. This will create a directory calledmaestro_linux. - Go to that directory by typing
cd maestro_linuxand thenls -l; you should see something like this:

The README.txt file will give you explicit instructions on how to install the software. This is basically done in two steps:
- First, install a set of supporting libraries by typing
sudo apt-get install libusb-1.0-0-dev mono-runtime libmono-winforms2.0-cil. - Then, copy the configuration file by typing
sudo cp 99-pololu.rules /etc/udev/rules.d/.
Unfortunately, you can't run MaestroControlCenter on your Rasbperry Pi, your version of windowing doesn't support the graphics, but you can control your servos using the UscCmd command-line application to ensure that they are connected and working correctly. First, type ./UscCmd --list, and you should see the following:
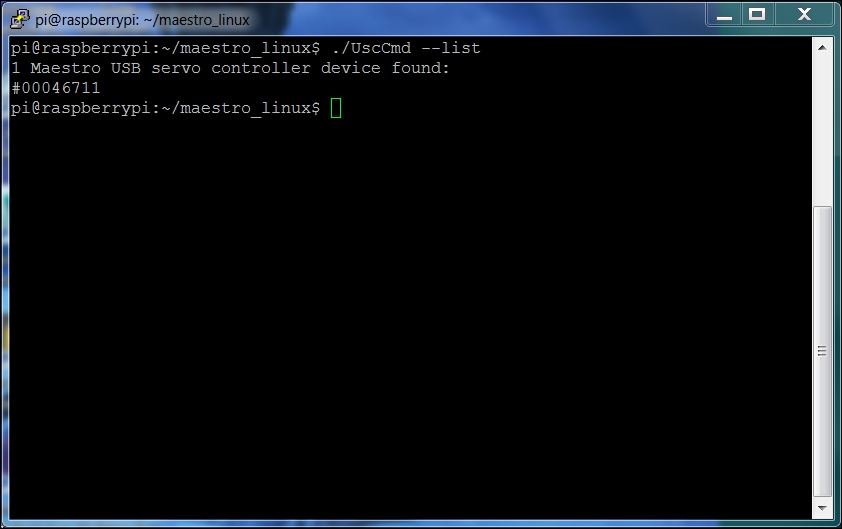
The unit sees your servo controller. If you just type ./UscCmd, you can see all the commands that you could send to your controller:

Notice how you can send a servo a specific target angle, although the target is not in angle values so it makes it a bit difficult to know where you are sending your servo. Try typing ./UscCmd --servo 0, 10. The servo will move to its full angle position. Type
./UscCmd - servo 0, 0, and it will stop the servo from trying to move. In the next section, you'll write some Python code that will translate your angles to the commands that the servo controller will want to see to move it to specific angle locations.