I think you have now understood the main value added by this book, which can be assumed to be "do more by yourself." Then, as a bonus, I thought you might be interested in some additional software.
As we mainly focused on servers for managing video files and streams, we'll see their musical equivalents, which are the following:
- MiniDLNA
- Subsonic
If you have read the chapters carefully and have successfully installed, configured, and run the software, then this appendix will bring you additional fun. Frankly speaking, you should be able to install these servers to your BeagleBone Black easily. Think of adding these extras servers as adding chocolate chunks to a cookie.
Before we talk about the software that uses DLNA, let's first understand what it is.
Digital Living Network Alliance (DLNA) aims to ease the connection between heterogeneous devices. This means that you can connect with any other DLNA-certified device to share your music, pictures, and videos—regardless of the manufacturer.
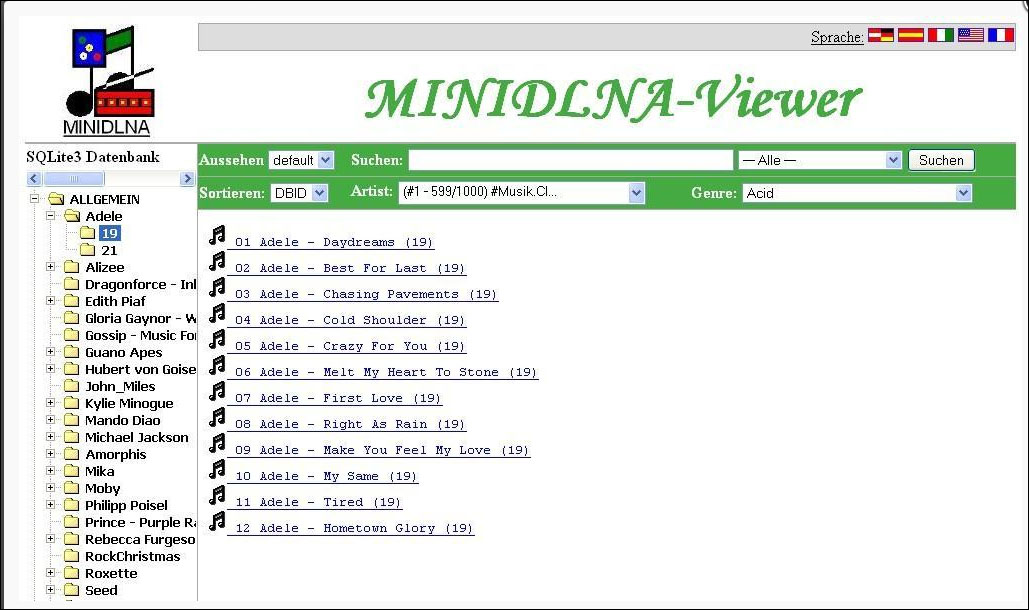
Now that we know what DLNA can do for us, we are going to see how to add it to our existing services. Here comes MiniDLNA.
As defined at http://sourceforge.net/projects/minidlna/, this project is as follows:
ReadyMedia (formerly known as MiniDLNA) is a simple media server software, with the aim of being fully compliant with DLNA/UPnP-AV clients. It is developed by a NETGEAR employee for the ReadyNAS product line.
As the Debian packages still use the original name, we will keep calling it MiniDLNA.
MiniDLNA is able to serve media files such as music (also pictures and videos) to clients on a network that can be applications such as VLC, XBMC, and devices such as portable media players, smartphones, televisions, and gaming systems. You can even connect your Raspberry Pi to it.
In order to install miniDLNA, you need to perform the following steps:
- Install the software:
debian@arm:~$ install minidlna - Verify that it's running:
debian@arm:~$ /etc/init.d/minidlna status
This is all you need, so you can use the miniDLNA right now.
On Windows Explorer, a BeagleBone device with a MiniDLNA service will appear as follows:

So, you can access the BeagleBone device through miniDLNA as you would do with usual media provider/reader.
The configuration file is located at:
debian@arm:~$ nano /etc/minidlna.conf.
This is where you can configure the different options of the server, for example:
- Your share(s):
media_dir=/media/usbdrive/Videos - The name that the devices will retrieve:
friendly_name=BeagleBoneHomeServer
However, if you are still not at ease with the command line, there are additional tools, such as the web interface dedicated to miniDLNA, at http://sourceforge.net/projects/minidlna-web/.