CHAPTER 4
DRAWING THE OBJECT
Things. Stuff. Doodads. Junk. Clutter. Background.
We have a lot of words to describe the objects that surround us, but how often do we really consider them? What would happen if we did?
We would discover that these collections have a lot to say. They not only tell us exactly how to draw them, but they can also tell us something about ourselves.
Before we can get to that, we have to learn how to talk to them. And to do that, we must learn how to bring them to life. We’ll learn how to find the life within our objects and how to use that deeper understanding to make better, more expressive drawings of the things we see on the way.
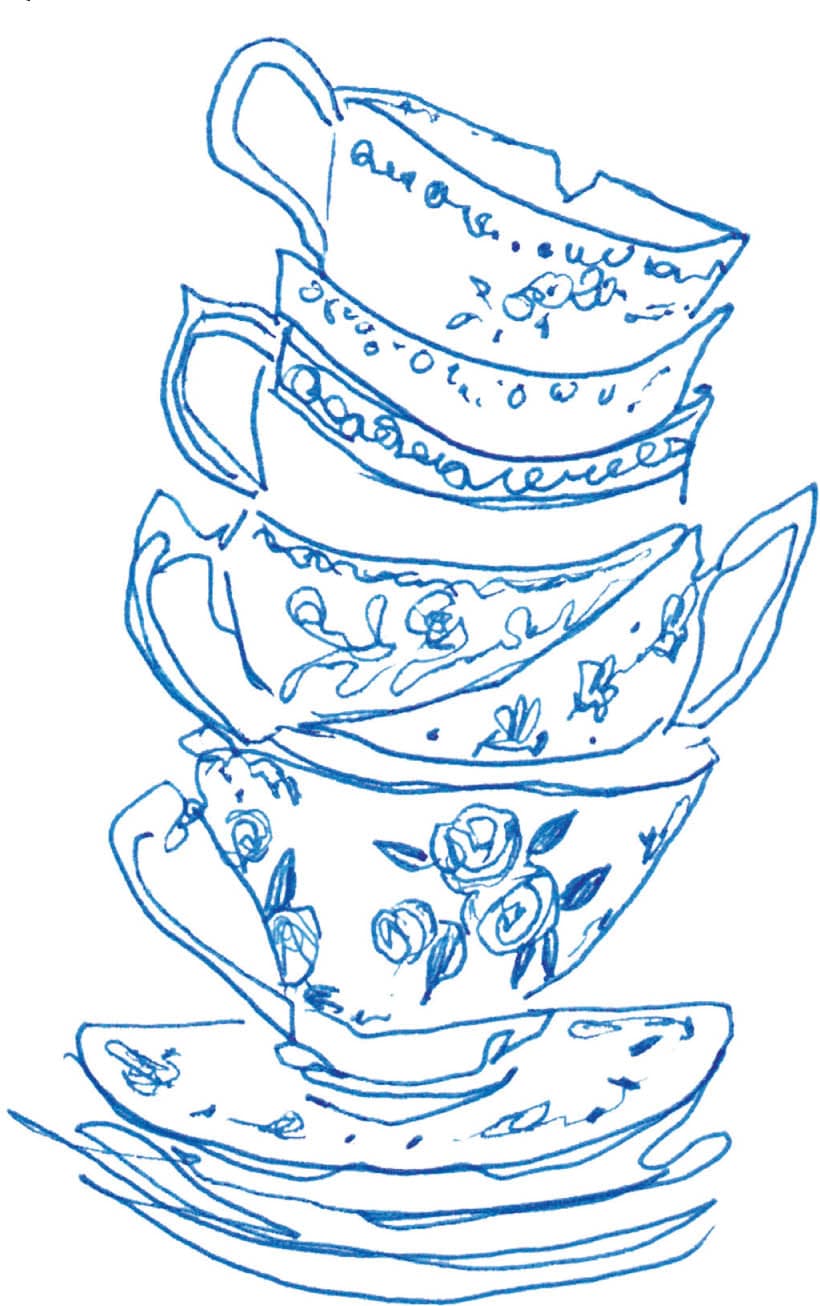
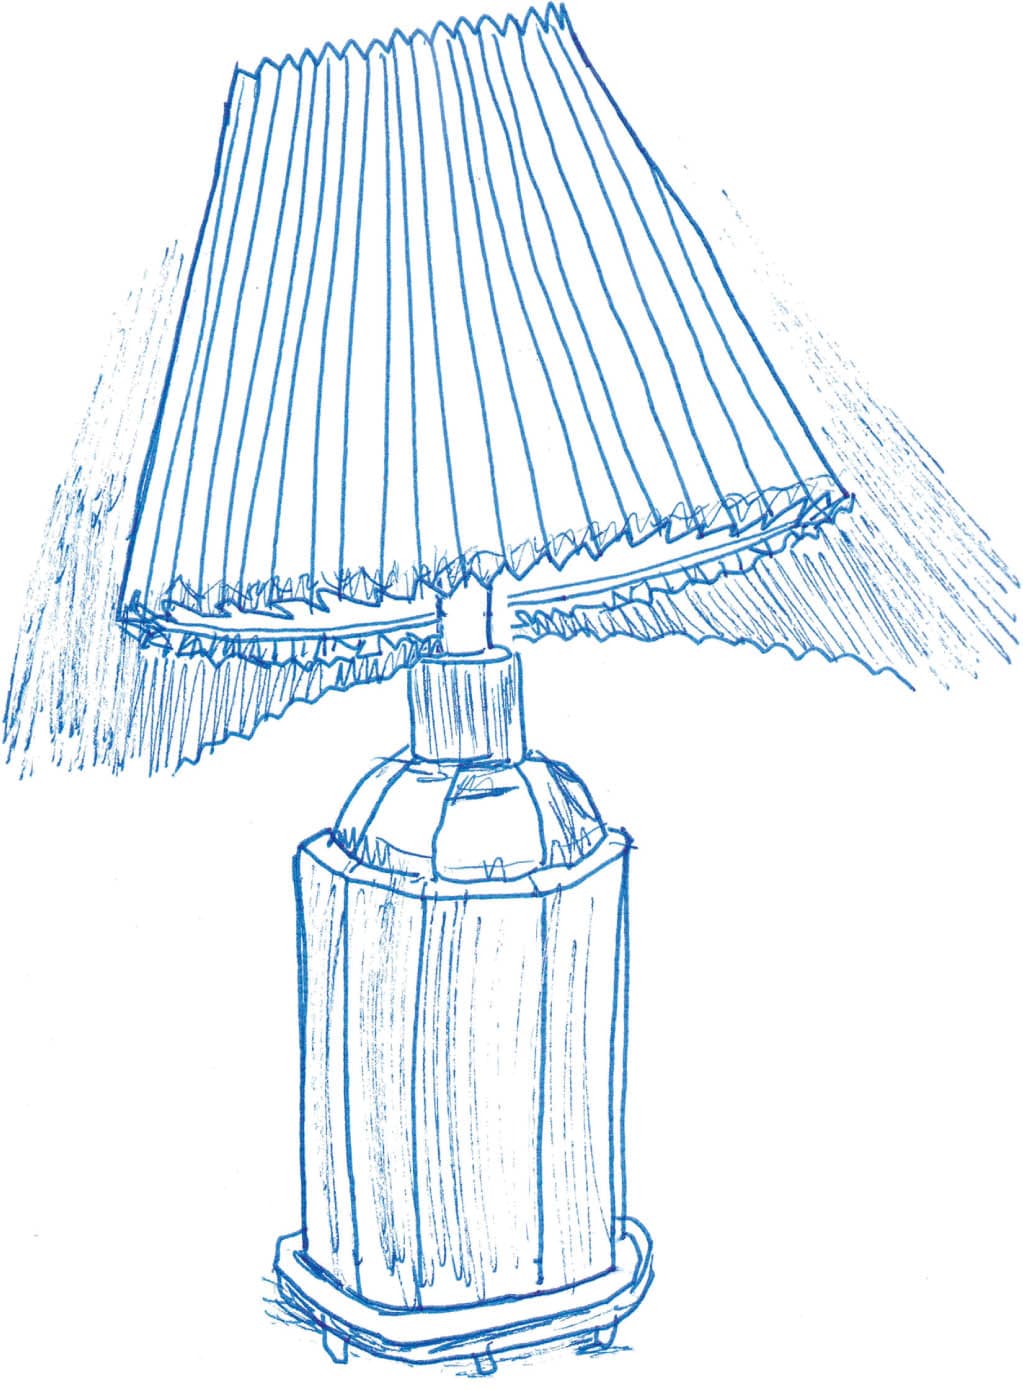
Can a clock be sad? Can a teacup be joyful? Can a shoe be sassy? Science has yet to prove that clocks, teacups, and shoes have deep emotional lives, but it is undeniable that we, as humans, have emotional reactions to the things that surround us. A clock can be sad if you’re waiting for someone to return. A teacup can be joyful if it brings you happiness. A shoe can be sassy if it makes you feel that way. Objects may not possess emotions, but they can certainly reflect them. It’s worth taking the time to contemplate something as simple as a clock, a single flower, or a shoe for what it might reveal. This thoughtful way of seeing the world is reflected in the Japanese concept of wabi-sabi, a worldview centered on the acceptance and appreciation of things that are imperfect, impermanent, and incomplete in nature. The wabi-sabi aesthetic values simplicity and intimacy and appreciates the process of creation, handmade objects, and the forces of time and nature. The lamp with the permanently off-kilter shade is a vessel that holds the story of years of family life it illuminated. Seen this way, we relish the wobbly lines on our page, as well as the humanity of the person who made them. Wabi-sabi encourages us to find the most basic objects interesting, fascinating, and even beautiful and to find meaning in things as they are, not as they should be. Consider your on-the-go drawings the same way: an imperfect, time-bound, appreciative experience of the world around you.Objects Have Feelings
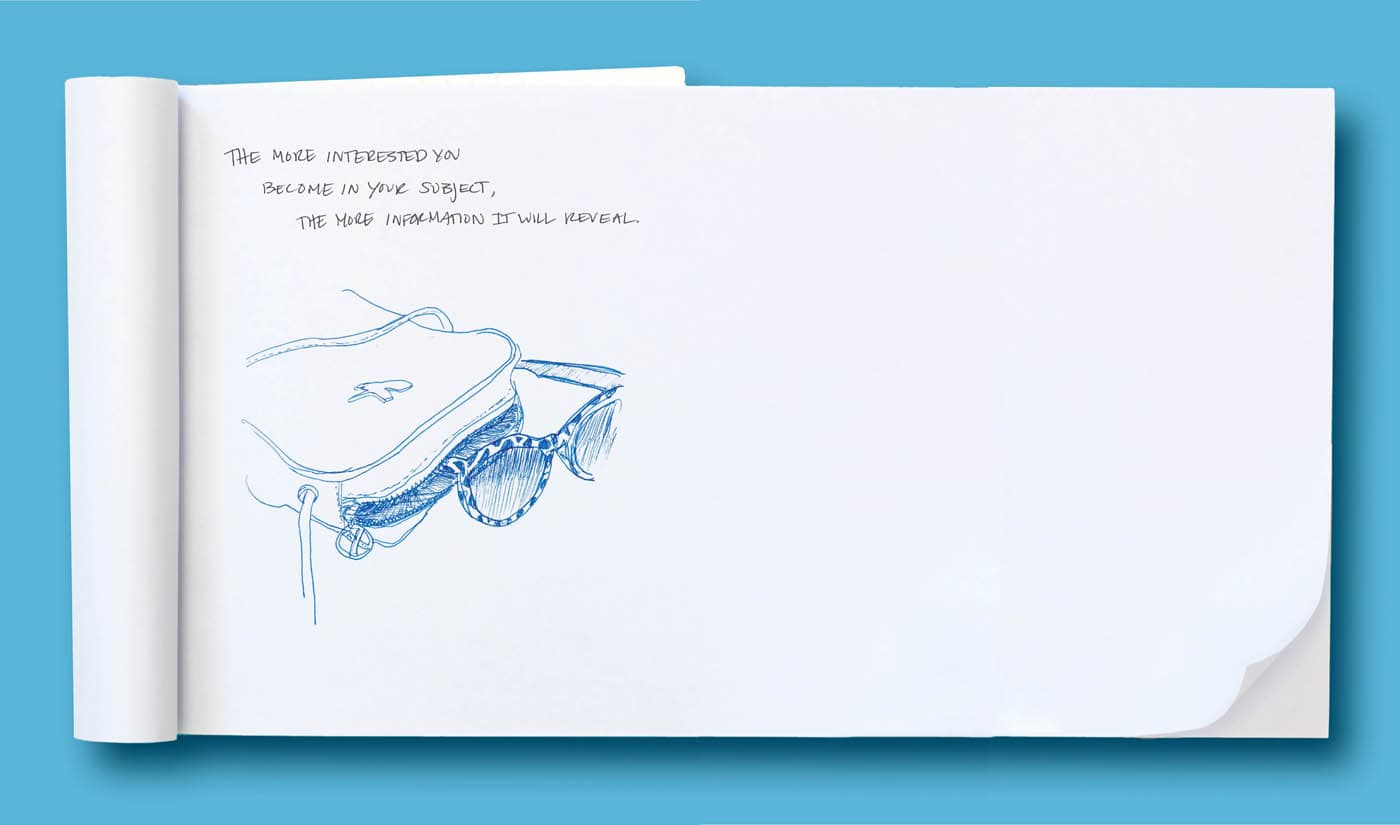
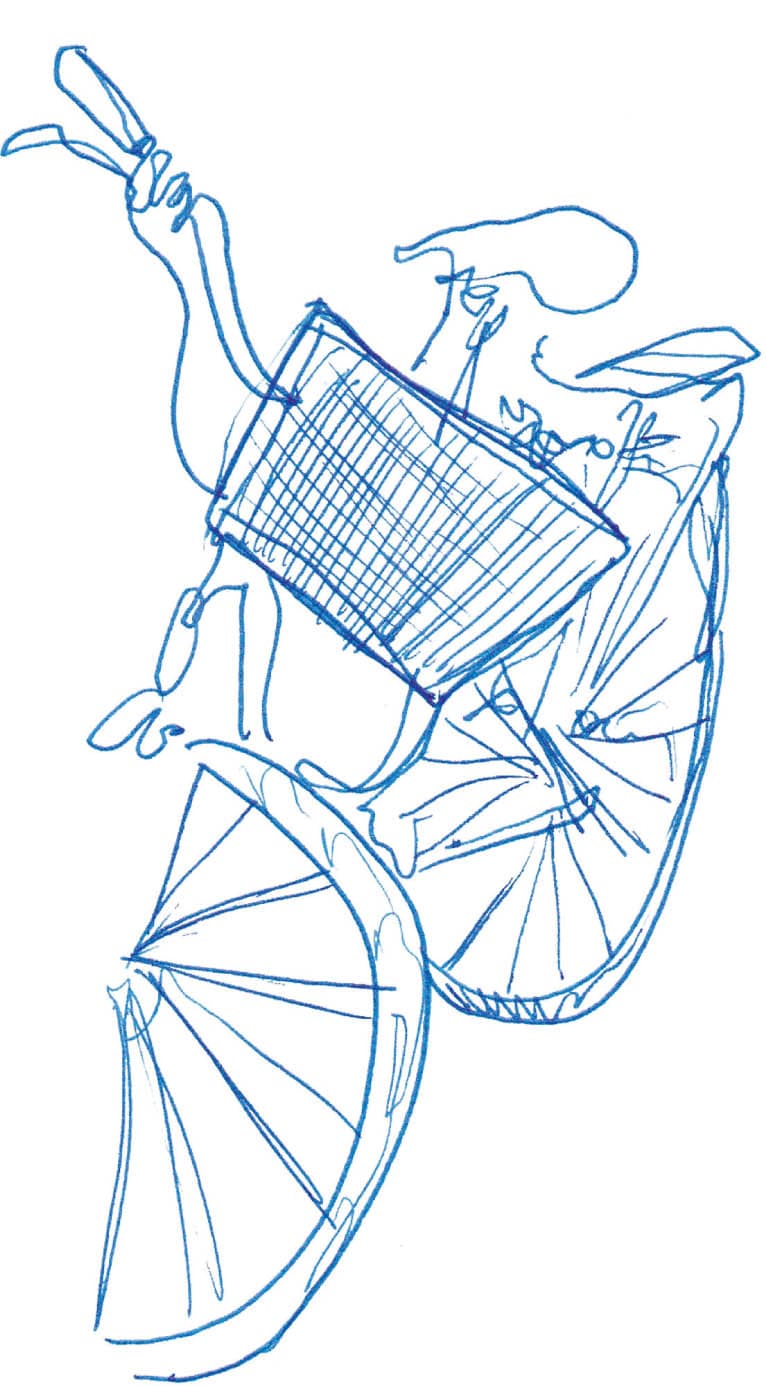
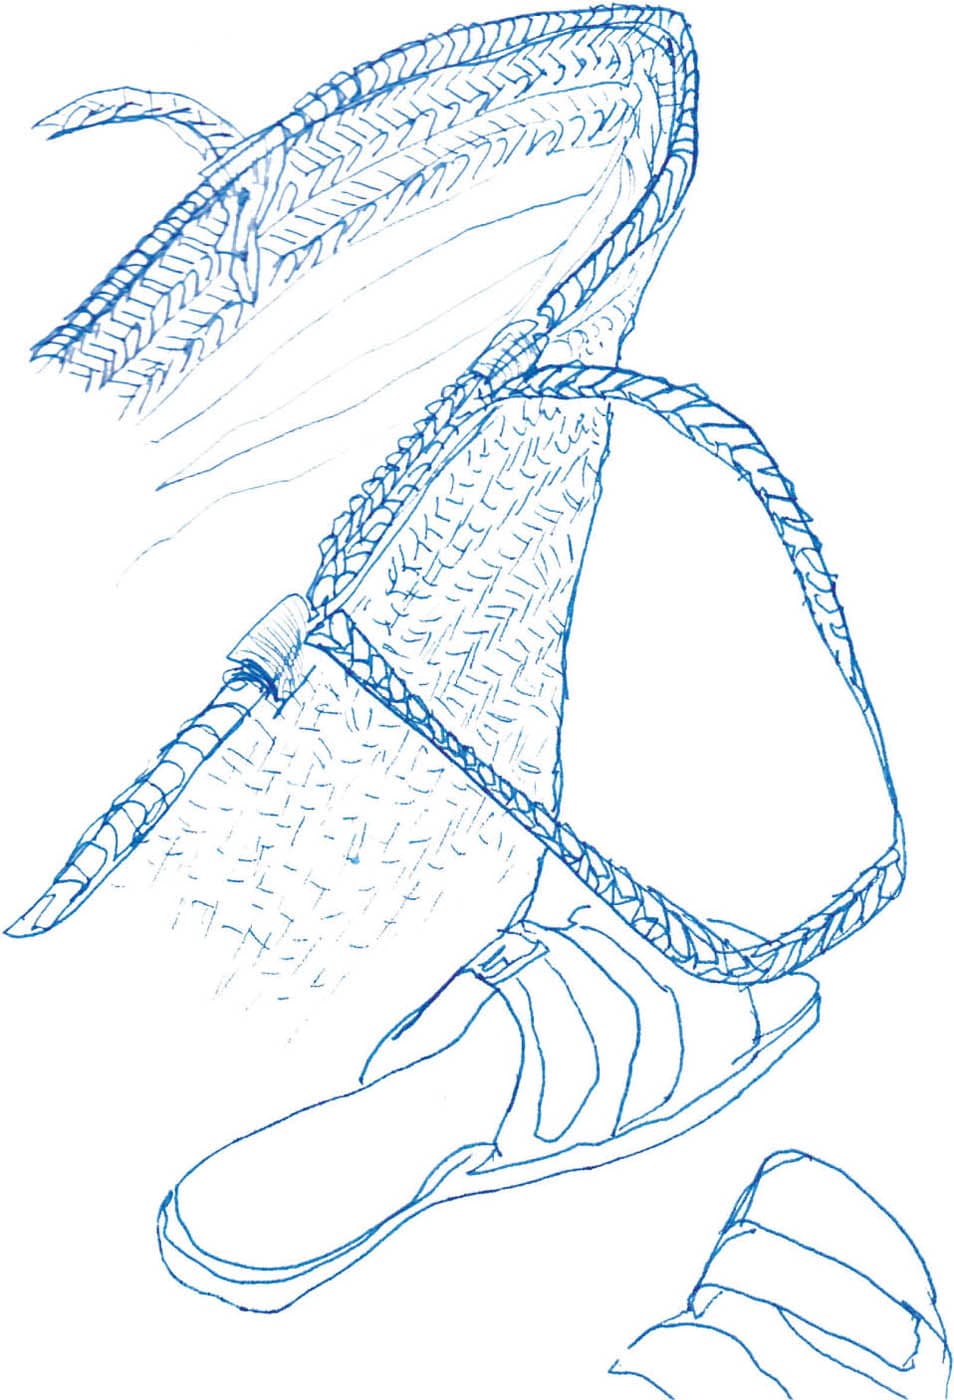
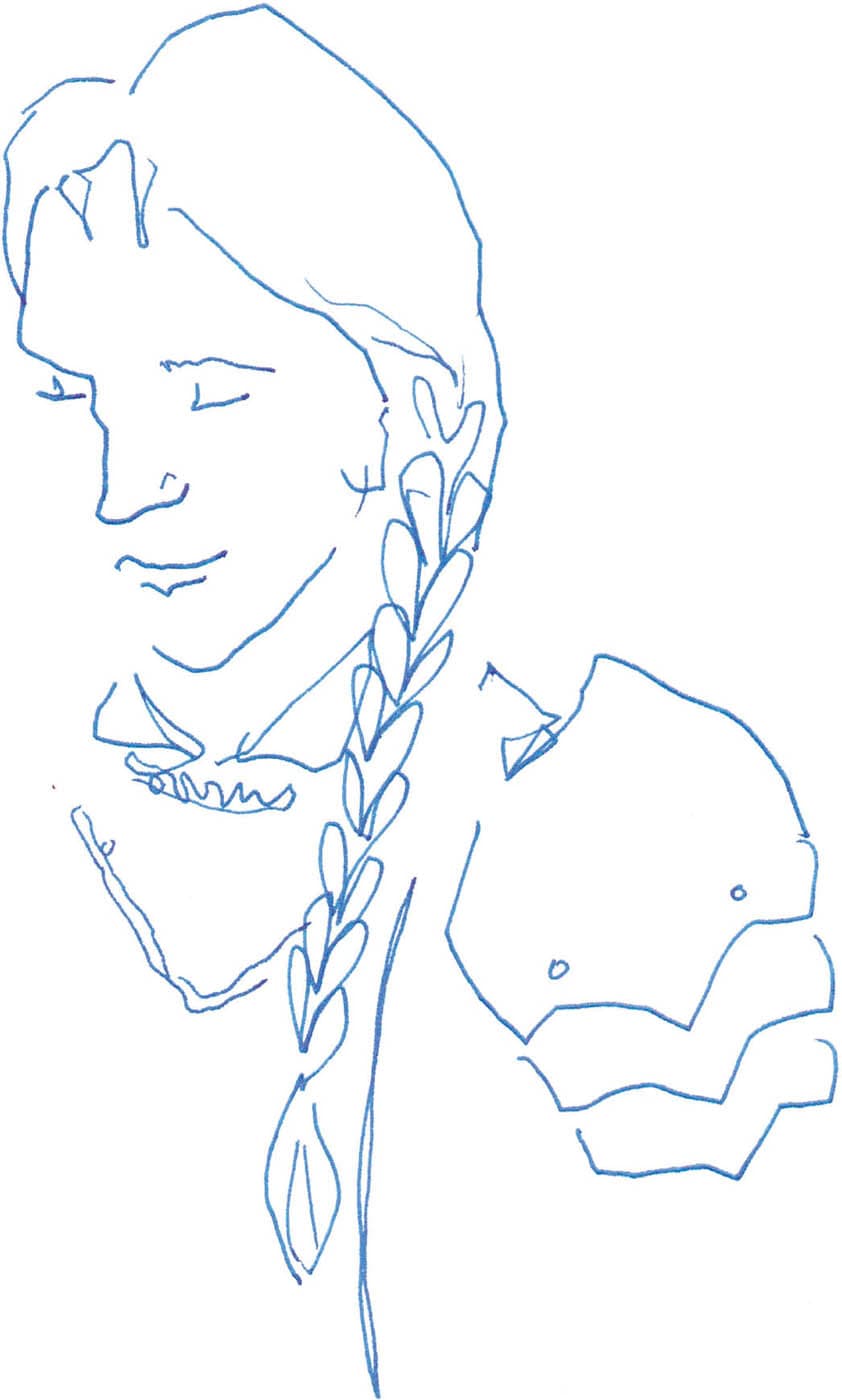
As visual storytellers, we need to understand the objects we draw. The better you know your object, the better you’ll be able to tell its story on the page. Interrogating the object is a method of bringing an inanimate thing to life by asking questions about it. Though this phrase makes the process sound intense, you don’t need to play good cop/bad cop with your object; just have a friendly conversation with it, and it will reveal interesting details and hidden emotions. You can interrogate an object in three simple steps: ask it, understand it, and draw it. 1. Ask the object questions like “What’s happening?” “What am I seeing?” “What are you made of?”; “What’s going on here?”; “How do you work?”; or even, “What happens next?” Questions like these help deconstruct the object and reveal what elements you need to pay attention to as you re-create it. If you’re drawing a tree, and the only information you have is that it’s a tree, you will have to do a lot of work to transcribe it on the page. But if you ask what the tree is made up of, it will reveal its composite nature to you: leaves, stems, bark, branches, knots, swirls, and all sorts of small details. When you become curious about those details, they become clearer to your eye as you represent them. 2. Understand it. If you don’t know what element to draw next on the tree, try asking questions such as, “What are you made of?”; “What’s going on here?” As you answer these questions, you’ll narrate your observations about the object, which creates a timeline: first draw this, then that. Step by step, the object unfolds before you as you transcribe this experience—and your understanding—on the page. Understanding your object in this way also animates it, changing it from a static thing to an active one. The process of observation will reveal it’s order and organization. 3. This step is the easiest: draw your subject! Now that you’ve engaged with and understand your object better, draw what you learned about it on the page. Once I’d drawn the front wheel of this bicycle, I was a little lost—so many wires, handles, and metal bits! I asked, “What happens next?” and the basket came into view. I asked, “How do you work?” and I saw that the basket was just a simple trapezoid shape filled in with a hashmark pattern. Next I saw a handle sticking out from behind, and then a seat, and I kept asking questions until a bike appeared. I didn’t know how to draw the complicated mechanics of a woven straw bag, so I asked my object for some help. The answer came in a series of easy to understand—and draw—patterns. I noticed the way the woven straw formed rows, so I marked those in first. Then I noticed how the pattern of the weave was made up of slanted lines with rows leaning in opposite directions. Now that you’ve begun to consider the object more deeply, you are naturally engaged in the process of understanding it. There are two kinds of understanding: practical and emotional. Practical Understanding: Practically understanding an object means we know how it’s physically put together, and we can transcribe it on the page. To grasp the more complex aspects of an object, I’ll ask, “What does it do?” or “How does it work?” I describe the thing in the easiest way so that my pen can express that. Interrogating an object is also helpful when you’re trying to draw something that you’re already familiar with, such as braided hair. I know braids are made by weaving three strands of hair together, but that can make it harder for me to figure out how to draw a braid. But when I ask, “What do I see?” I notice that the braid makes a heart-shaped pattern, and I simply recreate this new understanding with my pen. This image was drawn at a Renaissance festival right after this female knight hopped off her horse fresh from a round of jousting. Emotional Understanding: Emotionally understanding an object means we understand its spirit or essence. We’ve acknowledged that objects have ascribed emotions, so tap into those. Registering an object’s emotional importance will make for a more interesting, and what I call storyful, rendering of it and help you organize the information you’re gathering. If you’re drawing a tree in early spring and its branches are adorned with thousands of buds, you can’t possibly draw each one. Consider the emotions and purpose of the buds and the story they’re telling. A tree that’s laden with buds is both bare and bursting with potential. Seen this way, the chaos of a million buds is organized by their story, helping you notice how the buds concentrate on the outer edges of each branch, while the main trunks of the tree are bare. With this emotional perspective, you’ll realize you don’t need to draw every bud, just capture the feeling of a tree that’s about to transform. The drawing becomes the story of a tree in spring, rather than simply a drawing of a tree. Remember to draw what you feel, not just what you see.How to Interrogate the Object
Asking the Right Questions
Two Ways to Understand
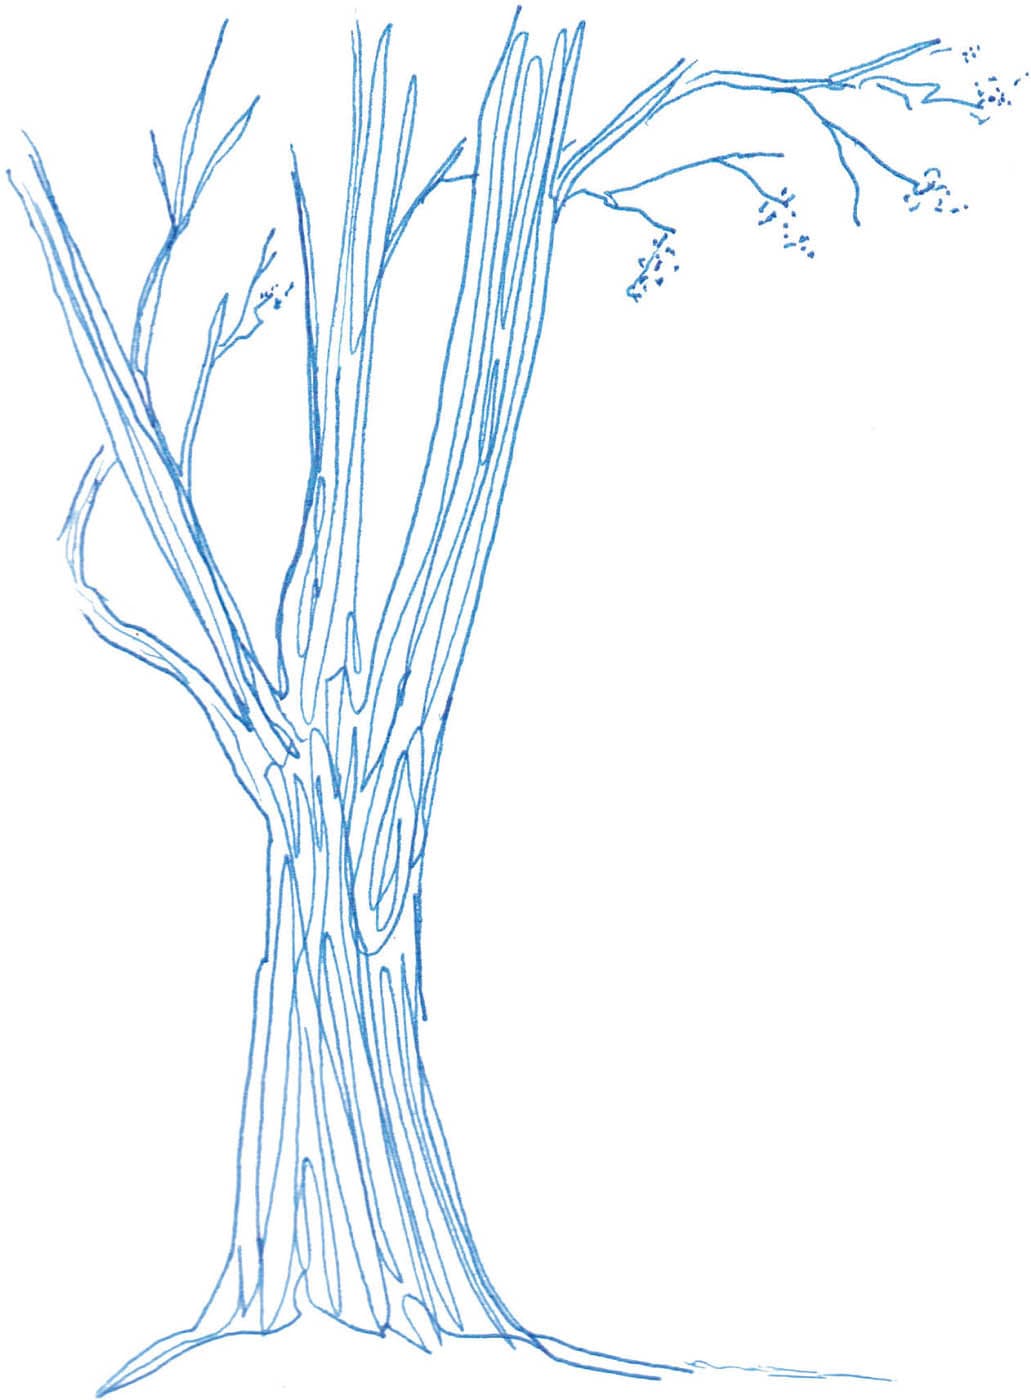
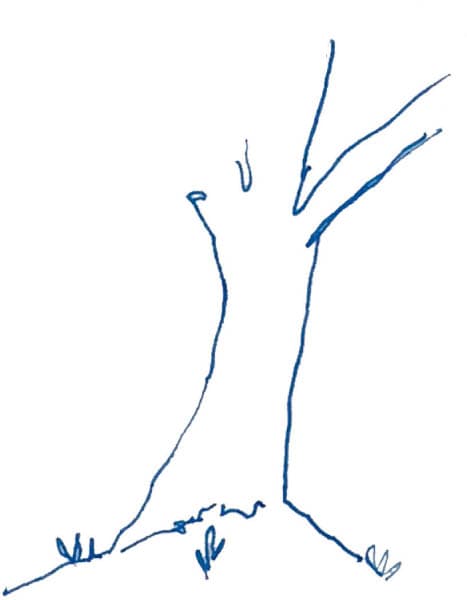
Interrogating an object makes hard things easier to draw by guiding your head and hand to a greater practical and emotional understanding. I’m using a tree for this exercise because (confession) I don’t like drawing trees. I like trees, but I find them difficult to draw. So, let’s see how a little interrogation can help me.
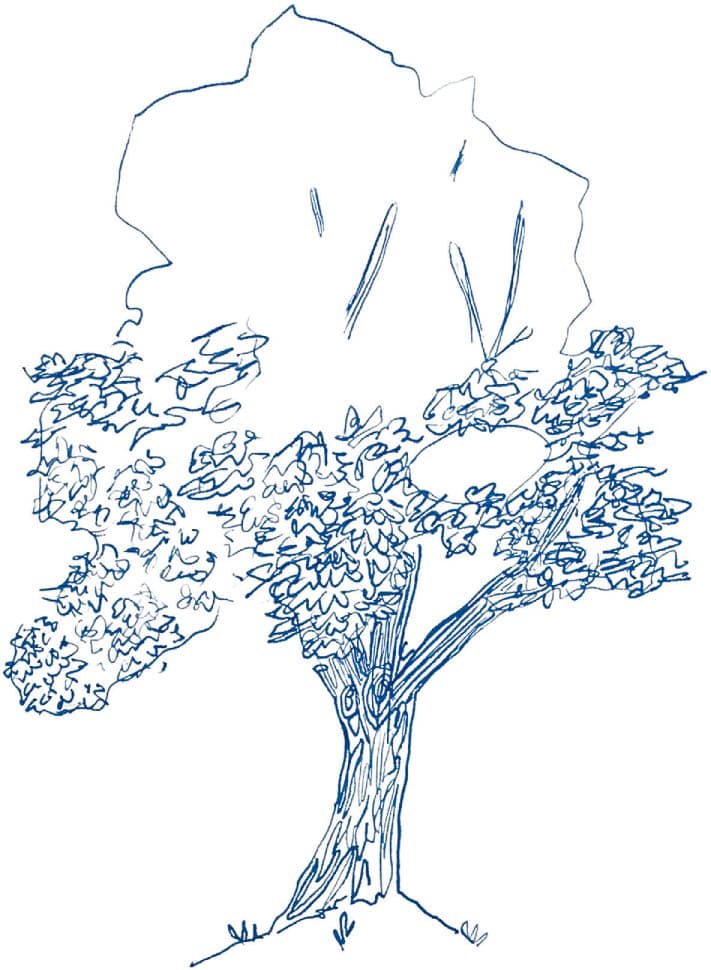
1. Begin by drawing your hook; a general outline will get you started (for more on the hook, see here). My hook was the trunk of a lush maple tree in full leafy bloom, and I traced its general contour.
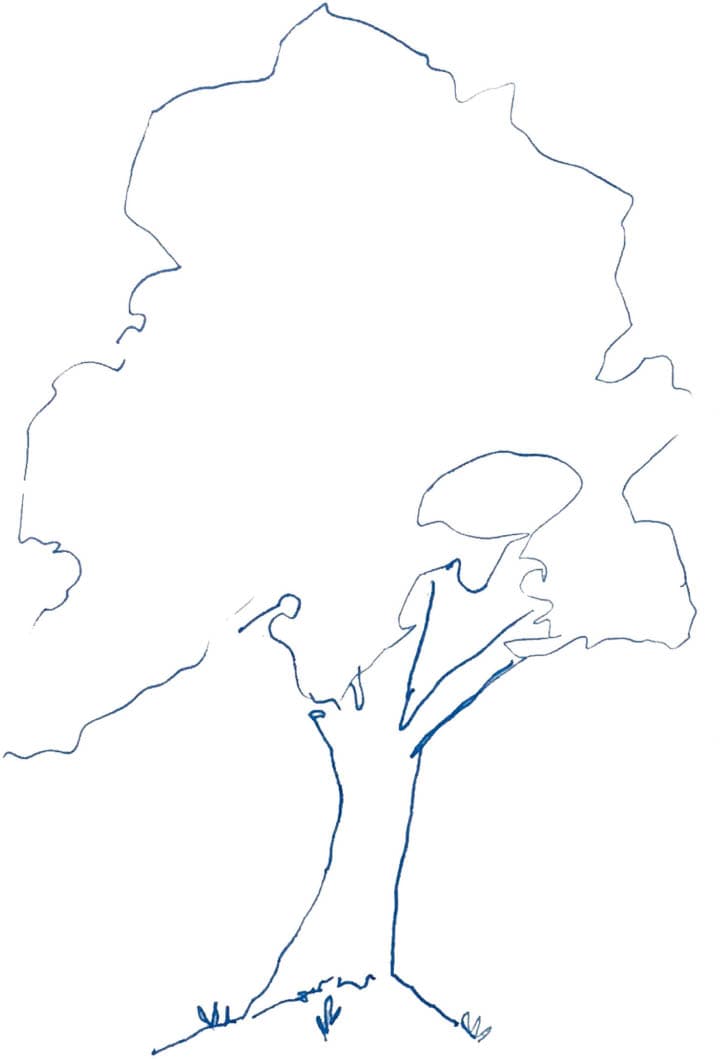
2. I’m not sure what to do next, so I look at the tree’s canopy. It’s large and filled with thousands of leaves. I’m overwhelmed, so I begin asking questions about what I’m seeing. Do the same with your subject; ask, “What’s going on here?” This question prompts me to see the canopy as a a cloud shape. I block out the canopy with a light outline, leaving an opening where I can see a bit of sky. We’ll add more details as we ask more questions.
3. Once you have the basic construct, it’s time to add more details. Ask the question again, “What’s going on here?” I draw the little gaps in the canopy where some large branches peek through, scribbling my pen back and forth to darken them and make the rough texture of bark.
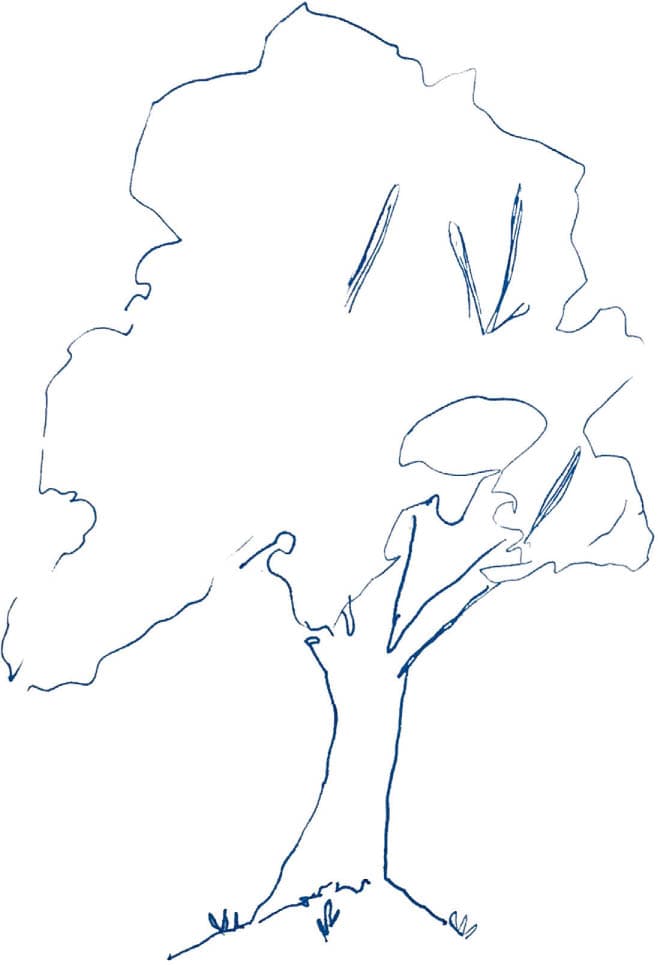
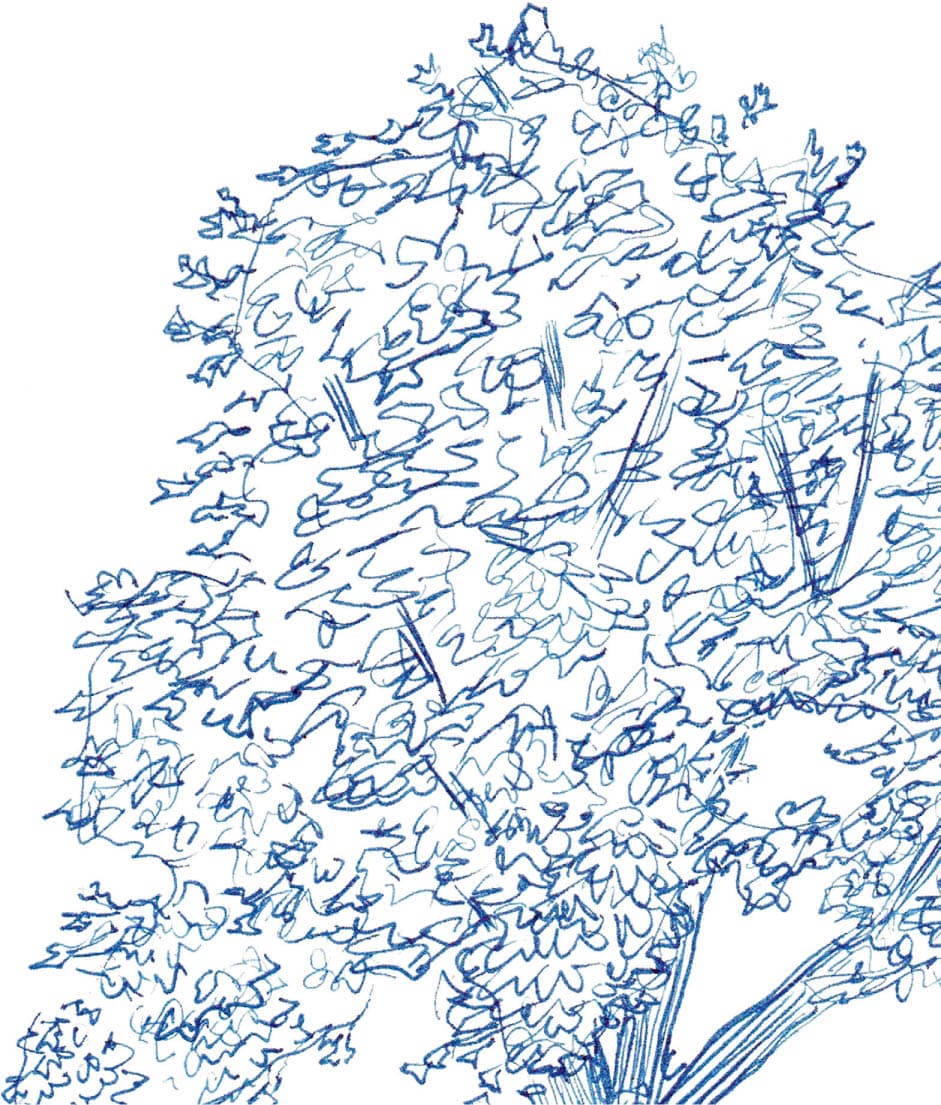
4. Each new question increases your understanding and builds another layer of your drawing. I ask, “How do those leaves work?” They seem to grow in bunches, almost like clusters of grapes, and are flat, pointed, and rest on top of each other in layers. I try to find the pattern or gesture I can make with my pen to render the leaves without drawing every single one; I draw clusters of jagged scribbles and layer them to replicate the way the leaves appear on the tree.
5. Continue asking questions with each new detail that catches your eye. Experiment with adding lots of detail or adding very few details that are telling. It doesn’t take much to communicate an essence of something when you deconstruct your object in this way. The bark is striated and rough and swirls around two large knots. I draw long swirls, mimicking the patterns of the bark and the knots. I retrace and darken some of the lines inside my branches to make them heavier, showing the shadows and depth of the rough bark. I do the same where the large branch splits under the canopy to show it’s in shadow.
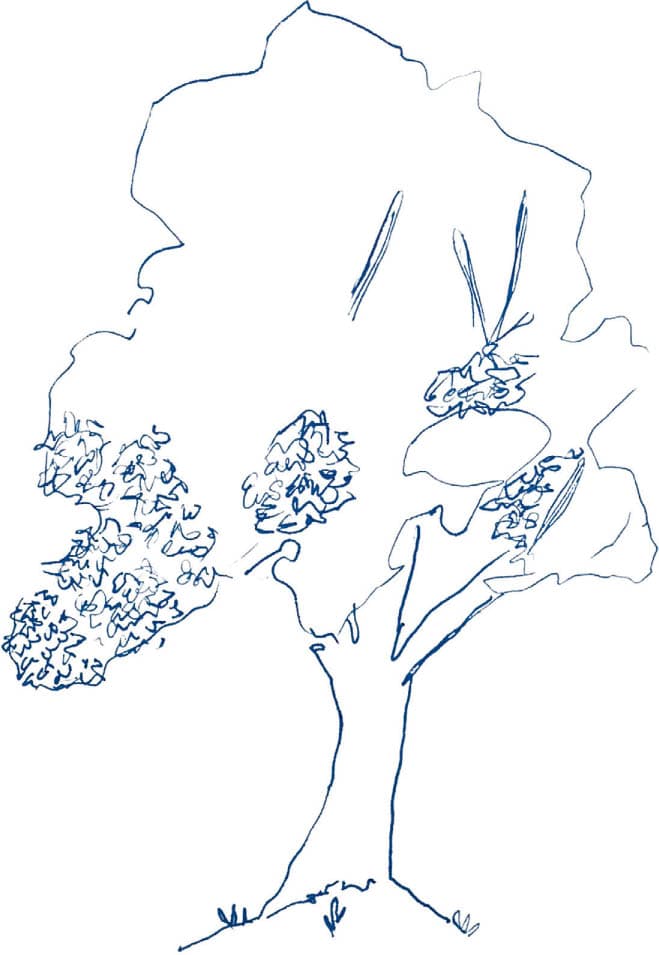
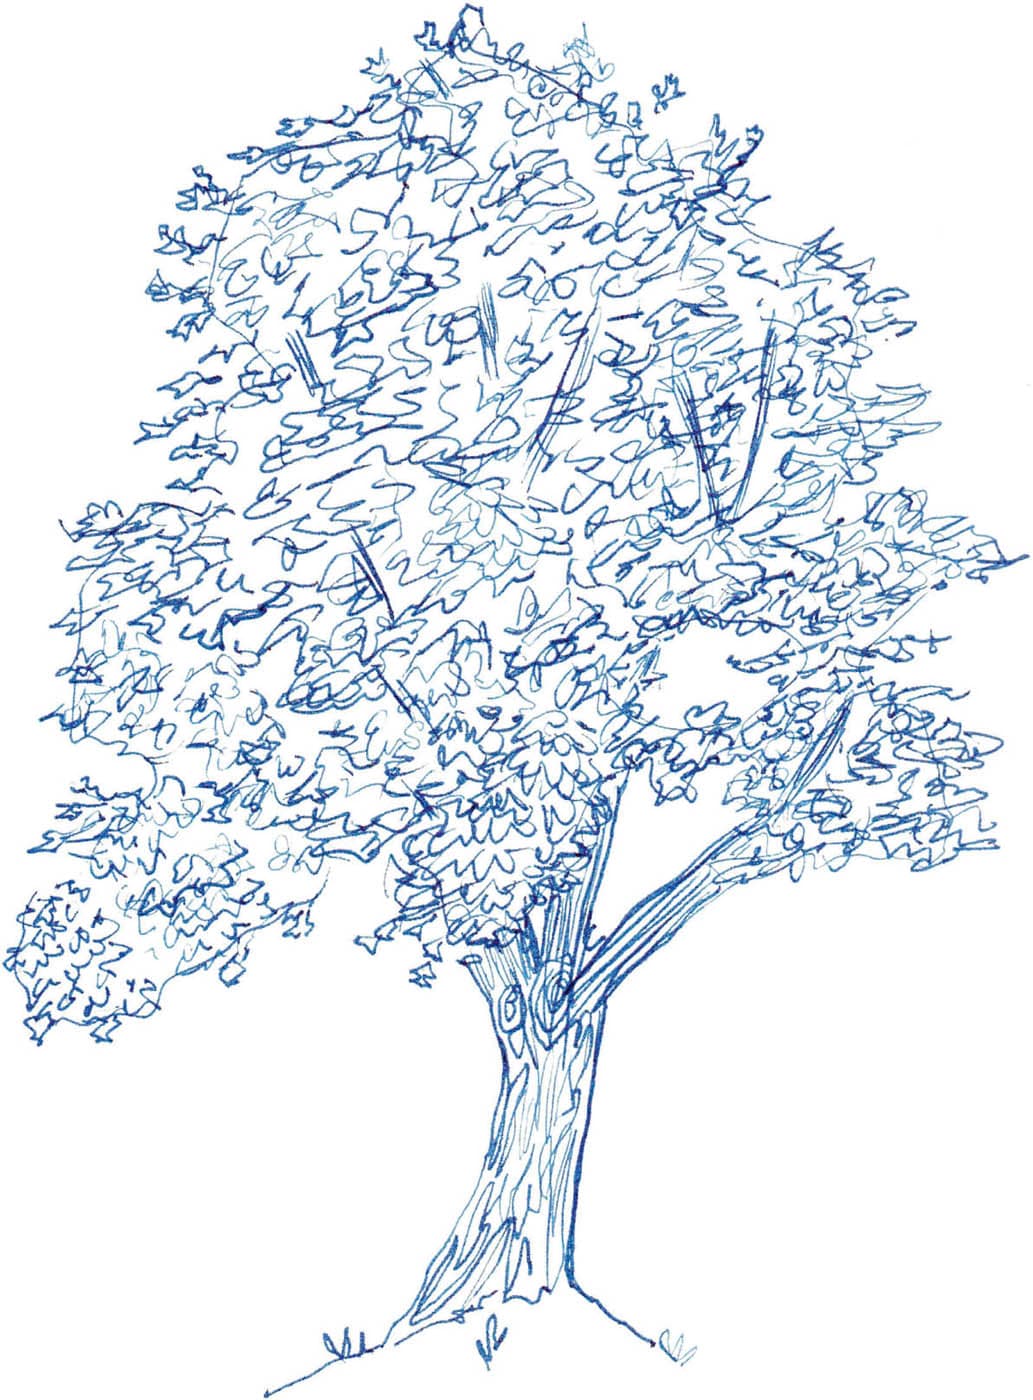
6. If you’re almost done, compare your drawing to the object. This is often where I notice some small detail that speaks to the whole, captures its spirit, and completes the story. I see individual maple leaves on the outside edge of the tree’s canopy; they make the tree feel alive, and I realize this is what my drawing is missing. I add individual leaves sporadically around the edge of the canopy line. By doing this, I cover up my original line, making the canopy shape more organic.
7. Make a final comparison between your drawing and your subject and pose one more question: “Is there anything else I should have asked?” I add a few more branches in the canopy and darken the bark to make the contrast match what I see. I retrace the bark to make thicker, darker lines where the trunk and branches are in deeper shadow. I drop in a few extra branches between clusters of leaves, scribbling back and forth a few times to create the texture of the bark and darkening up these branches that are in shadow. I’ve created a tree by simply asking questions, answering them in my mind, and then drawing the answer on the page. The tree told me everything I needed to know to draw it!Exercise: Interrogate and Draw a Tree