
Originally Google Drive was just a cloud-based disk drive. It was just like a regular disk drive, except it stored documents in the cloud to make them available to any system with an Internet connection . This also meant that if you didn’t have an Internet connection, you didn’t have access to your data.
Later Google Drive became Google Backup and Sync. This system lets you have a directory that is replicated across all of your computers and the cloud. This means you have access to your files even if there is no Internet. If you make changes to a local copy, Google will copy it to the cloud version of Google Drive and then to all your other computers connected to the Internet. In other words, it looks to you like you have single shared directory across all your computers.
The advantage of this is that you don’t have to keep moving files from system to system to work on them. In our case, this book is stored on a USB drive that moves from place to place. If we had used Google Backup and Sync, we could have all these files stored on all our computers and not worry about forgetting the USB drive when changing computers.
Google Backup and Sync also has the ability to back up your important files. (You select the directory that’s important.)
Warning
Google Backup and Sync is a free service, and there is nothing you can do if Google decides to turn it off tomorrow. Do not keep your only copy of important data on Google servers.
In this chapter, you will learn the following:
How to install Google Backup and Sync
How to share files using a Google Drive folder
How to back up important folders
How to share files
Installing Google Backup and Sync
Google Drive has a web interface as well as an application that integrates Google Drive with the Windows File Explorer. Start by going to http://drive.google.com and signing in. The initial screen will look different if you already have a Gmail account and have used it in this browser. But after a few prompts, you’ll arrive at the screen shown in Figure 17-1.
Now let’s get the Google Drive application by selecting Settings ➤ Download Backup and Sync for Windows.

Figure 17-1 Getting the application
The download page will appear, as shown in Figure 17-2. Click the Download button in the Personal Use section.

Figure 17-2 Download page
Next you have to agree to the terms of service; once you’ve done that, the download will begin. After downloading the program, start it by clicking Get Started, as shown in Figure 17-3 .

Figure 17-3 Initial installation window
If you’re not already signed in to Google , you need to do so now, as shown in Figure 17-4.
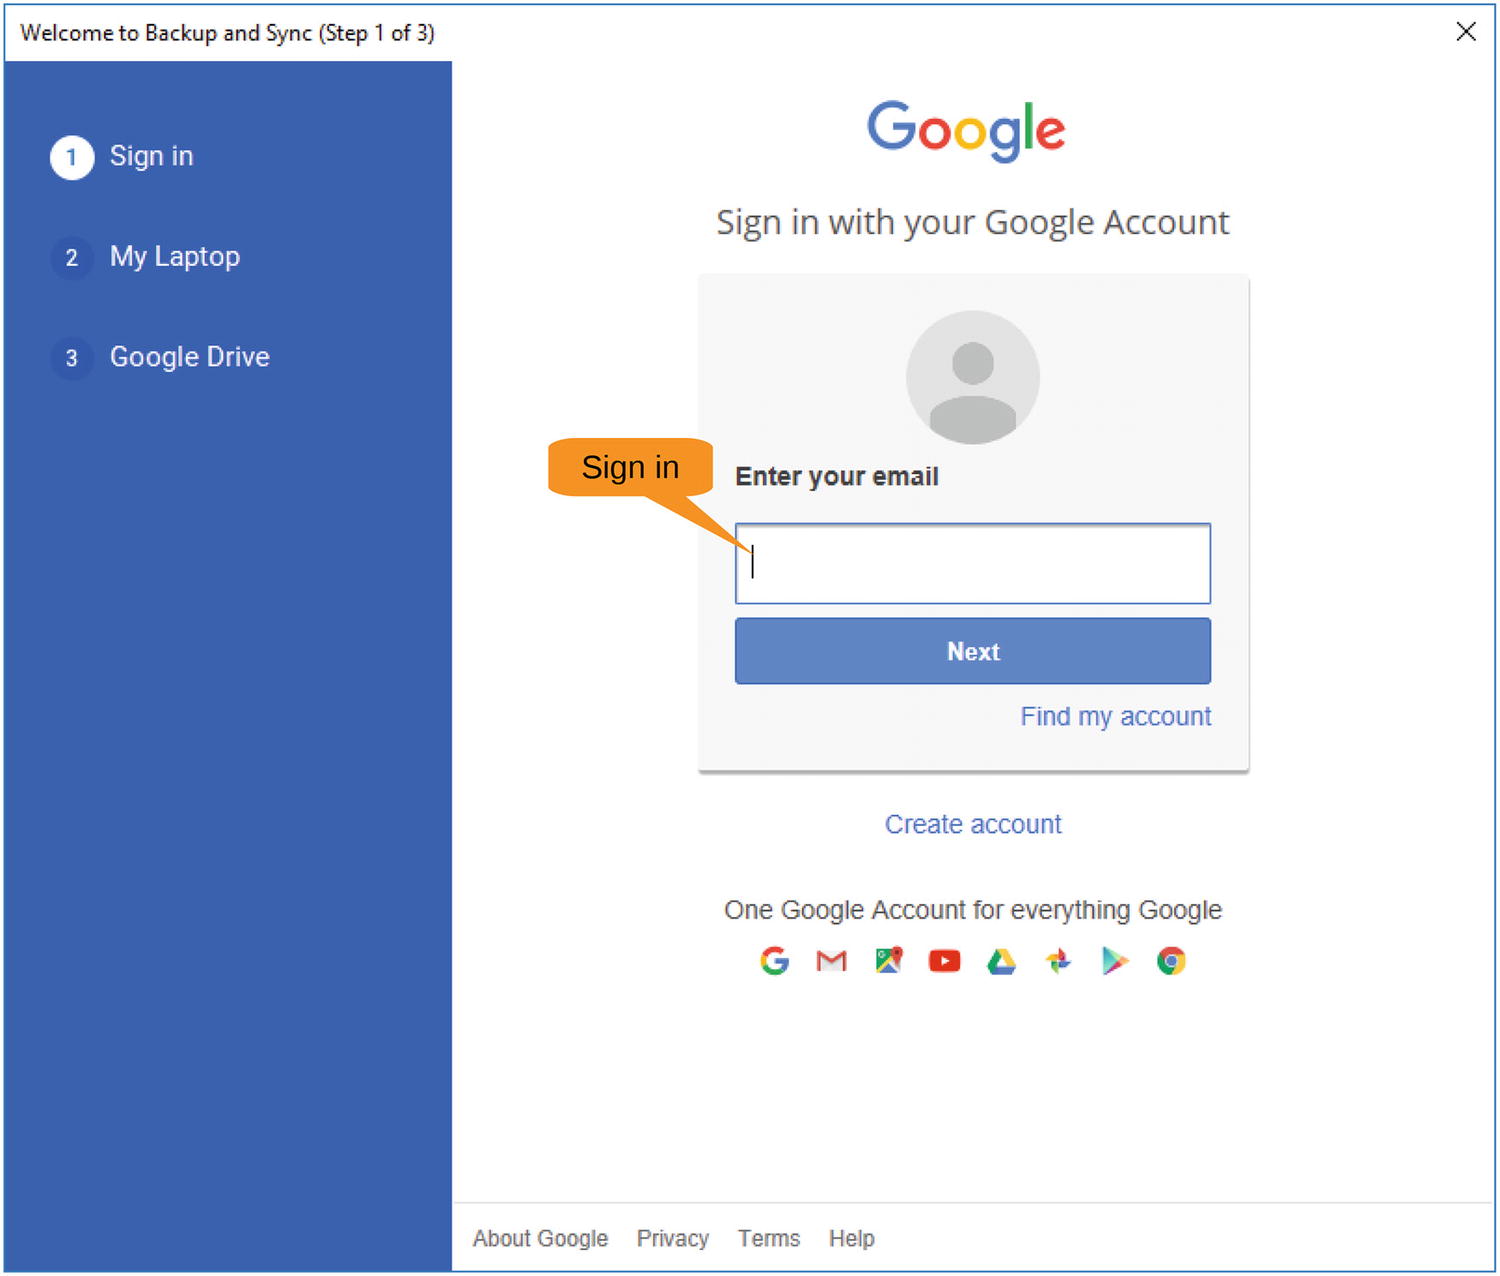
Figure 17-4 Signing in to Google
The next screen, as shown in Figure 17-5, tells you what the screen after that does, so click Got It to continue .
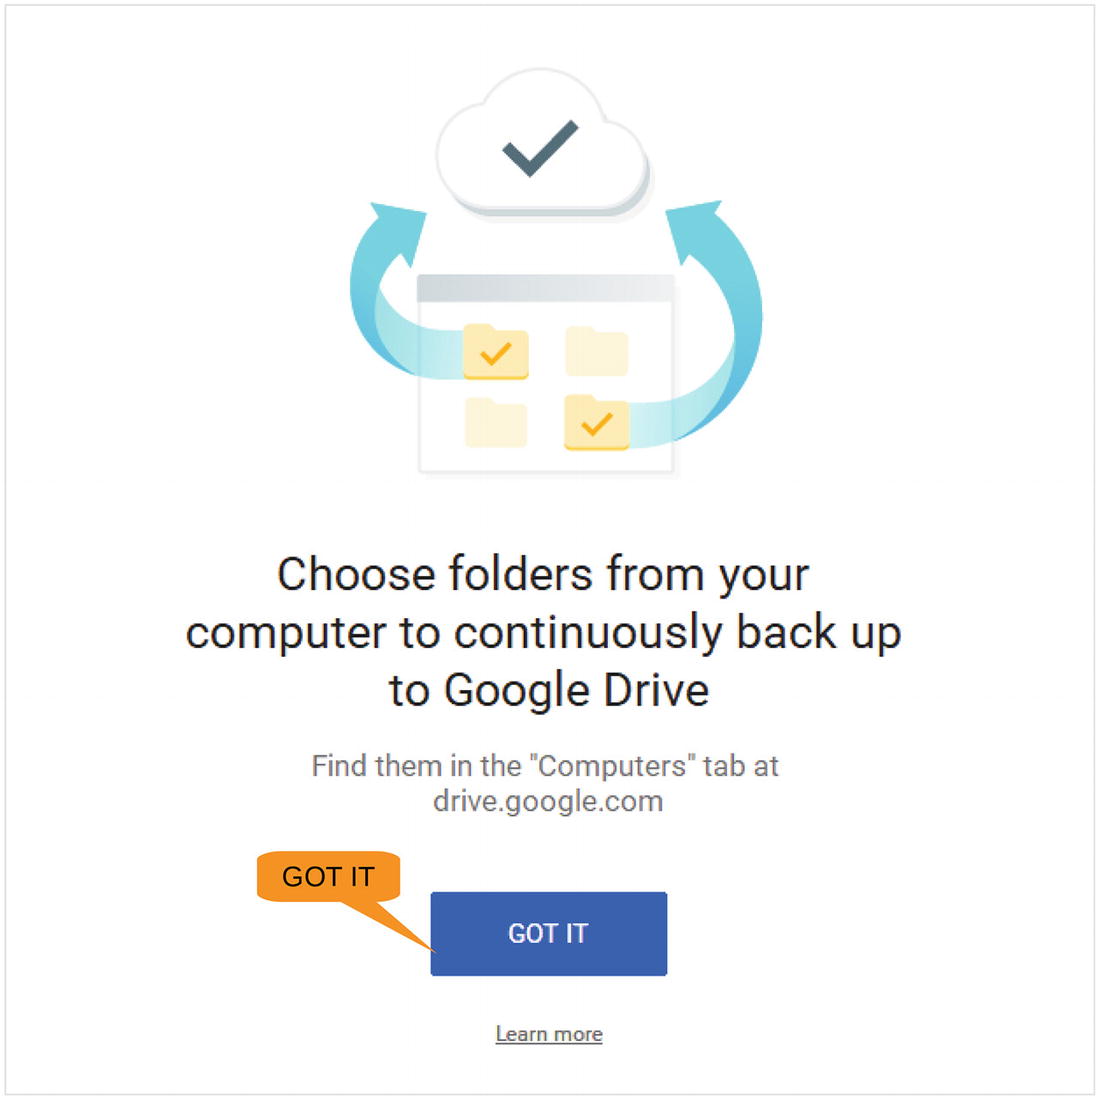
Figure 17-5 Clicking Got It
The next screen lets you select the folders to be automatically backed up, as shown in Figure 17-6. By default these include Pictures, Documents, and Desktop. When backed up, these files will occupy their own folder on the Google Drive web site and are not downloaded to your other computers.
This is different from the Google Drive folder on your computer that will be synchronized with the Google Drive cloud storage and all your other computers. (That is done automatically and does not need to be configured.)
Also, note that we’ve named the computer My Laptop. That name will be useful when trying to find the backup on the Google Drive web site.
If you have folders with really important files, add them here. When you are done, click Next.

Figure 17-6 Selecting a folder
Another information screen appears telling you what’s about to come. Click Got It.
Finally, you get to the Drive part of Google Backup and Sync, as shown in Figure 17-7. This lets you synchronize the cloud version of Google Drive with your local Google Drive folder. Since this is the first time you’ve set this up, there is not much to sync, but click Start anyway.

Figure 17-7 Synchronization process
The confirmation window appears, as shown in Figure 17-8. Click Continue to start the process.

Figure 17-8 Confirmation window
When you’re done, close the final window. Now start the Windows File Explorer . You’ll notice that you have a new item in the “Quick access” section named Google Drive, as shown in Figure 17-9. Select it, and you’ll see the files on your drive.

Figure 17-9 File Explorer with Google Drive
Now you can treat this as pretty much a normal drive, although one that’s a little slow. In particular, as shown in Figure 17-10, you can drag files from one File Explorer window to another to copy files.
Drag and drop to add files (just like any other folder only slower).

Figure 17-10 Using drag and drop to copy a file
After a few seconds, the file will appear in your web view as well, as shown in Figure 17-11.

Figure 17-11 Web interface to Google Drive
Sharing Files
Say we want to share this chapter of the book with our editors. So, we need to tell Google Drive that we want to share it with them. We start with the steps in Figure 17-12, which consist of right-clicking the document and selecting Share.

Figure 17-12 Sharing a document
The “Share with others ” window appears, as shown in Figure 17-13.
There are two ways of sharing a file. The first gives Google a list of people to share it with. That works only if they all have Google accounts. The second is to create a shareable link. This is less secure because anyone with the link can view the document. Let’s use this method here, so click “Get shareable link.”
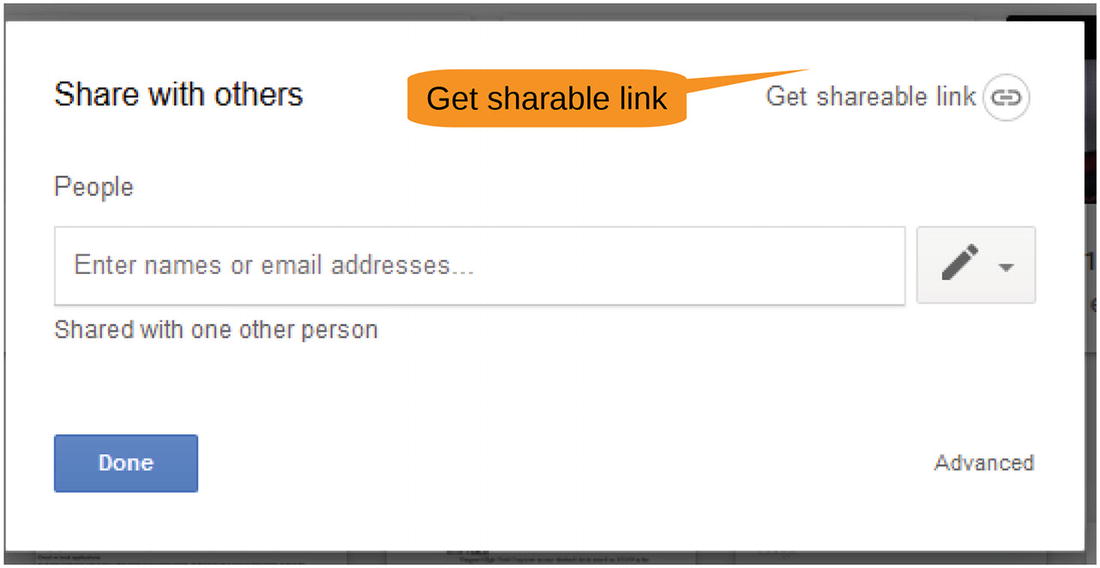
Figure 17-13 Sharing with others
The magic link is copied to the clipboard, and sharing is enabled. You can now e-mail this to other people so they can view the document.
Using the Backup and Sync Controls
You may notice a small icon in the lower right of your screen. Figure 17-14 shows where this is located.

Figure 17-14 Opening the Backup and Sync controls
Clicking this icon brings up the Backup and Sync control panel , which shows you the progress of any synchronization that is being done. It also contains icons that will take you directly to your Google Drive (local copy) and Google Drive (web copy).
Summary
Google has tried to make Google Drive as simple and as easy to use as a regular disk drive. There are a few more advanced features to explore such as version control and document conversion, but for the most part Google Drive is easy to get started with.