
In the previous chapter, you learned the basics (and a few fun features) of LibreOffice by creating your party invitation. Now you’ll put LibreOffice to work. In this chapter, you’ll learn how to write a business letter with LibreOffice Writer.
Specifically, you’ll do the following:
Create and use custom styles
Apply indents
Format paragraphs
Format pages
Creating a Business Letter
In this section, you’ll create a simple business letter similar to the one shown in Figure 3-1 (although we hope your letter will cover a different subject matter).
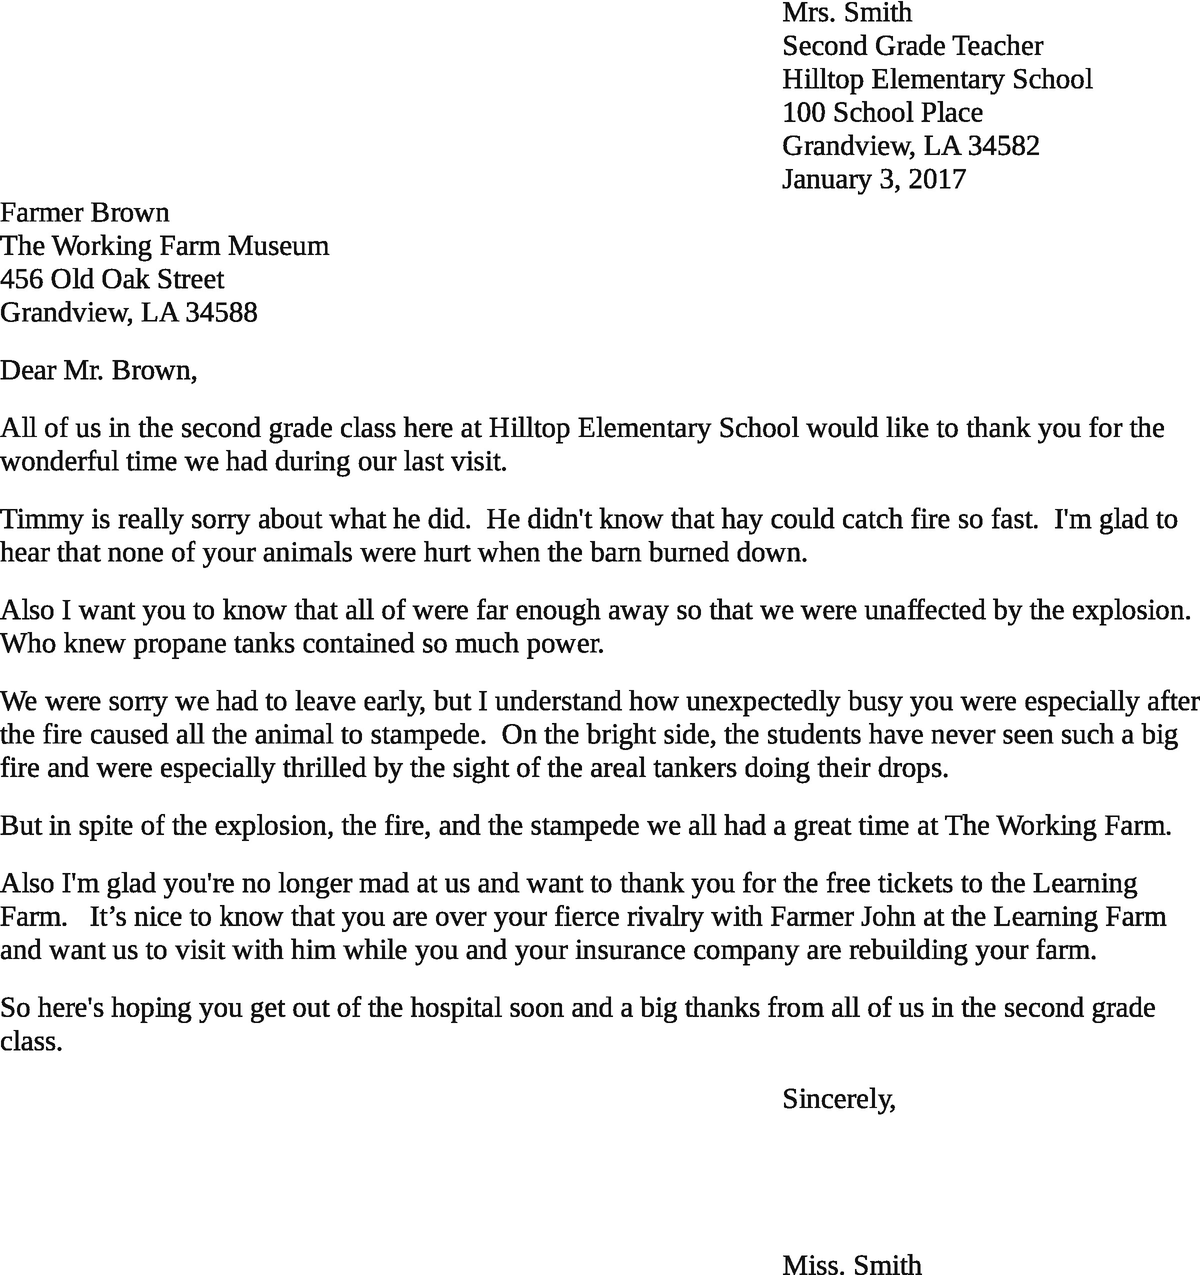
Figure 3-1 Business letter
Creating the “From” Section
Let’s start with a new document . Open LibreOffice and select File ➤ New Text Document. You’ll notice that the “From” section is formatted with these attributes :
Paragraphs are indented 4.5".
There is no space between paragraphs.
Since you have more than one paragraph, you’ll define your own paragraph style. You will reuse this style later in the chapter.
Start by opening the Properties panel and clicking the New Style icon (Figure 3-2).
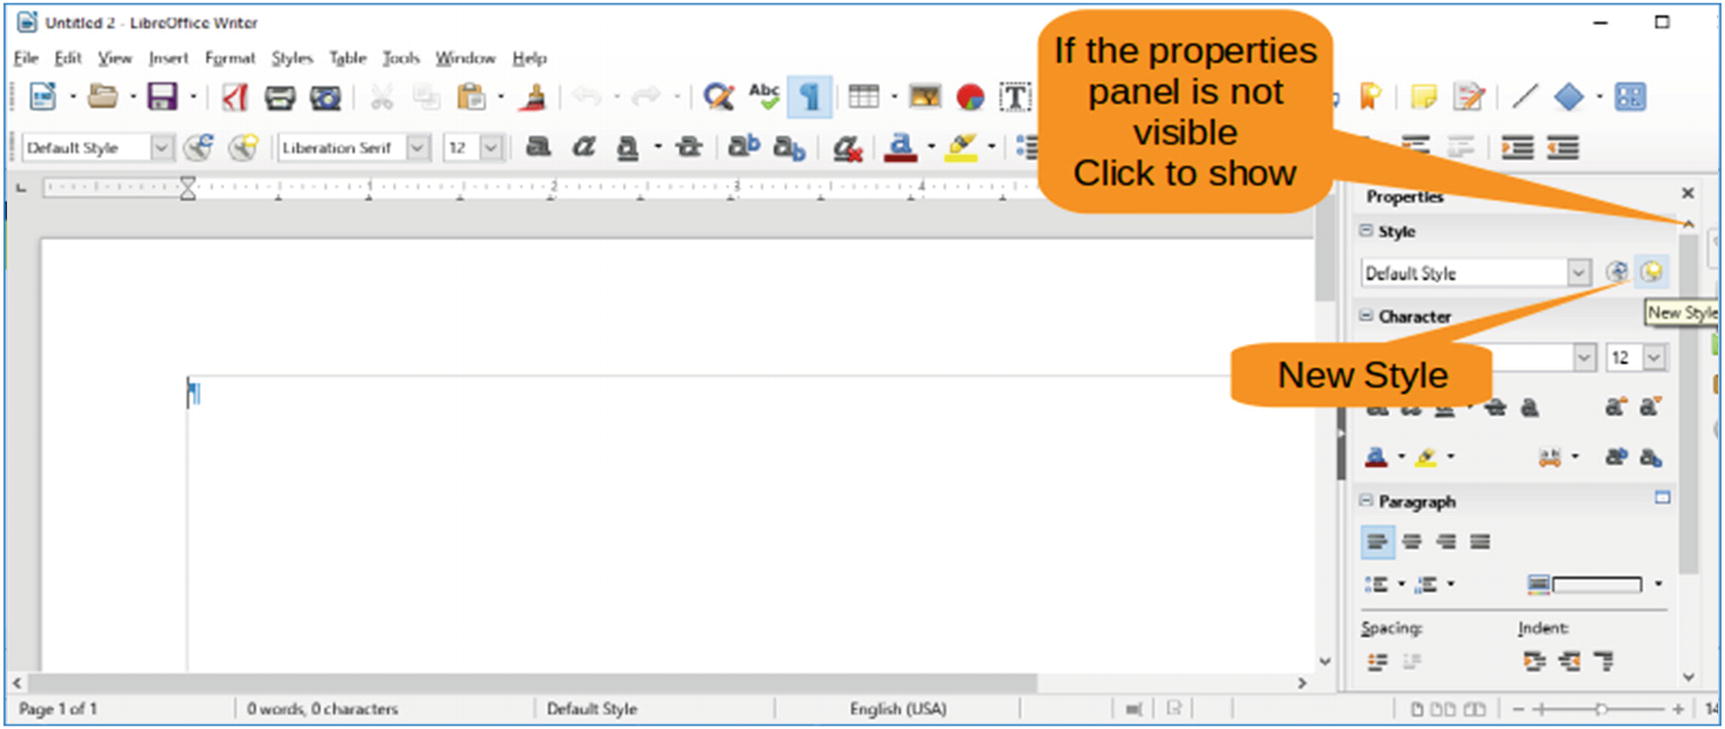
Figure 3-2 New Style icon
The Create Style dialog appears. Enter a name for the new style such as From Address and then click OK. Figure 3-3 illustrates these steps.
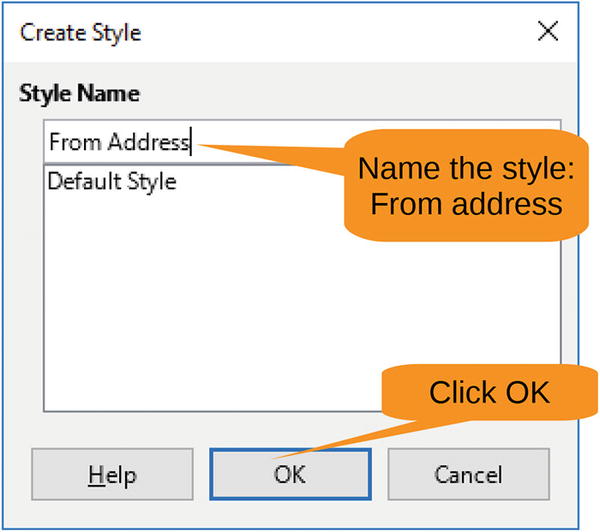
Figure 3-3 Create Style dialog
Now you need to update the paragraph settings to reflect the style you want. The settings that need changing are listed in the Properties panel. They are as follows:
Before Text Indent: 4.5"
Above Paragraph Spacing: 0.0"
Below Paragraph Spacing: 0.0"
Figure 3-4 shows the location of these settings.
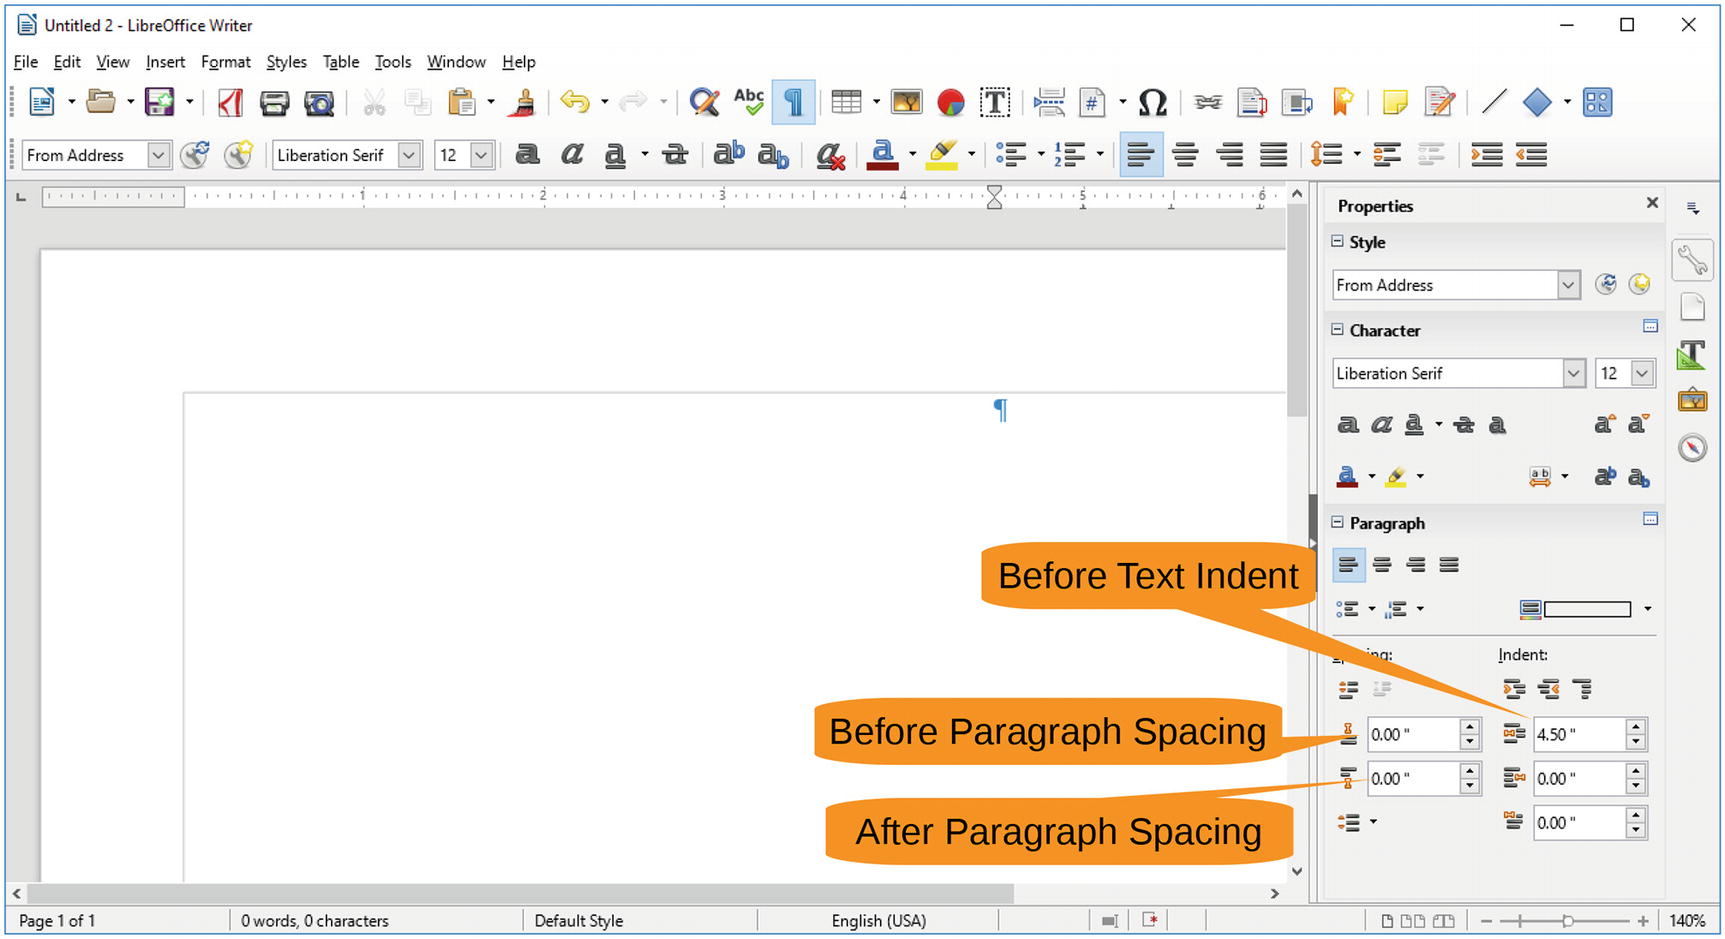
Figure 3-4 Paragraph settings
So far you’ve changed the properties just for the current paragraph. You want to change the properties for every paragraph of this style, so click the Update Style icon to change the From Address style, as shown in Figure 3-5.
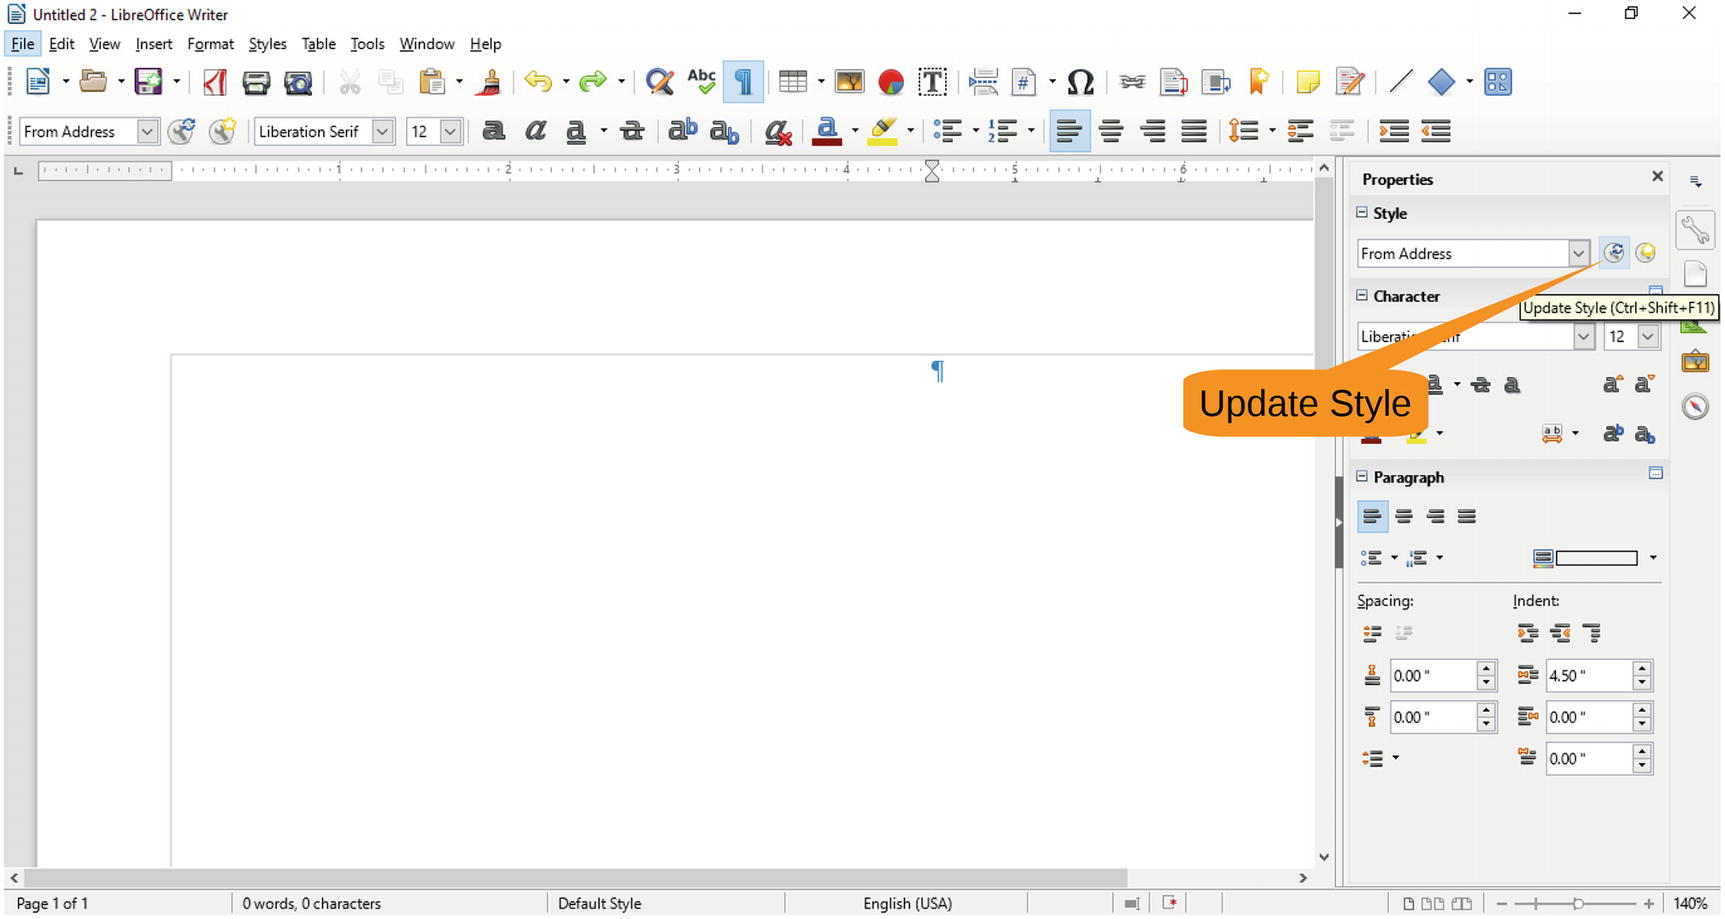
Figure 3-5 Update Style icon
Now let’s enter the “From” information, as shown in Figure 3-6.
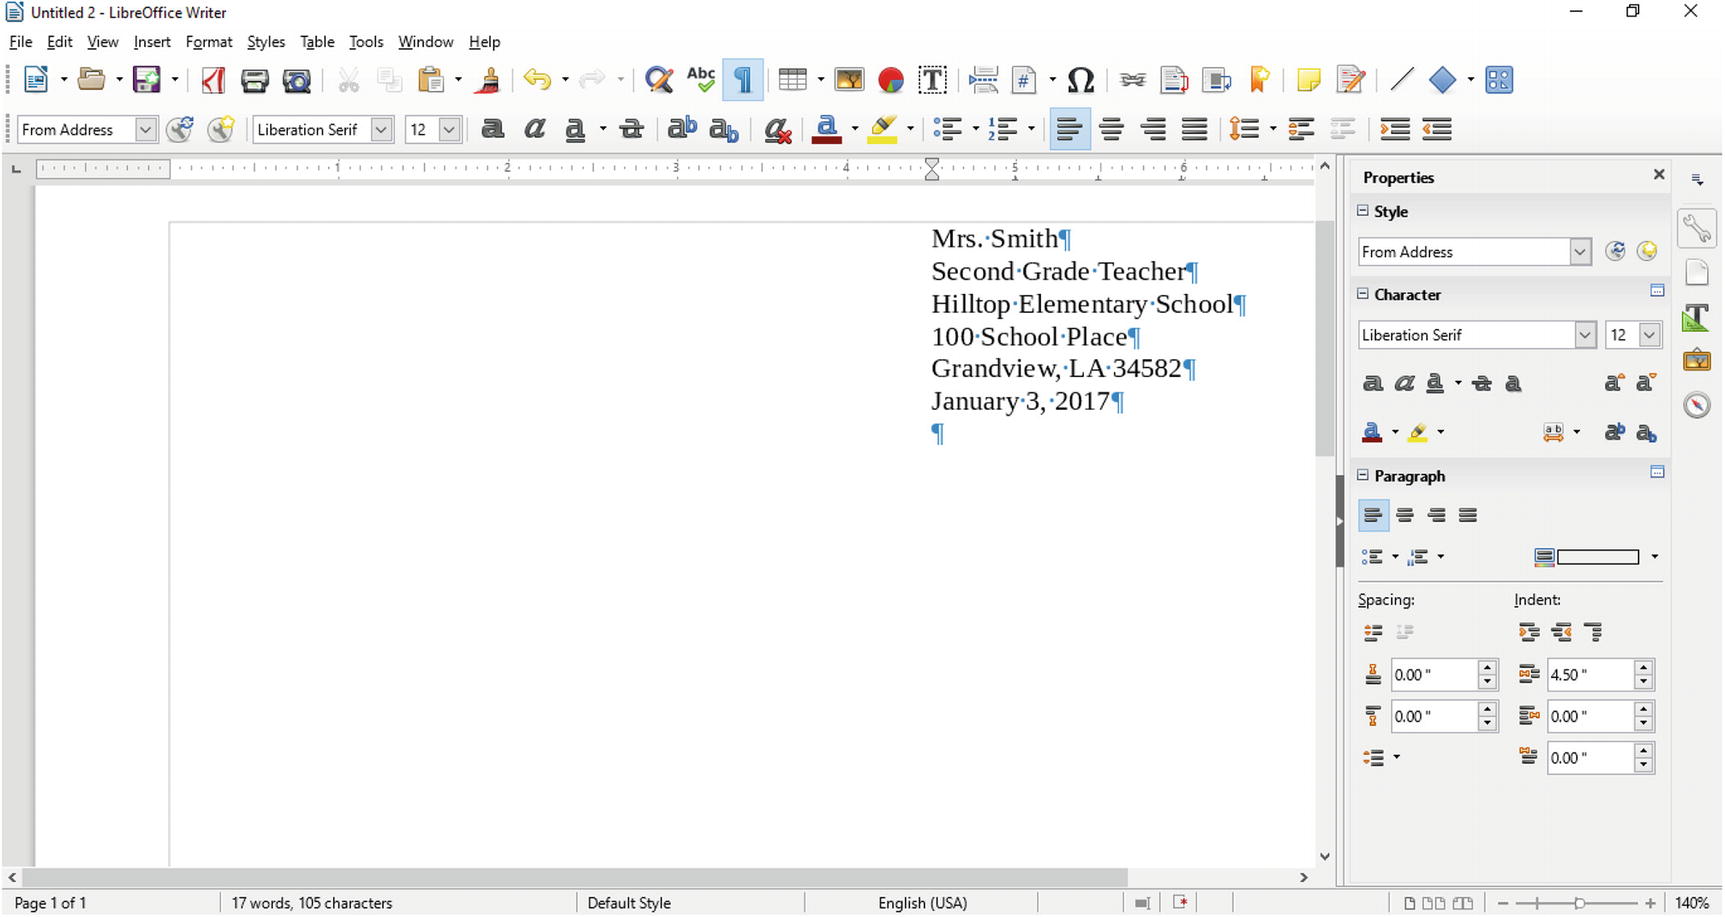
Figure 3-6 “From” section complete
Creating the “To” Section
The “To” section is just like the “From” section only you need to define a different text style. In this case, it’s just like the From Address style only with a Before Text Indent setting of 0.00". The steps to create this style are as follows:
Click New Style.
Enter the name To address for the style name. Click OK.
Change the Before Text Indent setting to 0.00".
Click Update Style.
Completing the “Dear” Line and Text Body
Now you need to write the “Dear” line and the body of the text. You want some blank space between the last line of the address and the “Dear” line, so let’s change the Below Paragraph Spacing setting to 0.14". Do not click Update Style because you want the change to affect this paragraph only. Now you can enter your “Dear” line . The screen should now look similar to Figure 3-7.
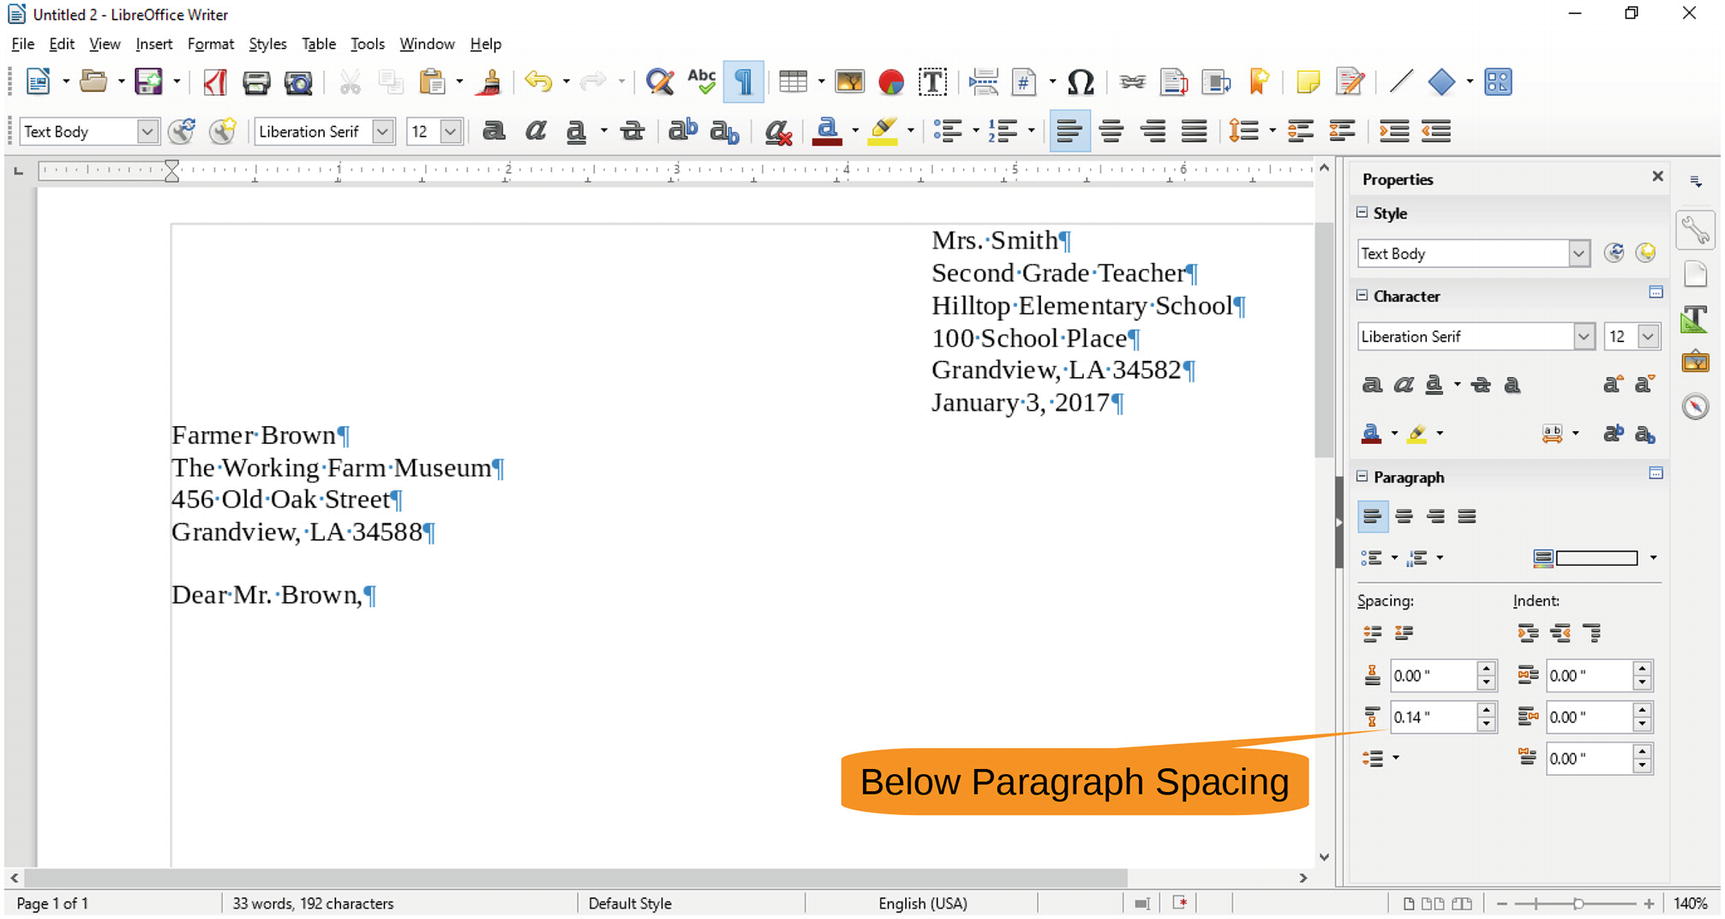
Figure 3-7 “Dear” line
From the Style pull-down, select the style Text Body for the body of the letter. There are actually two Style pull-downs, as shown in Figure 3-8; either one will work.
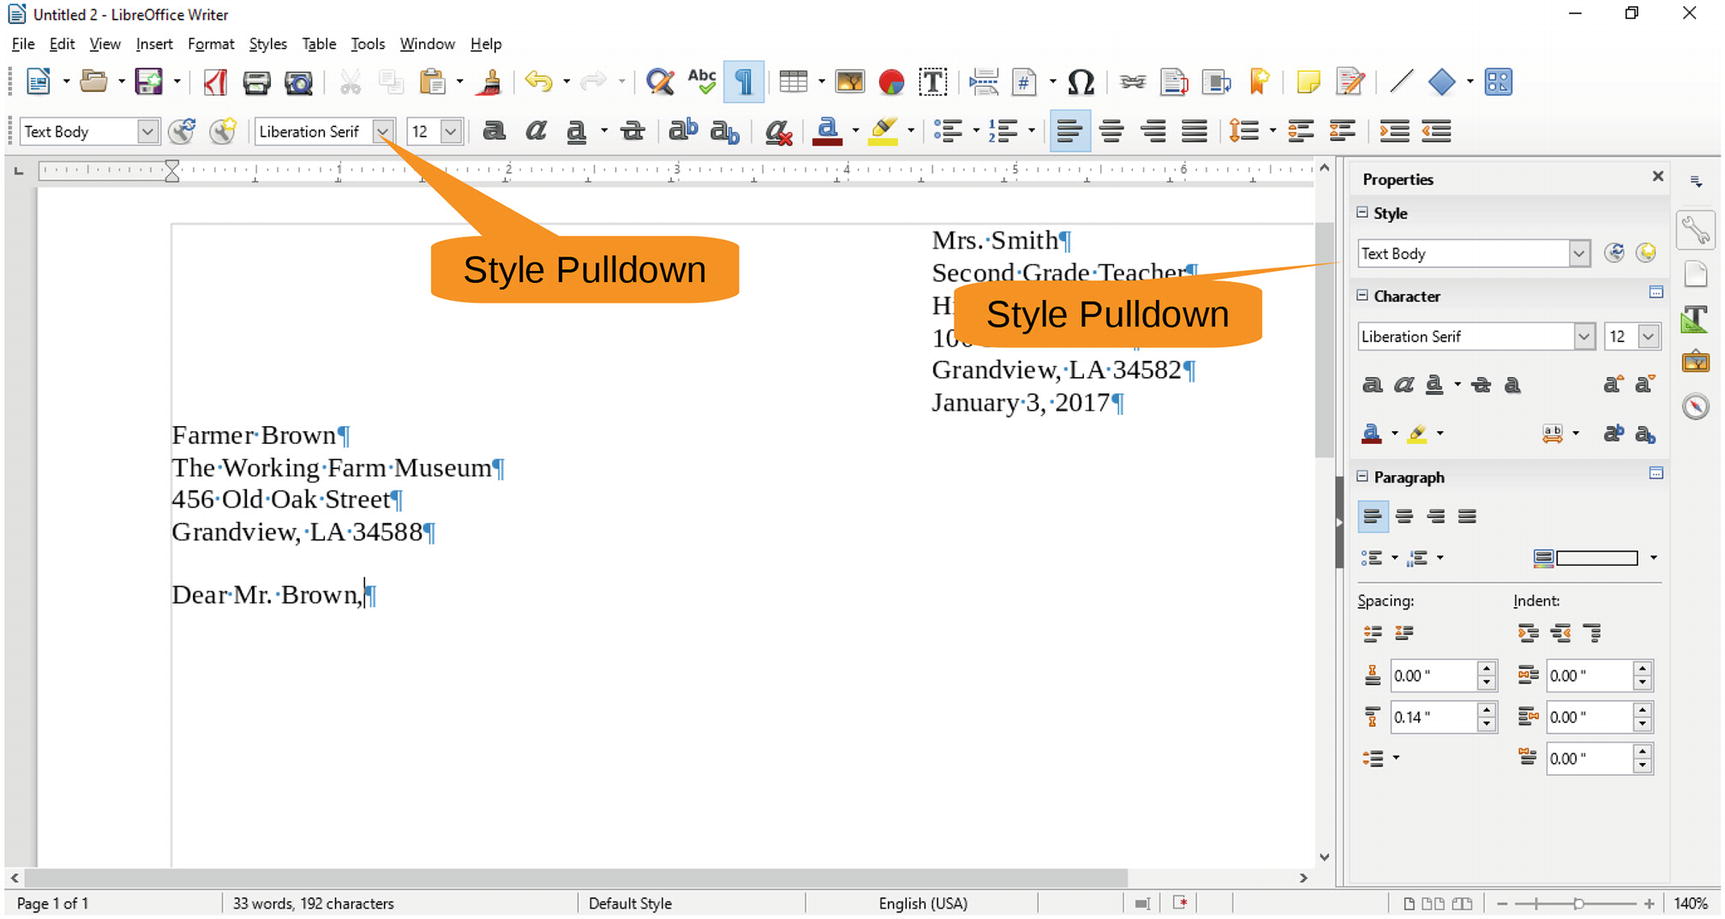
Figure 3-8 Changing a style
The default Text Body style does not provide enough space between paragraphs. Change the Below Paragraph Space setting to 0.14" and click Update Style. Next type the body text of the letter. Figure 3-9 shows the result.
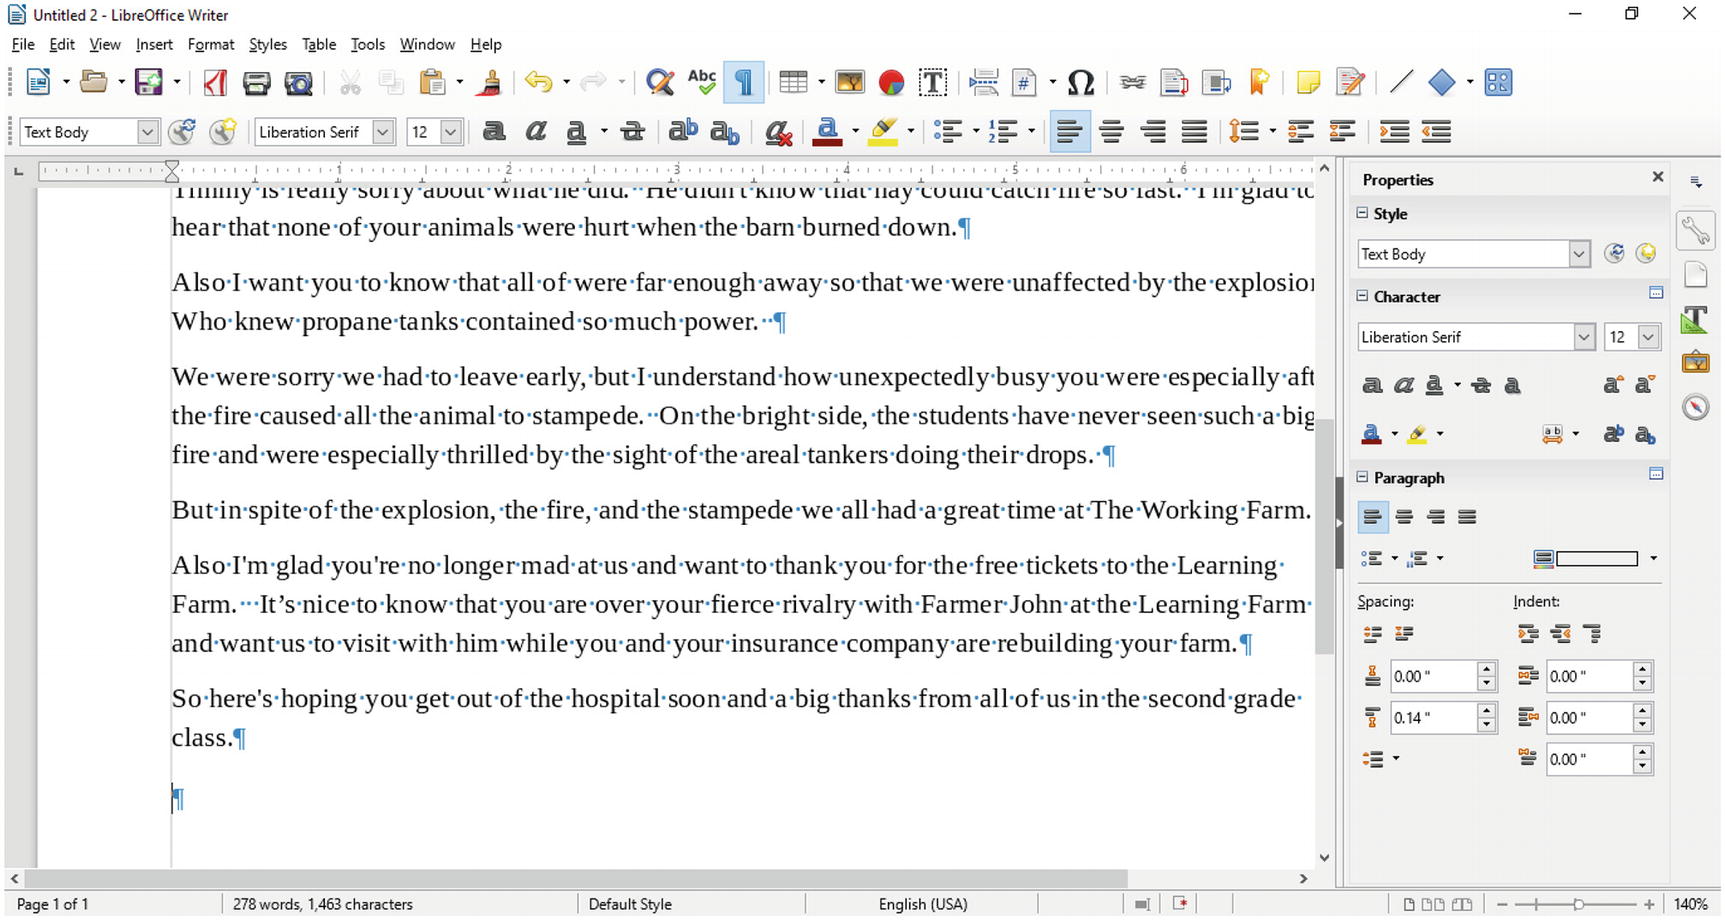
Figure 3-9 Body of the letter
Now all you need is the ending. For this you indent the same amount as the “From” section, so let’s reuse that style. Select the style From Address from either of the two pull-downs and type Sincerely. Figure 3-10 shows the result.
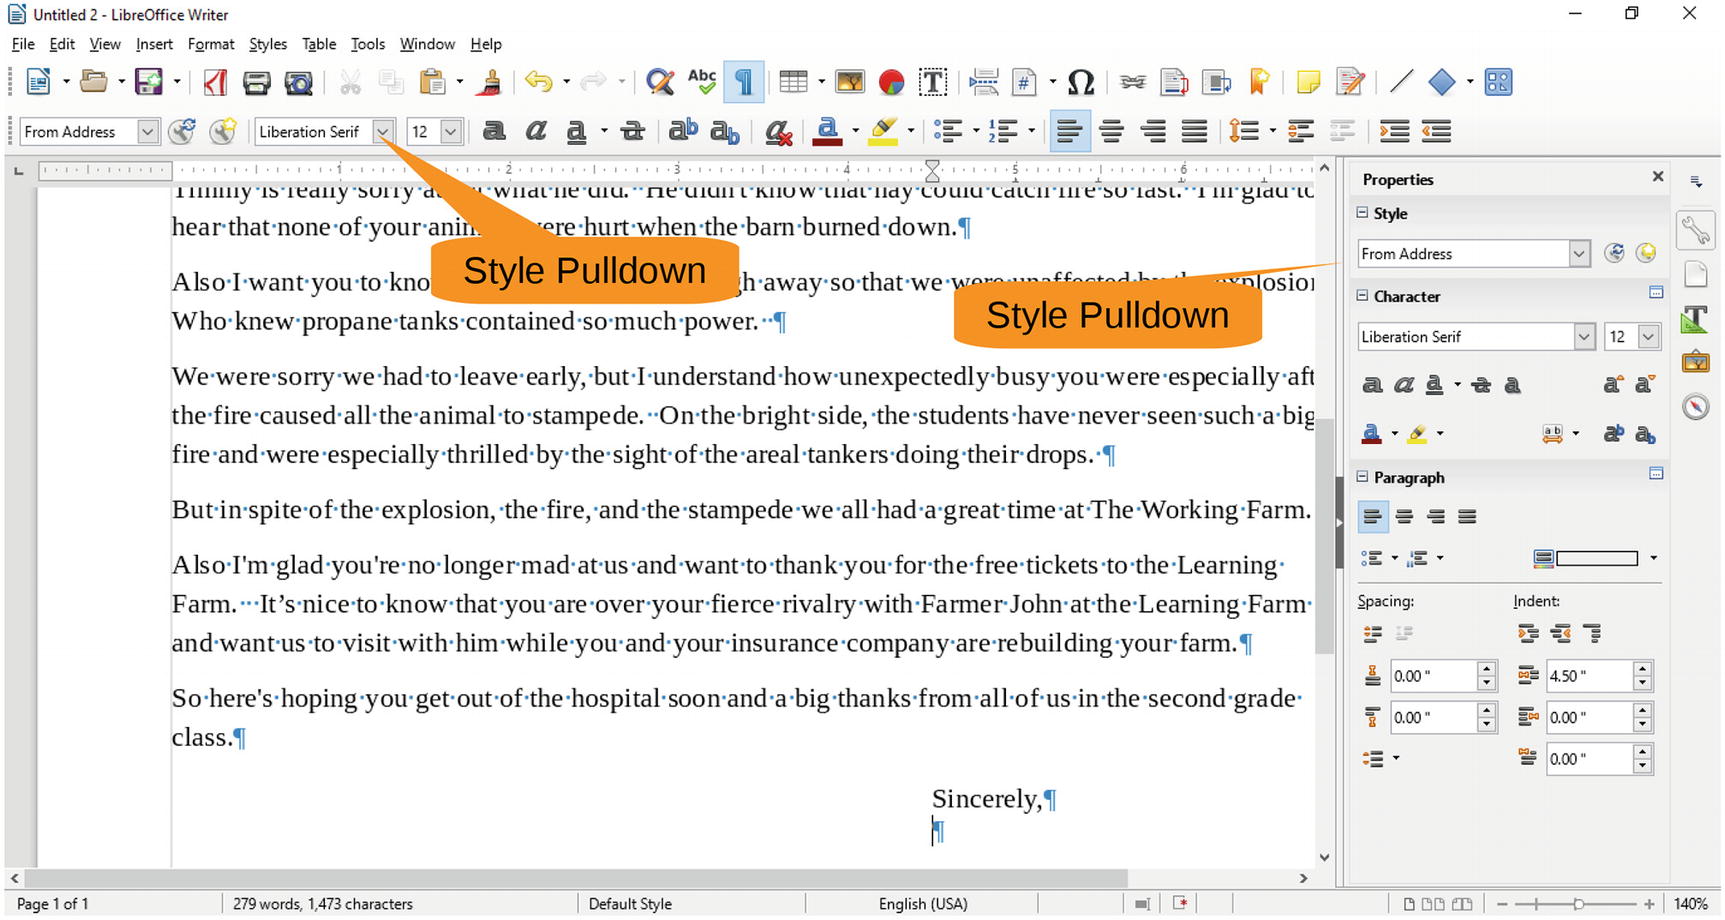
Figure 3-10 Finishing up
You want about three to five lines of blank space below this line for the signature . Ideally, you should change the Below Paragraph Space setting. But this time, let’s cheat and just press Enter three times. Then enter your name for the signature.
You can see the final result in Figure 3-11.
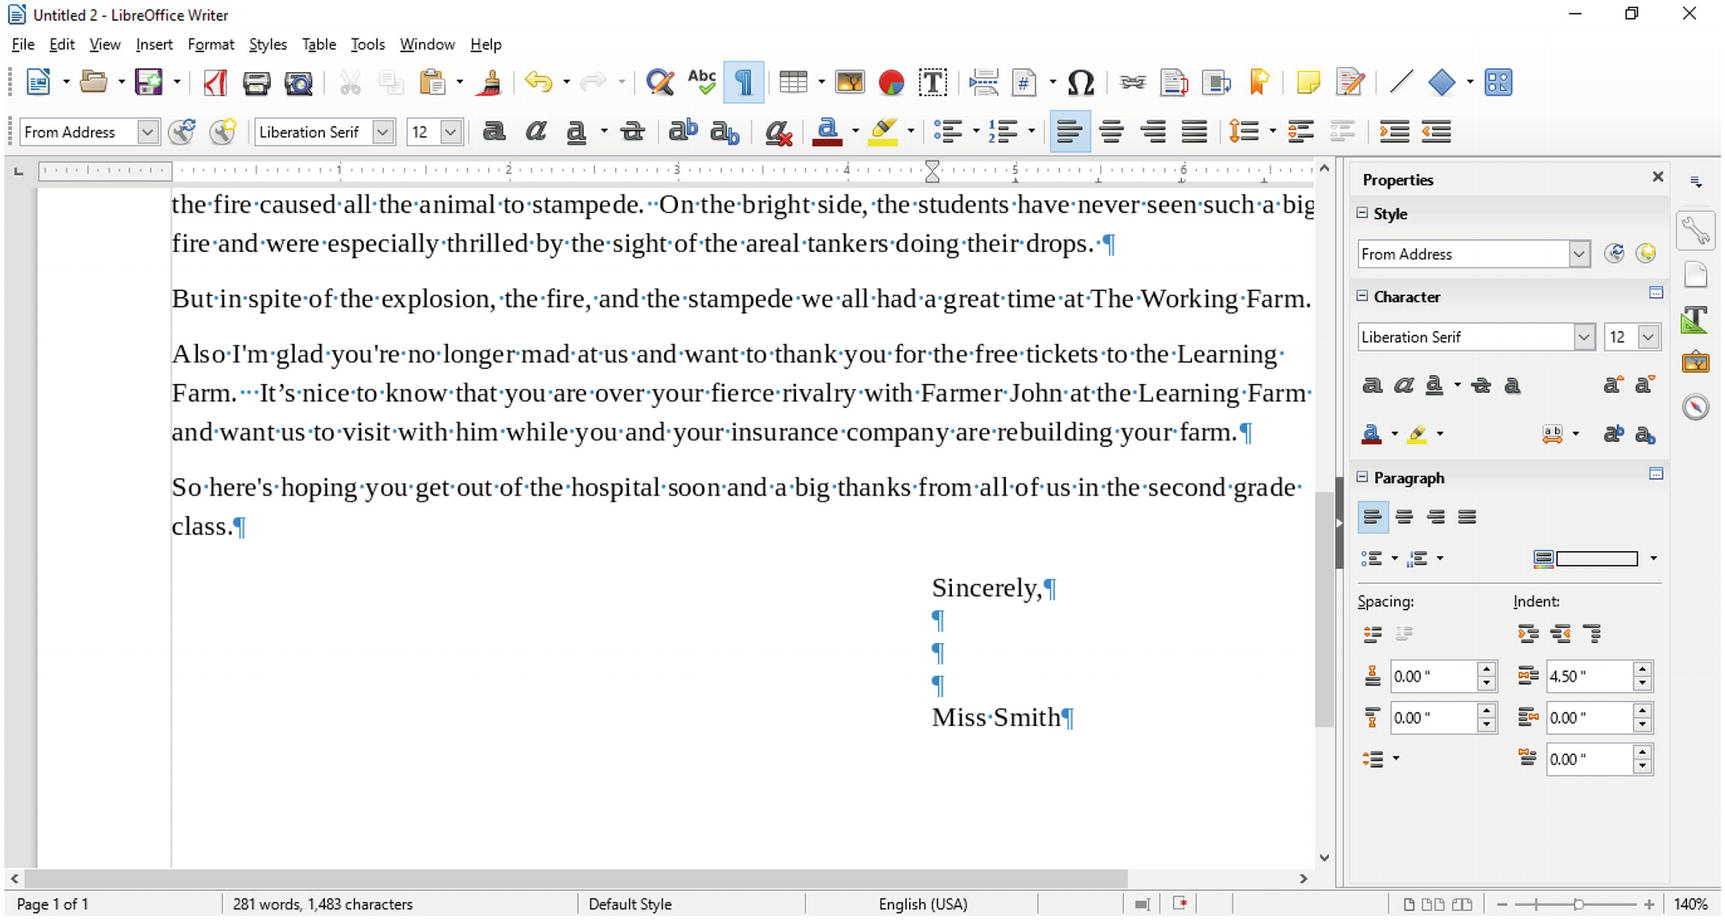
Figure 3-11 Finished letter
Creating an Envelope
Now you need an envelope to go with your letter. After all, a letter such as this one should not arrive in a handwritten envelope. To start, select File ➤ New Text Document to get a blank document.
By default, the paper size is that of a standard letter. You want an envelope, so you need to change the page format ; select Format ➤ Page, as shown in Figure 3-12.
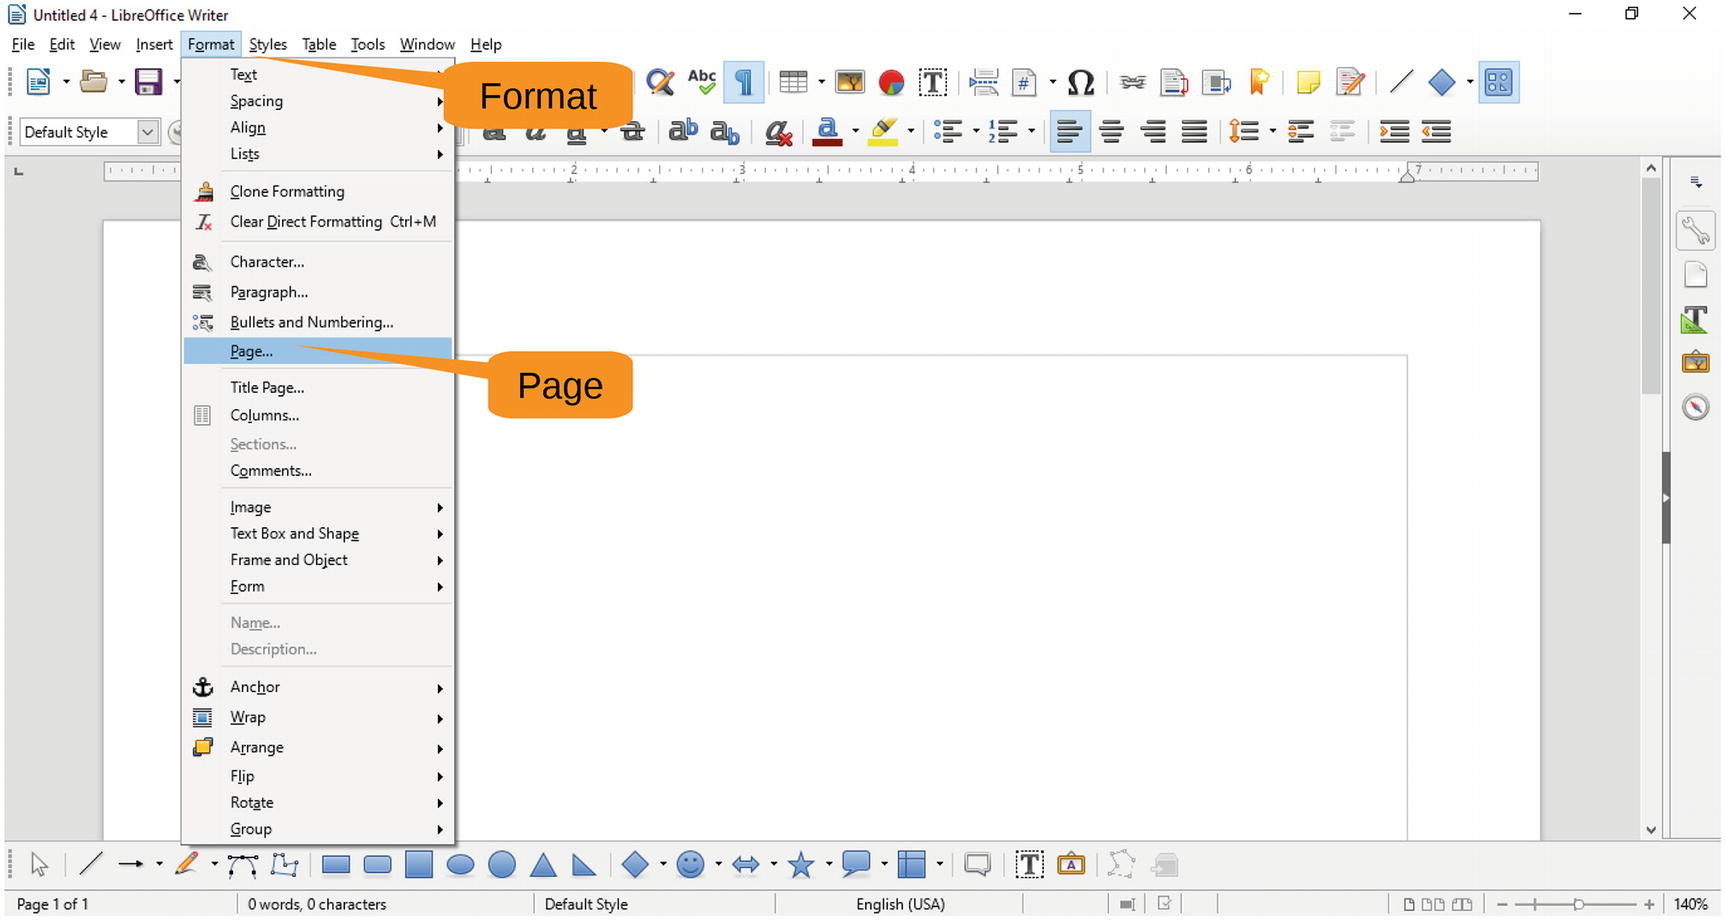
Figure 3-12 Changing the page format
This brings up the Page Style Default Style dialog . Click the Page tab to select the paper size, as shown in Figure 3-13.
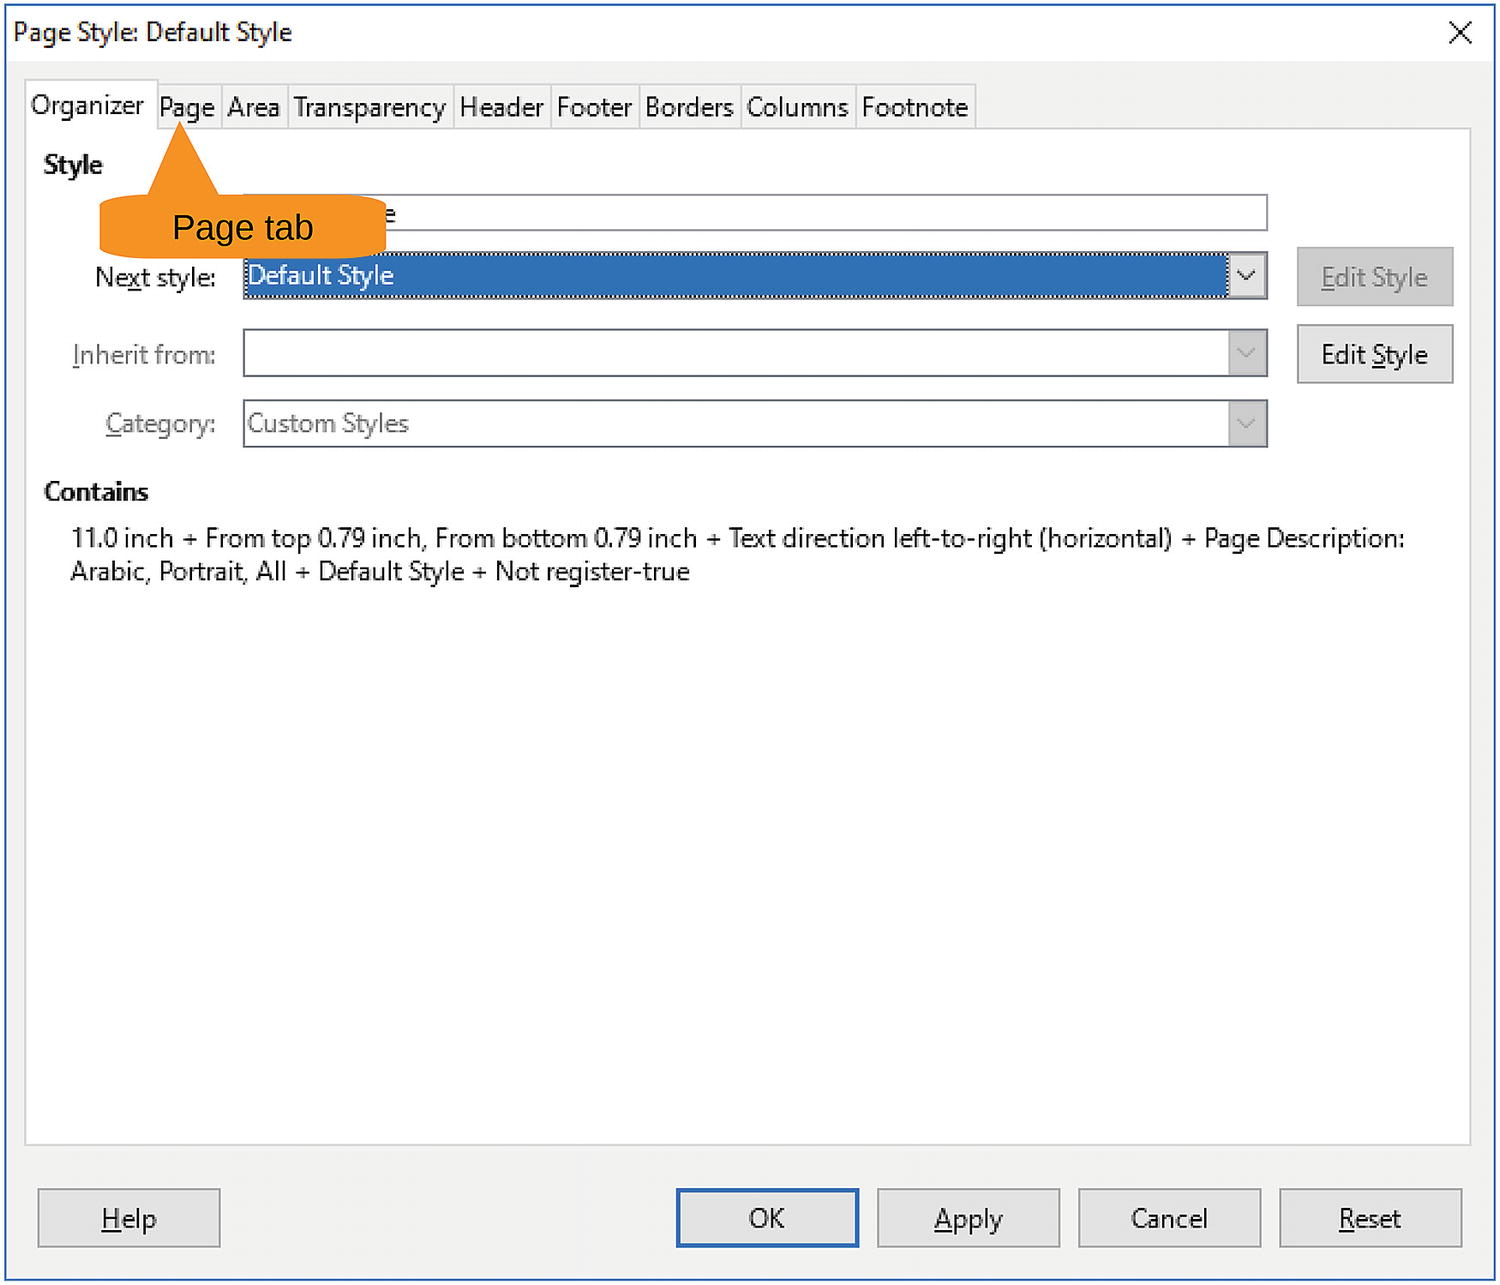
Figure 3-13 Setting the page style
For Format, select an envelope size. In this case, this is a standard business envelope, so select #10 Envelope. For Orientation, select Landscape. (Otherwise, you would have a tall, narrow envelope.) The page margins default to ones that look nice on a letter but lousy on an envelope. Change all to 0.50". See Figure 3-14 for details.
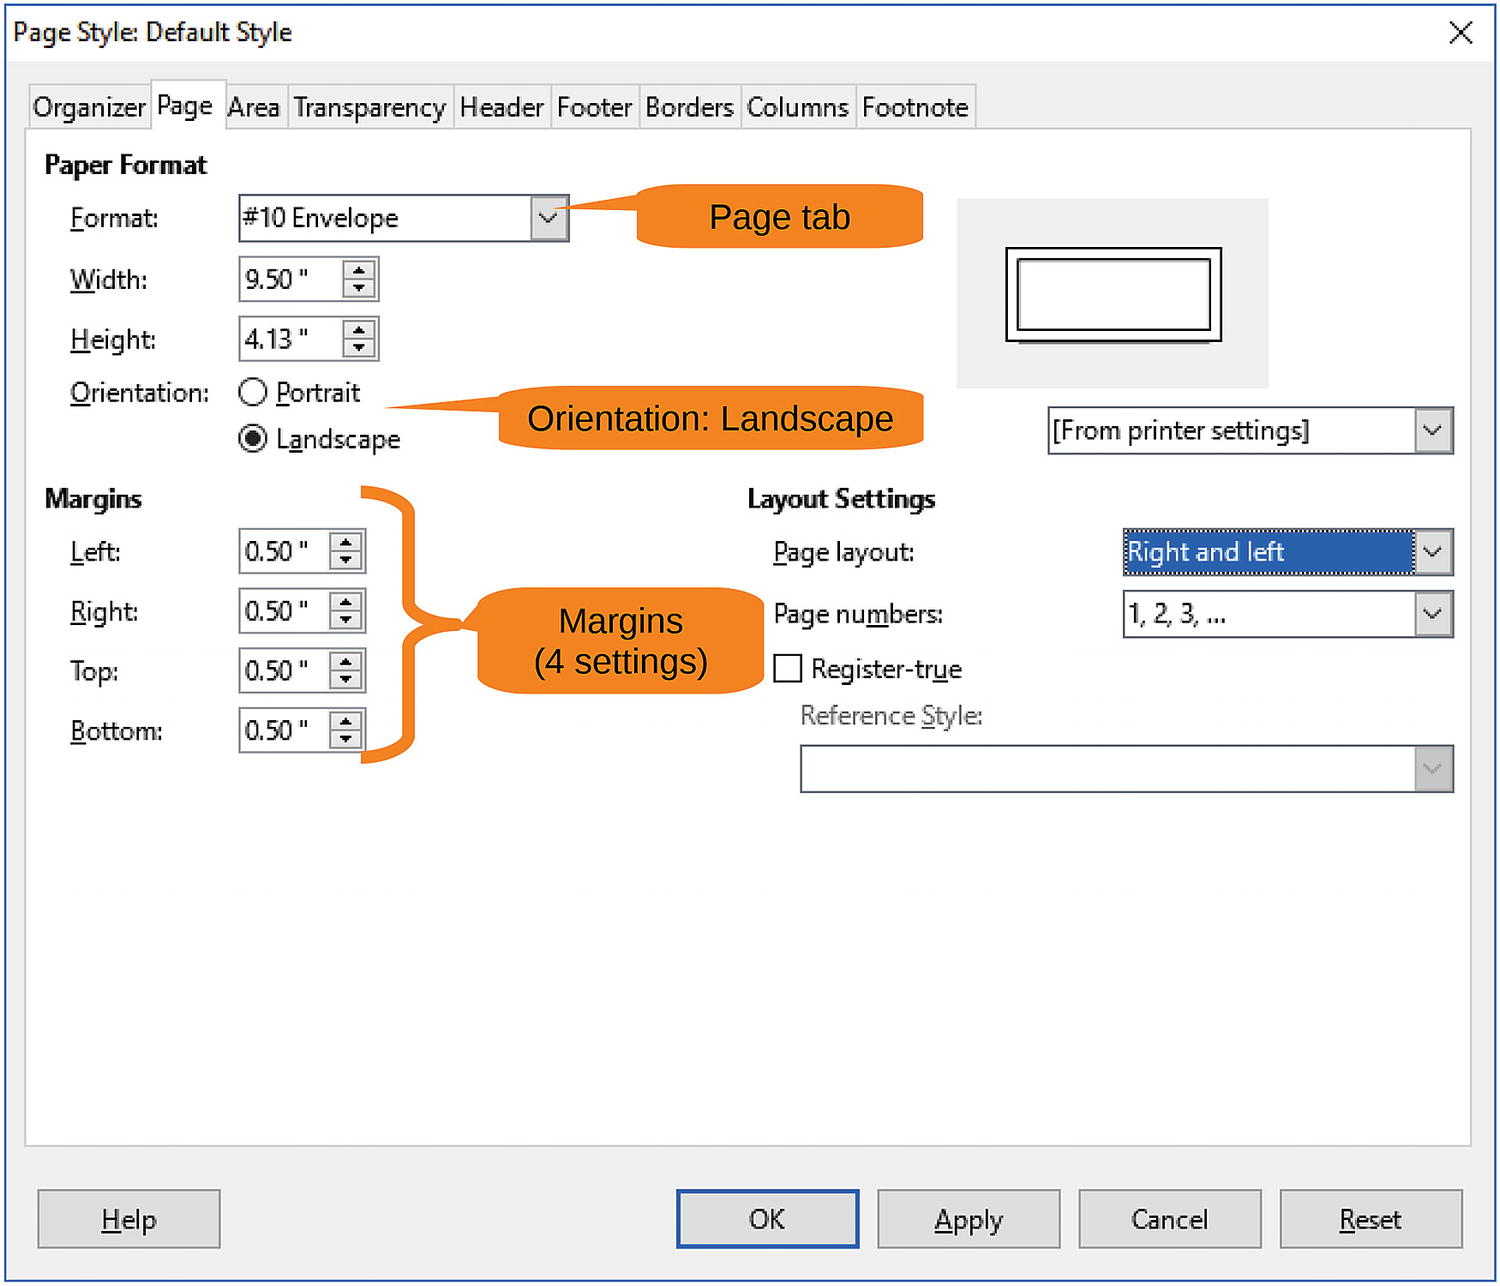
Figure 3-14 Page style settings
Click OK and then enter the “From” and “To” addresses using the techniques just covered. To save time, you can copy and paste them from the original letter, which brings along the styles too. Because this is a letter, the From Address style works for the “To” address lines, and the To Address style works for the “From” address lines. (Try playing around with the software to understand this better.)
Figure 3-15 shows the completed envelope.
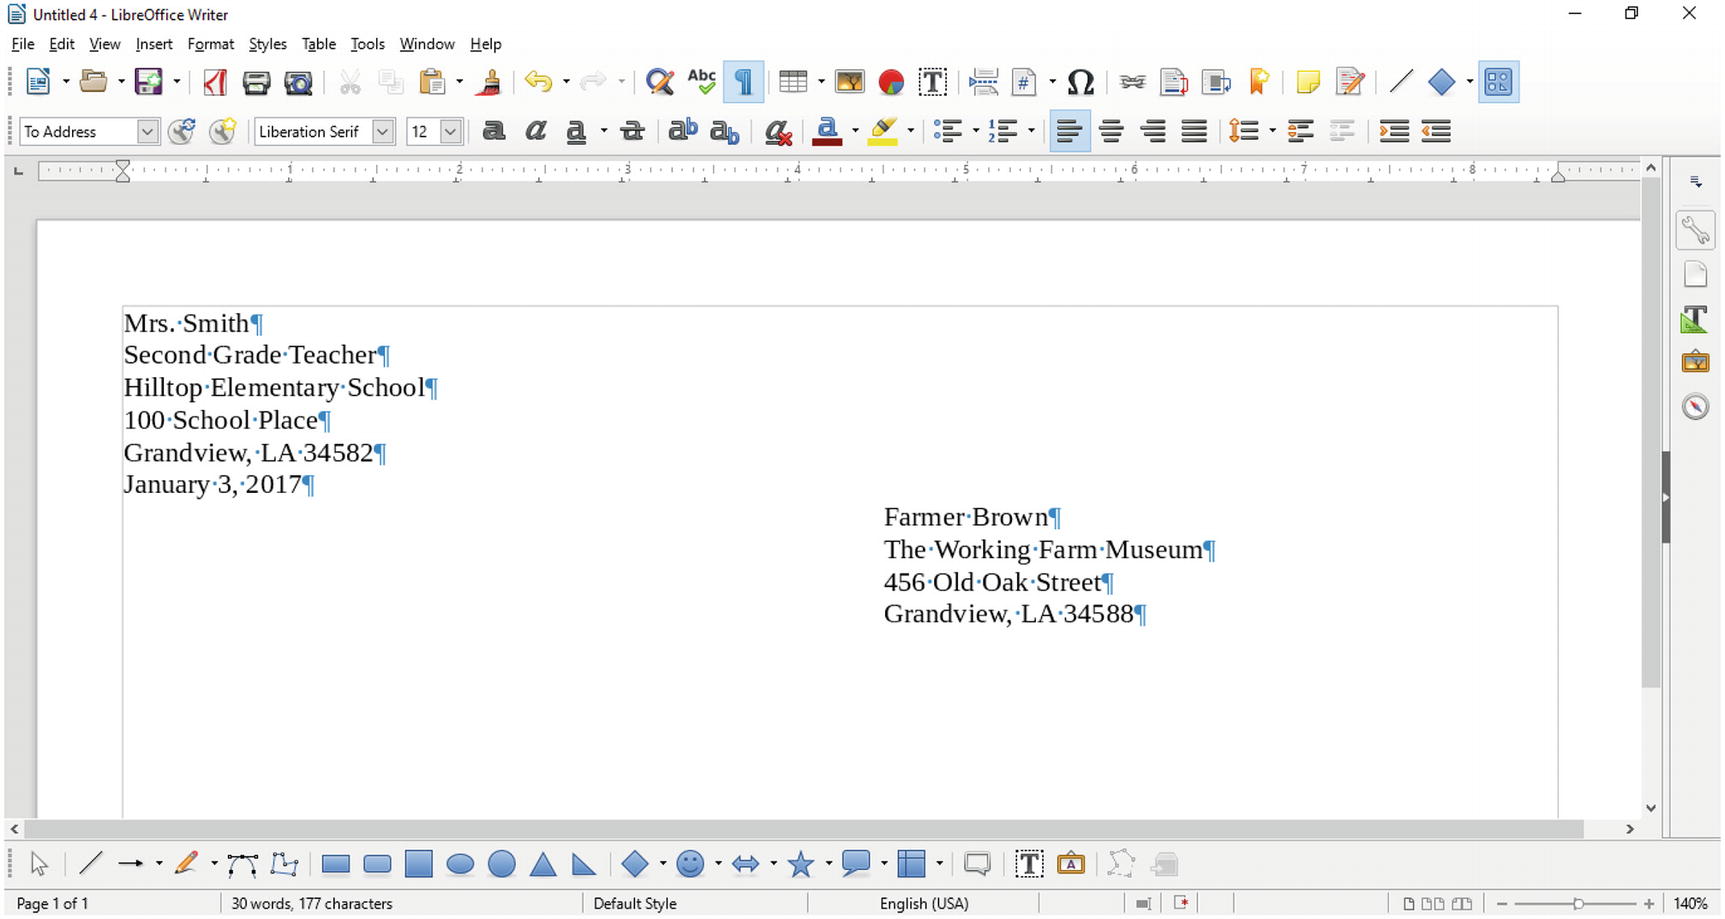
Figure 3-15 Final envelope
Summary
In this chapter, you continued working with LibreOffice. The skills you learned here work for letters, memos, agendas, and other short business documents. In the next chapter, you’ll learn how to produce longer works.