
It is a fact that when working in a large corporate network environment, there will always be the oddball PC that, for whatever reason, cannot be joined to the domain or won't have the SCCM client installed. These could be lab machines, special purpose kiosk PCs, or controllers for manufacturing equipment.
Regardless of why these PCs needed to be orphaned, if they are running Windows, they still need an anti-virus client. This recipe will walk you through the process of putting together the installation media for this task and installing the FEP client manually on a single PC.
For this recipe, you will need to be utilizing an account that has at least the SCEP administrator role assignment attached to it. You will also need an account that has local administrator privileges for the PC on which you'll be installing the client.
Follow these steps:
- Log into your SCCM CAS server and launch your SCCM 2012 management console.
- Navigate to
Software Library|Overview|Application Management|Packages, right-click on the object called Configuration Manager Client Package, and select Properties. - The Configuration Manager Client Package Properties window should pop up, select that tab titled Data Source, and locate the Source Folder field, as shown in the following screenshot:
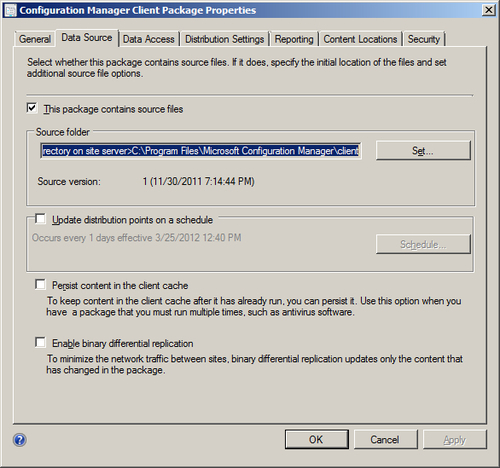
- Make note of the path listed in the Source Folder field, then enter the same path into Windows Explorer. Once you've done this, you can click on Cancel to close the Configuration Manager Client Package Properties window.
- The contents of the folder should be identical to the following screenshot:

- The only two files in this directory that we need right now are
ep_defaultpolicy.xmlandscepinstall.exe. Copy these two files to a thumb drive or a CD-R. - Now log in to the PC we're targeting for a manual SCEP installation and insert the media format.
- Open a command prompt with admin privileges and enter the following syntax:
SCEPInstall.exe /policy C:scepep_defaultpolicy.xmlIn your case, the path for ep_defaultpolicy will be the installation media you have selected. Press Enter and the SCEP installer should pop up. Keep in mind that if you have modified your SCCM client install directory, the policy file will be in that customized directory. Refer to the following screenshot:
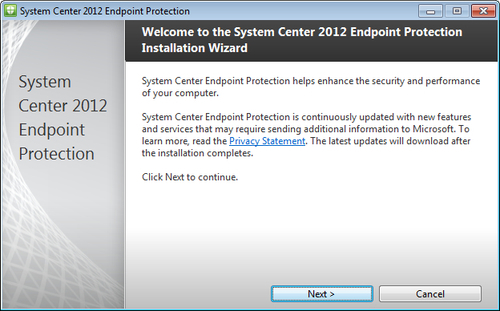
- Proceed through the wizard, making your selections as you go. Once the wizard has completed, make sure that the SCEP client is able to download its initial set of definitions.
The hardest part of this recipe is locating your SCEP client installation media, because the only copy you'll have is the one that's been bundled with the SCCM client installation package.
By copying both, the SCEP install.exe and the policy .xml file, and then running them manually on a target client, you'll end up with a SCEP client that starts off with a similar configuration to your normal SCCM-deployed SCEP clients.
Keep in mind that any future changes to this PC's SCEP policy will need to be done manually. Also, in order to get definition updates, this PC's SCEP client will either need to be able to reach Microsoft Updates on the Internet or a WSUS server in your environment that is enabled to push SCEP definitions.
It goes without saying that any anti-malware related events on this PC will not be reported to the SCCM server. So it will be up to the user of this PC to keep an eye on what's going on with the system; much like you would manage an AV client on your home computer.