
FIRST, THERE WAS LED
In 2013, I was invited to Tom Igoe’s wedding.
Yes, the Tom Igoe, co-inventor of the Arduino
and bestselling author of Making Things Talk.
He married a good friend of mine from college,
and she invited me with the stipulation that I
didn’t ask Tom to sign my first edition of Physical
Computing. Apparently, she was sick of middle-
aged fanboys stopping him on the street for
autographs and advice.
In lieu of floral centerpieces, Tom made LED
lanterns for each table. If a guest touched one, it
not only changed colors but changed the color of
the lanterns in its proximity like a rainbow ripple.
When I told my daughter, she wanted me to make
a lantern for her. I never got around to it, until
recently when she threatened to buy one of those
internet-connected lamps for her and her friend.
Fortunately, my neighbor Pete had just given me
a LoRa module and I was looking for a project to
use it with. My daughter’s friend lives a mile and
a half away, so I planned to build two lamps and
connect them directly without having to use a
LoRa gateway. I call it the LOL-Ra Lamp.
You can find the source code and the SVG
files to laser cut the enclosure at github.com/
bserinese/LOL-Ra. I also posted some tips on
how to create your own emojis for the lamp, and
additional images and video, at serinese.com/
lol-ra-lamp.
1. HARDWARE ASSEMBLE!
By using the Adafruit Feather 32u4 LoRa module,
I got a microcontroller and LoRa radio in one. It
might have been cheaper to use an Arduino and
separate LoRa module, but I opted for simplicity.
The lamp uses five components, so assembly is
not too difficult using a breadboard.
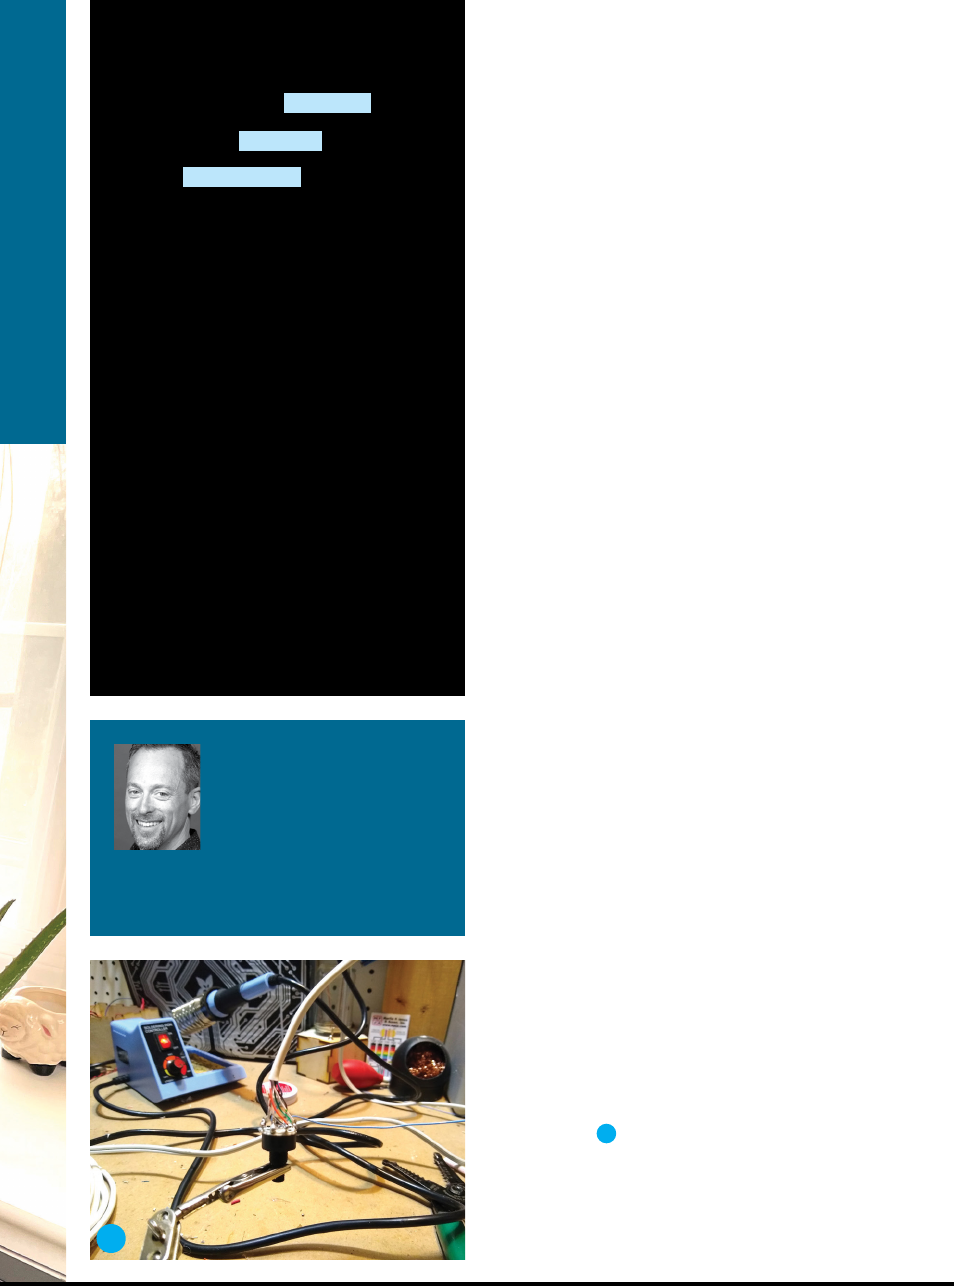
I started by soldering an 18" wire to each pin of
the 8-way rotary switch, to the three legs of the
potentiometer, and to each end of the pushbutton.
I use solid-core Cat5 since it has eight color-coded
wires neatly packaged.That’s great for the rotary
switch (Figure
A
), since I just needed one more
18" piece for the ground center pin. To reduce
the noise on the potentiometer, I also soldered a
0.1µF capacitor across the ground and center pins;
otherwise the LEDs flickered like a bad disco.
The LED matrix comes with two 3-wire
Written and photographed by Bryan Serinese
TIME REQUIRED:
1–2 Hours
DIFFICULTY:
Moderate
COST:
$55 Per Lamp
MATERIALS
TO MAKE ONE LAMP:
» Adafruit Feather 32u4 microcontroller with
RFM9x LoRa radio, 915MHz aka RadioFruit,
Adafruit 3078, $35
» LED matrix, 16×16, WS2812B aka NeoPixel,
AliExpress, $10
» Mini rotary switch, 8-way selector single pole,
8 throw (SP8T), Adafruit 2925
» Potentiometer,10k
Ω
» Momentary pushbutton
» Capacitor, 0.1µF
» Switched power supply, 5V 3A AliExpress, $4
» Breadboard, 400 tie point AliExpress, $2
» Plywood, 3mm, 18"×9" piece I use Baltic birch.
» Hookup wire I use Cat5 cable.
TOOLS
» Soldering iron
» Wire cutters
» Laser cutter (optional) You could build a
different enclosure if you don’t have access to a
laser cutter.
A
95
make.co
BRYAN SERINESE is a self-
diagnosed hack who hobbles
and cobbles bits and bytes to
make new and occasionally
useful thingies.He works in
his basement on LED projects
to brighten the long Vermont nights when he is
not putting the final touches on his forthcoming
zombie musical.serinese.com
M83_094-98_LoRaLamp_F1.indd 95M83_094-98_LoRaLamp_F1.indd 95 10/11/22 9:59 AM10/11/22 9:59 AM
..................Content has been hidden....................
You can't read the all page of ebook, please click here login for view all page.