
Now, you have learned how to generate the backup manually using JIRA's Backup System tool and by relying on JIRA Service. There are two scenarios when these backup files are useful to you:
- One is when your server crashes
- Secondly, when you want to migrate your JIRA instance to a new machine
JIRA comes with the utility to Restore System; it basically wipes out the existing data/configuration and replaces it with one on the backup files; hence, you have to be very careful when using the Restore System utility. As a thumb rule, always perform the restore process on a test environment; this will also give you a chance to learn and fix any errors that you may encounter.
In this example, we will restore the 2014-12-09-backup.zip backup file, which we generated in the earlier section.
For this exercise, you should have a blank JIRA installation on a different machine with the same version as the one used to generate the backup. Perform the following steps:
- Copy the backup file stored in the
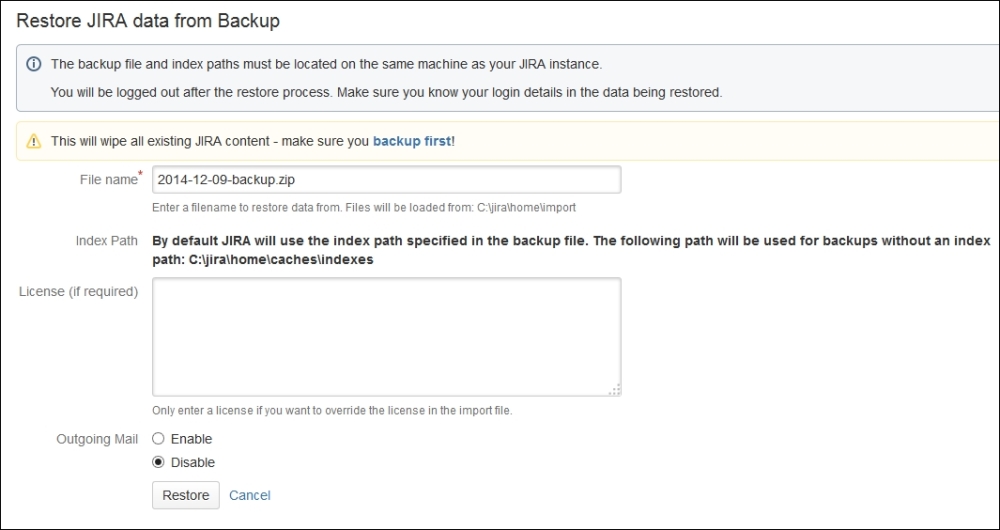
JIRA HOMEdirectory under theimportfolder. - Navigate to JIRA Administrator | System | Restore System (under IMPORT & EXPORT):
- Enter File name as
2014-12-09-backup.zip, which is the backup file we generated previously. - Leave the License field empty; the license details of the source instance are stored in the backup file, which can be restored in the target instance; if you want to use a new license, only then enter it in this field.
- In the Outgoing Mail field, select Disable. This will ensure that e-mails are not being sent to anyone when the restore process takes place.
- Click on the Restore button:
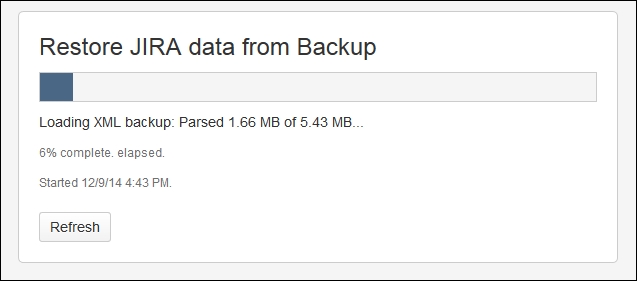
- The restore process will start reading the backup file and also display the restore progress. This whole restore process can take several minutes depending on the size of the backup file:
- Once the restore process is complete, you will get a confirmation message:
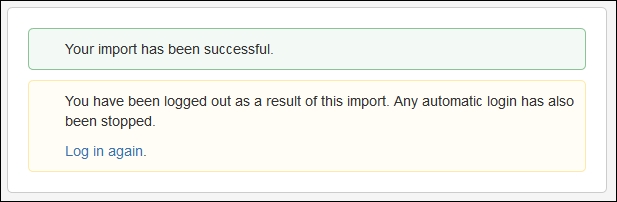
After the restore process is completed, you can log in to the JIRA instance using the login and password credentials of the instance from which the backup was generated. Your login of the current JIRA instance will not work because the whole data is wiped out and replaced by the backup file.
You can verify the following things after the restoration:
- Issue count
- List of projects
- List of configurations
- User count
If these things match with your old instance and the restored instance, then the restore process was successful.