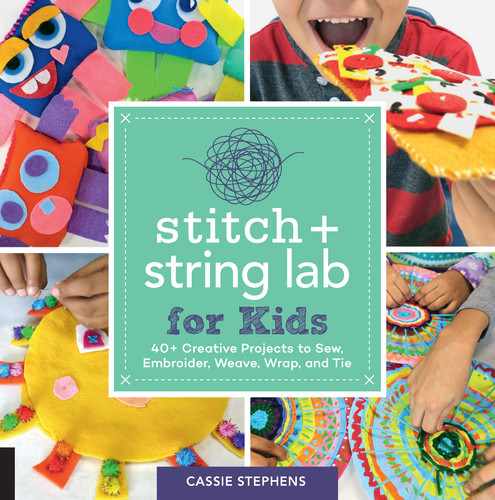
getting started: creating with fibers
FIBER ARTS ENCOMPASS every form of creating with fiber and yarn. That’s a huge spectrum of sewing, embroidering, knitting, weaving, and felting fun! Because there is value in all forms of fiber arts, there’s a bit of everything in this book. The labs can be accomplished in any order. However, they are presented in an order that allows readers to learn along the way and build upon knowledge previously gained.
Before starting any of the labs, it is important to carefully read this opening section, which covers all the basics about creating a fiber art space, collecting stitching tools and fiber supplies, and basic stitching techniques, to get you and your fiber art enthusiast started. For example, in many of the labs, you will need to thread a needle, the “Know Before You Sew” section provides step-by-step instructions for threading a needle, as well as how to make and use a needle threader. This section of the book should be referenced often while working through the labs. If you struggle with a lab, it might be helpful to complete preceding labs first or refresh basic knowledge.
creating a fiber craft space
It is important to establish a designated and well-organized work and storage space in which kids (and adults) can stitch, weave, and sew. Unlike painting or working with clay, working with fibers is a lot less messy, which is great for creating with kids. The space should have good lighting and a desk or kitchen or even a dining room table for children to use for stitching and creating. Some supplies, like pins and needles, are small and sharp, so it is important to provide a tray or other surface with a bit of an edge to keep needles and pins from falling off the table.
Once you establish space for your artist, you’ll have fun starting a fiber-filled sewing and embroidery kit. You don’t need to buy all the supplies at one time, but it’s hard not to! Add to the fiber kit over time as your child develops skills and the desire to create. Creating alongside your young artist can be a wonderful opportunity for them to see you as a lifelong learner. Even if you have never stitched before, that’s okay! It will be a fun-filled fiber exploration for you both.
preparing a fiber arts kit
The best way to get started and create enthusiasm for working with fibers is to make a sewing or “fiber arts” kit. Keeping all the supplies contained within an organized box makes it easy for your artist to find, and store their sewing tools and favorite threads, floss, and yarns, and put them all away with little mess. The box itself can be something from around the house: a small clear plastic tub, a metal cookie tin, even a lunch box makes a great sewing kit. Baskets, or anything woven or with holes, are not suitable for the supplies that might fall out, but they are great for yarn and fabric. Craft and fabric stores sell a variety of sewing boxes. If younger siblings are nearby, keep the kit stored high on a shelf when no one is using it.
Let’s start with a few basics that every fiber arts kit needs. Of course, you’ll need a basket or shelf to store the yarn and fabric, but keeping all your supplies in one place will keep your artist organized and ready to create.
You need the basic sewing tools to get started: needles, pins, scissors, and embroidery hoops, and a selection of thread, floss, and yarn to add to the excitement.
needles
There are a wide variety of sewing and embroidery needles, all slightly different to best serve specific purposes. The differences are the size of the eye for the thread to go through; the length of the needle; and the sharpness of the point. For the labs in this book, you only need chenille, embroidery, and tapestry needles.
Chenille needles for sewing If you only purchase one kind of needle, make it a chenille needle. Chenille needles are ideal because they have a large eye, for easy threading, and a sharp point. These needles come in different sizes; the higher the number, the smaller the needle. To complete most of the labs, chenille needles sized between 18-24 are ideal.
Embroidery needles for embroidery Embroidery needles have a smaller eye than chenille needles, which can make threading a little more difficult for young artists. However, embroidery needles are nice to have in your fiber arts kit. They are often sold in a variety pack of different sizes between 1 and 5; the largest needle size is 1.
Tapestry needles for weaving and beginner stitching Tapestry needles are ideal for beginning stitchers. They are a bit larger than embroidery and chenille needles, with a large eye and a blunt tip, perfect for young artists with smaller hands. Tapestry needles are found in either metal or plastic. Young artists seem to like the metal ones because they feel as though they are using the “real thing.” Tapestry needles also come in different sizes. A size 13 is perfect for burlap stitching or weaving, while size 20 is great for smaller stitch work.

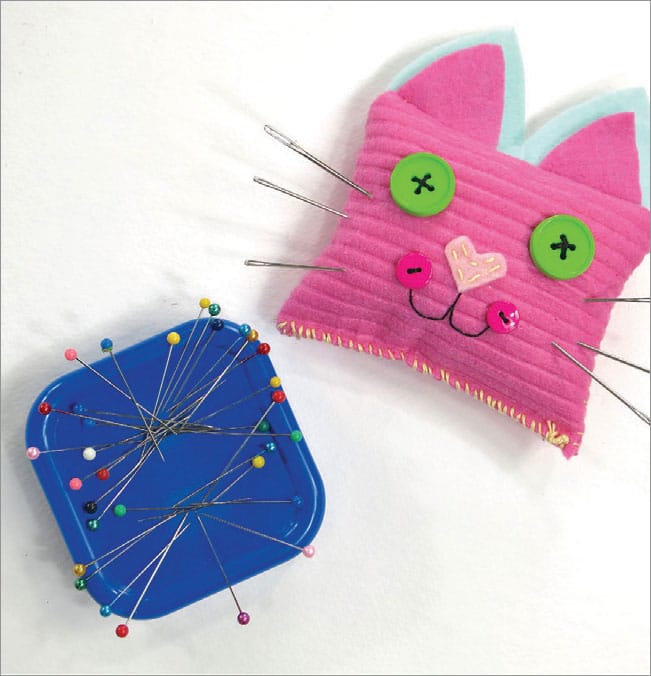
sewing pins + a magnetic pincushion or wand
Pins are used to temporarily hold fabric and trims in place until stitches permanently tack them down. Like needles, there are a variety of sewing pins. You only need one kind of pin to complete the labs in this book: extra-long ball head pins. These pins are ideal for small hands. The colorful ball end makes them easier to keep track of.
No one wants to step on a pin or find a sewing needle lying around! The best way for children to avoid disasters with spilled or misplaced pins and needles is with a magnetic pincushion or magnetic wand. Both can be found at the craft store. When cleaning up, simply wave the magnet over the work area to magically pick up all the metal pins and needles.
scissors
Cutting fabric with the wrong scissors can lead to a lot of frustration. For this reason, getting three different kind of scissors for a child’s sewing kit is ideal.
Craft scissors are basic, inexpensive scissors that can be used to cut almost anything, except perhaps fabric. They are perfect for cutting paper patterns, cardboard, and most threads.
Fabric scissors are more expensive and should only be used on fabric. You might need to remind your young artist about this many times, because it is important! Fabric scissors will dull and not work as well on fabric if they are used on paper. So, having a special pair of scissors for only cutting fabric is ideal.
Embroidery and sewing scissors are small scissors that are great for trimming small sewing threads. Their small size makes it easier to trim the threads closely.

embroidery hoops
An assortment of different size embroidery hoops is a wonderful addition to a sewing and fiber arts kit. They are inexpensive and available in plastic or wood; the wooden ones are easier for young artists to use. An embroidery hoop consists of two hoops, the outer hoop has a screw for tightening at the top and the inside hoop is a circle.
As a general rule of thumb, the fabric used in an embroidery hoop should be about 2” (5 cm) larger all around than the hoop. The hoop stretches fabric taunt, making it easier to stitch and embroider. See “Using an Embroidery Hoop”. Consider purchasing three different size hoops for variety.

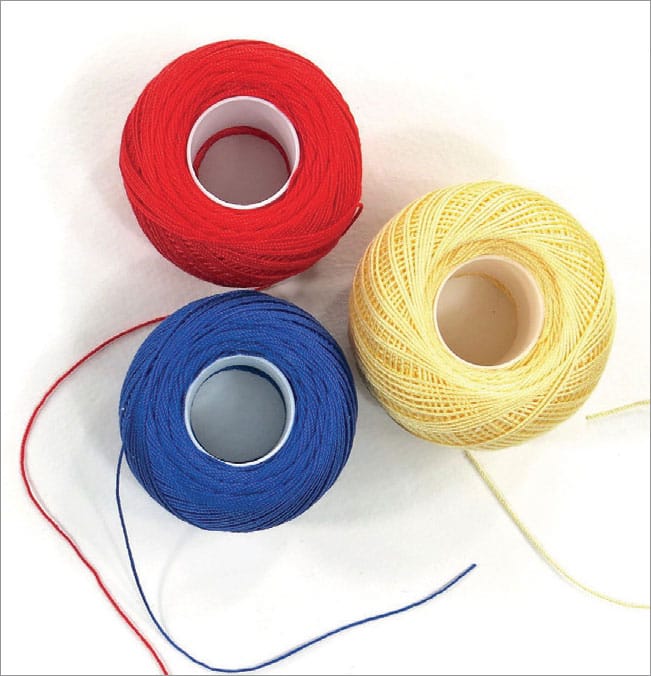
thread, floss, and yarn
You only need to fill your fiber arts kit with crochet thread, embroidery floss, and yarn for your artist to create all the projects in the stitching labs.
Crochet thread is the thread used for sewing. It comes in a variety of sizes. You’ll want to look for number 10. It is ideal for sewing with children because it is strong and won’t break like sewing machine thread.
Craft cord is like crochet thread but thicker. It can be used in place of crochet thread if desired.

Embroidery floss is great for decorative stitching and applique. It comes in a variety of beautiful colors and is fun to use when creating a colorful image with stitches. Embroidery floss consists of six strands twisted together. Usually, artists work with three strands at a time. See “Separating Embroidery Floss” for more information about how to work with this colorful thread.
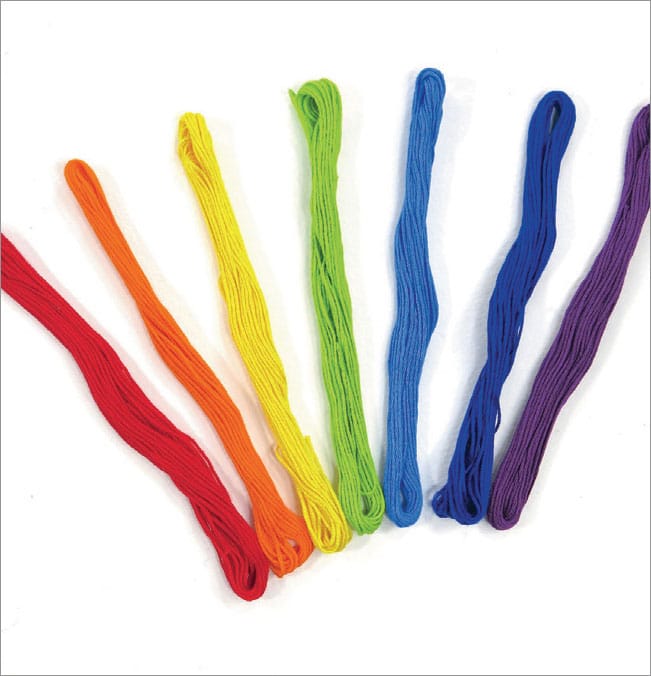
Yarn
Yarn is used in many fiber arts. It comes in a variety of sizes, textures, and colors, although most of the yarn featured in the labs is medium thickness (size 4). For some labs, slightly thicker yarns are used. Shopping for yarn is so fun, children are often drawn to the variegated or color-changing yarns.
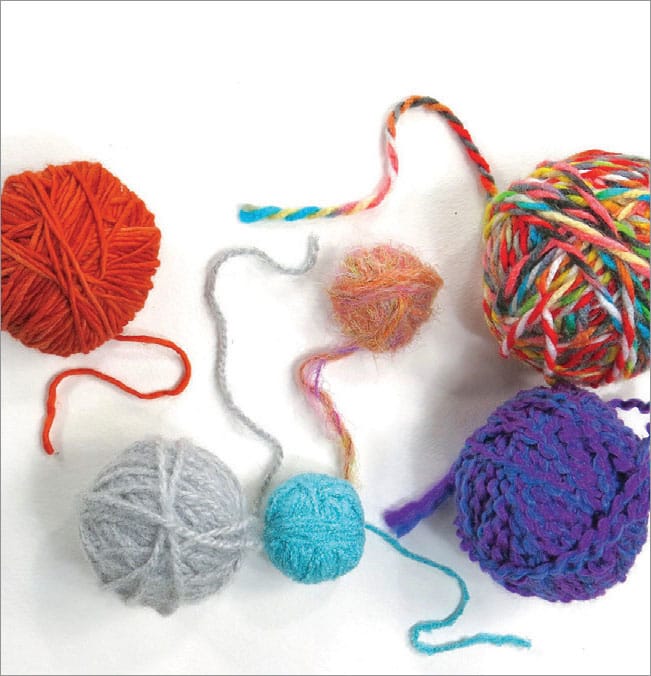
Yarn is typically sold in skeins, which are twisted bundles of yarn. The end of the yarn can be found on either end of the skein, but sometimes it is difficult to find and you might be tempted to unwrap the yarn from around the outside. That is fine, but can lead to tangled yarn. When shopping for yarn, look for a skein where you can see a small tail of yarn hanging from either end of the skein. When you start working with the skein, gently pull the yarn from the end.
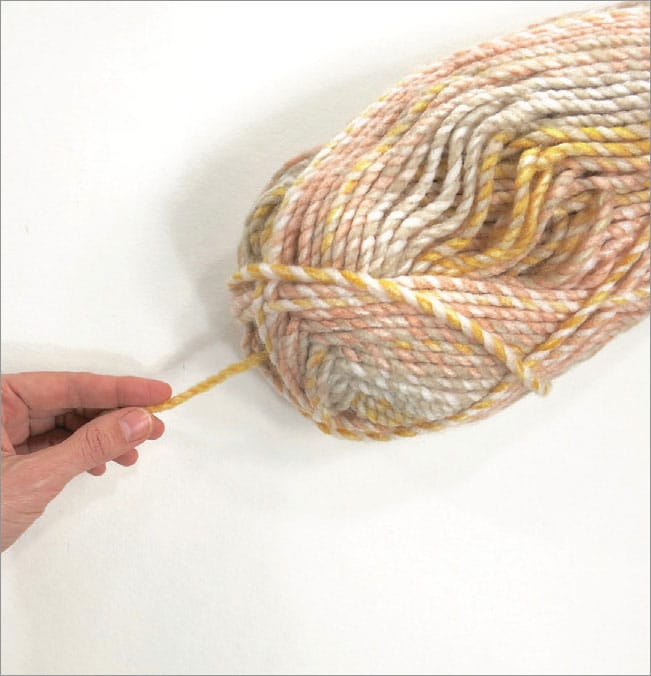
Sometimes it is easier to work from a ball of yarn.
1. To turn the skein into a ball of yarn, begin by wrapping the yarn around your fingers. (Fig. 1)

2. Then, slide the bundle off your fingers and continue wrapping the yarn around the bundle, turning the bundle as you go. (Fig. 2)

3. Continue until all the yarn has been wrapped into a ball.

ball of thread wax
Some type of wax it great to have on hand if your young artist is struggling with thread or embroidery floss that is constantly knotting as they stitch.
With one finger, hold the thread against the wax and use your other hand to pull the thread against the wax. This adds a little stiffness to the floss and minimizes the knotting. Bee’s wax is ideal, but even a candle can work!
buttons
Keep and collect a stash of buttons, in all shapes, sizes, and colors. Keep in mind that buttonholes come in different sizes, so you’ll need a variety of buttons. Look for buttons with large buttonholes, these are easier to stitch onto the fabric.

glue
In many labs, there is an option to either glue or stitch pieces of fabric together. Regular “school glue” isn’t strong enough to do the trick. Fabric glue is ideal. Aleene’s Tacky Glue, found in craft stores, is a fantastic glue for adding fabric bits and pieces to a stitched piece.
fabrics + stuffing
You only need four different types of fabric to complete all the projects featured in the labs. Each fabric has its own unique qualities and reasons for being chosen for specific projects. See “Cutting the Fabrics” for more information.
Starting at the top and moving clockwise, the four fabrics are:

quilter’s cotton
This basic, 100% cotton fabric is easy to cut and comes in a wide variety of fun prints. The side with the print is called the “right side” while the other side is called the “wrong side”. This is important to pay attention to when sewing.
In quilting shops, quilting cotton is often sold in “fat quarters” which are one-fourth of a yard cuts of fabric. This is an inexpensive way for your young artist to choose a variety of prints. This fabric is ideal for sewing and embroidery.
felt
Craft store felt is a wonderful fabric for kids; it is easy to cut and, unlike quilter’s fabric, the cut edges do not fray. For that reason, craft felt is excellent for appliqué or cutting and stitching small cut pieces. It is sold by the yard and in sheets of 8" × 11" (A4) which are very inexpensive.
muslin
Muslin is an inexpensive, natural looking cotton fabric. It is just like quilter’s cotton but without the print! For that reason, it is a blank canvas for stitching, printing, painting, or dying.
burlap
A great fabric for embroidery, burlap is loosely woven so artists can see through the threads as they stitch. Blunt needles can be used to stitch burlap, which makes it especially suitable for young artists, although it does fray very easily.
pillow and soft toy stuffing
To give a pillow or a plushie that soft cushiony feel, try using polyester fiber filling or poly-fil. It can be found in the sewing section of craft stores. In a pinch, however, something as inexpensive and recyclable as plastic grocery bags, work just as well. They add a nice crunch sound to a stuffed stuffie. Shredded paper, Easter grass, even bits and pieces of fabric and yarn can be used to add extra fluff to your pillow or soft toy.
felting supplies
Several labs involve two kinds of felting: needle felting and wet felting. Wool felt is great to work with because the edges don’t fray like other fabrics. See labs 34, 35, and 36 for felting techniques and projects.
Wet felting occurs when wool fibers are agitated with soap and water, like what happens in a washing machine, and lock together to create a solid fabric known as wool felt.
If you’ve ever shrunk a wool sweater, then you’ve felted!
Needle felting allows you to create more detailed designs by forcing wool fibers into place with a special tool. For these labs, you need wool roving, a needle felting tool, and a needle felting cushion. Many craft stores now carry felting supplies. Be sure and see if your town has a Fiber’s Guild. You might even be able to find a local alpaca or sheep farm as a source for the wool!
