the basics: working with fabric + thread
cutting the fabrics
Each of the four fabrics need to be cut and prepared differently. Fabric scissors make the cutting job much easier!
cutting burlap
Burlap is loosely woven; if you look closely, you can see the strands of fiber go over and under each other, just like the projects in the weaving labs! If this fabric is cut incorrectly, it unravels, or becomes unwoven, as you work. Here’s the best way to cut and prepare burlap:
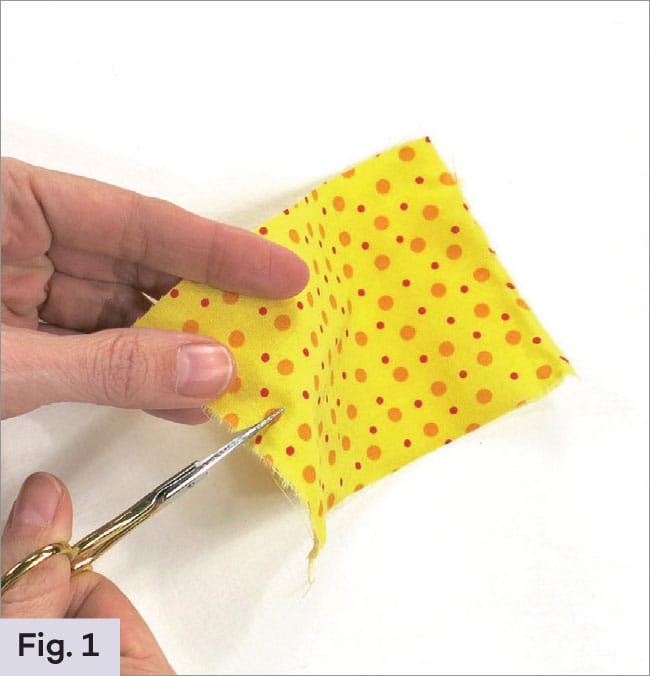
1. Make a small 1" (2.5 cm) cut at one edge of the burlap. Gently separate the fabric and pull one strand of the burlap thread. (Fig. 1)

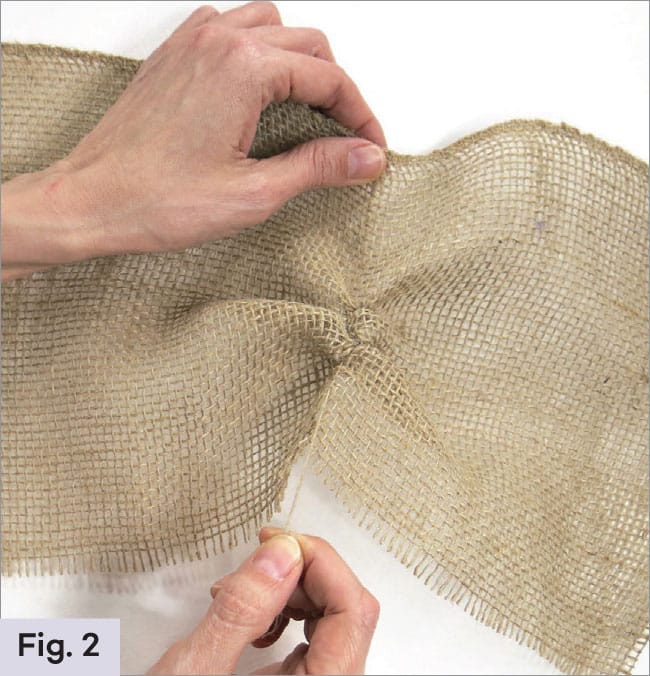
2. Gently continue to pull that thread all the way out of the fabric. The fabric will gather until the thread has been completely released from the fabric. If the burlap strand breaks, just pull a strand of burlap beside the broken strand. (Fig. 2)
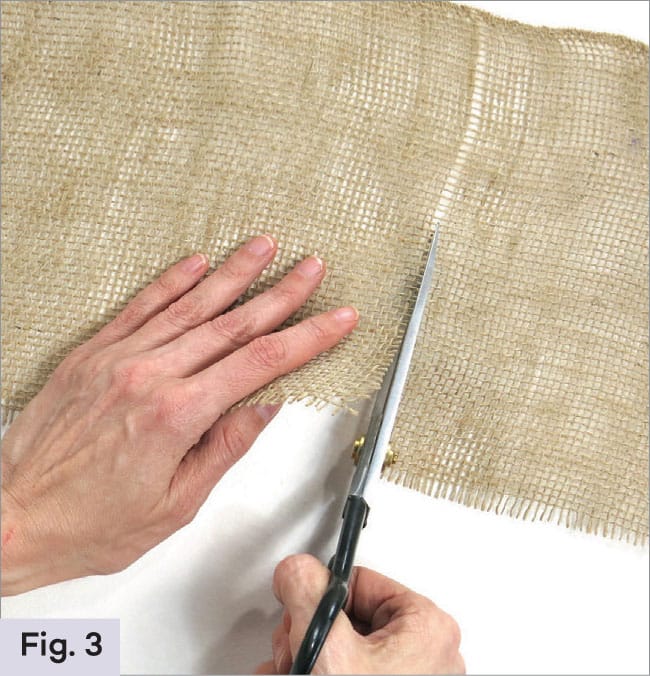
3. Once the burlap strand is totally removed from the fabric, the fabric will lay flat. This creates a run or line in the fabric. Cut along this line for a straight edge in the burlap. (Fig. 3)
4. Before stitching, draw a line of glue around the edge and allow to it dry overnight. The glue prevents the burlap from fraying during stitching. (Fig. 4)

cutting quilter’s cotton and muslin
Quilter’s cotton and muslin are both cotton fabrics and one simply features fabulous prints while the other is a solid, natural color.
1. To cut and prepare this fabric, simply make a small snip in one edge. (Fig. 1)
2. Gently tear the fabric to the opposite side. The fabric may have a wrinkled edge due to the tearing; press the edges flat. (Fig. 2)

cutting craft store felt
Craft felt is a synthetic or manmade fiber and is very inexpensive. Real felted fiber is made from wool and is much more expensive. In this book, craft felt, sold in sheets in a variety of colors, is used. This fabric doesn’t ravel, so it can be cut with scissors and will either be glued or stitched to other pieces of fabric.
working with thread and embroidery floss
There are a few tips that make working with the different threads and embroidery floss easier.
cutting the correct length thread
It is important to cut the correct length of thread. Thread that is too long tends to tangle during stitching. Thread that is too short is frustrating because you need to stop, tie off, and start again.
A good thread length is about the same as the length of your arm, approximately 12"-14" (30.5-35.6 cm). Hold the thread end in one hand, outstretch your arm, and pull the thread to your shoulder. Pinch the thread near your shoulder and pull it away to cut it. Do not cut the thread near your shoulder or your hair or clothing might be cut instead!
Once cut, crochet and craft thread are ready to sew. Embroidery floss, however needs to be separated before stitching and should never be longer than 14" (35.6 cm). See “Separating Embroidery Floss”.
separating embroidery floss
Embroidery floss is made up of six strands of thread. After the floss is cut, separate the strands in half. Sometimes, the number of strands you want to use varies, but for the projects in this book, use three strands of embroidery floss.
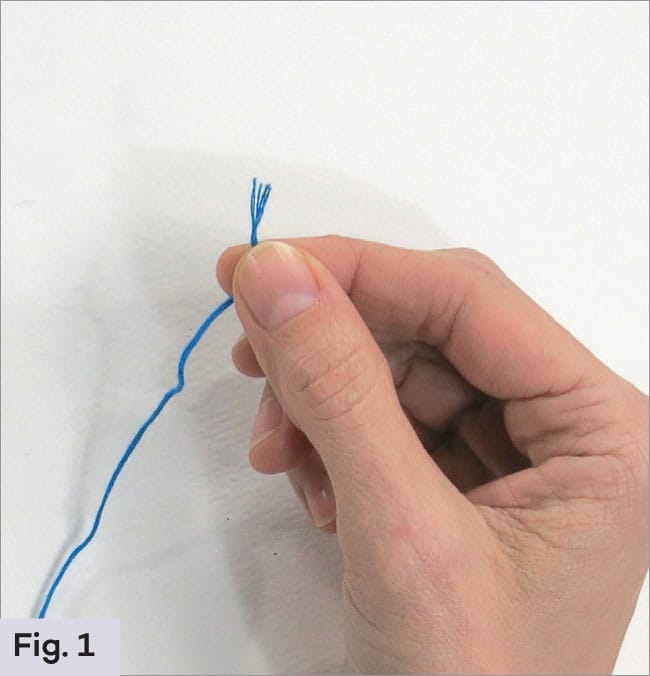
1. Gently, separate the ends of the strands so each one is visible. (Fig. 1)
2. Pull just one of the strands of floss from the bunch. Pinch and hold the remaining five strands while pulling. (Fig. 2)

3. As the one strand is being pulled, the remaining five will gather and may appear to tangle. Do not untangle. As soon as the piece is pulled out, the strands will untangle.
4. Continue pulling two more strands from the floss, one at a time. Once finished, there should be two sets of three strands of embroidery floss for stitching. (Fig. 3)

storing embroidery floss
Embroidery floss can become a tangled mess. To keep this from happening, it is a good idea to wrap embroidery floss around a bobbin. Craft stores sell bobbins, but you can easily make one from a cut piece of cardboard or a plastic card.
1. Cut a small slit on one side of a small piece of cardboard (cereal box cardboard works great). Slide the end of the floss into the slit and begin wrapping the floss around card. (Fig. 1)

2. Continue wrapping the floss around the card. If the floss starts to tangle, gently unravel it. To finish, cut a small slit on the opposite side of the cardboard and slide the end of the floss into it. (Fig. 2)

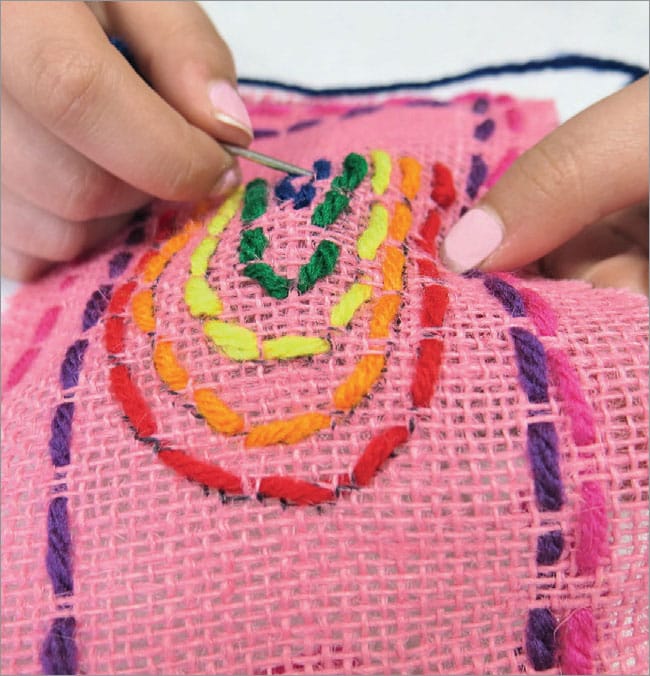
using an embroidery hoop
An embroidery hoop is a wonderful tool to use when hand sewing or embroidering. It helps to hold the fabric taunt while stitching. Here is how to put fabric on an embroidery hoop:
1. Separate the hoops. (Fig. 1)
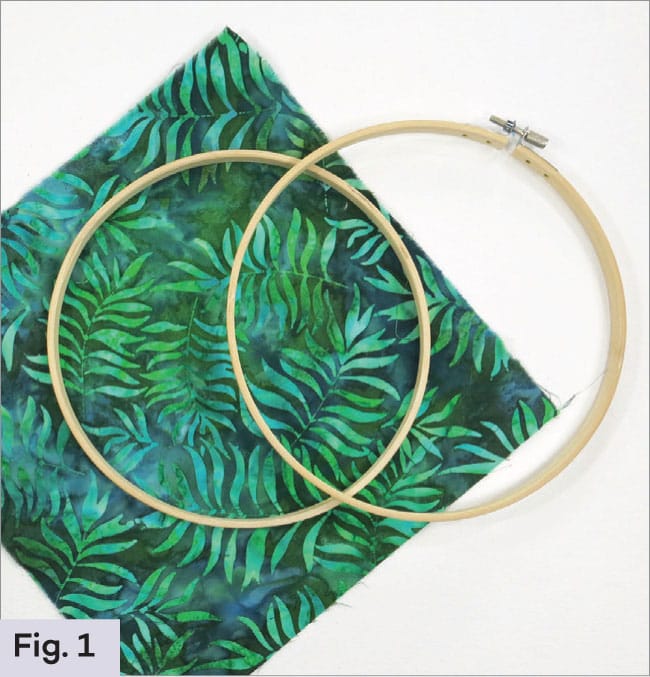
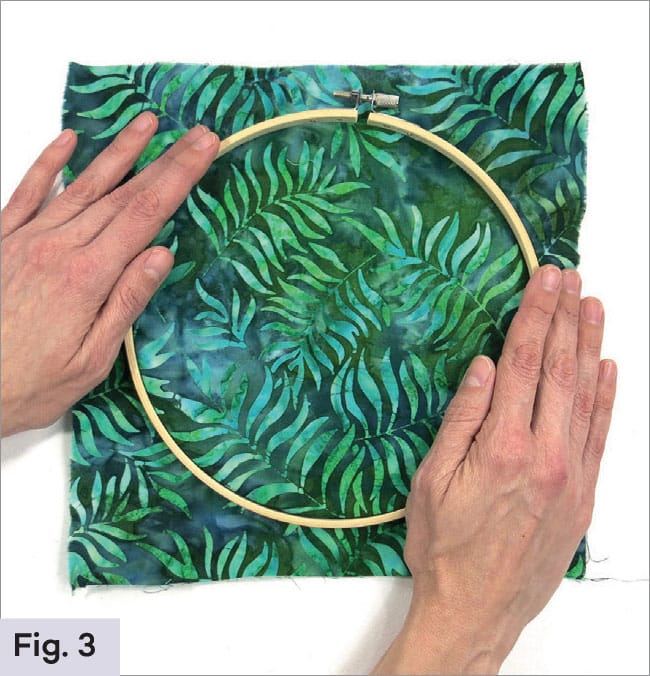
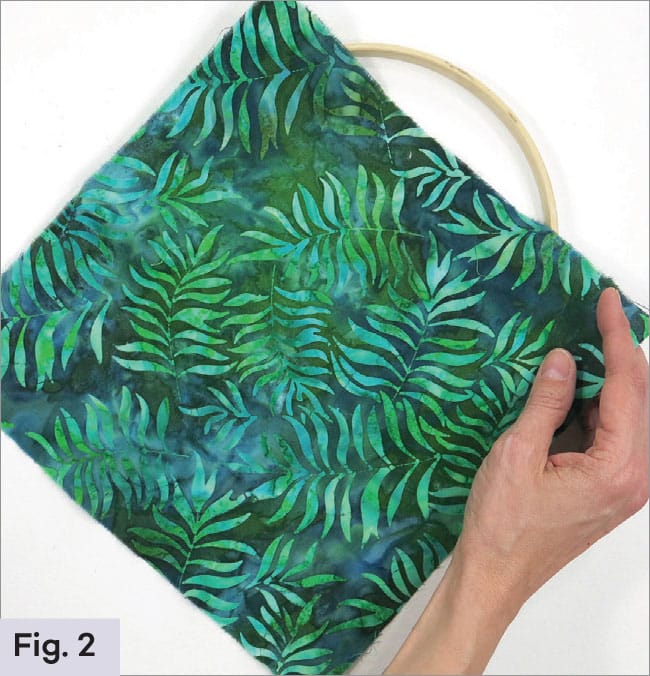
2. Place the circle hoop on a table. Lay the fabric over the hoop. (Fig. 2)
3. Place the hoop with the screw over the bottom hoop and fabric. This should be a tight fit. Either tighten or loosen the screw at the top to allow the top hoop to fit snuggly. (Fig. 3)