
14. Adding Simple Graphic Elements
Now it’s time for some graphic talk. The term graphic refers to artwork you add to your documents. Artwork can include pictures (digital or scanned), clip art (pre-drawn artwork), shapes you draw using your software’s drawing tools, even charts and graphs (which you learned about in Chapter 13, “Adding Charts, Graphs, and Diagrams”). You can use graphics as another way to add visual interest to your files. Graphics can enhance a report, illustrate a point, tie-in a theme, or generally just dress up an ordinary page.
In this chapter, I’ll show you how to make use of Word’s simple graphic elements. These include shapes, text boxes, and WordArt objects. In the next chapter, you can learn how to insert pictures, clip art, and videos.
Drawing Shapes
There are times when you’re working in a document and you think to yourself, “Hey, I wish I could put a big arrow next to this paragraph” or “My title really needs a colorful oval behind it.” It turns out that you can add a wide variety of visual shapes to your documents using Word’s Shapes tool. Formerly called AutoShapes in previous renditions of Microsoft Office, you can use the Shapes tool to quickly draw all manner of basic shapes, lines, rectangles, block arrows, equation shapes, flowchart shapes, stars and banners, and callouts. In fact, the Shapes library (or as some like to call it, Shapes gallery) gives you quite a range with which to work. The great thing about shapes is you can layer them with other shapes and graphics, put text on them, resize them, and pretty much use them any way you want. Take a look at Figure 14.1 to see an example of how you can put a shape into use. This is the title page of my upcoming great American novel. Obviously, the heart shape really dresses it up, right? The point is that you can use shapes in all kinds of novel ways (pun intended) in your own document tasks.
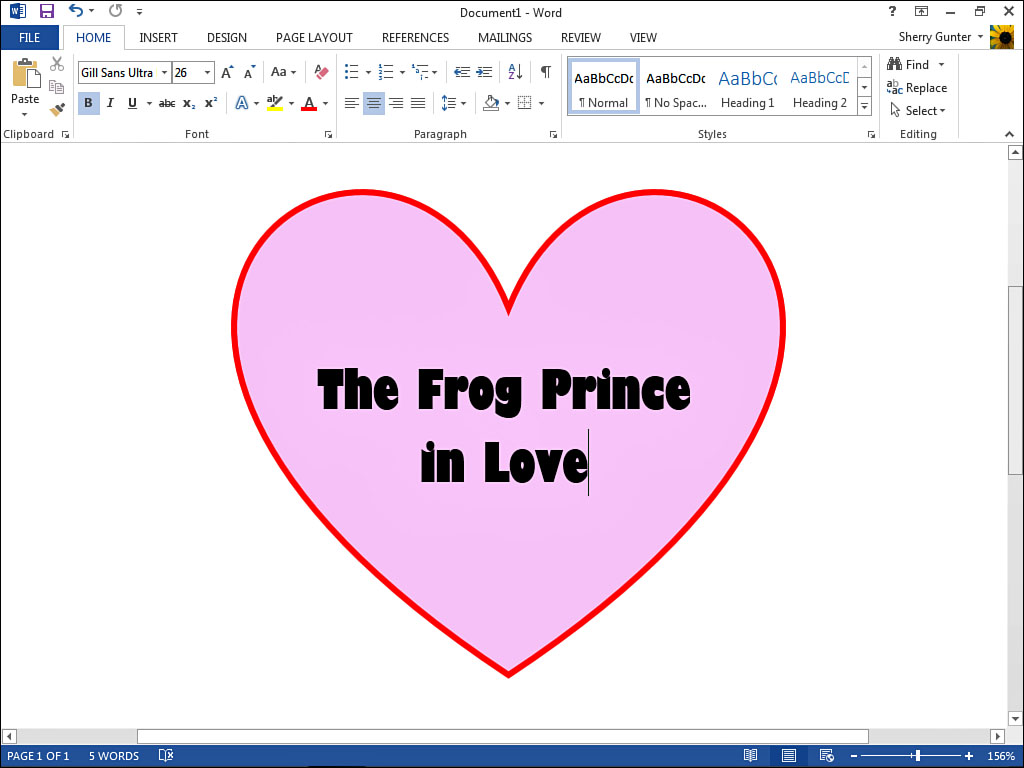
FIGURE 14.1 You draw shapes to add visual interest to documents.
To insert a shape, follow these steps:
1. Click the Insert tab.
2. Click the Shapes button.
3. Click a shape from the library, as shown in Figure 14.2.

FIGURE 14.2 Check out all the shapes available in the Shapes library!
4. Click and drag on the page where you want the shape to appear; Word draws the shape as you drag, as shown in Figure 14.3.
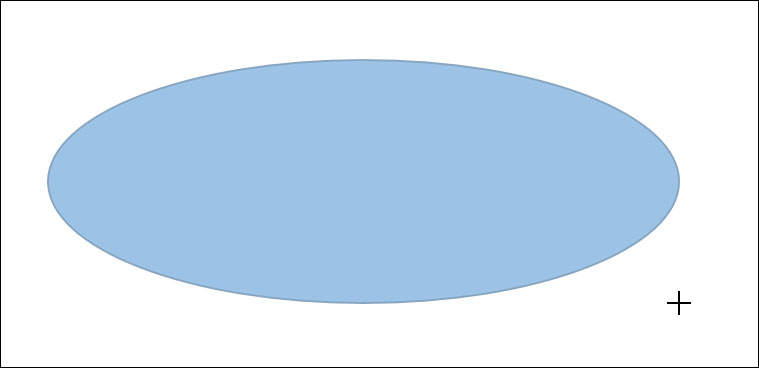
FIGURE 14.3 Click and drag to start drawing.
5. When you release the mouse button, Word inserts the shape (see Figure 14.4).

FIGURE 14.4 Release the mouse button when you finish drawing, and the shape appears in full.
You can resize and reposition a shape any way you want. Plus, you can format the shape, changing its fill color, border, or even assign special effects. You can also control how text flows around the shape (called text wrapping). You can access the text flow options simply by clicking the Layout Options icon that appears in the upper-right corner of the selected shape, shown in Figure 14.4. When activated, this option offers you quick access to text wrapping controls, as shown in Figure 14.5, or you can choose to open a Layout dialog box to view more options. To activate a command from the Layout Options list, just click it.
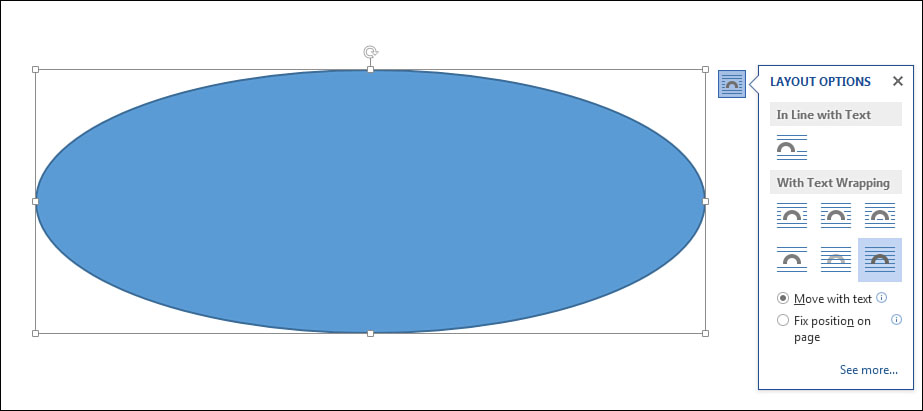
FIGURE 14.5 You can use the shortcut icons to quickly access commands related to the task at hand.
Word automatically applies some default formatting to the shapes you draw, including a preassigned fill color and outline color. Sure, it would have been nice if Word asked you what color you wanted before you got started, but alas, it didn’t. To change either the fill color or outline, or both, click the Shape Fill button or Shape Outline button (refer to Figure 14.4) on the Format tab and make your selections.
You can activate Word’s drawing canvas feature and draw as many shapes as you like to create your own original artwork. The drawing canvas gives you a special drawing area separate from the rest of the page. To use this feature, click the Insert tab and click Shapes, and then click the New Drawing Canvas command at the bottom of the Shapes library. You can draw multiple shapes on the canvas, and utilize all the shape tools on the Format tab to add new shapes, freeform shapes, fill colors, and more. You might use the drawing canvas to draw your own diagram from scratch or design a simple company logo. You can also group the objects you draw with the Group Objects command. Press the Esc key to exit the canvas and return to the document. Basically, this just takes you out of edit mode. To revisit the canvas again to make changes, just click on the shape.
Repositioning and Resizing Shapes
Repositioning and resizing shapes is pretty easy. The same technique is used for just about everything you insert that displays selection handles. Selection handles are the tiny squares that surround a selected object, as shown in Figure 14.6. You can drag a middle handle to increase the graphic size up or down, or right or left. If you drag a corner handle, you can resize the entire object.
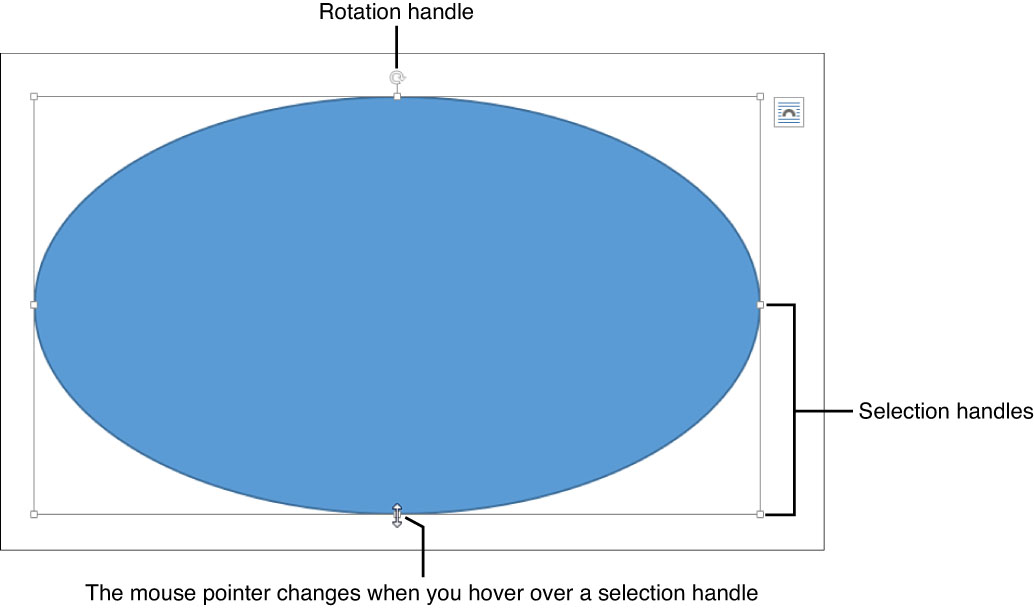
FIGURE 14.6 Look for selection handles when you want to resize a graphic.
The funny-looking circle icon with an arrow in it is the rotation handle. You can use it to rotate the object. Learn more about this technique in Chapter 16, “Fine-Tuning Your Graphics.”
As for repositioning a shape, first hover your mouse pointer over the border until the pointer becomes a four-sided arrow icon, as shown in Figure 14.7. Now drag the graphic and drop it where you want it to appear. Depending on what text wrapping option is applied, the rest of the document text might or might not flow around the object. You can learn more about text wrapping controls in Chapter 16.
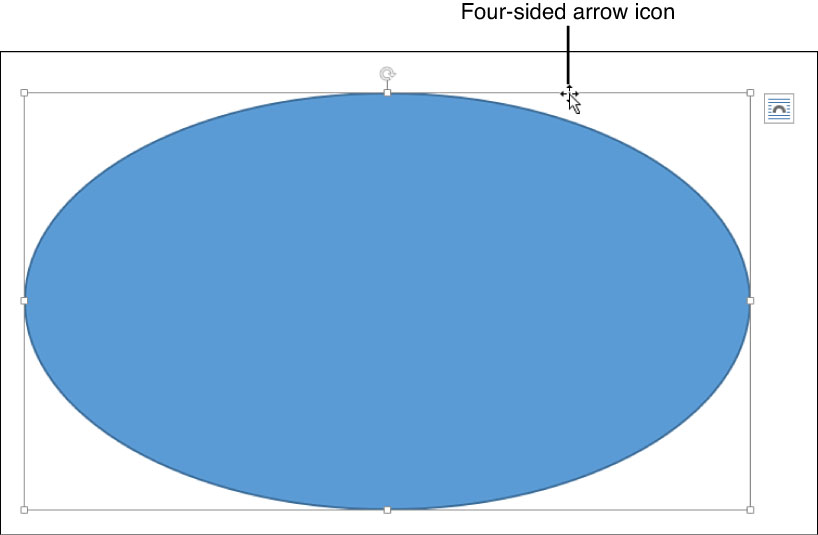
FIGURE 14.7 You can drag and drop a selected object to move it around the document.
![]() Tip
Tip
You can always break out your trusty Cut and Paste commands to move a graphic around in a document. See Chapter 4, “Document Basics,” to learn more.
Formatting Shapes
Shape formatting boils down to a few key attributes: style, fill color, outline color, and special effects. When you’re ready to apply any of this formatting to a shape, the Ribbon’s Format tab is the place to go because it’s sitting right up at the top of your screen. The bulk of the shape formatting falls under the group of tools labeled Shape Styles on the tab, as shown in Figure 14.8.

FIGURE 14.8 Access formatting controls through the Format tab or summon the shortcut menu.
However, there are some other ways to access formatting fast. The handy little shortcut menu, for example, is just a click away. A right-click on the shape displays a menu similar to what you see in Figure 14.8. The top of the menu offers shortcuts to changing the shape style, fill color, or outline. Just click the attribute you want to change and make your selection. What could be easier than that?
There’s also a task pane you can use to format graphics, shown in Figure 14.9. You can use the pane to access all the detailed settings normally found in a dialog box. The Format Shape pane offers commands and tools grouped under collapsible/expandable headings in the pane; click an arrow next to the group name to view more or fewer tools. The Format Shape pane is the way to go when you want to fine-tune the shape’s attributes and try out different features as you work. As you can see, there’s a lot to play around with and each category icon at the top of the pane displays different settings.
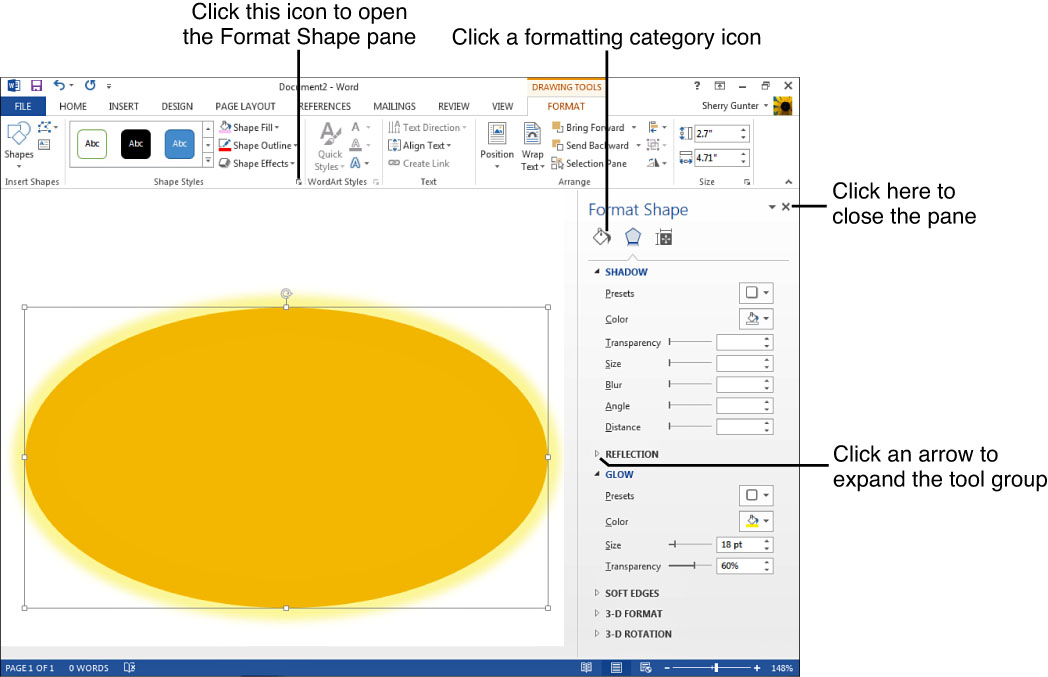
FIGURE 14.9 Whoa! A task pane dedicated to detailed formatting!
To display the pane, click the Format Shape icon on the Format tab in the corner of the Shape Styles group of tools. You can also right-click the shape and choose Format Shape.
After the pane appears, you can make adjustments to various settings. The tools you see listed work the same way as the other commands you’ve used so far on the Ribbon and in Word’s many dialog boxes. To start fiddling with the settings, you can use the usual techniques: dragging slider bars, typing in a value, clicking spinner arrows, choosing from drop-down menus, clicking radio buttons and check boxes, and so on.
This is just the tip of the formatting iceberg. We’ll go over some of the more complex formatting features in Chapter 16, such as layering shapes and text to create logos. In the meantime, this should be enough to give your shapes a quick makeover.
![]() Tip
Tip
Do you need to change one shape into another? Click the Format tab and then look for the Insert Shapes group of tools on the left end of the tab. Click the Edit Shape drop-down arrow, click Change Shape, then choose another shape from the library.
You can make your own unique shapes out of any existing shape by making modifications to the shape’s edit points. Edit points are draggable handles you can use to adjust the shape’s perimeters. To turn them on, click the Edit Shape drop-down arrow found in the Insert Shapes group of tools on the left end of the Format tab. Click Edit Points from the drop-down menu and Word displays all the edit points for the corners or connecting spots on the shape. You can click and drag an edit point to modify the shape. You can also click the edge of the shape to add a new edit point.
Inserting WordArt Objects
Word has a cool feature you can use to turn text into graphic objects. Called WordArt, it’s been around for quite some time in all the Office programs. You can use it to create logos or turn text into visual works of art like a modern-day Picasso. The great thing about turning text into art is that you can then treat it as a graphic, resizing it, recoloring it, layering it with other shapes and artwork, and so on. Take a gander at an example of WordArt in Figure 14.10.
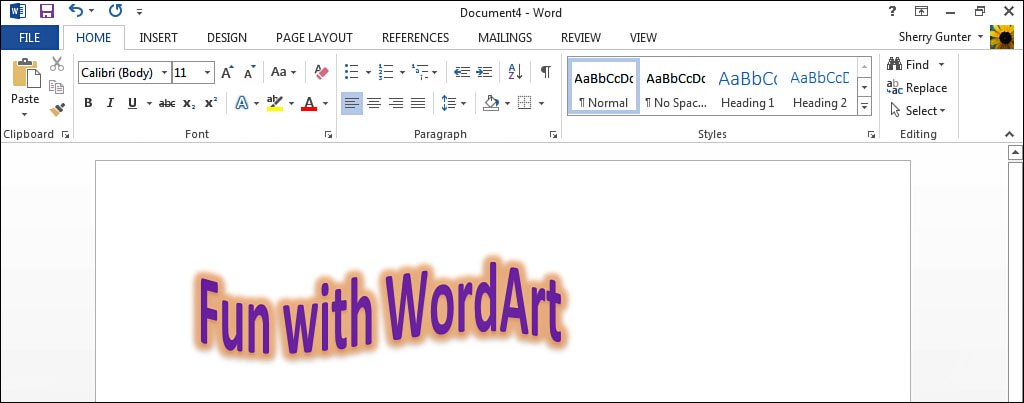
FIGURE 14.10 Is it text or is it art? It’s WordArt!
In previous versions of Word, the WordArt tool included a library of various artistic variations you could apply to the graphic. In this version of Word, you can choose from a small library of Quick Styles to get started, but then you can assign all kinds of different formatting effects to customize the artwork. The effects are where all the excitement is.
To insert a WordArt object, begin by clicking the Insert tab and clicking the Insert WordArt drop-down arrow. Word displays the gallery, shown in Figure 14.11. Click a style and Word inserts a text box into your document with some placeholder text, similar to Figure 14.12. As with the Shapes tool you learned about in the previous section, the selected WordArt object also displays the Layout Options icon in the corner so you can quickly control text wrapping, if needed. Word also opens a special tab on the Ribbon you can use to format the object, called, strangely enough, the Format tab.
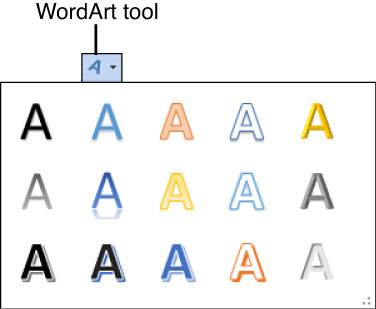
FIGURE 14.11 Start a WordArt object by choosing a style from the Quick Styles gallery.
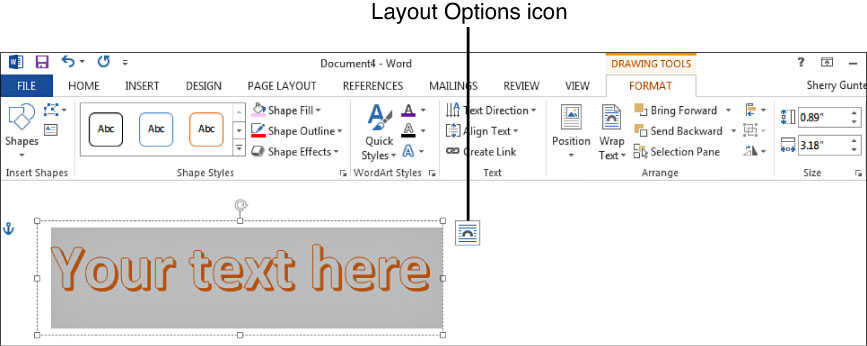
FIGURE 14.12 Word displays placeholder text you must replace with your own.
The next part of creating WordArt is typing in your text. As soon as you start typing, Word assigns the style you applied, as you can see in Figure 14.13.
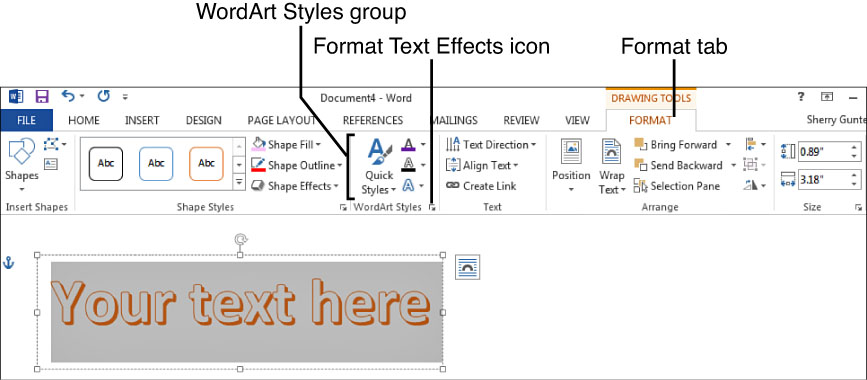
FIGURE 14.13 Replace the placeholder text with your own.
To make changes to your WordArt object, check out all the options available on the Format tab. Specifically pay attention to the group of tools under the heading WordArt Styles (see Figure 14.13). Here’s what you can do with the tools you find there:
• Change the WordArt style by clicking the Quick Styles button and choosing another style.
• To change the fill color, click the Text Fill drop-down arrow and choose another color.
• Don’t see the color you want? Click the Text Fill drop-down arrow and choose More Fill Colors to open the Colors dialog box where you can choose from a larger palette.
• To change the outline color of the text, click the Text Outline drop-down arrow and choose another color.
• To change the line style for the outline, click the Text Outline drop-down arrow, click the Weight command, and choose a line style.
• What? Not enough line styles for you? Then click the Text Outline drop-down arrow, click the Weight command, then click More Lines. This opens the Format Shape pane where you can adjust all kinds of line options, such as transparency, thickness, or no line at all.
• To change the text effect, click the Text Effects drop-down arrow, click an effect category, and then click an effect from the gallery.
• Need more customizing options for your effect? Then activate the Options command at the bottom of the effects gallery to open additional settings via the Format pane or a separate dialog box (depending on the type of effect you choose).
![]() Tip
Tip
If you don’t want a text fill color or a text outline border around your WordArt, you can turn the feature off. Click the Text Fill drop-down arrow and choose No Fill, or click the Text Outline drop-down arrow and choose No Outline.
Speaking of formatting, have you checked out the Format pane yet? It’s bursting at the seams with settings you can use to further fine-tune your WordArt object. Granted, some of the tools on the pane are just duplicates of what’s on the Ribbon’s Format tab, but others offer greater details. To display the pane, click the Format Text Effects icon in the corner of the WordArt Styles group of tools (see Figure 14.13), or right-click your WordArt object and choose Format Shape from the pop-up menu.
The Format Shape pane, shown in Figure 14.14, is just like the one used for shapes (see the previous section), but this time the tools offered include text tools. You can switch between shape tools and text tools by clicking the Shape Options or Text Options labels at the top of the pane. The Text Options include the three main attribute groups you can format with: Text Fill & Outline, Text Effects, and Layout & Properties. Click a category icon to view the related tools. Be sure to note the Text Effects category where you can play around with all kinds of different effects, such as adding different types and directions of shadows, applying glowing edges to the object, trying out 3-D styles, and more. Just like with shapes, you can drag slider bars, type in values, click spinner arrows, select from drop-down menus, and click radio buttons and check boxes to make adjustments to the settings for your WordArt object.
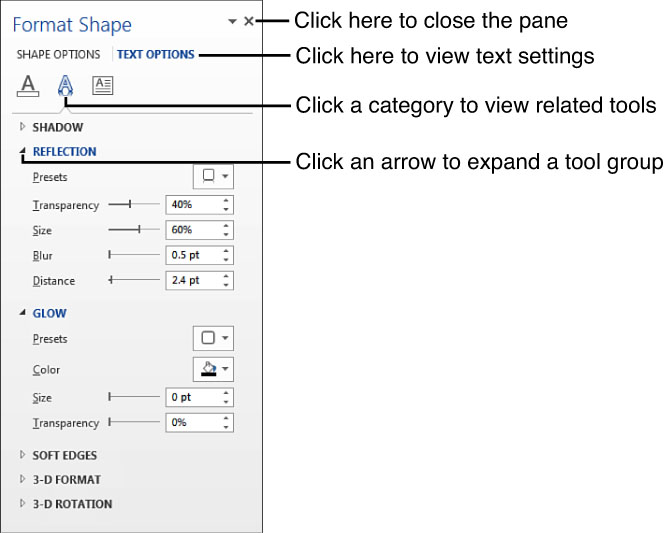
FIGURE 14.14 You can also open the Format Shape pane to the Text Options to adjust your WordArt formatting.
My all-time favorite WordArt formatting is the ability to transform the text into waves, arches, and full-on circles of words. You can do all of this using the Transform category of text effects. To find your way to this riveting feature, click the Text Effects drop-down arrow on the Format tab, and then click the Transform category. From the palette that appears, as shown in Figure 14.15, you can choose from curving text, waving text, circular text, and more. Click the one you want to immediately apply it.
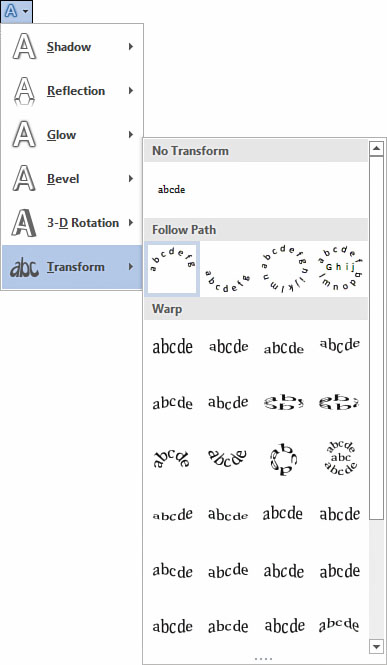
FIGURE 14.15 Visit the Transform category on the Text Effects palette to view all kinds of transformations for your WordArt.
![]() Tip
Tip
If you ever need to turn off a WordArt text effect, or even a text effect applied to a shape or normal text, you need to reopen the Effects palette and choose the No option for the particular effect type you applied. For example, if you applied a glow, click the Glow category and choose No Glow.
Inserting Text Box Objects
Did you know you can put text in a box and treat it like a graphic? You can. Using Word’s Text Box tool, you can place text in a special “container” (that is, a box) and move it about the document separately from the regular document text. You might do this to create a quote that floats on its own on a page, or to insert a sidebar of information related to the main topic of the document. Figure 14.16 shows an example of a text box in a document. Text boxes are useful for adding captions, labels, or basically adding extra emphasis to a specific bit of text. You can use them to group text and graphics together, like a picture or a shape along with text, and you can even link text boxes to each other to flow text from one to another just like the technique used in desktop publishing software. Oh, and the text box doesn’t even have to have an actual border around it to be a box. Intrigued? Then let’s learn how to make them.
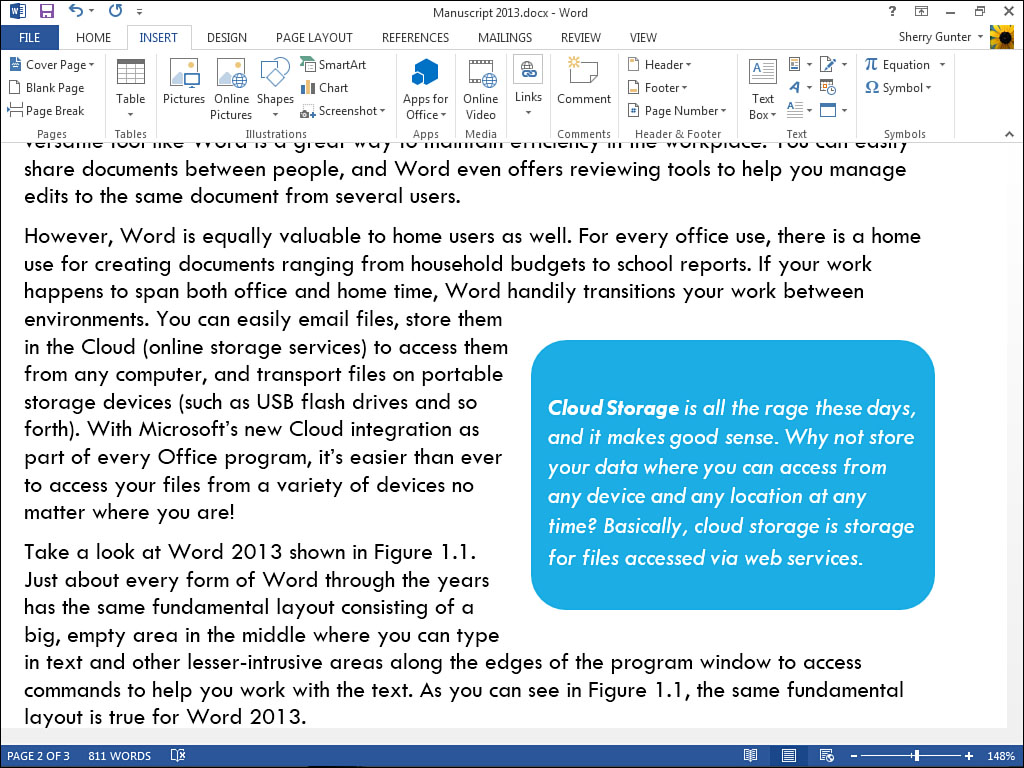
FIGURE 14.16 Text boxes are the perfect tool for setting text apart from the rest of the page.
Essentially, a text box acts just like any other graphic object, similar to a shape or WordArt object. You can move it around, resize it, and format it using all the same tools used for formatting shapes and WordArt. In fact, when you work with a text box, the Ribbon displays the same Format tab. This means you can add a fill color to the text box, set a border color and line thickness, and apply special styles. The Text group of tools found on the Format tab can help you do a few things with your text boxes.
As it turns out, Word installs with a library of preset text boxes already formatted and ready to go. Part of the collection of built-ins and Quick Parts, the Text Box gallery includes boxes for quotes and sidebars featuring a variety of artistic stylings. You can insert one of these and modify it any way you like, or you can go with a basic no-thrills text box and work from there. Plus, there’s a third option—you can draw your own text box to just the right size. With the preset text boxes, including the simple text box, Word includes placeholder text; of course, you can replace this with your own content. If you opt to draw your own box, it’s completely empty.
To insert a built-in text box, follow these steps:
1. Click where you want to insert a text box.
2. Click the Insert tab.
3. Click the Text Box button.
4. Click a text box from the gallery, as shown in Figure 14.17. Choose the Simple Text Box option to start with a plain text box.
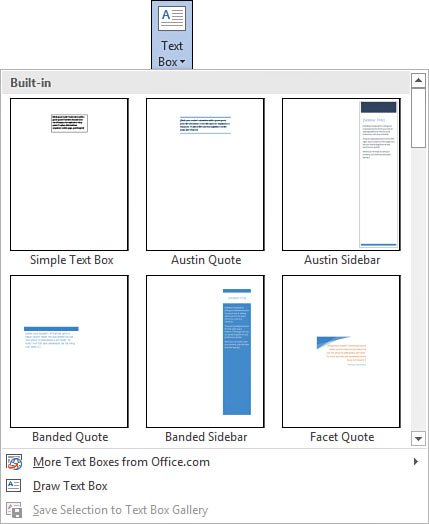
FIGURE 14.17 Scroll through and choose a built-in text box.
Word immediately inserts the box into your document (see Figure 14.18). Replace any placeholder text with your own and format it any way you want.

FIGURE 14.18 Type in your own text and format the box however you want.
Would you rather draw your own text box? Okay, first click the Insert tab, click Text Box, and click Draw Text Box. Next, click and drag on the page making the box as big or little as you want. When you stop dragging, the box is inserted and ready for text, similar to Figure 14.19. Notice the box is empty and you don’t have to replace any placeholder text.
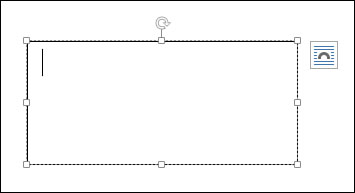
FIGURE 14.19 Draw your own text box if you want to create a certain size.
![]() Tip
Tip
If the Format tab is already displayed, you can click the Draw Text Box button located at the far left end of the tab and draw your own box. This route is handy if you’re drawing both shapes and text boxes to create a logo or something.
You can create a custom text box and save it to the Text Box gallery to reuse in other documents. Simply select the entire box, click the Insert tab, click the Text Box drop-down arrow and choose Save Selection to Text Box Gallery. Give the graphic a unique name and click OK to save it.
After you add a text box, here are a few things you can do with it:
• To adjust the alignment of text within the text box, click the Align Text drop-down arrow on the Format tab and choose another alignment setting.
• You can change the direction of the text in a text box. Click the Format tab and click the Text Direction drop-down arrow and make a selection.
• The Layout Options icon that appears in the corner of an active text box lets you control the text wrapping for a text box. Click the Layout Options icon to display the menu of text wrapping controls and choose the one you want.
• You can use the text formatting tools on the Home tab to change the font and size of the text.
• You can use the Shape Styles group of tools on the Format tab to change the fill color, box border, and assign a special effect to the box.
• You can also right-click the box and access the Style, Fill, and Outline buttons to assign formatting.
• Text boxes use the same Format Shape task pane that WordArt objects use if you would rather set options from the pane instead of the Ribbon. Right-click the box and click Format Shape to open the task pane.
• You can use edit points to make irregular text boxes. Right-click the box and click Edit Points. Click on the box edge to add an edit point, which you can then drag to reshape the box.
• To link two text boxes, click the Create Link button on the Format tab and then click an empty text box to link to. When applied, any extra text you add to the first box flows into the second no matter where it is located in the document. You might use this feature to create custom columns for a particular project.
![]() Tip
Tip
If you format a box just right and want to save it as the new default text box style, right-click the box and click Set as Default Text Box.
Learn about layering text boxes, applying text wrapping, grouping boxes with other shapes and boxes, and several other graphic arrangement features in Chapter 16.