
11
Downloading and Sharing Your Designs
We’re now at a stage where you have a great understanding of how to use Canva and create some amazing designs for your business, so in this chapter, we’re covering the downloading and sharing part – how you can share your designs with others and link them to social media.
In this chapter, we’re going to cover the following topics:
- How to download a design
- How to share your design
- Linking to social media
- Creating clickable links
- Apps you can connect to Canva
- How to create a QR code
By the end of this chapter, you will know how to create your own QR codes, link to your social platforms, and download any design and share it directly with other people. Let’s jump straight in and look at downloading.
How to download a design
Downloading a design in Canva is, like many other features, very straightforward. Once you’ve finished creating your design, all you need to do is click on the Share button at the top: this gives you a lot of options, but we’re focusing on the Download button. A dropdown will appear where you can select a variety of download options – the main one for the majority of designs would be PNG. This is an image file, and we covered these in Chapter 3, Tools and Features for Using Elements and Images, and we’re going to be looking at the PDF options in Chapter 12, Tips and Tricks for Printing. So, let’s select the PNG option for this exercise:
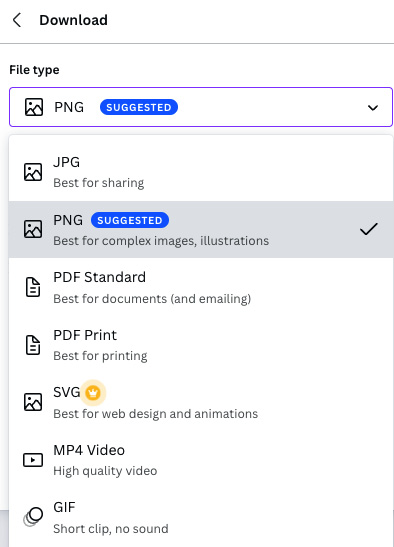
Figure 11.1 – Download options
After selecting PNG, it takes you to a page of further options. If you have Pro, you can choose to download your file with a transparent background and compress the file size. There is also an option to save the download settings so that when you create another design, it automatically chooses these settings for you:

Figure 11.2 – Additional download options
Then, all you need to do is select Download and it will send the design to your computer or phone, depending on which device you are using to download your design.
This celebration box often appears with a link you can copy and use to send the design to someone or post on social media:
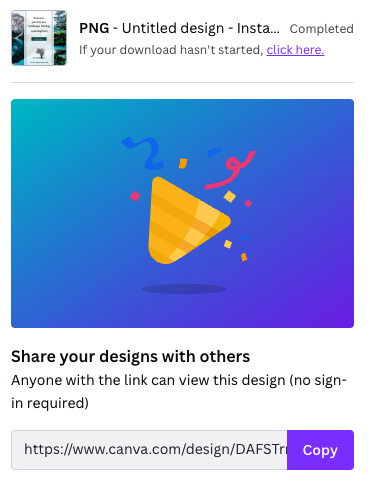
Figure 11.3 – Share your designs with others popup
And that’s about it for downloading your design – nice and simple – so let’s look at sharing your design directly from Canva.
How to share your design
Sharing Canva designs can be really useful – for example, if you use a virtual assistant and need to share ideas, or you want to share something with family members or on social media. You can even send graphics directly to Mailchimp for use later in your emails.
All the downloading and sharing options are in the same place – click on the Share button, and then for sharing options, click on More:

Figure 11.4 – The More option
From here, you can see every option has been put into its own group. There are the following:
- Share
- Social
- Save
- Messaging
- Design
- More options
The main Share section will be the most used. From here, you can click Template link and a link you can copy and paste will appear. However, this will add the design to someone else’s Canva account, allowing them to edit and use it without you knowing what they are doing with it:
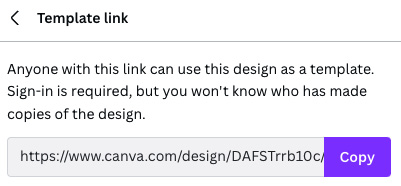
Figure 11.5 – Template link
There is also the option to present your design and record it – we looked at that in further detail in Chapter 10, Leveraging Video and Animation within Your Business Marketing
You can copy it to a clipboard, save the link to a folder on your computer, or select the View-only link option to send someone a link where they can view but not edit your design:

Figure 11.6 – Share options
Next is the Social section, where you can connect and send your designs directly to your social accounts. Have a look at the next part for more information on this section.

Figure 11.7 – Social linking options
Keep scrolling down and you will get to the Save and Messaging sections; here, you can save your design to a variety of places, including Google Drive and Dropbox, so that you can then go on to share your designs with others from these platforms.
Messaging allows you to open the design in a messaging platform, ready to share, including email, Facebook Messenger, and Mailchimp:

Figure 11.8 – Save and Messaging options
Click on the Mailchimp option and a simple box appears to save your design into the image section of your account.
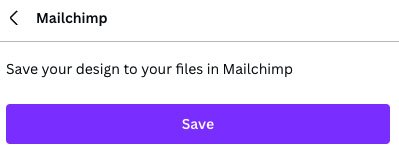
Figure 11.9 – Saving designs directly to Mailchimp
So, sharing your design is really quite straightforward. Canva is adding more and more places and apps all the time to which you can connect and share content. However, before you can share anything, you need to connect your social accounts to your Canva account and give them permission to share your designs directly, so let’s have a look at that next, and then you can connect and share away.
Linking to social media
The majority of social channels that you can connect to your Canva account are straightforward – they all just require your login details. I believe it’s only Facebook that asks for an extra step to be completed. Let’s look at the simple way first and then we can look at Facebook.
So, once you have your design finished and ready to share, just click on the Share button in the top-right corner, and then click More and choose your platform. Canva will bring up a box asking you to connect:

Figure 11.10 – Connecting to a social media platform
Once you click on the applicable Connect button, a box from the social platform pops up asking you to log in securely. Once done, you’re all set up and ready to post directly:

Figure 11.11 – Connecting a social media account
Now, I don’t use Tumblr, but I do have Twitter – every time you want to post to your social platforms, it will bring up the necessary boxes for you to create your post, along with a character count restriction so you don’t add in too many characters:
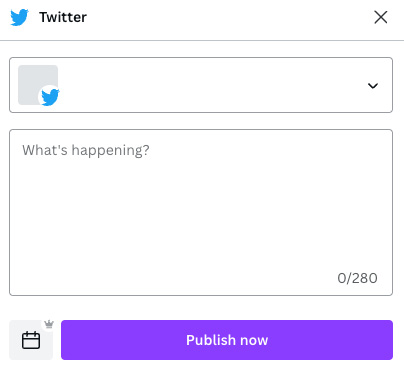
Figure 11.12 – Creating a post directly in Canva to send to a social media platform
With Facebook, they ask you to give Canva permission to connect from within your Facebook account. Upon trying to connect, this message will appear, giving you instructions on how to connect the two platforms:
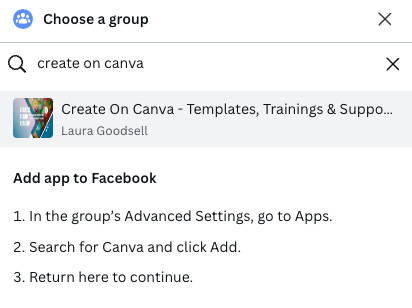
Figure 11.13 – Steps to connect a Facebook account to Canva
You will need to log in to your Facebook account and follow the step-by-step instructions to connect, but once you have done so, you can now post directly to Facebook as you would any other social account you have connected. You can share to a Facebook group as well as a page, but not your personal profile yet:
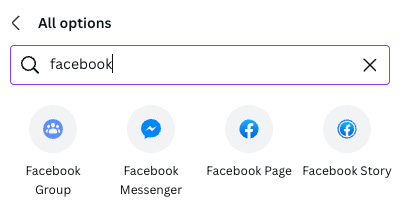
Figure 11.14 – Different Facebook sharing options
As well as automatically sharing to social media platforms, you can schedule this with the content calendar by clicking on the calendar icon in the bottom-left corner of the post. If you would like a refresher on this feature, have a look at Chapter 1, Setting Up Canva on Desktop and Mobile, where we covered this in more detail:
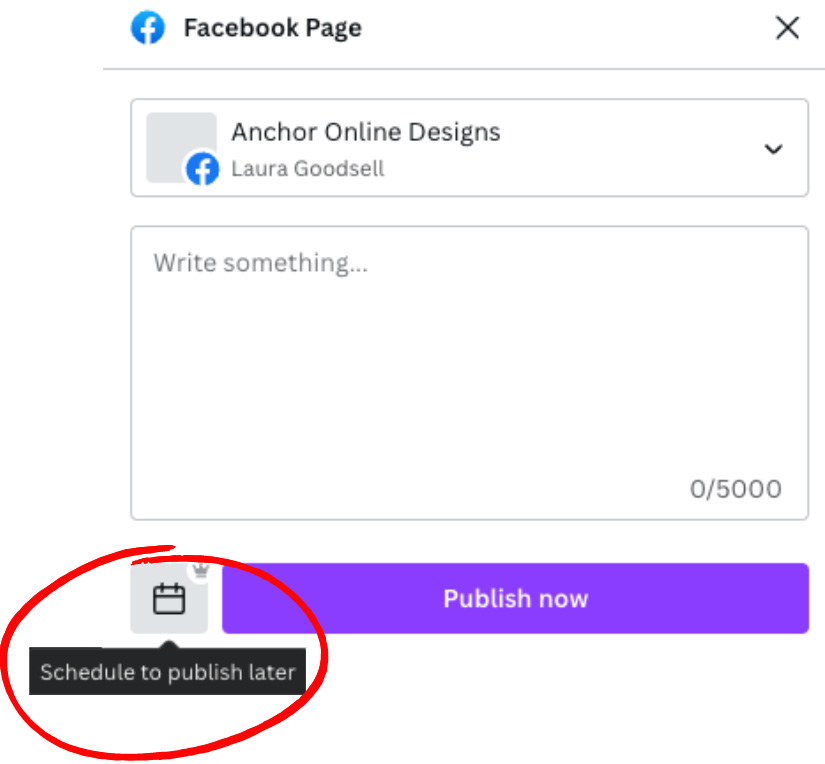
Figure 11.15 – Scheduling a social media post
Lastly in this section, you can find all of the apps and social channels you are connected to by going back to the home page, clicking on the icon in the top-right corner, and then clicking Account settings:
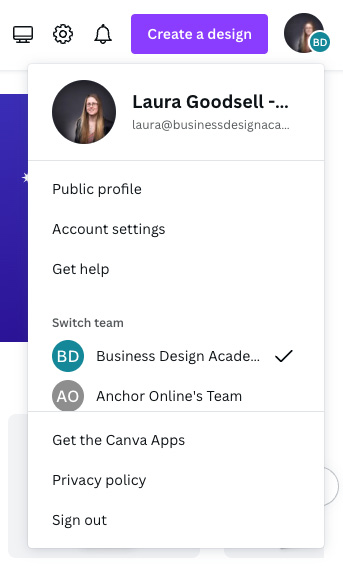
Figure 11.16 – Account settings tab
Scroll down and there will be a list of all linked accounts – it also gives you the option to disconnect each one:

Figure 11.17 – Apps and social media channels connected to your account
Connecting your accounts to Canva helps save you time and reach your audience faster, as you don’t need to download your images and then upload them to the various platforms.
Another way to connect to your audience is by adding links to your designs, giving the option to direct readers to where you want them to go – your website or social media channels, for example – so we’re going to look at how to create clickable links.
Creating clickable links
I love to create clickable links in my documents; you can add your website to your e-book, your social channels to infographics, and your email address to a lead magnet. Plus, it couldn’t be simpler – Canva has made it a nice, easy process for us to attract more people to our business with clickable links.
To add a link to your design, you need to create a button, or even a simple line of text will work. I’ve chosen to use this media kit page as an example:
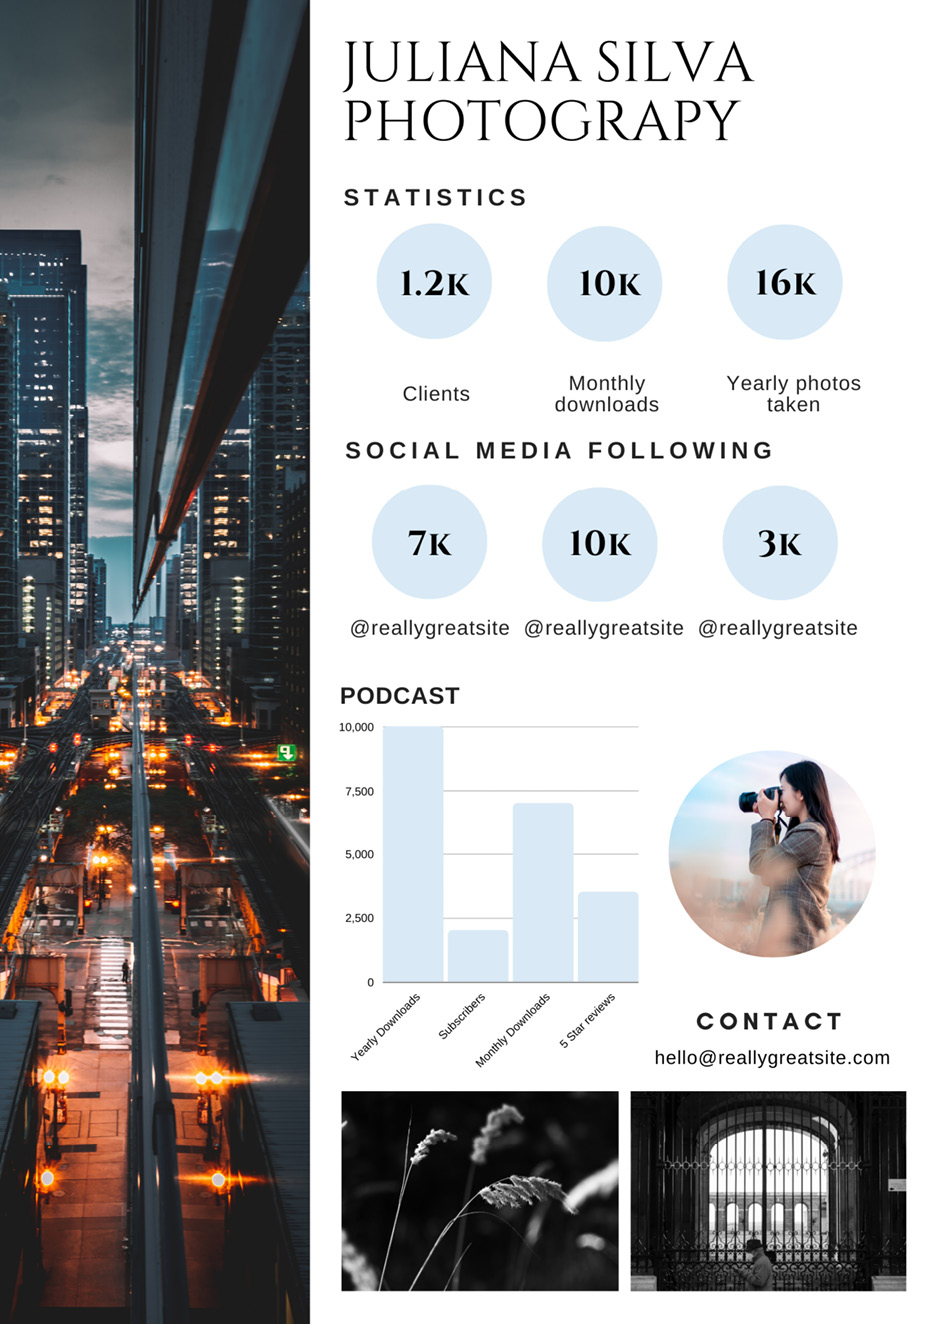
Figure 11.18 – Media kit page
On this page, I’ve added some social media handles. These are normal textboxes at the moment, but I want to turn these into clickable links so that when I email this out, the end user has access to all of my social media feeds:

Figure 11.19 – Textboxes to be turned into clickable links
Select just one of your textboxes on your design, and then click on the two-linked-circles icon at the top:
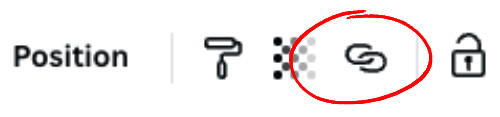
Figure 11.20 – Two linked circles icon for creating links
This brings up a search bar. Just enter your web address or social media address and it will link it for you:

Figure 11.21 – Entering a URL to create a link
Top tip
When adding social media channels, make sure you enter the full address. Don’t just add @socialchannel – you need to input www.facebook.com/page/socialchannel for it to work.
You can tell when it has worked, as a line will appear underneath your text that now has a link attached:

Figure 11.22 – Creating a clickable link
I mentioned adding a button earlier on in this section. There isn’t a specific button you can add, but you can make what looks like a button by searching for and adding an element shaped like a button:

Figure 11.23 – Searching for buttons in the Elements section
Then, you can add your textbox over the top with the attached link, giving it the look of a button rather than plain text:

Figure 11.24 – Creating buttons for links
Top tip
Anything you want to download and use as a PDF document can have clickable links built into it, but unfortunately, PNGs, JPGs, and videos cannot have clickable links in them. It’s not currently possible to add them to images or videos.
Now that you know how to connect your social media accounts and connect your audience to your PDFs, did you know there are lots of apps you can connect to your account as well? This gives you access to some amazing content and features.
Apps you can connect to Canva
Connecting apps to your Canva account feels like a huge bonus because Canva is a great platform as is. They are now giving us access to so much more through this route, so I wanted to show you some of my favorite apps that you can connect and use. All the apps can be found in the Discover apps section on the left-hand side of the home page; I encourage you to have a good look around there.
The first one I’d like to share is the Text to Image app, which allows you to input text, and Canva will generate an image based on your description:
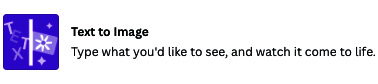
Figure 11.25 – Text to Image icon in Canva
Open up the app and click Use in a new design, and then select any template size. It doesn’t really matter, as all images created in this app are square. On the left, you can now see a box to input your description and some inspiration points, and then the option to choose a style:
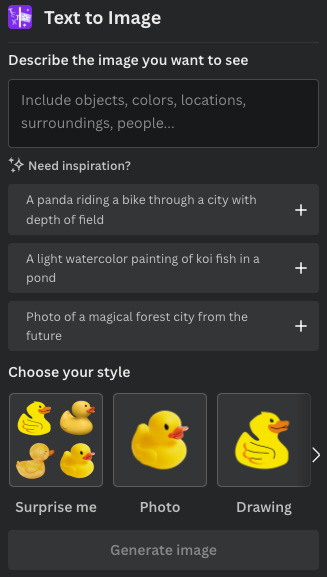
Figure 11.26 – Text to Image instructions
I’ve added Dog wearing sunglasses in the rain as my description, and then clicked on Surprise me for the style. These are the images Canva has created for me:
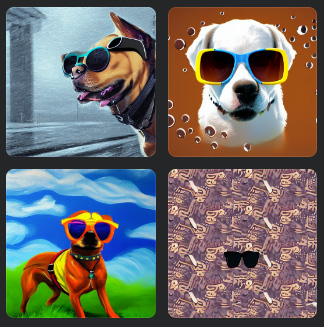
Figure 11.27 – AI-created images in Canva
These are four very quirky images that I can now use in any of my Canva designs.
Have a go and see what you can create – this is such a fun app!
Next, I’d like to show you the Draw app – this is a lovely, basic app that lets you create a drawing yourself:
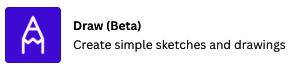
Figure 11.28 – Draw icon in Canva
Once you have clicked on the app, select Use in a new design, and the left-hand menu will show you the pens and settings you can use. There are currently four pens to pick from, a pen nib size sliding bar, a transparency bar, and color options. Upon selecting a pen to use, the Eraser option appears:
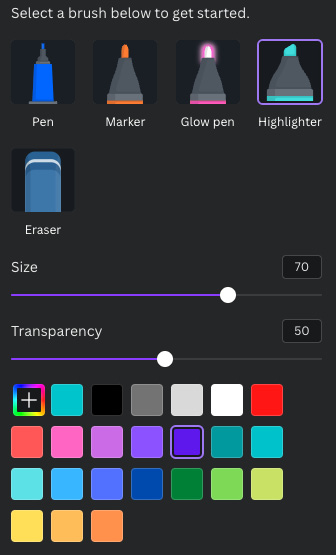
Figure 11.29 – Draw app pen selection and options
Select your pen and color, and then use your mouse on a desktop, your mouse pad on a laptop, or your fingertip on a tablet to draw. Once finished, click Done at the top or Cancel if it’s not right and you want to start again. Once done, it will turn into an image for use in your design.
Here’s an example of how the different pen options look – my favorite is Glow Pen:
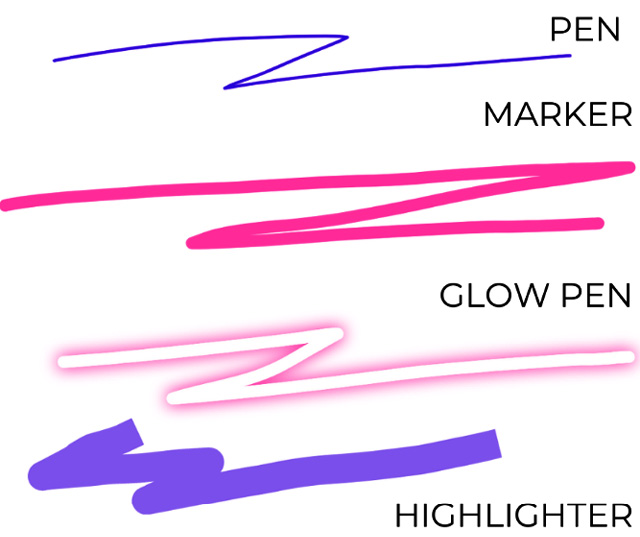
Figure 11.30 – Examples of the different pen types
Next, I’d like to show you the Shadows app – this app allows you to add a shadow to an image. You will need to have the background removed from the image for this app, as the shadow fits around the object:

Figure 11.31 – Shadows app icon
When you would like to use this app, click on the Use in new design button and a new template will open up for you. A sample image of a girl in a red hat will appear on the template, but you can delete this and add your own image by going to your Uploads section or finding one in the Photos tab:
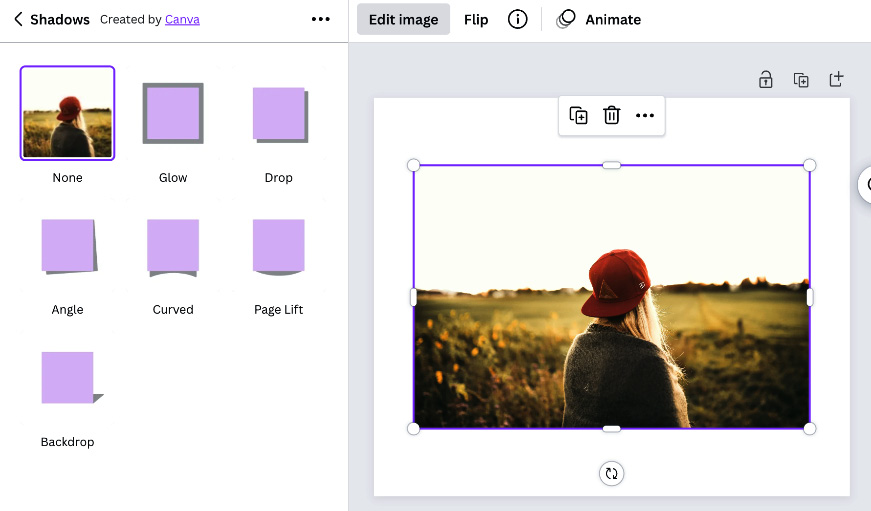
Figure 11.32 – Sample image of a girl in a red hat on the Shadows app
Once you have your image ready, click on Edit image at the top, search for Shadows, select Drop (this is one of the shadow options), and then click it again to open up the settings:

Figure 11.33 – Shadow apps options
From here, you can adjust the intensity and direction of your shadow, extend the blur, and even change the color, resulting in a 3D effect.
Here’s a before and after of the same image:

Figure 11.34 – Before and after image using the Shadows app
Adding a shadow gives your images depth.
Lastly, I’d love to show you the Character Builder app. This is relatively new, and I can see it only getting better. It helps you to create your own character and give them clothes, features, and different colorings. You can also use these characters in any of your designs:

Figure 11.35 – Character Builder icon in Canva
Click on the app, then on Use in new design, and, as with the other apps, the menu on the left-hand side will change. Here, you now have all of the parts you can use to create your character. You have the Head shape and Face features, Body, Skin tone, and Hair color:

Figure 11.36 – Different sections of Character Builder
To see more of each part, click on the See all tab. There are lots of different shapes and styles for you to choose from and build your character. Select each option and it will appear on the blank design. This is my character created in just five clicks:

Figure 11.37 – Character Builder
I like these characters because you can make them your own, unique to you, and use them within your business – they could be your mascot or icon.
You can also import your media, edit your photos, and share and publish to different platforms all through the apps you can connect to your Canva account:
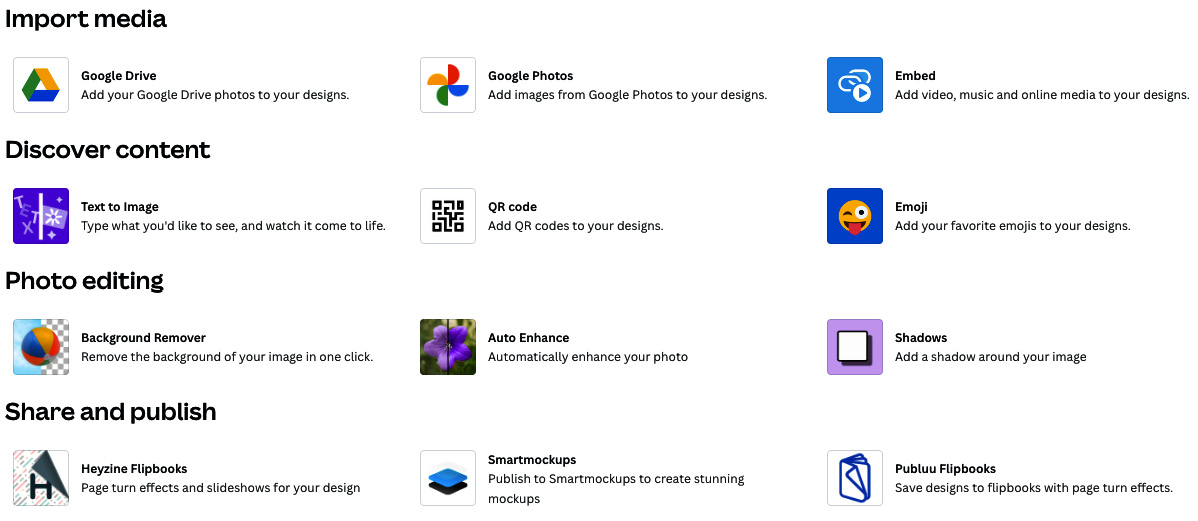
Figure 11.38 – Selection of apps available through Canva
One last app I’d like to share with you is the QR code app; this is a great feature you can add to your designs and is perfect for business use, so it has its own section.
How to create a QR code
A QR code is like a bar code. Someone can use the camera on their phone to scan the QR code and it will open up whatever link has been attached to the QR code in the design. Often websites, social media links, and email addresses are added, but it can be anything with a URL.
Adding QR codes is done through an app. We discussed these in the previous section, so we’re going to dive straight in.
Open up or create the design you would like to add the QR code into, then head over to the left-hand menu, scroll all the way to the bottom, select the Apps tab, and click on the QR Code option:

Figure 11.39 – App selection in the left-hand menu
It opens up a simple URL box. This is where you add the link you would like to attach to the QR code. You can leave it as a standard QR code or you can click on Customize and change the colors of the code to match your brand. Margin just changes the size of the border:
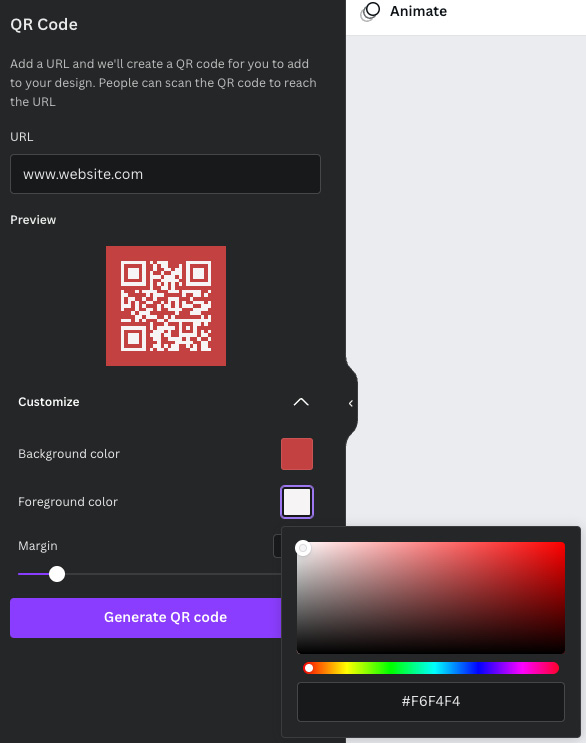
Figure 11.40 – QR Code customization
Once you’re happy with how it looks, click Generate QR code and it will add it to your template. From here, you can adjust the size to fit anywhere within the design:

Figure 11.41 – QR code on a template design
You now have another way for your audience to connect with you and find your business or offers so much easier.
Summary
In this chapter, you’ve learned how to download a finished design. You can now share any design with anyone, and you’ve learned how to link your social media channels to your Canva account, as well as being able to create clickable links in your PDF documents. You have also discovered the vast range of apps that you can now connect to your Canva account, and you’ve learned how to create and add a QR code to your designs.
We’ve looked a lot at how to share your designs in this chapter, so we’re going to take it a step further and look at getting your designs printed in the next and final chapter of the book.