Whether good or bad, humanlike or ethereal, winged or wingless, or large or small, fairies have been popular in myths and folklore for ages. Much of the folklore that surrounds fairies tells of their mischievous behavior, which includes tangling hair and disorienting travelers. A fairy can bestow gifts on a human child, but meddling in human affairs is one of their favorite hobbies!
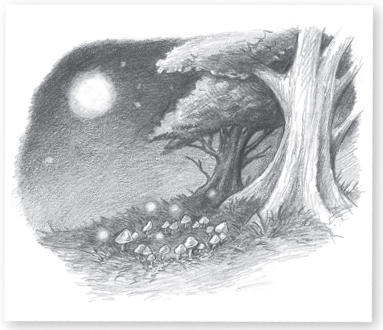
Fairy Atmospheres Rural, moonlit forest hillsides and “fairy rings”—circles of mushrooms or toadstools like the one pictured here—are common settings in fairy lore.
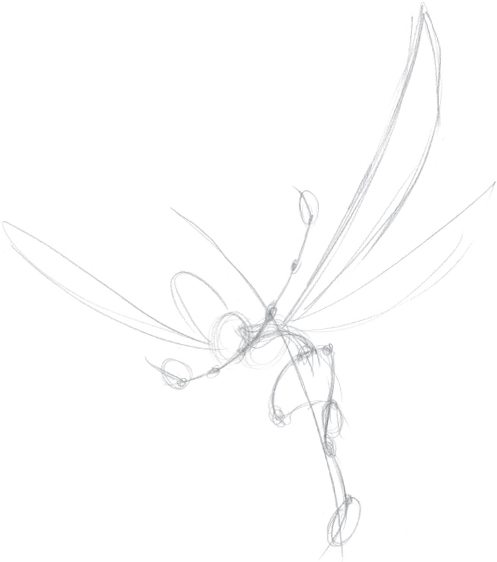
Step 1 I start by drawing the line of action with an HB pencil, and then I indicate the rest of the body, including the wings, using basic shapes.

Step 2 Still using the HB pencil, I develop the body’s form using more basic shapes—circles, ovals, and cylinders. Because I know how I want to position the hands, I sketch simple lines to delineate the fingers.

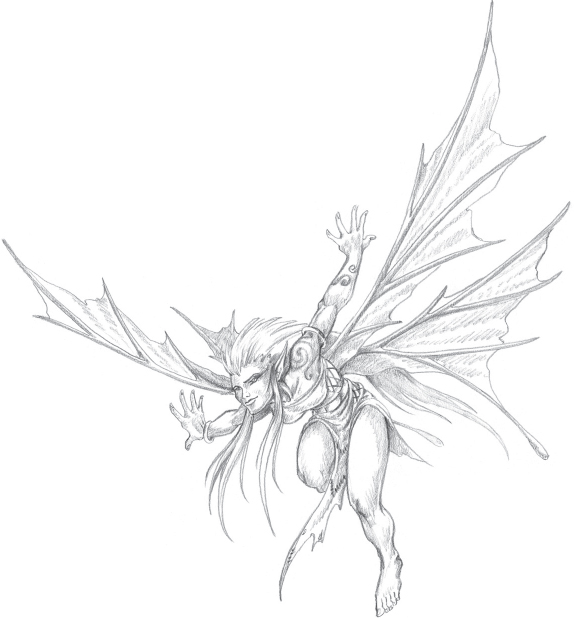
Step 3 I add more definition to the shapes and curves of the body. Then I start adding more details: I give more definition to the fingers; add long, pointy ears; and start sketching the hair and clothing. Because this fairy is from the wild forest, I add veins to the wings to make them look leaflike.

Step 4 I clean up most of the sketch lines so I can focus on adding more of the fine details, such as facial features and jewelry. I also add more definition to the shirt, loincloth, and edges of the wings.

Step 5 With the help of a light table and a lighter H pencil, I transfer my drawing to a clean sheet of Bristol paper. Once my fairy is on a clean page, I refine the details further. I add long eyelashes, and some stitching and lacing to the clothes. I also draw the full, flowing hair.
Step 6 Using a combination of H and HB pencils, I shade the entire drawing using short, smooth strokes and hatching, which is especially evident in the folds of the wings and clothing. I avoid using hatching on the hair; instead, I use strokes that follow the flow of the hair, layering them in areas that are darker or in shadow. Where the hair falls behind the fairy’s wings, I use atmospheric perspective—less detail and a general lighter tone throughout—to make the hair look as though it is blowing off the back. I also add a few more details, including the spirals painted on her shoulder and arm.

Step 7 Using a sharp HB pencil, I add fingernails and toenails. With softer 2B and 3B pencils, I layer smoother strokes and hatching to build up some darker shadows. I make the clothes slightly darker than the skin, and I make the veins of the wings even darker. I keep the shading on the skin as smooth as possible, and I use rough hatching on the wings and clothes to add texture.

Step 8 I use a 4B pencil to build up the darkest shadows, and then I blend them into the highlights with the HB pencil. Using a kneaded eraser, I lift out highlights and gradually lighten the wing farthest from the body from base to tip (atmospheric perspective again). I also use the kneaded eraser to lighten the areas of the body paint that don’t fall into shadow; as a result, the lines seem to follow the contour of the arm. I darken the lacing and stitching on the clothes so they stand out from the darker cloth and also match the darker shading of the veins on the wings. I finish shading the jewelry, face, and ears. Now this fairy is ready to make mischief!