
]>


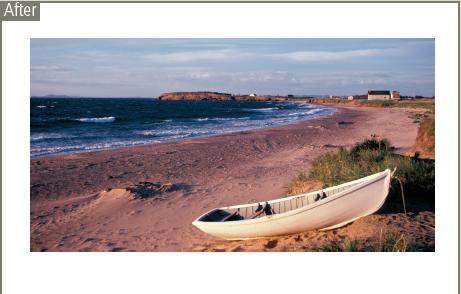
To start a new crop select the Crop tool and click-drag a marquee over the parts of the picture you want to keep. You don’t have to be exact with this fi rst rectangle as you can adjust the size and shape of the marquee by click-dragging the corner and side handles.

By dragging the cursor whilst it is outside the marquee it can be rotated to crop and straighten at the same time.

To help you preview how your cropped picture will appear, Photoshop shades the area of the picture that is to be removed. You can alter the color and opacity of this shading (called the shield) using the settings in the tool’s options bar. The crop is executed by clicking the ‘tick’ at the righthand end of the options bar or hitting the Enter/Return key

You can make a crop of a specifi c size and resolution by adding these values to the options bar before drawing the cropping marquee. Using this feature you can crop and resize in one step.
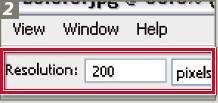
With the dimensions set when you clickdrag the Crop tool the feature will only draw rectangles the size and shape of the values you have entered. There is also a place on the options bar to enter the resolution of the cropped image. Leaving this option blank will maintain the resolution of the original; adding in a value will crop and alter resolution in the one action.

When you execute the crop, Photoshop will automatically crop and resize the picture. To reset the Crop tool to normal choose the Clear button from the options bar. Pressing the Front Image button forces the Crop tool to use the size of the open front image for the crop settings