
117
make.co
each layer in the same order as the last, so each
part of the layer had the same amount of time to
cool before the nozzle came back around to print
on top of it. This made a significant difference,
especially when I had the cooling fans on, and
will make a bigger difference in larger prints that
have more time to cool between layers.
SURFACE FINISHING
Finally, the layer lines will always create some
surface texture that makes side surfaces — and
sloped surfaces in particular — less transparent.
As with most 3D prints, surfaces will look best
either perfectly horizontal or close to vertical.
To get the best clarity you’ll need to smooth
out those layer lines, either by using a clear coat,
or by sanding them smooth. The print shown
in Figure
E
was wet-sanded in about 20 steps,
starting at 80 grit and ending with 1-micron
polishing paper (equivalent to approximately
15,000 grit).
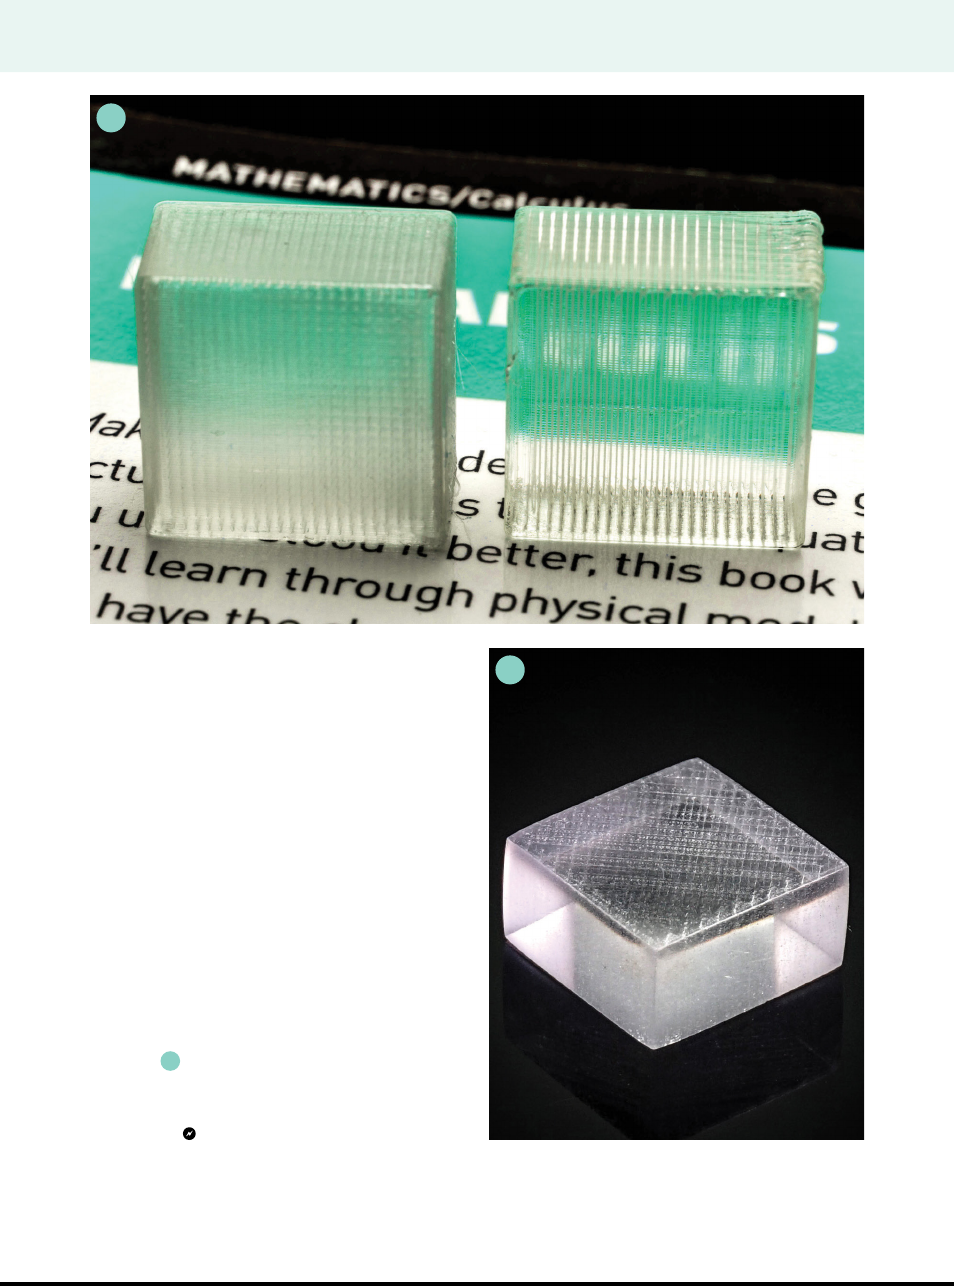
Slightly underfilled, bidirectional (left) vs. unidirectional (right).
Solid and sanded.
D
E
M85_114-17_SB_Clear3Dprints_F1.indd 117M85_114-17_SB_Clear3Dprints_F1.indd 117 4/9/23 1:04 PM4/9/23 1:04 PM
..................Content has been hidden....................
You can't read the all page of ebook, please click here login for view all page.