
• The brush and the line let you draw open or closed shapes
and choose the color and shading pattern.
TIP: Make the line very thick to create a “rod” with rounded
ends. It can be colored, just like the other shapes.
• The rectangle and the circle create closed shapes.
• The paint bucket fills in a shape with color.
• The eraser removes areas you don’t want. If you need to
Undo a whole step, use the curved arrows at the top of the
workspace.
• The arrow tools let you select shapes to move, change, copy,
or delete.
• To stretch or squash shapes, click on the dots at the
corners and sides.
• Double click on a dot to make it disappear. (Use this trick
to turn a rectangle into a triangle.)
• The arrow tool with the dot lets you add dots anywhere
along the outline of the shape.
• Use the handle at the bottom to rotate the shape.
• If one shape is supposed to be in front of another, use the
Forward, Backward, Front, and Back buttons at the top of the
workspace.
3. You can Group smaller shapes so that they can be moved as one
big shape. To Group shapes:
• Hold down the shift key while you click on each shape to be
added. Each will be highlighted with a blue outline.
• Click Group at the top of the Paint Editor workspace to join
them. If you need to separate them, click Ungroup.
• To add words, click on the text tool (the big T). Click wherever
you want the lettering to start in the workspace. A box will
open up and let you type in letters. There are controls on top
of the workspace that let you adjust the size of the letters
and choose different fonts.
86
Making Simple Robots, 2nd Edition
Make_Simple_Robots_interior_FIN.indd 86Make_Simple_Robots_interior_FIN.indd 86 4/26/22 1:55 PM4/26/22 1:55 PM

WHAT TO EXPECT
• Time Needed: 1–2 hours
• Cost: None
• Difficulty: Easy to moderate
• Safety Issues: None
SKILLS USED
• Use the Paint Editor to create a backdrop and sprites.
• Use sensing blocks like the sensors on a real robot.
• Use broadcast blocks to send a message from one sprite to another.
SUPPLIES
• Computer
• Internet access or offline version of Scratch 3
• Tape
INSTRUCTIONS
NOTE: To see the sample program shown here on the Scratch
website (where you can check out the code and remix it), go to my
Scratch account, RobotLady1000, and find the project called
Pick & Place Color Cube Robot: scratch.mit.edu/projects/625793764.
1. As with the first Scratch project in this chapter, it helps to jot down a
quick plan of how to build your computer program. In this case, you’ll
need to create an animated robot, the factory it works in, and objects to
be sorted by color. The algorithm might look like this:
• Give the robot objects in different colors to analyze.
• Tell it to look for objects that are a certain color.
• Tell it how to sort out those objects and move them to a separate
area.
• Reset the system so it can repeat the steps with the next object.
Chapter 3: Robots That Think 87
Make_Simple_Robots_interior_FIN.indd 87Make_Simple_Robots_interior_FIN.indd 87 4/26/22 1:55 PM4/26/22 1:55 PM
2. Open Scratch and create a new
project. If you need help getting
started with Scratch, refer back
to the “Scratch Basics” box on
page 71. The “Scratch Paint
Editor Basics” box on page 85
has tips for creating sprites and
backdrops.
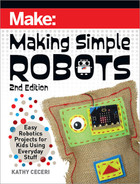
3. First, create a backdrop that
shows the factory:
• Click on the plain white
backdrop thumbnail,
under the column marked
Stage (bottom right). The
Backdrops tab will appear at
the top left of your screen,
next to the Code tab. Click
it to open the Paint Editor
(Figure
A
)
.
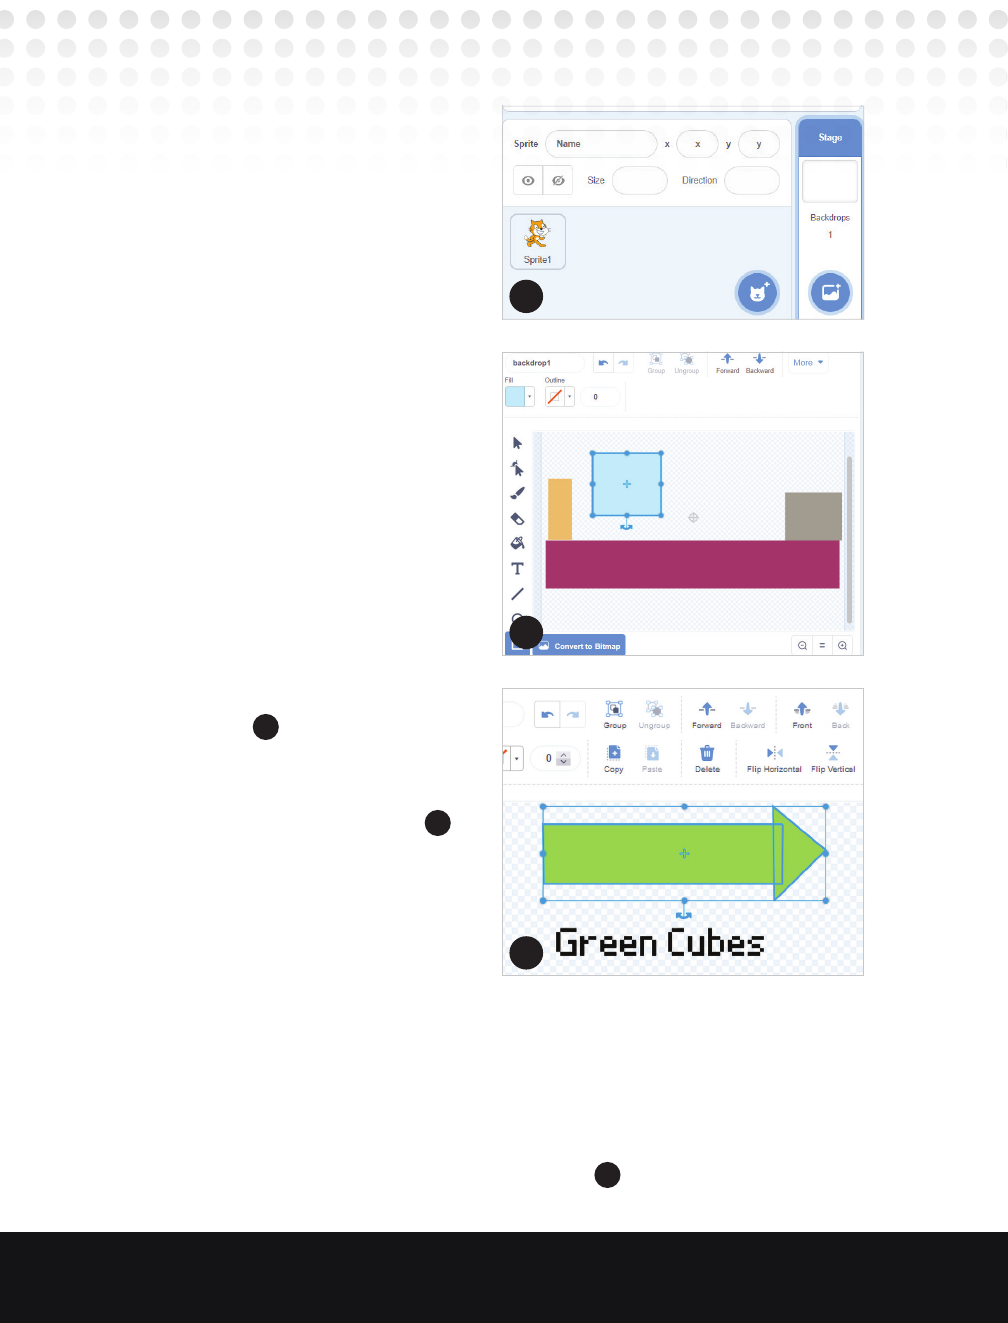
• Use one or more rectangles
or other shapes to create a
factory backdrop
(Figure
B
)
.
• Along the bottom, make a
long rectangle that goes
across the whole stage. This
will be the conveyor belt
where the robot works.
• Add a sign to show where the green cubes will go. This arrow was
created by grouping a rectangle and a triangle, just like the way you
joined shapes in Tinkercad in Chapter 2. To add wording, click on the
big T for “text” in the menu on the left. Remember, the robot will be
looking for green objects. If there’s anything green in the backdrop,
make sure the robot can’t touch it
(Figure
C
)
!
A
B
C
88
Making Simple Robots, 2nd Edition
Make_Simple_Robots_interior_FIN.indd 88Make_Simple_Robots_interior_FIN.indd 88 4/26/22 1:55 PM4/26/22 1:55 PM

4. In this example, only the
robot’s arm really needs to be
animated. That means you can
draw the robot’s body right in
the background. Some details
you can add:
• To make the robot stand out,
use the color controls to
add an outline and shading
(Figure
D
)
.
• Give the robot a face to make
it seem more human
(Figure
E
)
. (See Chapter 4 to learn
why people prefer robots
with googly eyes!)
D
E
Chapter 3: Robots That Think 89
Make_Simple_Robots_interior_FIN.indd 89Make_Simple_Robots_interior_FIN.indd 89 4/26/22 1:55 PM4/26/22 1:55 PM

• To show that the robot
is standing behind the
conveyor belt, use the
Backwards button to send
the robot shape behind the
long rectangle
(Figure
F
)
.
5. Next, replace the Scratch cat
with a new sprite for the robot’s
movable arm:
• In the Sprites Pane below
the Stage, right click on
Sprite1 and to delete it
(Figure
G
)
.
• Open the “Choose a Sprite”
menu and click on the
paintbrush to start building a
new sprite. You can give this
sprite a name — Arm — by typing over Sprite1 in the space above.
• Go to the Costumes Paint Editor. To draw the robot’s arm, use a
rectangle or thick line, or draw your own shape. Remember, the arm
F
G
90
Making Simple Robots, 2nd Edition
Make_Simple_Robots_interior_FIN.indd 90Make_Simple_Robots_interior_FIN.indd 90 4/26/22 1:55 PM4/26/22 1:55 PM
..................Content has been hidden....................
You can't read the all page of ebook, please click here login for view all page.