The layer mask should automatically be active, but if it isn’t, click on the layer mask thumbnail. (A small black border around the four corners of the thumbnail indicates that it is active.) From the Filter menu, choose Brush Strokes>Spatter and experiment with the values to see the results you get. A lower value in the Spray Radius will give a subtle effect, while a high value will result in a “wilder” effect. In my example, I used a Spray Radius of 4 and a Smoothness value of 5. Here’s the result.

Needless to say, you can try any number of different filters, or several filters applied on top of each other. Here are a couple of examples that build on the Spatter filter:

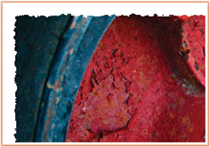
Here I applied the Glass filter (Filter>Distort>Glass).

In this example, I applied the Conté Crayon filter (Filter>Sketch>Conté Crayon), which introduces a bit of texture into the photo itself.

Note
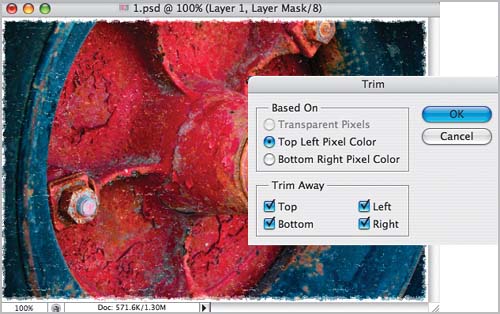
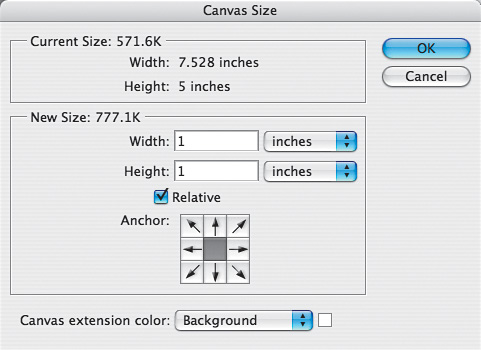
The 1” of extra canvas added in Step Two was to give us room to experiment with the filters. Once you’re finished with your experimentations, you can use Image>Trim to remove most of the extra canvas.