
Technique #18. Painting and Smudging Along a Path
This is another technique that involves creating a path and then painting along that path to create a border. The first part of this technique is the same as the previous one, so the first four steps will look suspiciously familiar if you’ve already tried that technique (except that I chose a different brush to begin with in Step Three). So, if you did, pick this one up at Step Five.
key concepts:
define brush
![]()


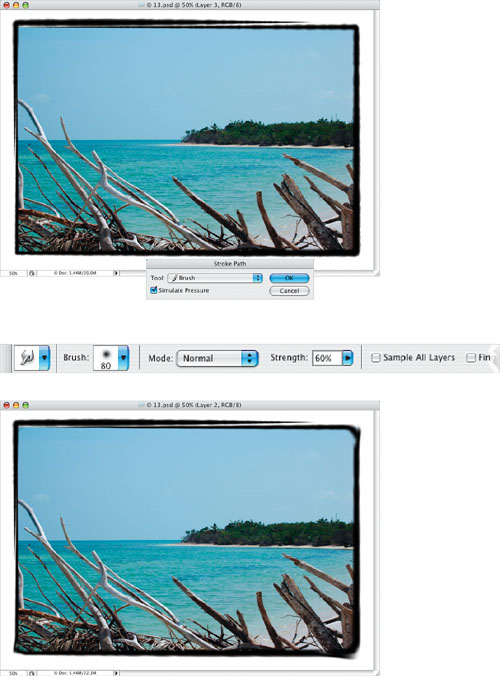 You can also build on this technique by smudging the border. To do this, first choose the Smudge tool (R) and then enter the settings you want in the Options Bar. (Here you can see the settings I used in this example.) Activate one of the border layers, switch to the Paths palette, and make sure the path is also active. Press-and-hold the Option key (PC: Alt key) and click on the Stroke Path with Brush icon. In the Stroke Path dialog, choose Smudge from the Tool pop-up menu, if it is not already selected, turn on the Simulate Pressure checkbox, and click OK. Here’s the result after applying the smudge along the path twice.

..................Content has been hidden....................
You can't read the all page of ebook, please click here login for view all page.