
Chapter 1. Getting R
R is a wonderful tool for statistical analysis, visualization and reporting. Its usefulness is best seen in the wide variety of fields where it is used. We alone have used R for projects with banks, political campaigns, tech startups, food startups, international development and aid organizations, hospitals and real estate developers. Other areas where we have seen it used are online advertising, insurance, ecology, genetics and pharmaceuticals. R is used by statisticians with advanced machine learning training and by programmers familiar with other languages, and also by people who are not necessarily trained in advanced data analysis but are tired of using Excel.
Before it can be used it needs to be downloaded and installed, a process that is no more complicated than installing any other program.
1.1. Downloading R
The first step in using R is getting it on the computer. Unlike with languages such as C++, R must be installed in order to run.1 The program is easily obtainable from the Comprehensive R Archive Network (CRAN), the maintainer of R, at http://cran.r-project.org/. At the top of the page are links to download R for Windows, Mac OS X and Linux.
1. Technically C++ cannot be set up on its own without a compiler, so something would still need to be installed anyway.
There are prebuilt installations available for Windows and Mac OS X while those for Linux usually compile from source. Installing R on any of these platforms is just like installing any other program.
Windows users should click the link Download R for Windows, then base and then Download R 3.x.x for Windows; the x’s indicate the version of R. This changes periodically as improvements are made.
Similarly, Mac users should click Download R for (Mac) OS X and then R-3.x.x.pkg; again, the x’s indicate the current version of R. This will also install both 32- and 64-bit versions.
Linux users should download R using their standard distribution mechanism whether that is apt-get (Ubuntu and Debian), zypper (SUSE) or another source. This will also build and install R.
1.2. R Version
As of this writing, R is at version 3.0.2, which is a big jump from the previous version, 2.15.3. CRAN follows a one-year release cycle where each major version change increases the middle of the three numbers in the version. For instance, version 3.0.0 was released in 2013. In 2014 the version will be incremented to 3.1.0 with 3.2.0 coming in 2015. The last number in the version is for minor updates to the current major version.
Most R functionality is usually backward compatible with previous versions.
1.3. 32-bit versus 64-bit
The choice between using 32-bit and using 64-bit comes down to whether the computer supports 64-bit—most new machines do—and the size of the data to be worked with. The 64-bit versions can address arbitrarily large amounts of memory (or RAM) so it might as well be used.
This is especially important starting with version 3.0.0, as that adds support for 64-bit integers, meaning far greater amounts of data can be stored in R objects.
In the past, certain packages required the 32-bit version of R but that is exceedingly rare these days. The only reason for installing the 32-bit version now is to support some legacy analysis or for use on a machine with a 32-bit processor such as Intel’s low-power Atom chip.
1.4. Installing
Installing R on Windows and Mac is just like installing any other program.
1.4.1. Installing on Windows
Find the appropriate installer where it was downloaded. For Windows users it will look like Figure 1.1.

R should be installed using administrator privileges. This means right-clicking the installer and then selecting Run as Administrator. This brings up a prompt where the administrator password should be entered.
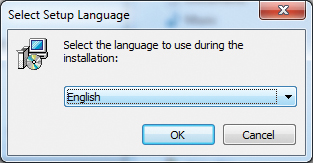
The first dialog, shown in Figure 1.2, offers a choice of language, defaulted at English. Choose the appropriate language and click OK.
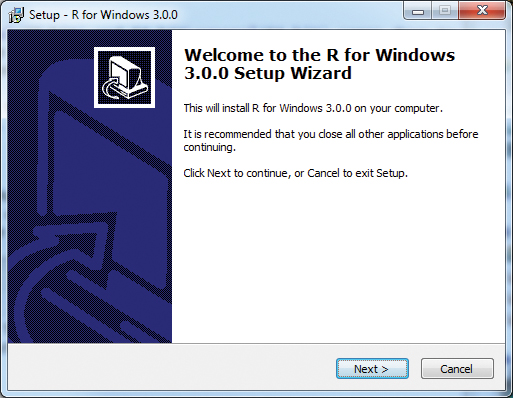
Next, the caution shown in Figure 1.3 recommends that all other programs be closed. This advice is rarely followed or necessary anymore, so clicking Next is appropriate.
The software license is then displayed, as in Figure 1.4. R cannot be used without agreeing to this (important) license, so the only recourse is to click Next.

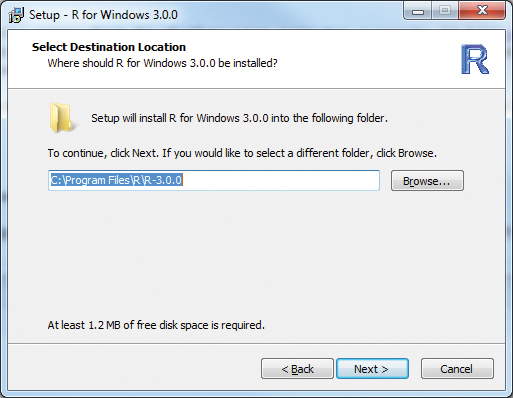
The installer then asks for a destination location. Even though the official advice from CRAN is that R should be installed in a directory with no spaces in the name, half the time the default installation directory is Program FilesR, which causes trouble if we try to build packages that require compiled code such as C++ for FORTRAN. Figure 1.5 shows this dialog.
If that is the case, click the Browse button to bring up folder options like the ones shown in Figure 1.6.

It is best to choose a destination folder that is on the C: drive (or another hard disk drive) or inside My Documents, which despite that user-friendly name is actually located at C:UsersUserNameDocuments, which contains no spaces. Figure 1.7 shows a proper destination for the installation.

Next, Figure 1.8, shows a list of components to install. Unless there is a specific need for 32-bit files, that option can be unchecked. Everything else should be selected.

The startup options should be left at the default, No, as in Figure 1.9, because there are not a lot of options and we recommend using RStudio as the front end anyway.

Figure 1.9 Accept the default startup options, as we recommend using RStudio as the front end and these will not be important.
Next, choose where to put the start menu shortcuts. We recommend simply using R and putting every version in there as shown in Figure 1.10.

We have many versions of R, all inside the same Start Menu folder, which allows code to be tested in different versions. This is illustrated in Figure 1.11.
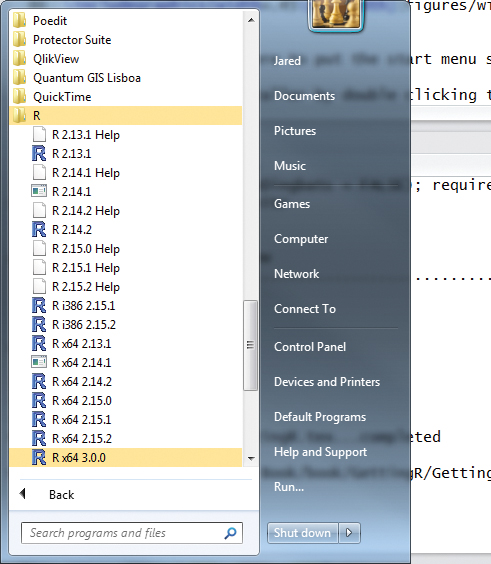
Figure 1.11 We have multiple versions of R installed to allow development and testing with different versions.
The last option is choosing whether to complete some additional tasks such as creating a desktop icon (not too useful if using RStudio). We highly recommend saving the version number in the registry and associating R with RData files. These options are shown in Figure 1.12.
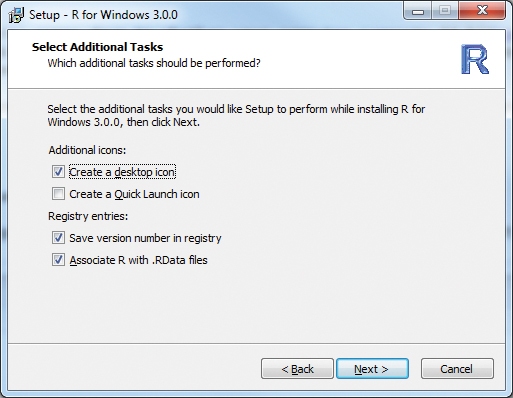
Figure 1.12 We recommend saving the version number in the registry and associating R with RData files.
Clicking Next begins installation and displays a progress bar, as shown in Figure 1.13.

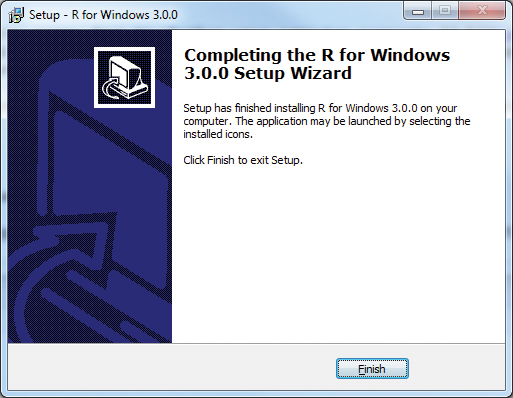
The last step, shown in Figure 1.14, is to click Finish and the installation is complete.
1.4.2. Installing on Mac OS X
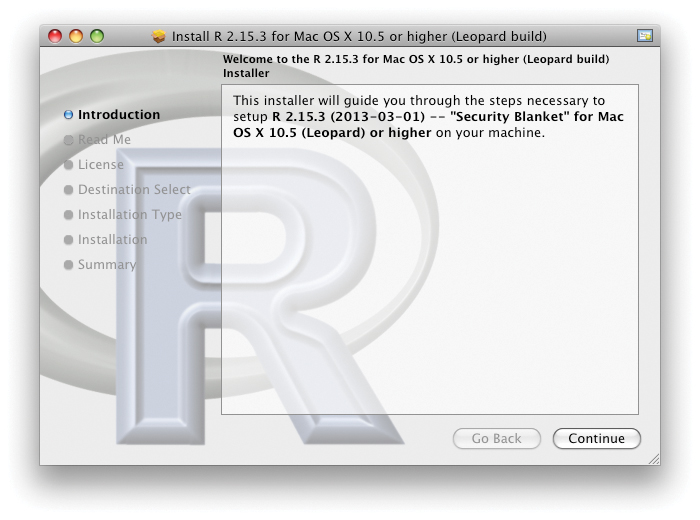
Find the appropriate installer, which ends in .pkg, and launch it by double-clicking. This brings up the introduction, shown in Figure 1.15. Click Continue to begin the installation process.
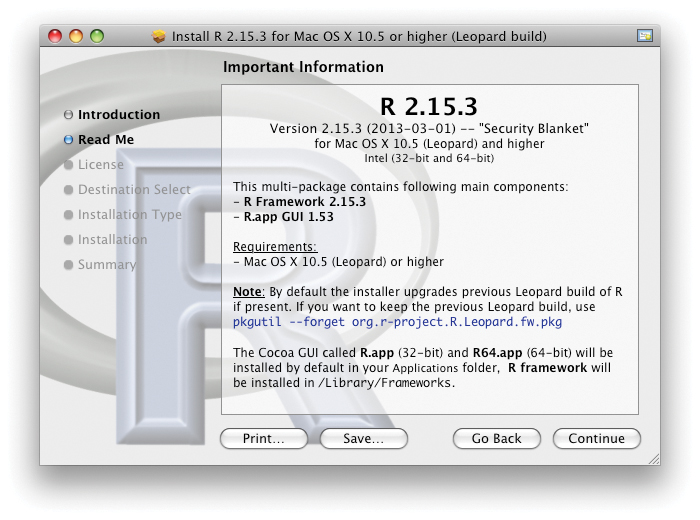
This brings up some information about the version of R being installed. There is nothing to do except click Continue, as shown in Figure 1.16.
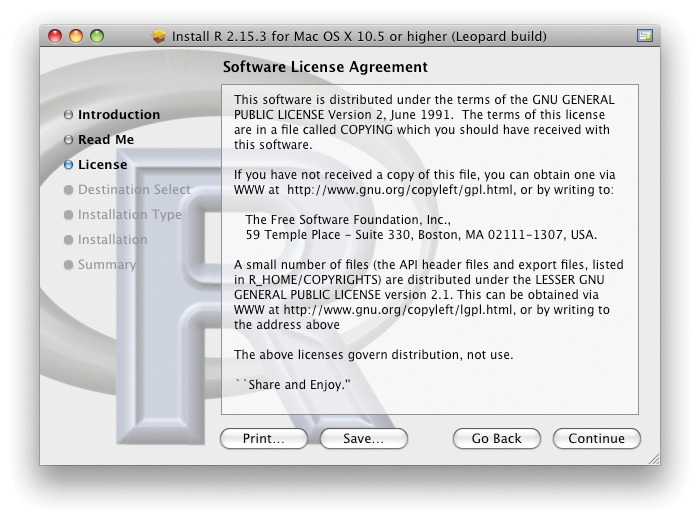
Then the license information is displayed, as in Figure 1.17. Click Continue to proceed, the only viable option in order to use R.
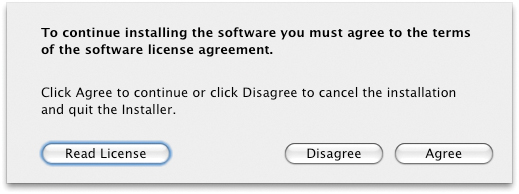
Click Agree to confirm that the license is agreed to, which is mandatory to use R as is evidenced in Figure 1.18.
To install R for all users, click Install; otherwise, click Change Install Location to pick a different location. This is shown in Figure 1.19.
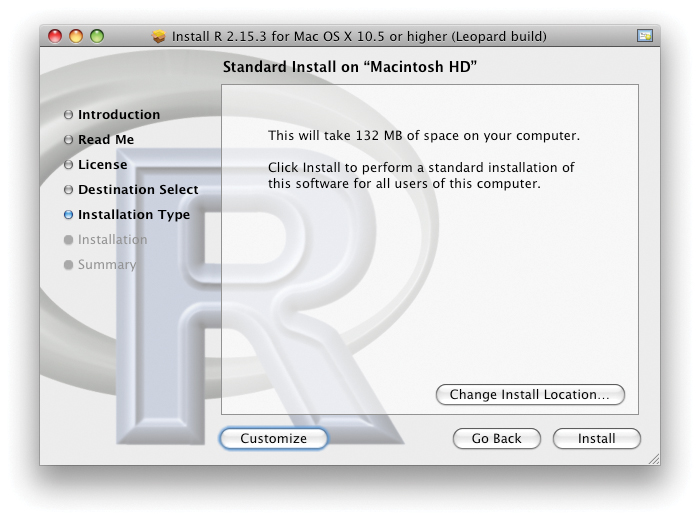
Figure 1.19 By default R is installed for all users, although there is the option to choose a specific location.
If prompted, enter the necessary password as shown in Figure 1.20.

This starts the installation process, which displays a progress bar as shown in Figure 1.21.

When done, the installer signals success as Figure 1.22 shows. Click Close to finish the installation.

1.4.3. Installing on Linux
Retrieving R from its standard distribution mechanism will download, build and install R in one step.
1.5. Revolution R Community Edition
Revolution Analytics offers a community version of its build of R featuring an Integrated Development Environment based on Visual Studio and built with the Intel Matrix Kernel Library (MKL), allowing for much faster matrix computations. It is available for free at http://www.revolutionanalytics.com/products/revolution-r.php. They also offer a paid version that provides specialized algorithms to work on very large data. More information is available at http://www.revolutionanalytics.com/products/revolution-enterprise.php.
1.6. Conclusion
At this point R is fully usable and comes with a crude GUI. However, it is best to install RStudio and use its interface, which is detailed in Section 2.2. The process involves downloading and launching an installer, just as with any other program.