
CHAPTER 3Useful Bracelet-Making Tools
There are a wide range of tools and materials that can be useful in friendship bracelet creation. Some of these materials can even help you create things that aren’t necessarily bracelets but that use the same knotting techniques and styles, like keychains or wall hangings. Other materials can make the knotting process easier or can enhance your creations. Let’s discuss some of the more common materials used.
SECURING YOUR BRACELETS
Different knotters prefer different ways of securing their bracelets to their workspace. Tape, safety pins, and even clipboards or just clip-ons can all work to keep your bracelet in place while you are working on it. This is a matter of personal preference, and finding the method that’s right for you requires a little experimentation.
TAPE
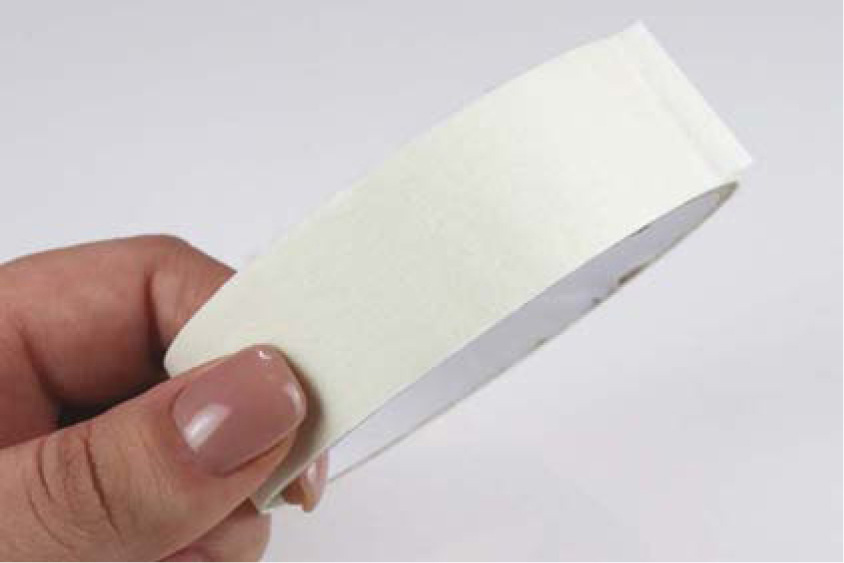
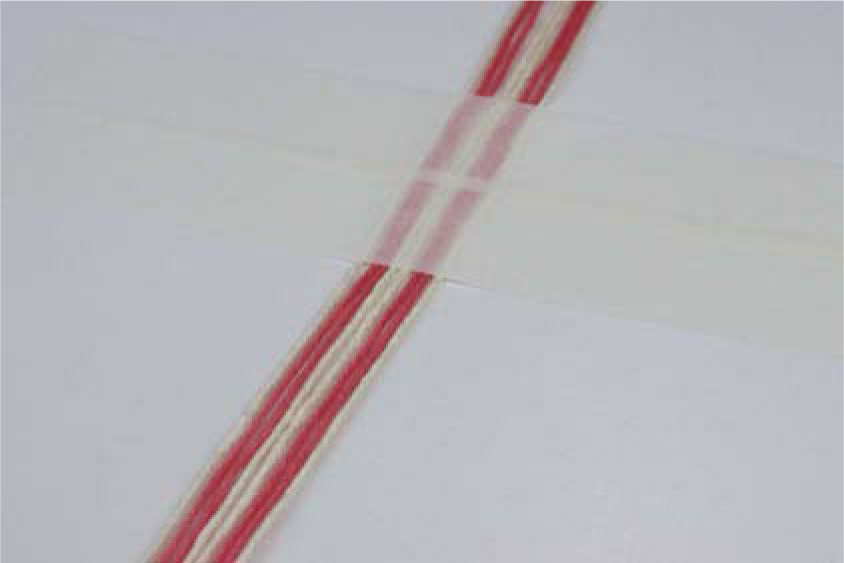
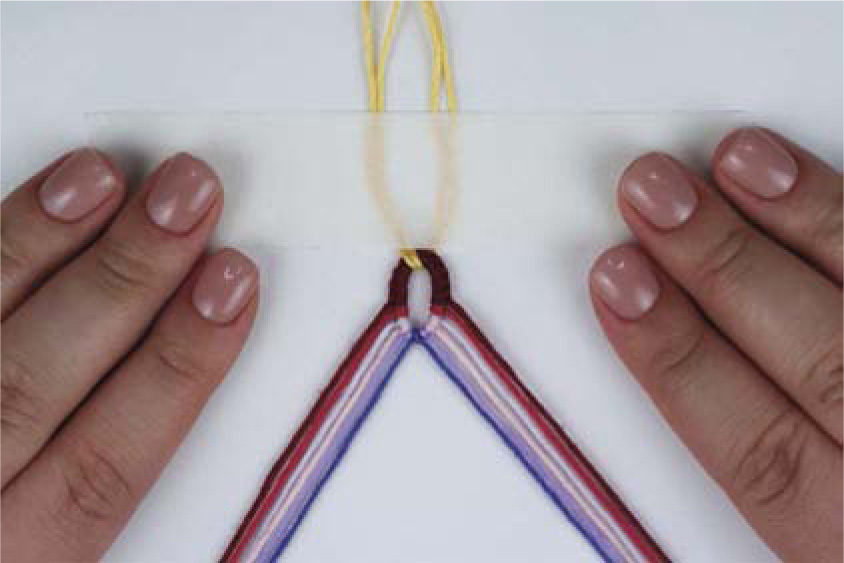
Your bracelet can be secured directly onto your workspace with tape. The main benefit of this method is its simplicity and convenience. Additionally, using tape is great for filming as it keeps your bracelet steady as you knot. However, there are also drawbacks to tape—the sticky residue being the main one. There are many varieties of tape that could work for you, but my personal preference is masking or painter’s tape as it gets the job done without leaving any residue, and you can easily tear it off the roll. Another drawback to using tape is the fact that sometimes strings slip out from under it. Using a few pieces of tape along the length of your strings (which you can later use to create the ties of the bracelet) helps increase adhesion and decreases the chance of a string slipping out.
If your bracelet has a loop, take a piece of scrap thread, place it between the loop, and tape that thread down to secure your bracelet.
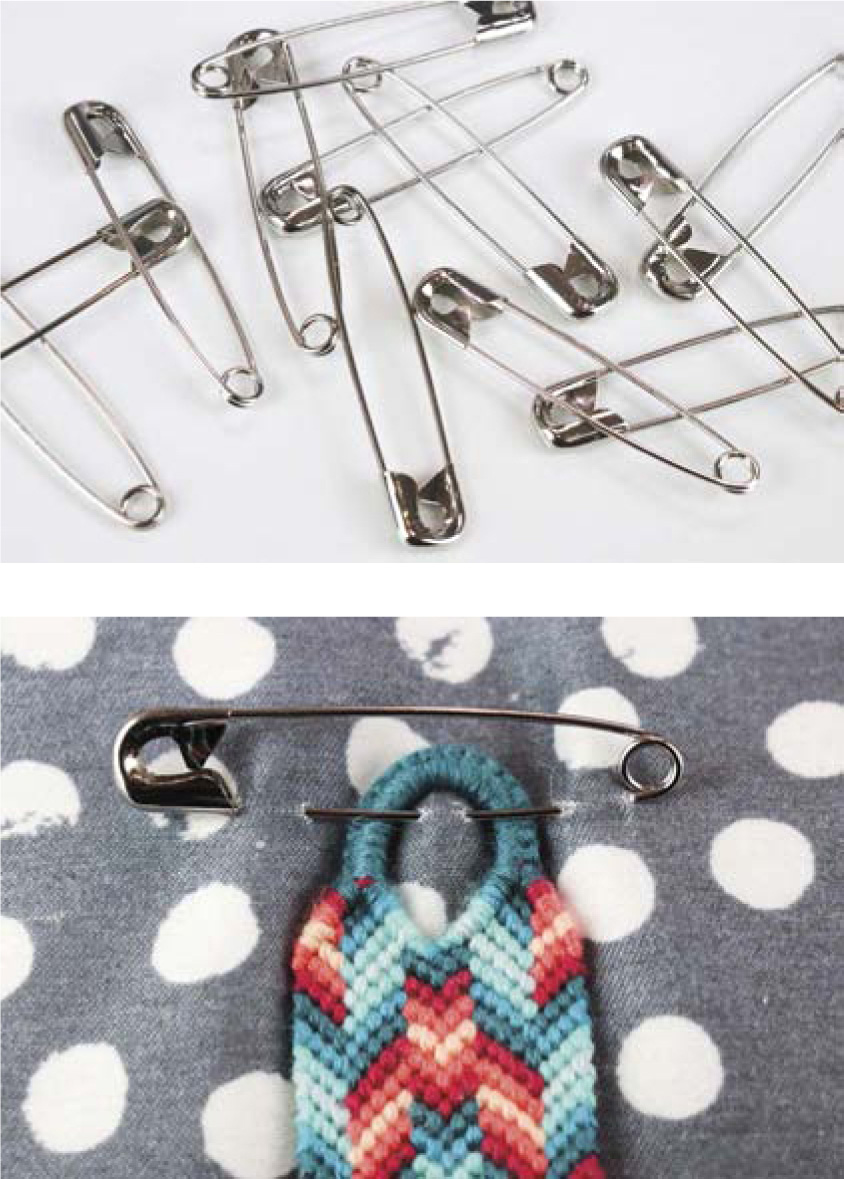
SAFETY PINS
Safety pins can be used to pin a bracelet down to a surface such as a cushion or your jeans. The beauty of this method is that it’s mobile. You aren’t tied down to a specific place and you can even knot in public places or while on public transport. The drawback to using safety pins is simple—it can be painful to accidentally stab yourself with the pin, so take extra care when using them.
A great way to use a safety pin for securing a bracelet is by making three incisions with the pin: one before the bracelet, one through the bracelet or in the middle of its loop, and one after. This method secures your bracelet in place without creating unnecessary holes within it.
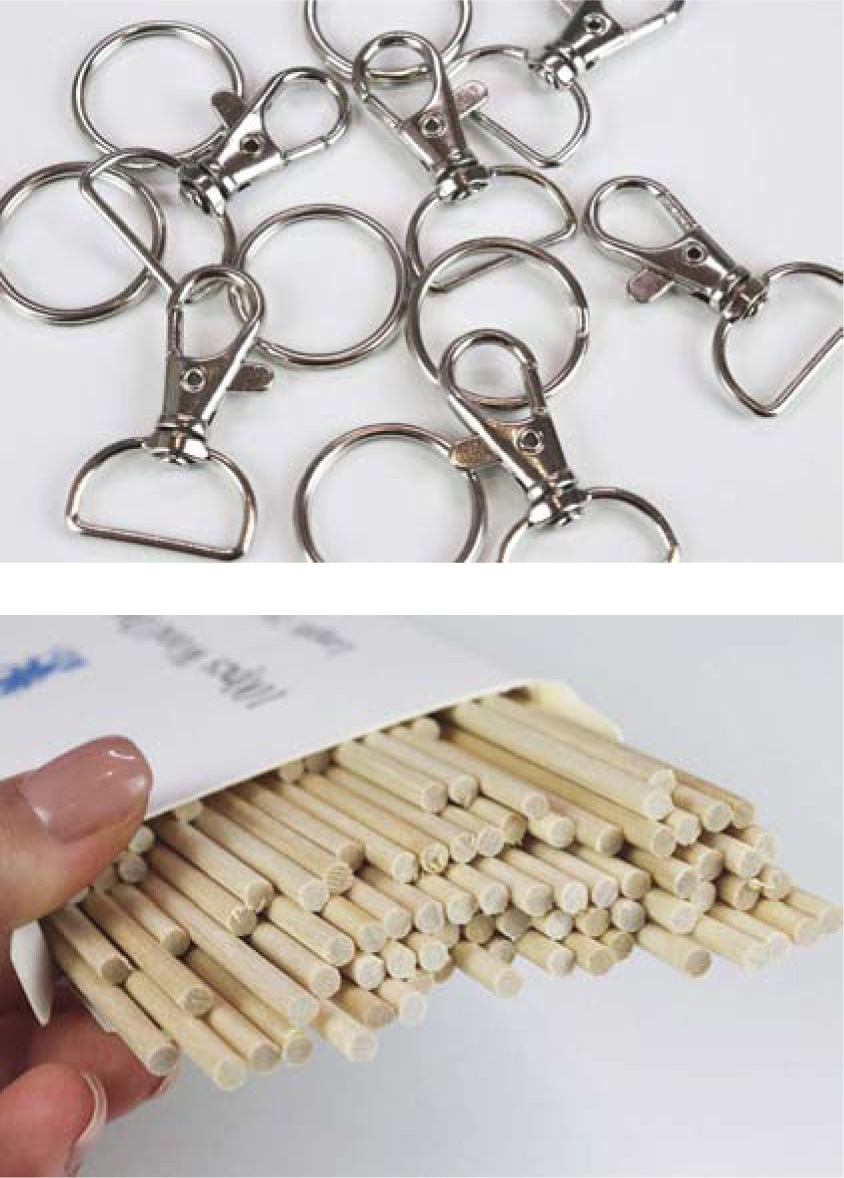
KEYRINGS AND DOWELS
Friendship bracelet-making skills can be used for more than just bracelets! The same knotting techniques can be used to create unique keychains and wall hangings.
Various types of keychains and keyrings can be used. My personal favorites are simple rings or the D-shaped swivel clasps used for keychains.
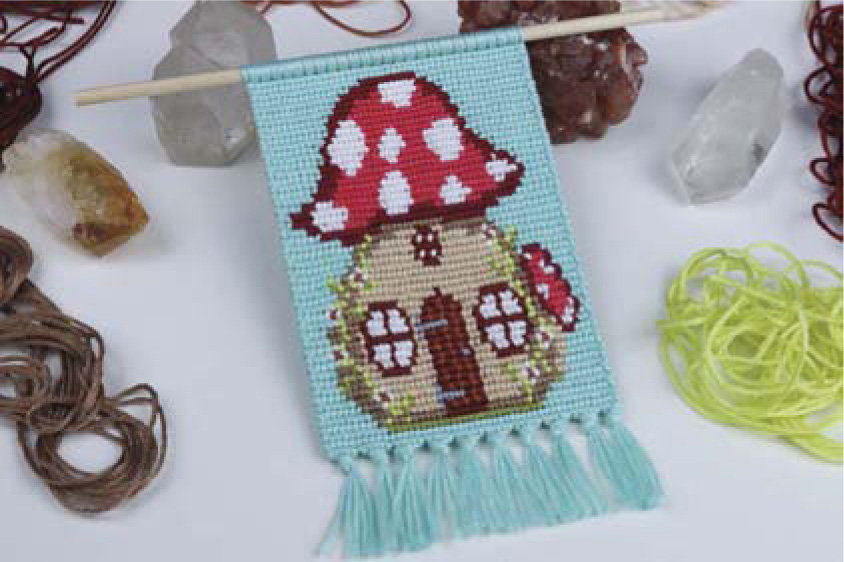
As with keychains, various types of dowels can be used to create wall hangings. My personal favorites are wooden dowels that are 15cm long and 4mm in diameter. I find this size is the most versatile for the type of wall hangings I make.
To attach strings to a keyring or a dowel you need to make a lark’s head knot, which will be explained in chapter 4.
STORING FILL STRINGS AND BRACELETS
Each crafter has their own unique system of storing their strings, materials, and bracelets. Whether you use boxes, bags, or displays, finding a system that works for you will be individual to your circumstances and preferences.
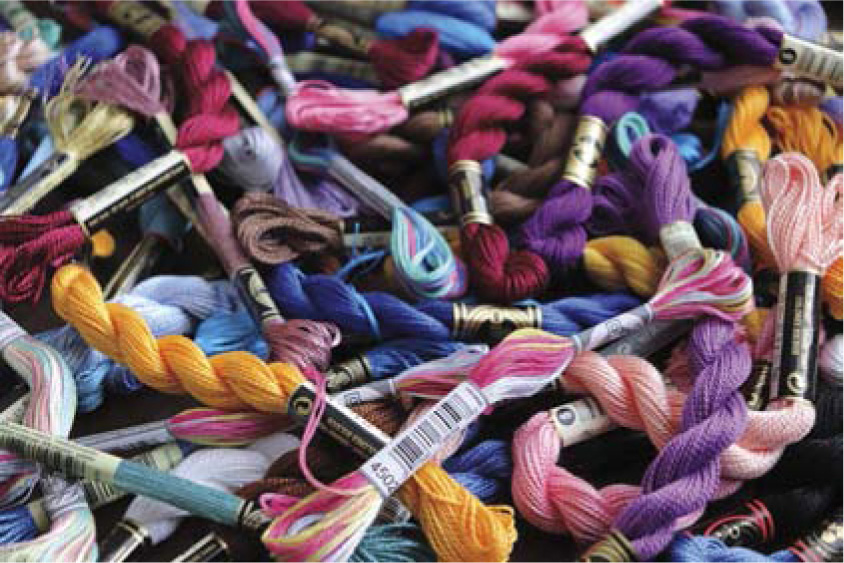
During my time as a bracelet maker, I have gone through several storage systems for both my strings and my bracelets. I started off with an old shoebox that I filled with a knotted mess of all the string I owned. My bracelets were shoved in that same box. As you can imagine, this was not the best storage system. I moved on to using separate shoeboxes based on string type, or rather strings I preferred and strings I liked less, and my bracelet collection moved to a small jewelry box.
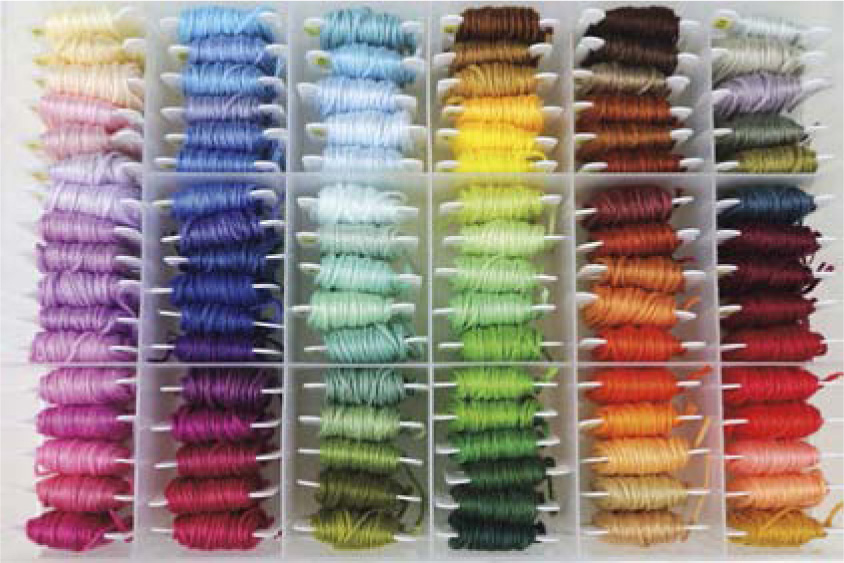
A couple of years ago I decided enough was enough and I organized my strings into plastic embroidery floss storage boxes that I bought online. I used an embroidery floss bobbin winder and spent weeks winding individual skeins of string onto plastic bobbins. I then carefully placed them into the storage boxes in an aesthetic fashion. The result was beautiful! I ended up with a stack of several boxes filled with string. The bobbins kept my string from tangling, making it incredibly easy to just measure and cut. You can watch the video of my winding and organization process on my YouTube channel by searching for the video titled Organizing My Thread Collection.
I quickly found that I kept forgetting to put the strings back into the box when I was done using them, and I never seemed to use strings from the boxes that were at the top of the stack. Moreover, winding the string took me so much time and effort that I never wanted to repeat that process, despite how satisfying it was. I soon realized this system was not ideal for me.
Of course, your storage system depends entirely on personal preference. There are plenty of crafters who love their bobbin boxes and swear by them, but I have since moved on to a different storage system. These days I store strings by type and color. My main supply of string consists of solid color embroidery floss. I sorted the strings and bobbins into groups by color: reds go together, greens go together, and so on. I placed these color groups into individual zip lock bags, which are stored in a box with a lid. I still use bobbins to keep my strings from becoming a tangled mess, but I only load the bobbins when I start using a new string. If a string is still in its original wrapper, completely untouched, it is unlikely to tangle with other strings.
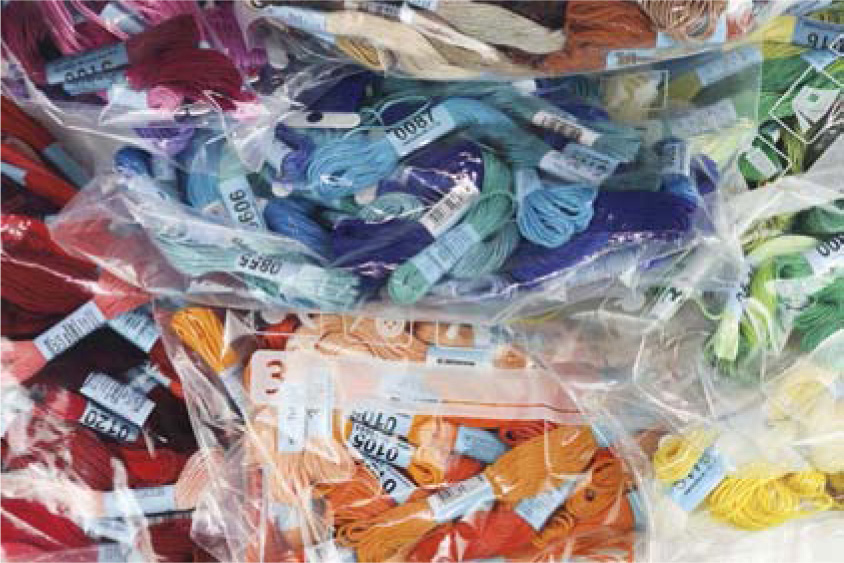
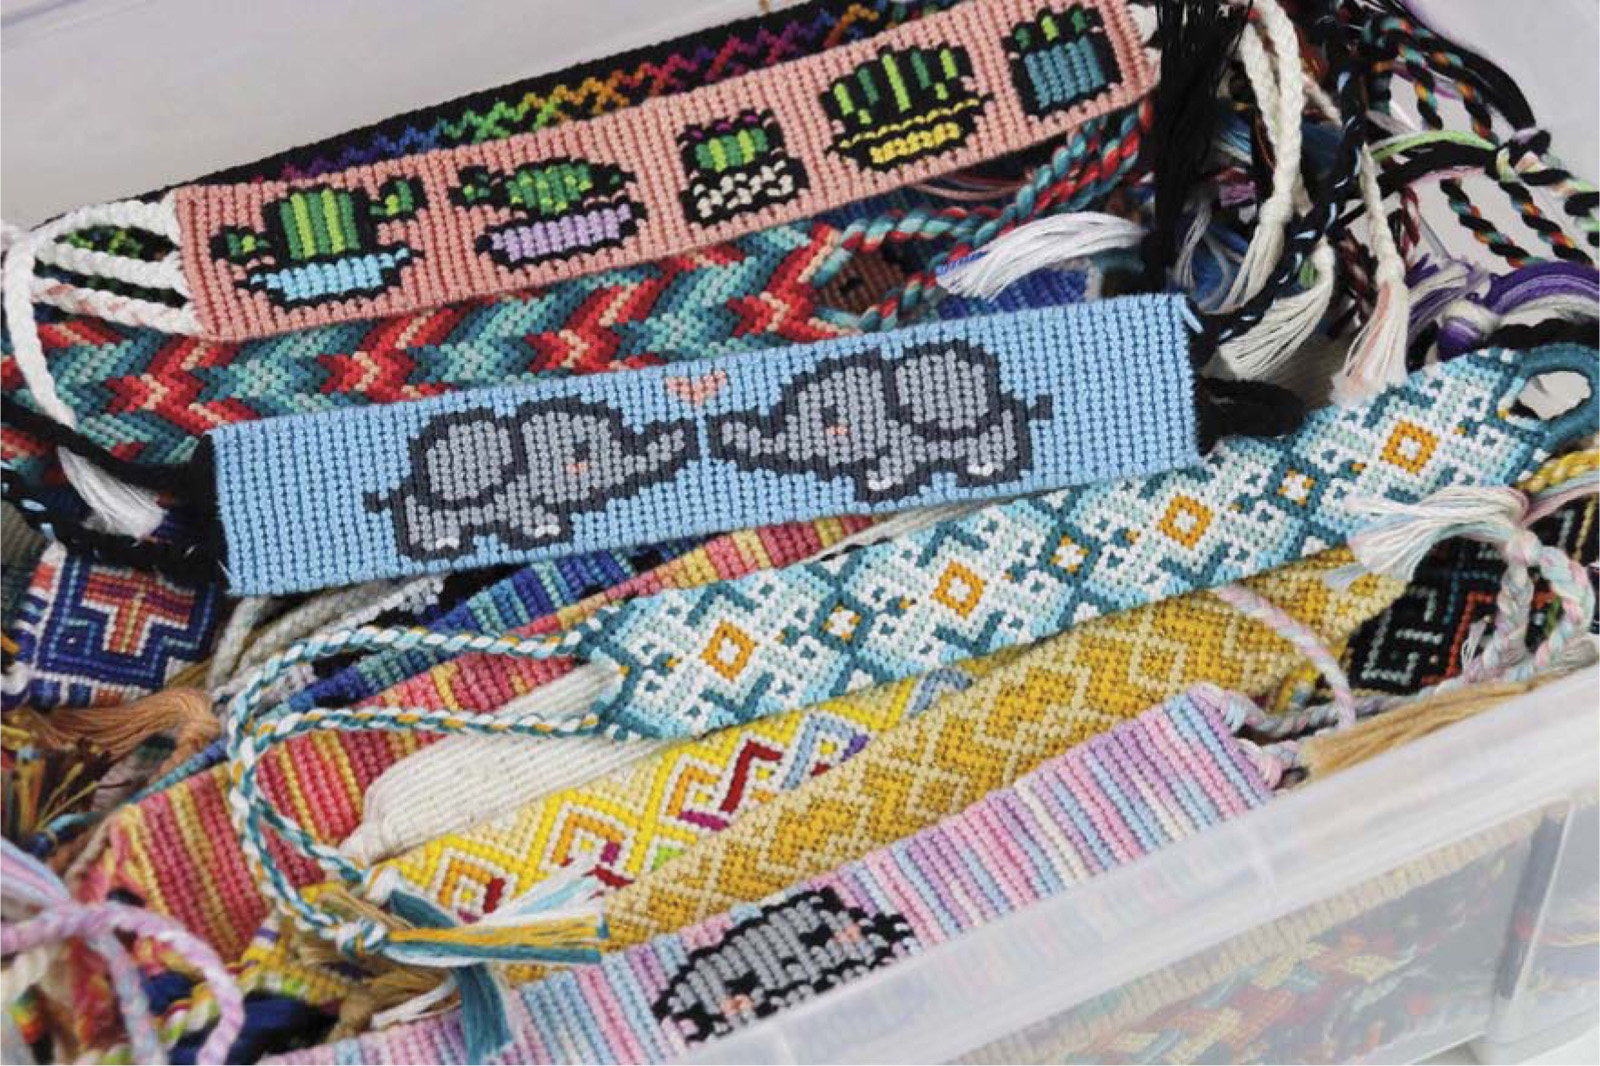
My special yarns, sparkly strings, and multicolored strings—as well as my blacks and whites—are stored separately. Blacks and whites live in a small box near the colored embroidery floss but are kept separate as I use them frequently. My special strings and yarns, which I use less often, are stored in one of my table drawers. I now store my completed bracelets stacked inside a box, as you can see in the image below. Feel free to utilize whatever storage method works best for you!