As it stands, your current theme looks incomplete at the moment. You can begin to address this by:
- Adding CSS to customize the header elements of your theme
- Altering your theme's
header.phtmlfile to customize the HTML used by Magento
Most of the styling for Magento's drop-down navigation can be done within CSS. Firstly, you can remove the bullet points and other styling associated with the <ul> elements by adding the following CSS:
.links li, #nav li, .breadcrumbs li {
display: inline;
list-style: none;
}
ul.links, .links li, .breadcrumbs ul, #nav ul {
margin: 0;
padding: 0;
}
Our next task is to restore your Magento theme's CSS for drop-down navigation . This can be done by reusing the CSS applied to #nav from the styles.css file in the /skin/frontend/default/default/css/ folder and copying this into your new theme's styles.css file in the /skin/frontend/default/default/css/ folder, updating the color references as you wish.
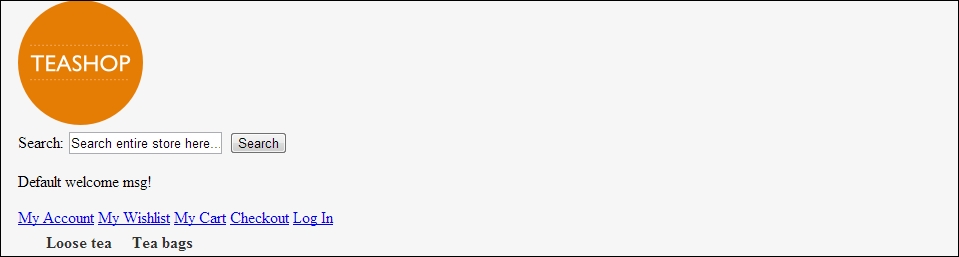
This will provide basic styling for your Magento store's navigation structure as you can see in the following screenshot:
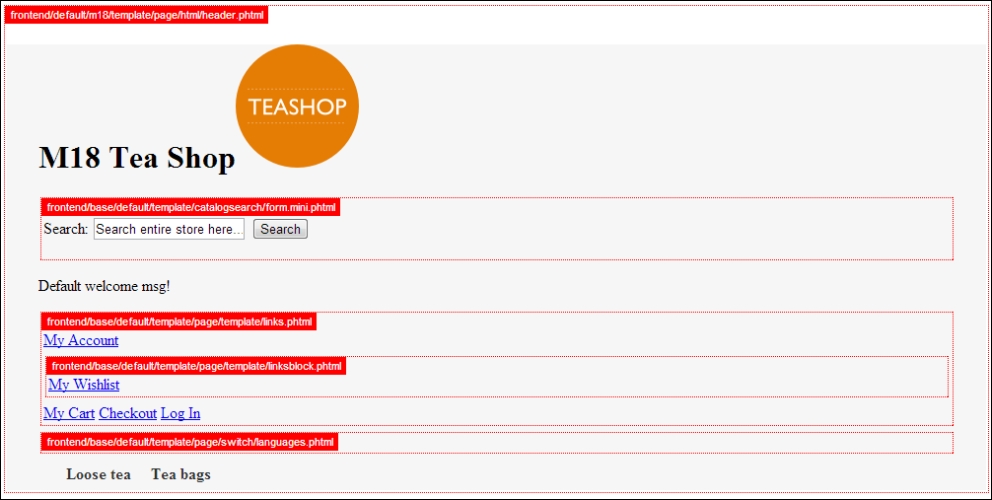
As you saw, when you enabled Magento's Template Path Hints tool, the pages on your Magento store were composed from many different templates. The header and footer, which are generally used globally throughout your store, are added to the top and bottom of each page respectively, while different page structures (for example, one-column, two-column, and three-column layouts) are swapped in and out as defined by the Magento layout, either by a theme or at a page level through Magento's CMS tool.
Tip
To see which template is being used, you can enable Magento's Template Path Hints file. See Chapter 2, Magento Theming Basics, for a walkthrough of how to do this.
Now, view your Magento store's frontend and you can see the extent of your Magento theme's header file within the design:
To change the markup in your Magento theme's header, copy the header.phtml file in the /app/design/frontend/base/default/template/page/html/ directory to the /app/design/frontend/default/m18/template/page/html/ directory. You can provide a typical layout for your store's header in line with the following diagram:

The first thing you need to do is alter how the logo is displayed to remove the text alongside it. Open the header.phtml file in your theme and find the following block of code:
<?php if ($this->getIsHomePage()):?>
<h1 class="logo"><strong><?php echo $this->getLogoAlt() ?></strong><a href="<?php echo $this->getUrl('') ?>" title="<?php echo $this->getLogoAlt() ?>" class="logo"><img src="<?php echo $this->getLogoSrc() ?>" alt="<?php echo $this->getLogoAlt() ?>" /></a></h1>
<?php else:?>
<a href="<?php echo $this->getUrl('') ?>" title="<?php echo $this->getLogoAlt() ?>" class="logo"><strong><?php echo $this->getLogoAlt() ?></strong><img src="<?php echo $this->getLogoSrc() ?>" alt="<?php echo $this->getLogoAlt() ?>" /></a>
<?php endif?>
This is currently adding text to the logo block on both, the homepage (wrapped in a <h1> element on the homepage using the $this->getIsHomePage() function to check whether the current page is the homepage) and other pages (wrapped in a <strong> element). The logo file is specified in the Magento configuration, which was covered in Chapter 2, Magento Theming Basics. Update this to reflect the following code, to output the logo's image simply:
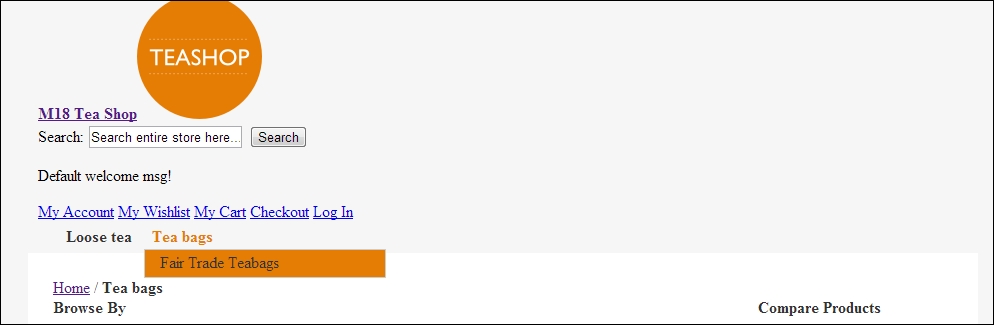
<a href="<?php echo $this->getUrl('') ?>" title="<?php echo $this->getLogoAlt() ?>" class="logo"><img src="<?php echo $this->getLogoSrc() ?>" alt="<?php echo $this->getLogoAlt() ?>" /></a>Once saved, refresh your Magento site and you will see that the change has been applied:
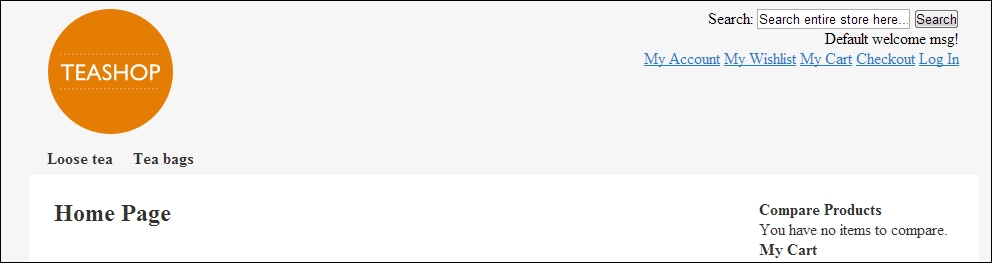
Next, you will need to apply some CSS in your theme's styles.css file to improve the layout of the header's elements:
.header .logo, .header .quick-access {
float: left;
margin: 1%;
width: 48%;
}
.header .quick-access {
text-align: right;
}
If you refresh your store after saving these changes, you will see that the header now looks more like what you would expect: