
With the advent of the @font-face support across browsers, you can use custom fonts from services such as Google Web Fonts (https://www.google.com/fonts/) in your Magento theme.
Once you have selected a font to use, copy the code that Google Fonts provides to embed the CSS, which will look something like the following:
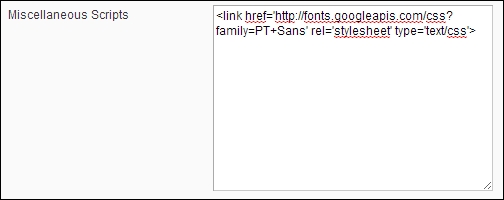
<link href='//fonts.googleapis.com/css?family=PT+Sans' rel='stylesheet' type='text/css'>
Navigate to System | Configuration in your Magento store's administration panel and paste this in the Miscellaneous Scripts field, which is in the HTML Head panel under the Design tab, as shown in the following screenshot:
Click on the Save Config button at the top-right corner of the screen to save this change.
This step ensures that the font is available to be used in your theme; the next step is to use the font in your theme's style sheets.
Google's Web Font performance is okay for desktop visitors, but may slow down your store for mobile/tablet visitors on limited connections. As such, it will be better to host the EOT, WOFF of TTF font files used in your theme's @font-face rules locally on your store's server (or via a Content Distribution Network).
Open your theme's styles.css file (in the /skin/frontend/default/m18/css/ directory) and you can use the font-family attribute to change the font. In this example, the font is changed through the website using the body element:
body {
font-family: "PT Sans", "Alike", "Times New Roman", serif;
}
Once you have saved this, you will see the new font from the Google Fonts service being used throughout your Magento theme:
