
This recipe includes information on how to sign up to the Apple Developer Program, as well as how to download and install the necessary tools needed to develop applications using Xcode.
Before you can start building iOS applications, you must first join up as a registered user of the iOS Developer Program in order to download all of the necessary components to our computer. At the time of writing, the latest version is 4.5.2, and iOS SDK's latest version is 6.x. The registration process is free, and provides you access to the iOS SDK and other developer resources that are really useful for getting you started.
The following short list outlines some of the things that you will be able to access when you become a member of the iOS Developer Program:
To prepare your computer for iOS development, you will need to download and install the necessary components in the following order:
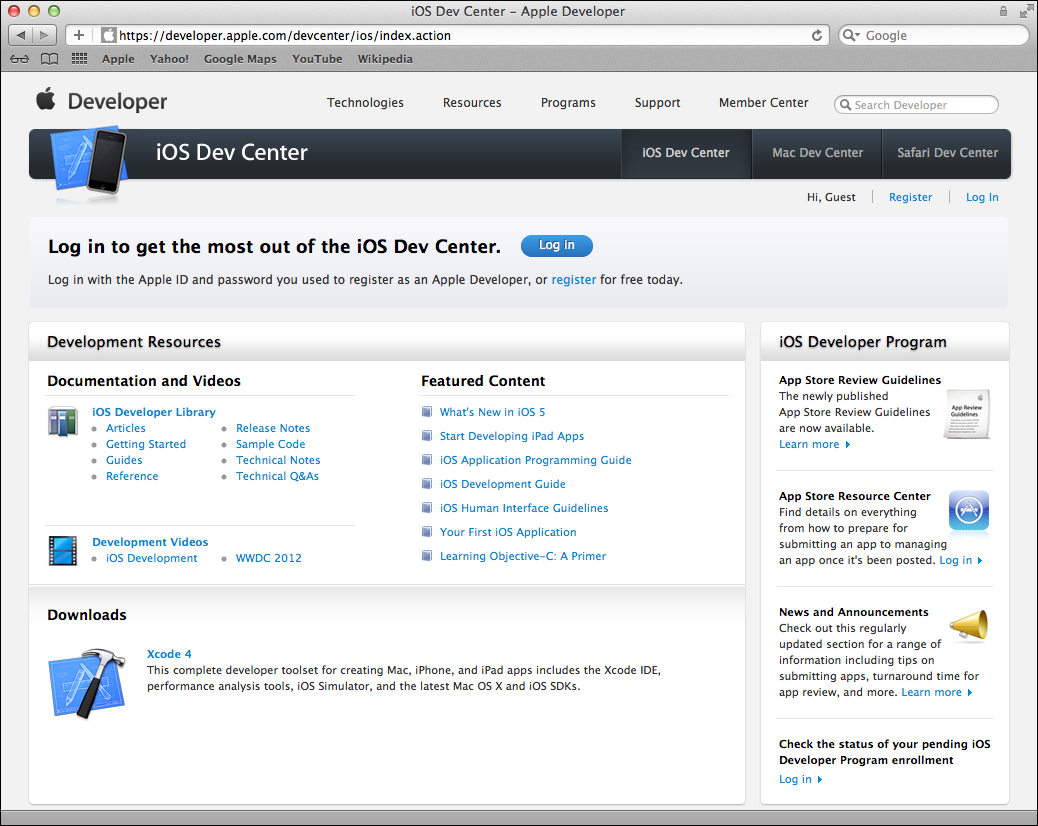
- To sign up to the iOS Developer Program, you will need to go to https://developer.apple.com/devcenter/ios/index.action and then click on the Log in button to proceed, as shown in the following screenshot:
- Once you have signed up, you will then be able to download the iOS SDK and proceed with installing it onto your computer.
- Xcode can also be obtained from the Mac App Store at the following link http://itunes.apple.com/us/app/xcode/id497799835?mt=12, depending on whether you have chosen the version for Mac OSX Lion. The installation procedure in the remaining steps shows how to go about installing the iOS development tools for Snow Leopard.
- Once you have downloaded the SDK for Snow Leopard, you can proceed with installing it. You will be required to accept a few licensing agreements. Once you have done that, all you need to do is select the destination folder of the installation and click on the Continue button.
- If you select the default settings during the installation phase, the various tools will be installed in the
/Developer/Applicationsfolder. The installation process takes you through the custom installation options screen, as shown in the following screenshot:
These options give you a little more control over the installation process. For example, you are able to specify the folder location in which you would like to install Xcode, as well as settings for a variety of other options.
Now that everything has been installed and is ready to go, our next step is to take a look at what each component within the Xcode and iOS SDK is needed for.
As mentioned in the Introduction section of this chapter, the iOS SDK is made up of three important components. The main component, Xcode IDE, is Apple's IDE that allows for developing applications for the iOS and Mac platforms, and uses Objective-C as the default programming language.
This environment allows for better integration and editing of source code, and building, compiling, and debugging your applications. It contains a number of tools that can help with diagnosing issues with your iOS applications. The topic on instruments, will be covered later on in this book. The IDE contains a device information window, called Organizer – Devices, which is shown in the following screenshot:

This screen is necessary to install the various certificates and provisioning profiles that are required for deploying an application onto a device for testing, or distribution through the Apple App Store. Using the Organizer – Devices window, you can view debugging information of your applications, crash logs, as well as the ability to take screenshots from the device.
- Interface Builder: This is the user interface designer that is integrated within the IDE. Interface Builder provides you with all the necessary functionality to construct an application's user interface. All of your objects are stored within one or more resource files and contain the associated relationship to each of the objects. Any changes that you make to the form design are automatically synchronized back to your code.
- iOS Simulator: This is an extremely useful tool that acts as a testbed for your applications without the need for using an actual device, whether an iPad or any other iOS device. Whenever you build and run your application, Xcode installs your application on the iOS Simulator and launches this for you automatically.
The iOS Simulator has the capability of simulating the different iOS versions, and this can become extremely useful if your application needs to be installed on different iOS platforms, as well as testing and debugging errors reported in your applications when run under the different iOS versions.
The following list provides you with the links that contain the tools and information for installing them:
- Apple iOS Developer Portal: https://developer.apple.com/devcenter/ios/index.action
- Apple Developer Tools information: https://developer.apple.com/technologies/tools/whats-new.html
- The Compiling your project recipe
- The Debugging your iOS applications using Xcode recipe
- The Using provisioning profiles to install an iOS app on an iOS device recipe in Chapter 10, Packaging and Deploying Your Application
- The Submitting an application to the App Store using iTunes Connect recipe in Chapter 10, Packaging and Deploying Your Application