
In step 1 and step 2, we have persisted the model to reuse the model capabilities in API.
In step 3, an API method is created to accept user inputs and return the results from the image classifier.
In step 4, the URI mappings will accept client requests (GET/POST). A GET request will serve the home page at the very beginning. A POST request will serve the end user request for image classification.
In step 5, we added an API dependency to the pom.xml file. For demonstration purposes, we build the API JAR file and the JAR file is stored in the local Maven repository. For production, you need to submit your API (JAR file) in a private repository so that Maven can fetch it from there.
In step 6, we are calling the ImageClassifier API at our Spring Boot application service layer to retrieve the results and return them to the controller class.
In the previous chapter, we deployed the application locally for demonstration purposes. In this chapter, we have deployed the application in Google Cloud. Steps 7 to 16 are dedicated to deployment in Google Cloud.
We have used Google App Engine, although we can set up the same thing in more customized ways using Google Compute Engine or Dataproc. Dataproc is designed to deploy your application in a Spark distributed environment.
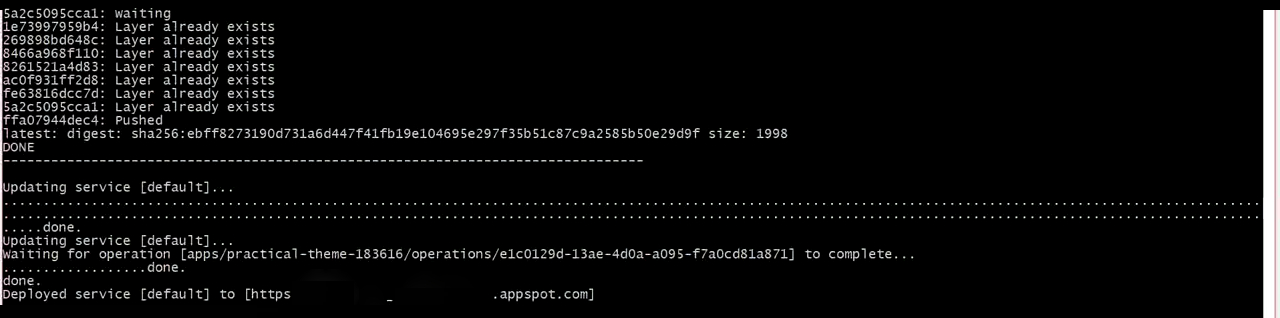
Once deployment is successful, you should see something like the following:
When you hit the URL (which starts with https://xx.appspot.com), you should be able to see the web page (the same as in the previous chapter) where end users can upload images for image classification.