TURNING LETTERING INTO ARTWORK
Want to know an easy way to turn your calligraphy into a piece of artwork? Frame it! Because of its beauty and elegance, calligraphed quotes are often used as home and office décor. You might want to make art from quotes or phrases that inspire you. Maybe you’d like to hang them on the wall or place them next to your desk to motivate yourself as you work. There are many styles of modern calligraphy to choose from to suit the style and theme of any room.
If you feel like it’s challenging to create an original design, don’t worry! This section walks you through my method for creating frame-worthy calligraphy compositions.
Composition Tips & Tricks
When planning your calligraphy design, the most important factors are that it should look pleasing and be easy to read. In calligraphy, composition is the sum of all the elements combined to make a work of art convey its intended meaning or message.
Here are some common factors to consider when designing a composition for your calligraphy piece. These can be applied to quotes on the wall, invitations, and other projects. An added benefit is that if you still find yourself lost in determining your calligraphy style, these will also help you discover it! Let’s dive in.
Theme
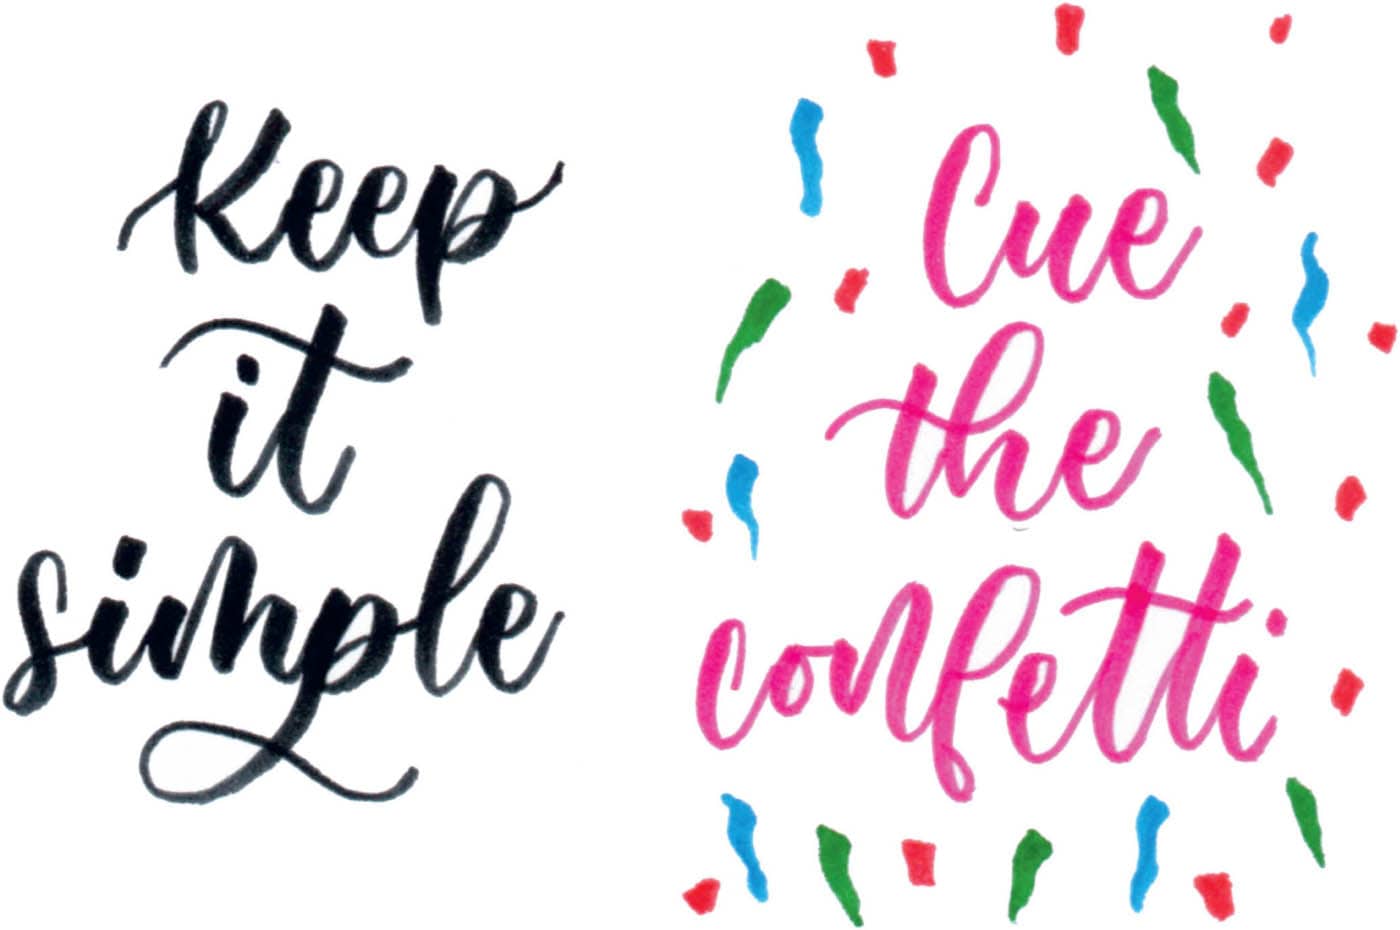
Do you want your design to look elegant but simple? Plain calligraphy art is perfect for a minimalist house. Perhaps you want the vibe to be playful and fun? You can add decorations to your lettering for a modern look.
Color Scheme
If your theme is minimalist, a plain black color may work best. You can also choose to make your piece super colorful. There are many color palette inspirations online, such as pastel, vintage, muted, or bright. Set the color depending on the mood you want the readers to get from your art.
Size of the Brush Pen or Marker
It may seem like a tiny detail, but the size of the brush pen makes a big difference in the final output. Using a large-tip brush pen can make a word look bold and edgy, while a fine-tip brush pen can create a soft and whimsical look.
Shape
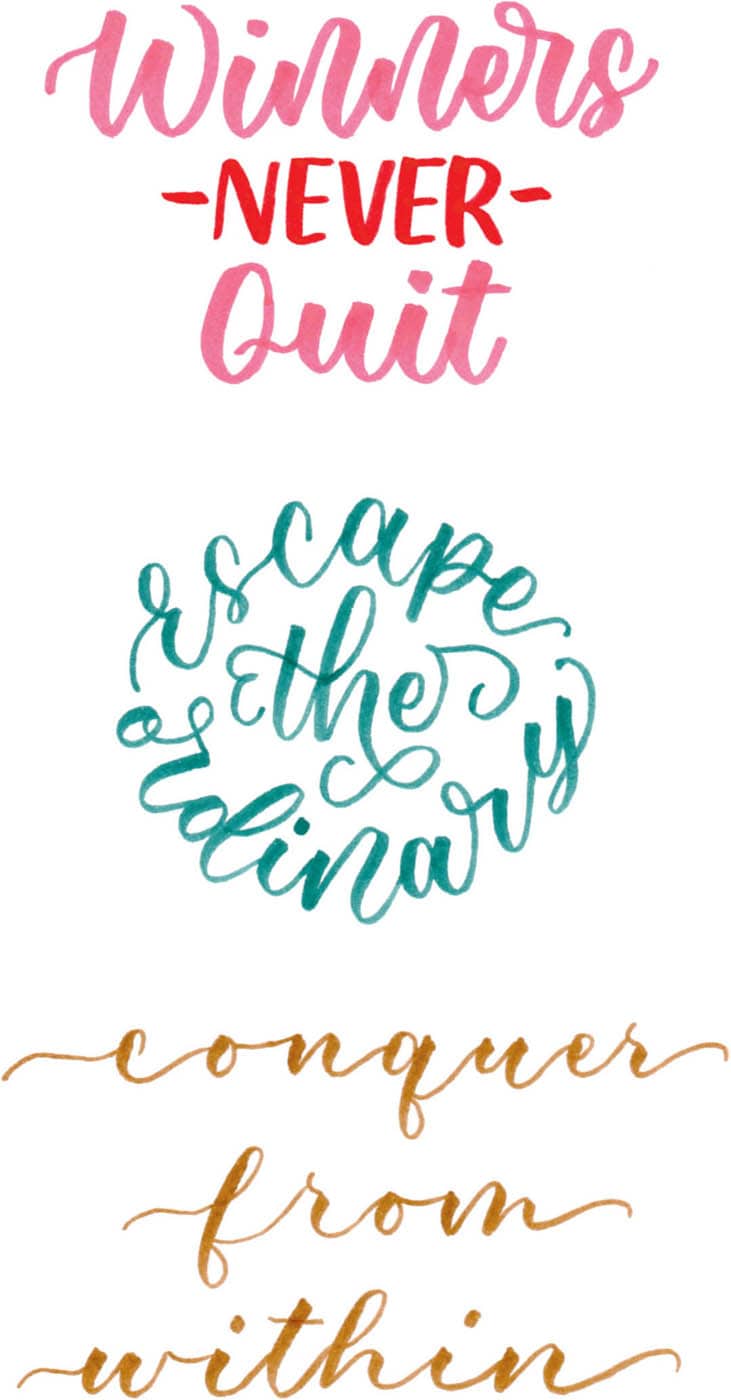
The most common design shape for a quote is rectangular, but you can try to fit your words into a circle, a square, or any other structure that you can think of. You can also put words in a curving or diagonal direction.
Spacing
The spacing between each line of the quote or paragraph also contributes to the finished look of your artwork. Some designs might look best with all the words squeezed altogether, while others take as much space as they can.
Emotion
Words can express feelings if you choose the right kind of calligraphy for your writing. Choose bouncy or extended lettering if you want the design to look lively, or add flourishing to impress your friends and family.
CREATING A BEAUTIFUL LAYOUT
Now that you’re familiar with the different factors that contribute to a composition, let’s put them into action by learning how to create your work of art in calligraphy. This step-by-step process shows how to do it without getting overwhelmed.
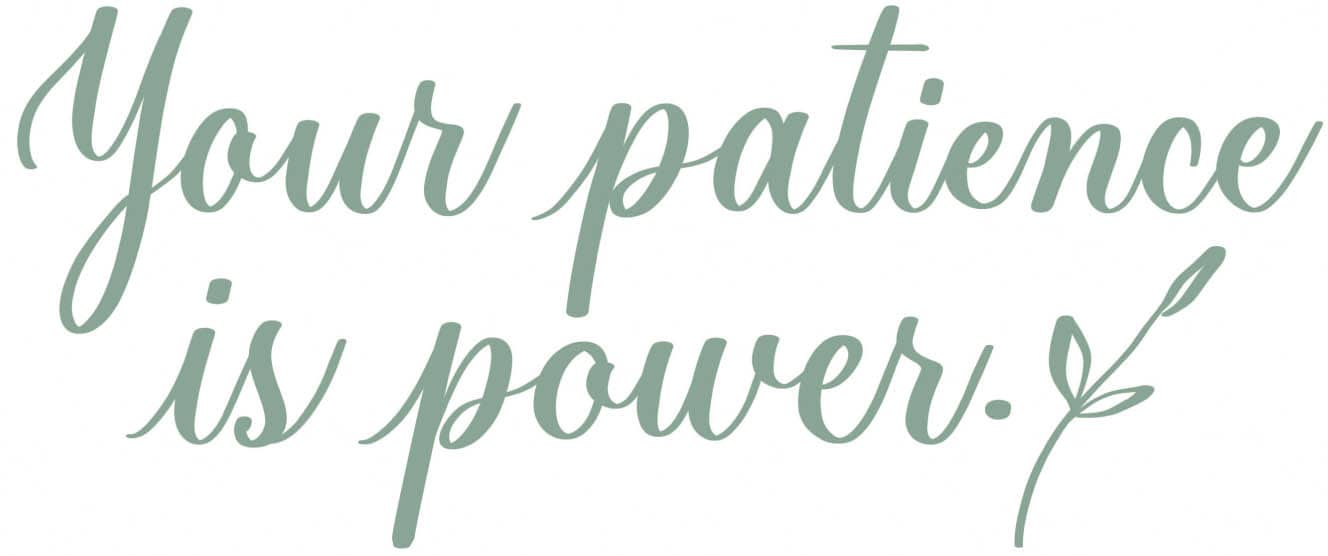
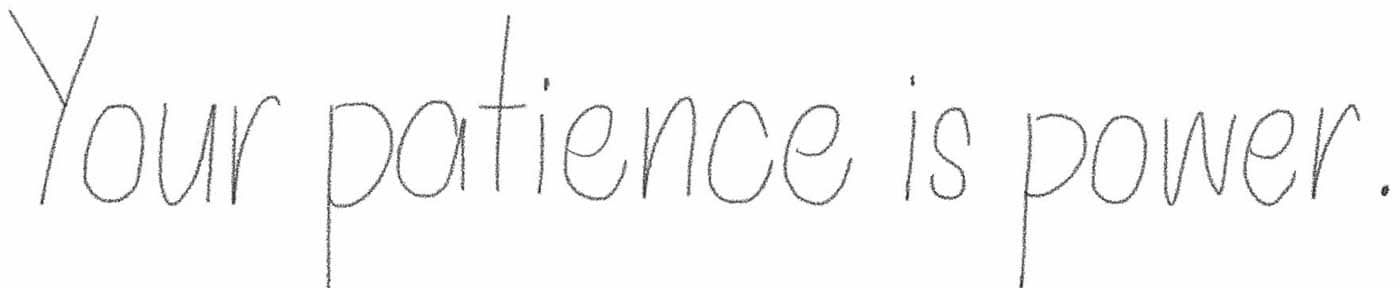
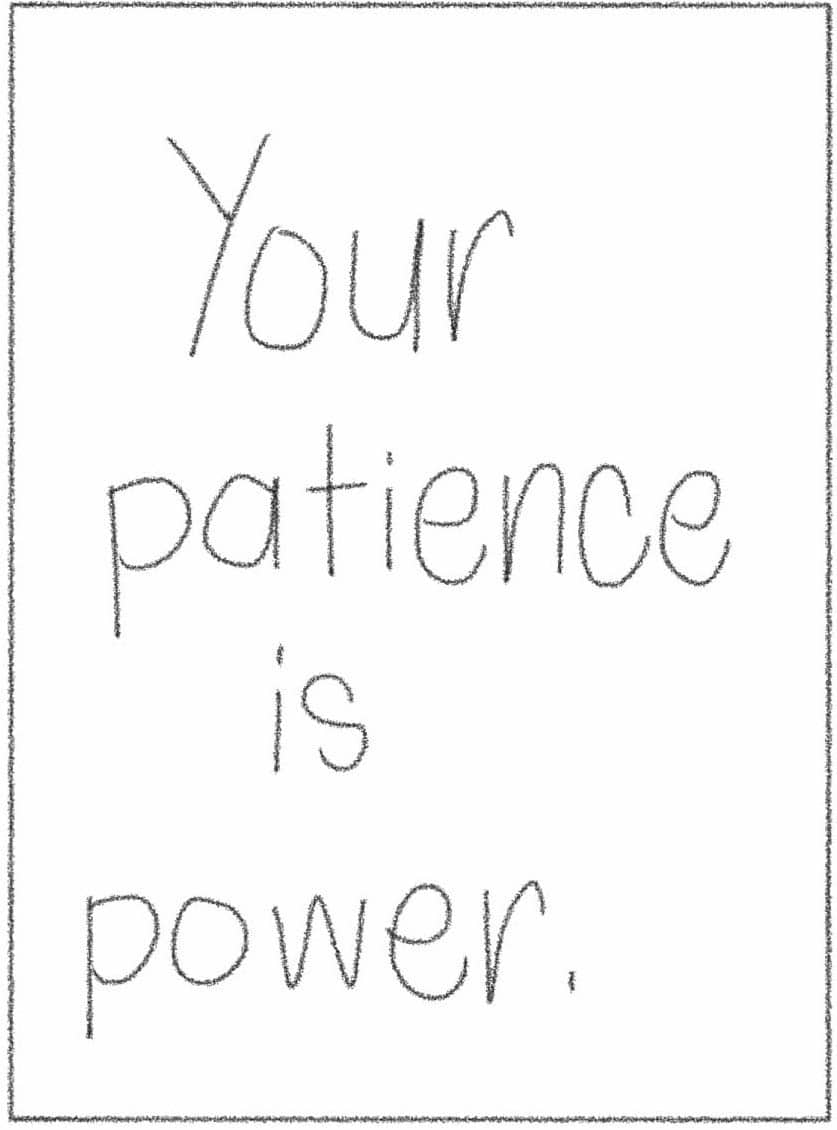
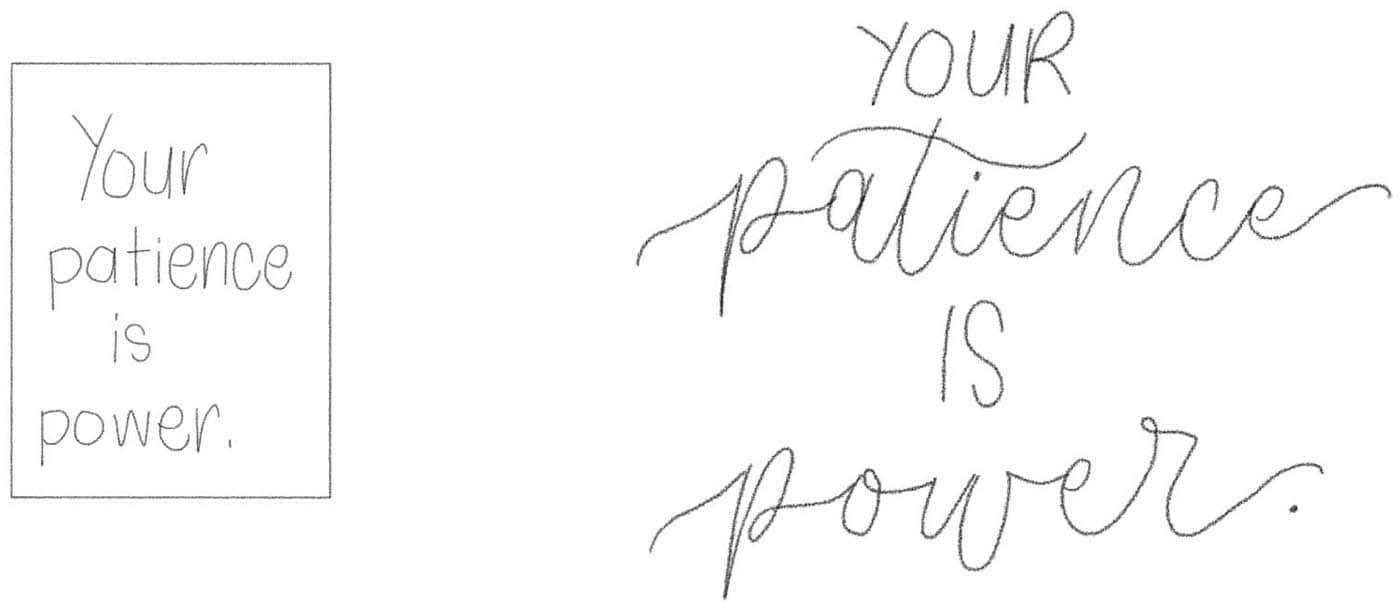
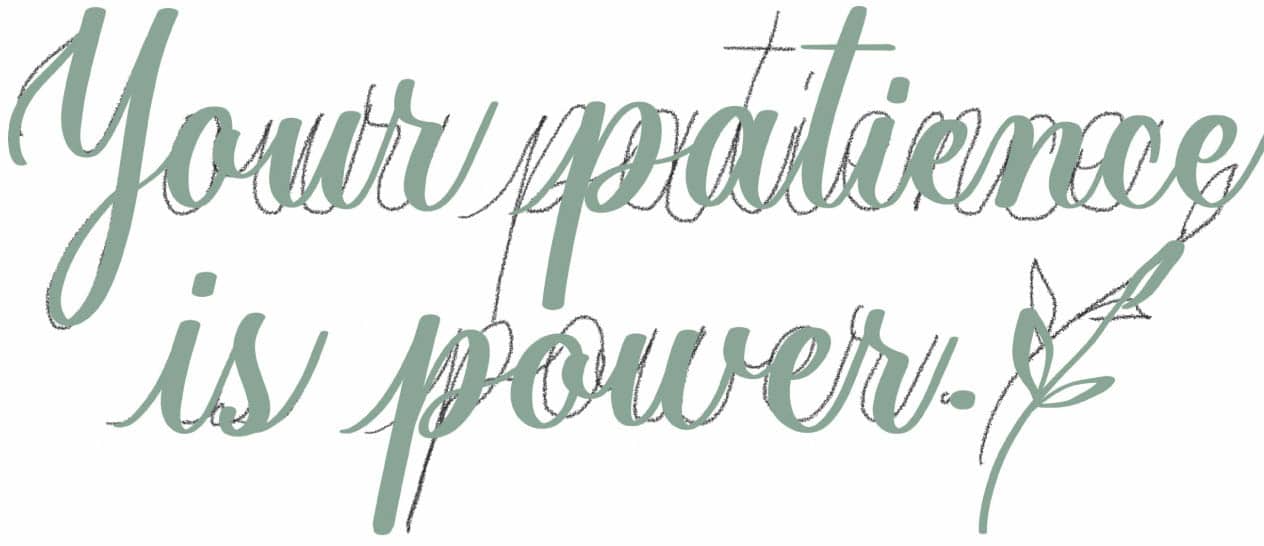
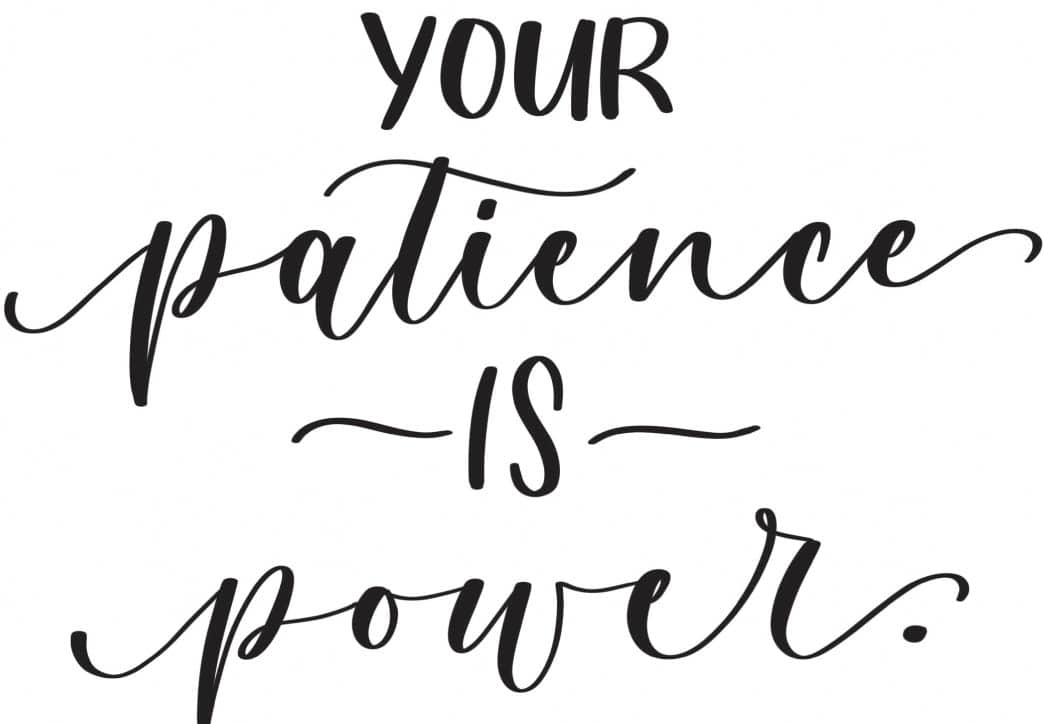
Let’s use this quote as an example: “Your patience is power.”
Step 1: Write
Write the whole quote so you won’t miss any words. Don’t worry about designing it yet; just write it in your usual handwriting.
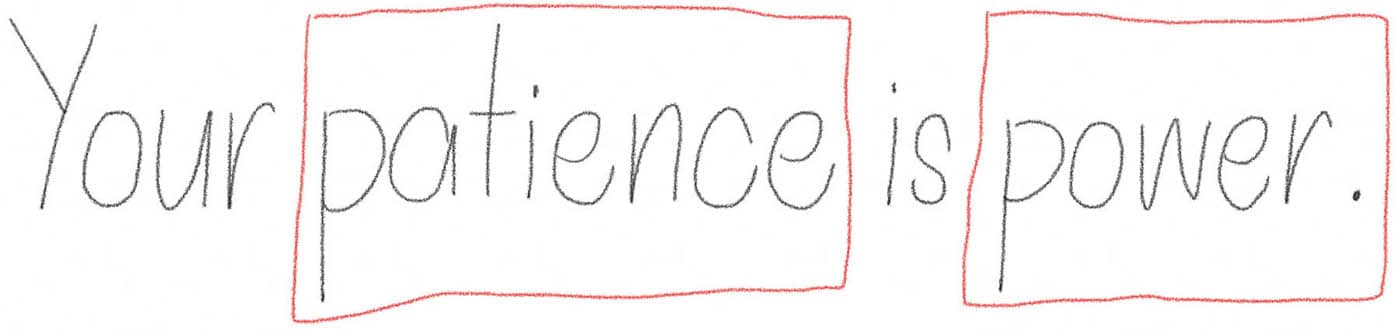
Step 2: Emphasize
Not all words in a sentence are equally necessary. Choose the words that you want to emphasize; they will be the main focal words.
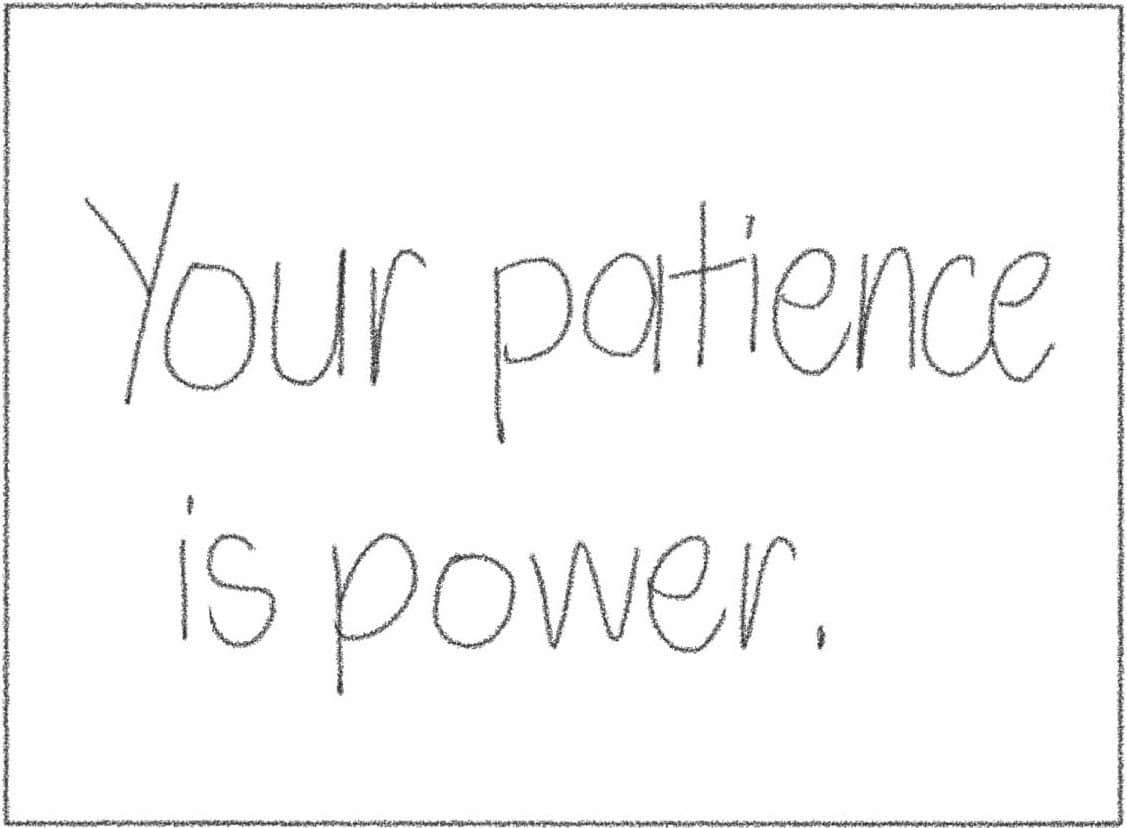
In this example, “patience” and “power” are the main words in the quote, so let’s underline them or put them in a box.
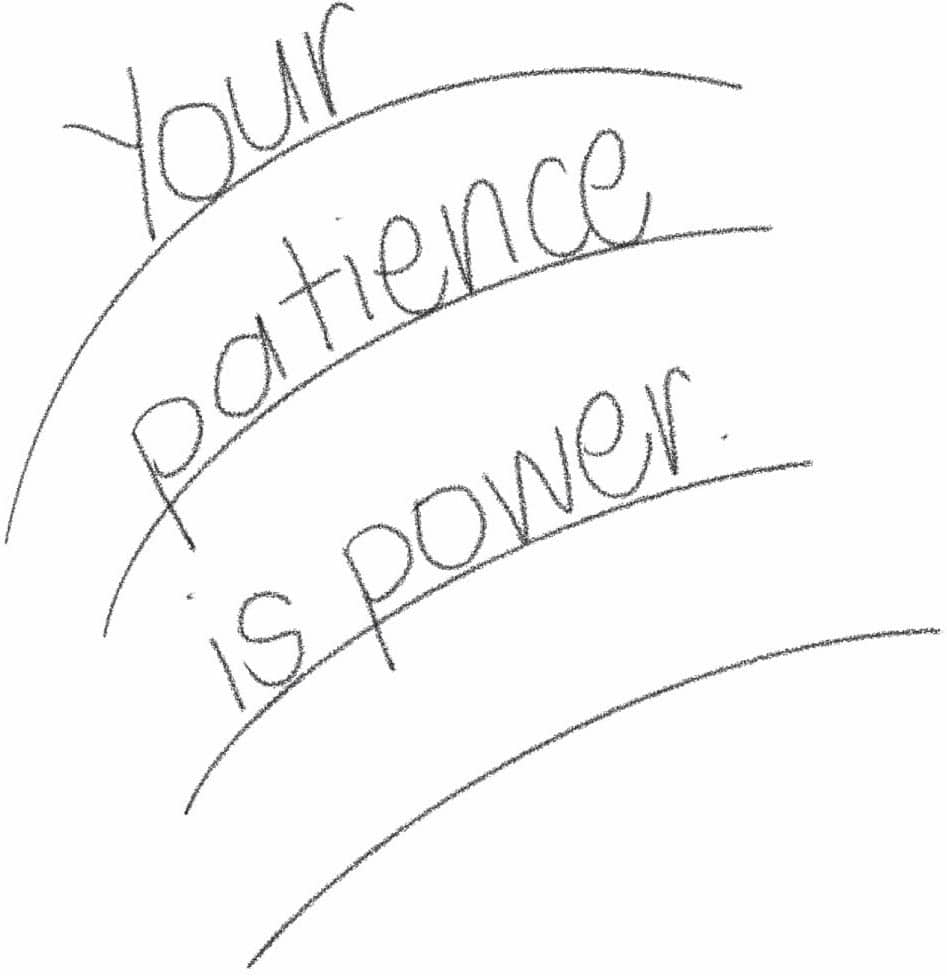
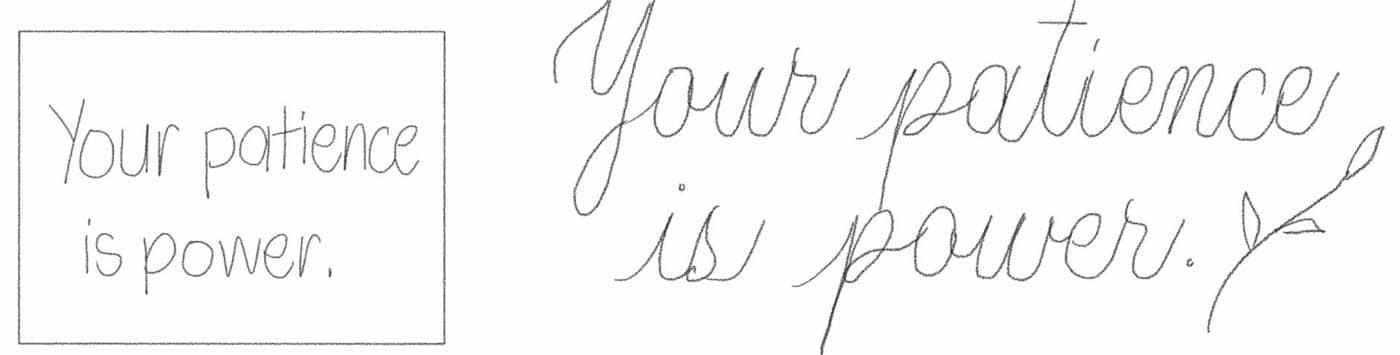
Step 3: Layout
Applying some of the factors in composition (here), create thumbnails or smaller versions of the design you wish to make. You can start by drawing shapes to see which will best suit your quote.
Shape 1
Shape 2
Shape 3
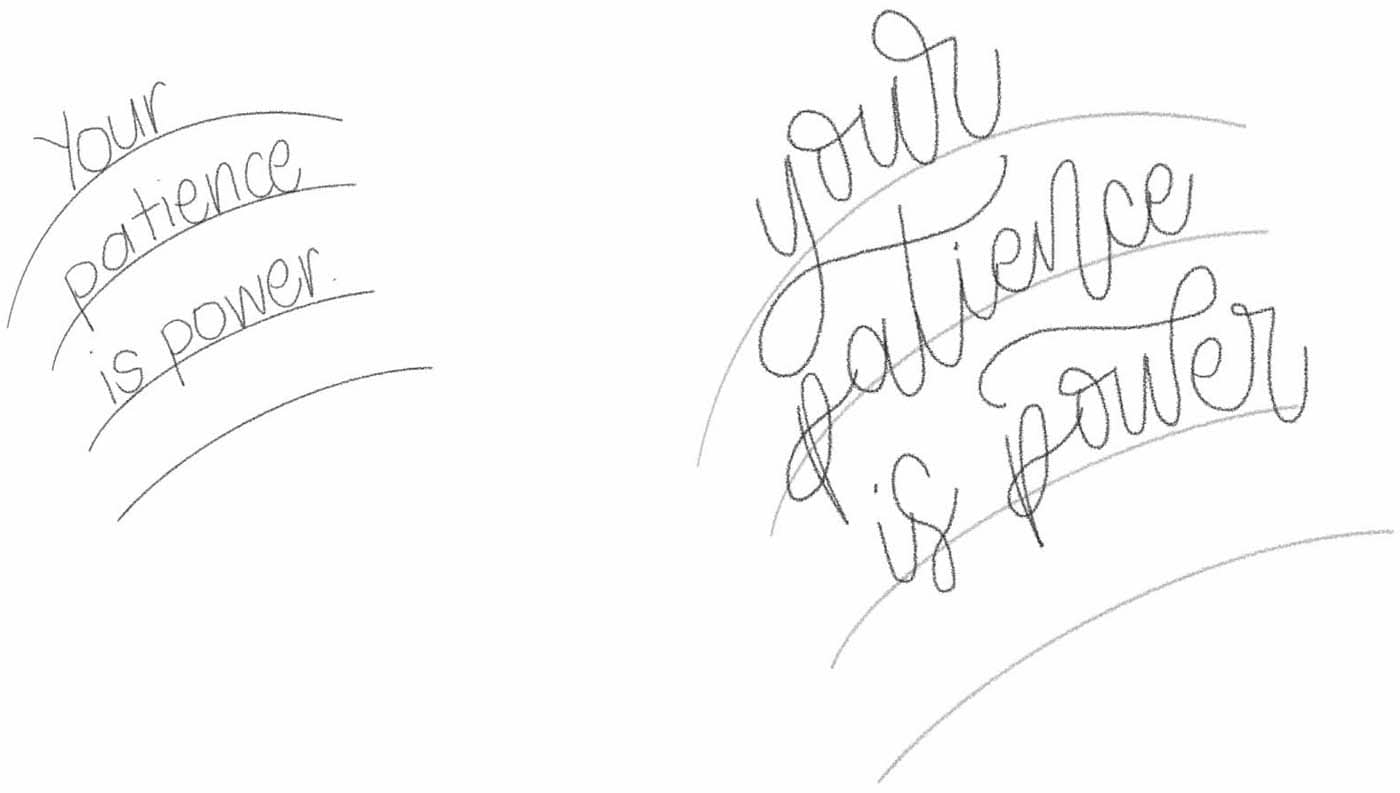
Using your handwriting, fill the shapes with the words in the quote. Try different layouts by dividing the words or phrases in various ways.
1
2
3
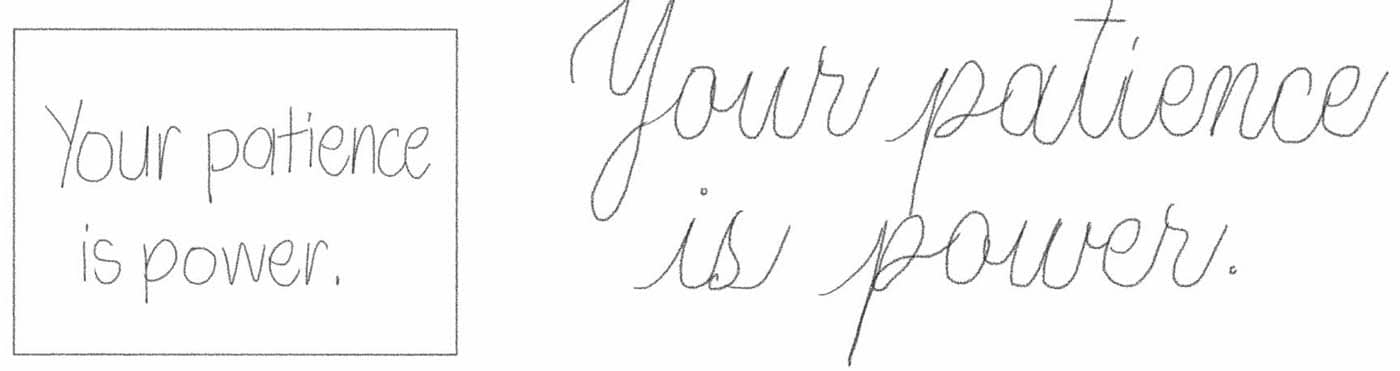
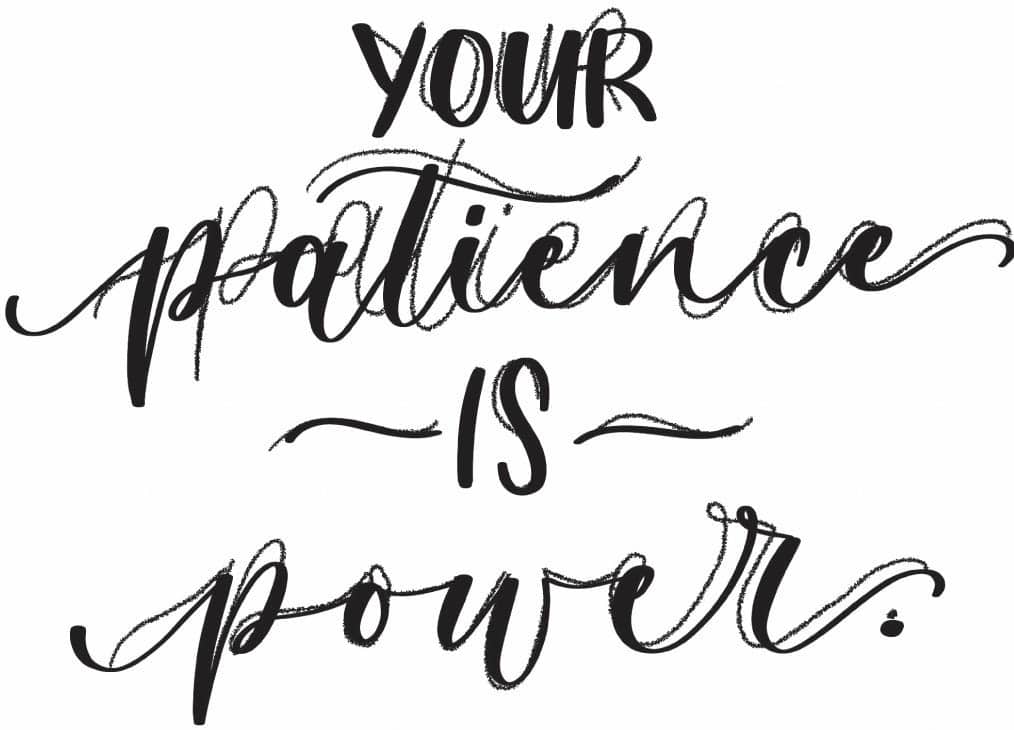
Step 4: Stylize
Once you’ve drafted some layouts using your handwriting, it’s time to make different designs. Decide whether you want to keep the look simple or playful. Pick a lettering style or mix brush script with serif letters. Again, try different versions and have fun with the process.
1
2
3
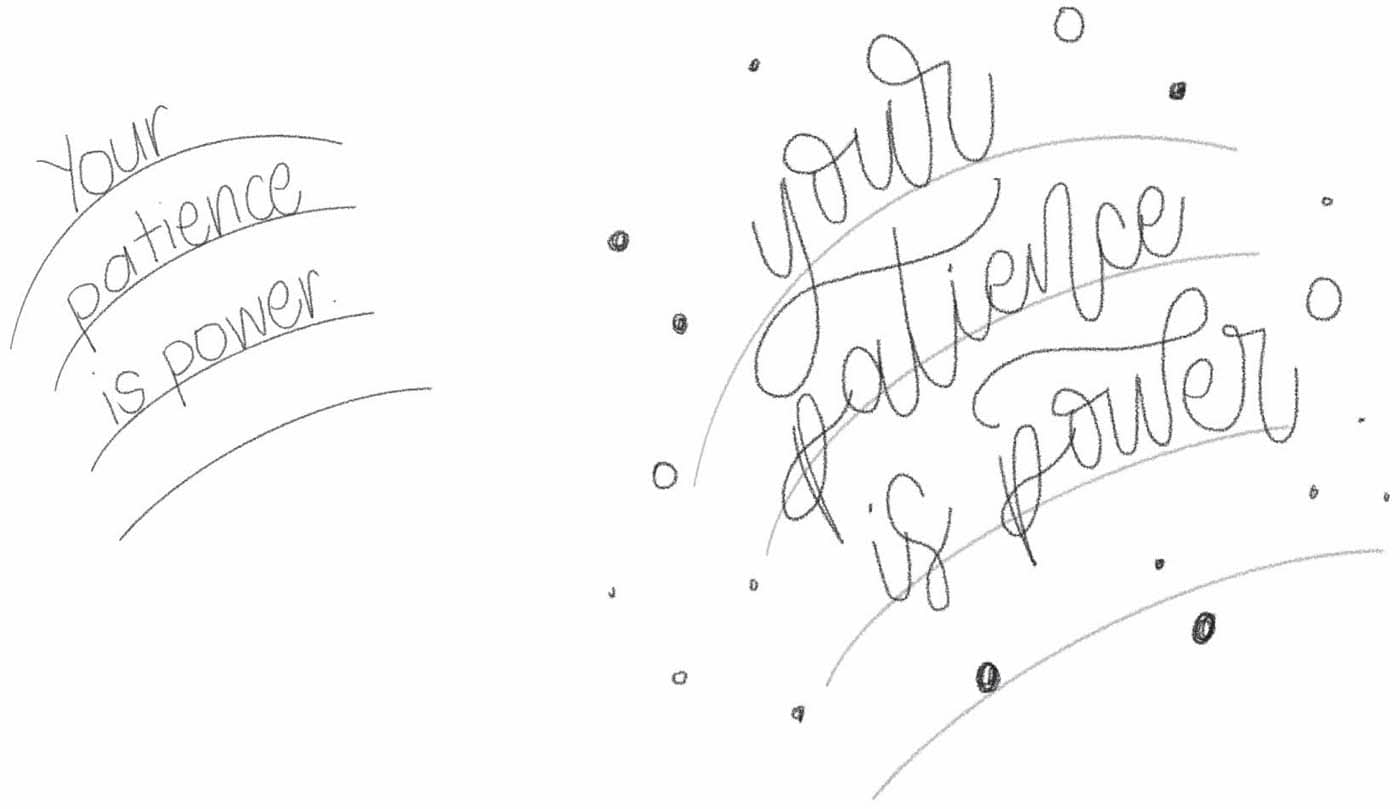
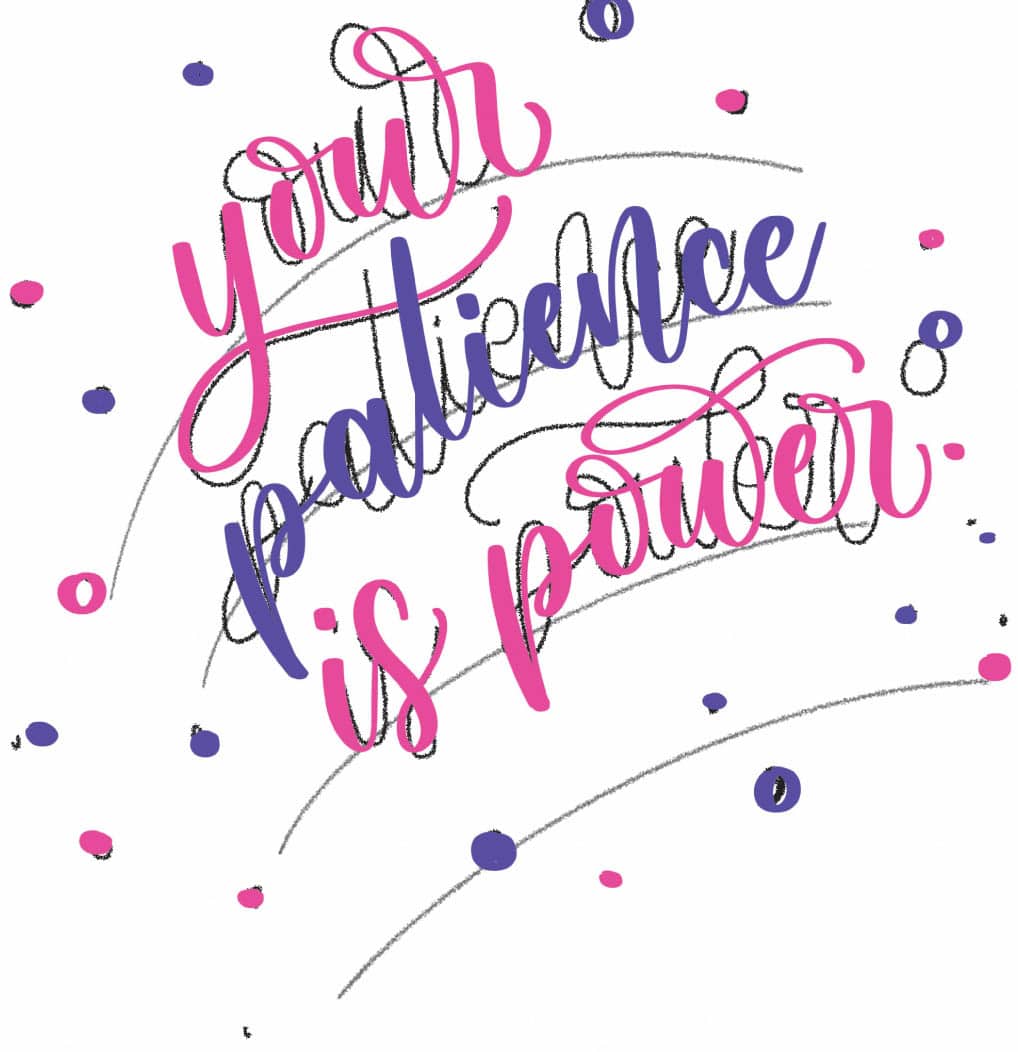
Step 5: Embellish
Add elements or embellishments if you need to fill any awkward negative spaces. Try adding leaves, floral elements, stars, or dots around the quote.
1
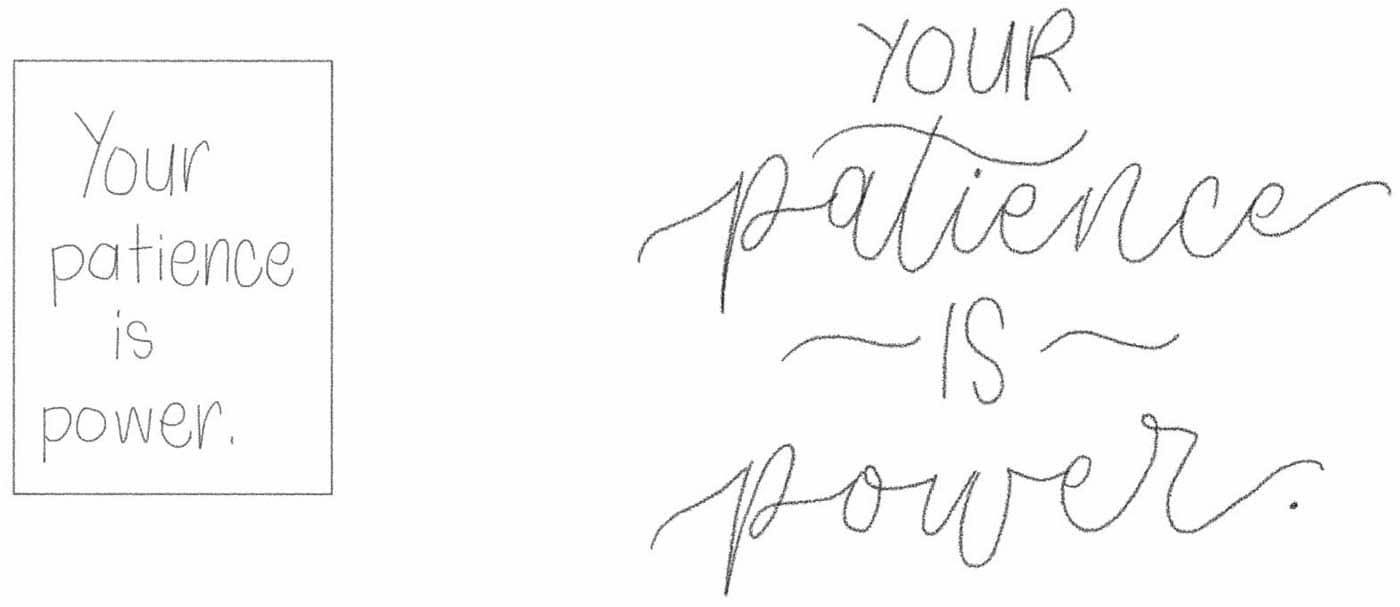
2
3
Step 6: Trace
Look at your calligraphy compositions and choose the one you like the most. Then start creating it in the actual size that you want your artwork to be. Using a guideline helps maintain the consistency of your letters. You can trace the pencil markings or use a light pad to trace the design.
If you need to adjust the spacing or letters or change anything in your composition, you can do this while tracing the initial design. If you’re satisfied with the design of your composition and have nothing more to add, it’s time to ink it with your brush pens.
1
2
3
Step 7: Finish
Wait for the ink to dry before erasing any pencil markings on your artwork.
Congratulations! You’ve just finished your first calligraphy masterpiece! Remember that composition is used in calligraphy to understand how the words in a phrase or quote come together to make an artwork. Don’t worry if it’s not perfect on your first try. Practice and keep trying. Most importantly, enjoy the process!
1
2

3