Preparing the Sample Application
Chapter 1 provided you with a Windows Presentation Foundation (WPF) application that serves as a base for most of the other chapters in this book. This chapter uses this base application, but you are going to make a few changes to it. These changes are specific to this chapter and should not be assumed to be valid in other chapters.
The first thing to change in the base application is the design of the main window: You need to change the layout grid to include a second column. Next you add a ComboBox to the form and put it in the first column using Grid.Column=”0”. To ensure the combo box is correctly bound to the data on the back end, add the following properties and values:
- ItemsSource = {Binding}
- DisplayMemberPath = “Name”
- SelectedValuePath = “Lambda”
Now you need to ensure the Button that was in the original application is in the second column by using Grid.Column=”1”. You can add a Margin to both controls to make them look a little better on the form. You should also name the new combo box ExampleList and the button ExecuteButton. Since the button's name changed, you will need to change the event handler name accordingly. Once these changes are complete your code should resemble the code in Listing 5-1.
Listing 5.1 : MainWIndow — MainWindow.xaml
<Window x:Class="MainWindow"
    xmlns="http://schemas.microsoft.com/winfx/2006/xaml/presentation"
    xmlns:x="http://schemas.microsoft.com/winfx/2006/xaml"
    Title="Pro VB 2012 Chapter 5" Height="400" Width="400">
    <Grid Background="Black">
        <Grid.ColumnDefinitions>
            <ColumnDefinition Width="7*"/>
            <ColumnDefinition Width="3*"/>
        </Grid.ColumnDefinitions>
        <Grid.RowDefinitions>
            <RowDefinition Height="42"/>
            <RowDefinition Height="139*"/>
        </Grid.RowDefinitions>
        <ComboBox Name="ExampleList" Grid.Column="0" Margin="5"
                  ItemsSource="{Binding}"
                  DisplayMemberPath="Name"
                  SelectedValuePath="Lambda" />
        <Button Name="ExecuteButton"
                Content="Run Sample"
                Margin="5"
                Click="ExecuteButton_Click"
                Grid.Column="1"/>
        <ScrollViewer  Margin="0,0,0,0" Grid.Row="1" Grid.ColumnSpan="2">
            <TextBox Name="TextBoxResult" TextWrapping="Wrap" Text=""/>
        </ScrollViewer>
    </Grid>
</Window>
The next step is to add the following code to the application.
    Private ReadOnly _examples As CollectionView

    Public Sub New()
        ' This call is required by the designer.
        InitializeComponent()

        ' Add any initialization after the InitializeComponent() call.
        Dim examplesList =
            {
                New With {.Name = "To be continued", .Lambda = "To be continued"}
            }

        _examples = New CollectionView(examplesList)
    End Sub

    Public ReadOnly Property Examples As CollectionView
        Get
            Return _examples
        End Get
    End Property
The _examples field is used to hold a CollectionView of the collection created in the constructor. The Examples property provides read-only access to this field. Earlier, you bound this property to the ComboBox control on the user interface. This allows the data in the collection to be shown in the control.
At the moment, your examplesList collection is only stubbed out until you cover the first topic, Lambda Expressions. It is a collection of anonymous types where the anonymous type has a Name and Lambda property.
Your next step is to provide functionality for the button, which you accomplish by adding the following:
Private Sub ExecuteButton_Click(sender As Object, e As RoutedEventArgs)
    Dim ExampleMethod = TryCast(ExampleList.SelectedValue, Action)

    If ExampleMethod = Nothing Then
        TextBoxResult.Text = "Nothing to run"
        Return
    End If

    TextBoxResult.Text = String.Empty

    ExampleMethod.Invoke()
End Sub
In the example you built initially in Chapter 1, your button was called Button. Since we changed the button name to Execute, you will no longer need the Button_Click_1 subroutine, in this version.
The detail on what this handler actually does will be covered later in this chapter. For now, you will finish setting up the application by handling the main window's Loaded event and binding the Examples property to the ExampleList control. The following event handler code should be added to the application:
Private Sub MainWindow_Loaded(sender As Object, e As RoutedEventArgs) _
    Handles Me.Loaded
    ExampleList.DataContext = Examples
End Sub
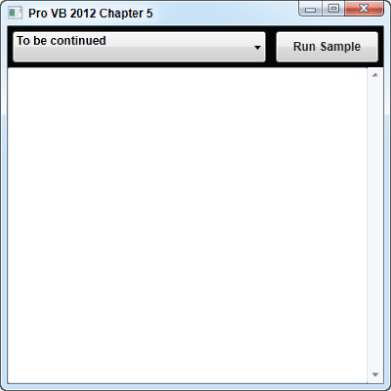
These changes and additions will prepare the application for use throughout this chapter. If you run the application, it will look like Figure 5.1. However, it won't actually do anything yet because you haven't added any examples. You have waited long enough—it is time to move on to the real purpose of this chapter!
Figure 5.1 Main Application