Follow these steps to create a basic versioning-enabled bucket:
- Log in to your AWS account and go to the S3 dashboard.
- Click Create bucket:

Creating a bucket
- Give your bucket a globally unique name.
- Click Next.
- Check the box to Keep all versions of an object in the same bucket. This enables versioning so that you can revert objects to their former state if necessary:

Versioning a bucket
- Click Next.
- On the next screen, leave the defaults as they are – we don't want our buckets to ever be made public:

Bucket access
- Click Next.
- Review the bucket settings on the following screen and click Create bucket:

Reviewing the bucket settings
- Once the bucket has been created, click on its name and take a look at the tools that are available to administer the new bucket:

Bucket administration
- Since we enabled versioning on this bucket, let's test it out to see how it works.
- Create a text file on your desktop and add a single line to the file:
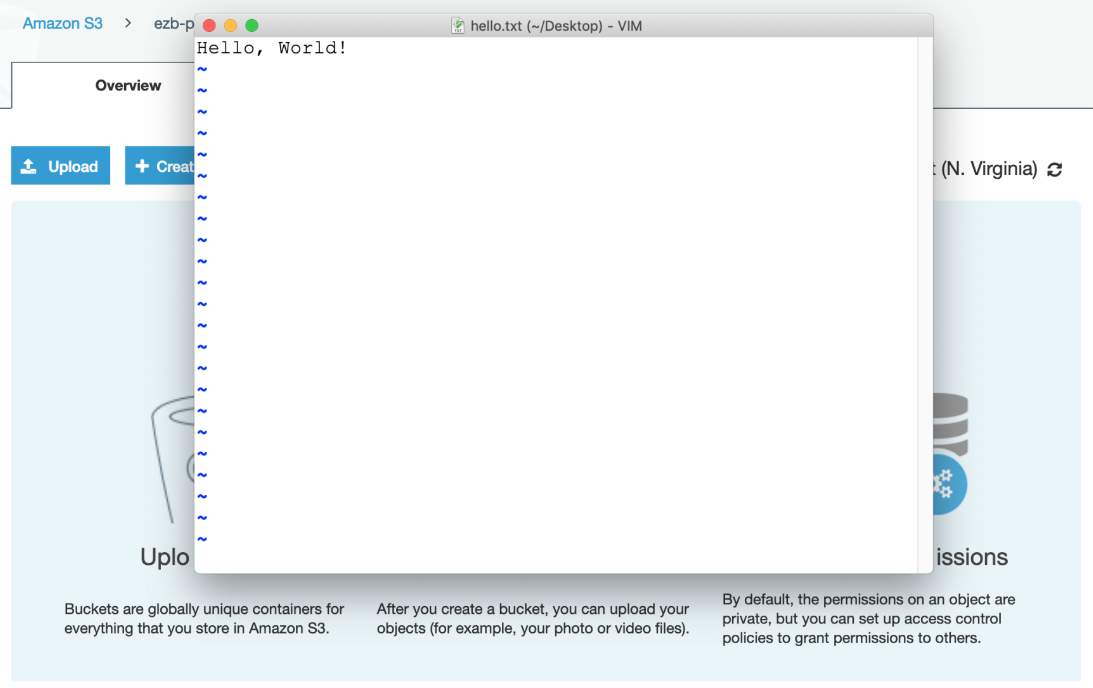
Creating a file to upload
- Click the Upload button and upload that file to the new bucket:

Uploading a file
- Click Next. Accept the defaults on the following screen and click Next again.
- On the next screen, inspect the various storage classes that are available. It's worth spending some time learning the pros and cons of each class. Pick Standard:

Storage class
- Scroll down to the Encryption option. Select the Amazon S3 master key. The object will be encrypted seamlessly, without requiring you to manually encrypt or decrypt it. Encryption is handled behind the scenes for you.
- On the final screen, click Upload:

File upload
- Click the object name to go to a screen dedicated to the object:

Object administration
- Note that there is an object URL at the bottom, but if you click it, you will get an error since we didn't make this object public!
- Click the Download button to retrieve a copy of the object. Open it to confirm that it's the same as what we uploaded.
- Edit the file on your desktop to add a new line.
- Go back to the bucket administration and click Upload again. Upload a new copy of the file using the same procedure we outlined in the previous steps.
- Click the object name, and then click the Latest version link next to the name. Download each version to confirm that the content matches your expectations:

When versioning is enabled, all object versions are retained indefinitely