In this recipe, you will configure a new Aurora database instance, securely store the administrative password in Secrets Manager, add a read replica, and perform a backup and restore of the database. Note that the resources you create in this recipe will incur charges on your AWS bill:
- Log in to your AWS account and go to the RDS dashboard (Aurora is considered a component of RDS).
- Click the Create database button. Choose Amazon Aurora from the Engine options on the following page. Select Amazon Aurora with MySQL compatibility as the Edition:

Engine options
- Leave the rest of the settings at the defaults:
- Regional database location
- One writer and multiple readers
- Production template
- db.r5.large database instance size
- Multi-AZ deployment
- Default VPC
- Click Create database.
- You will see a button to view credential details on the next screen as the database is being created. Click that button and copy the password, along with the connection details. Wait until the database is available.
- In this step, you will use the AWS Secrets Manager to store the admin password. Secrets Manager allows you to store secrets and automatically integrates with other AWS services to handle password rotation for you. Open a new browser tab and go to the Secrets Manager dashboard. Click Store new secret.
- Select Credentials for the RDS database and paste in the username and password.
- Select the database you just created from the options.
- Click Next and give the secret a name.
- Enable automatic credential rotation, give the rotation lambda function a name, and click Next.
- On the final Secrets Manager review screen, take note of the code samples that are relevant for your application and click Store.
- Go back to the Aurora dashboard and view your databases. Note that the top-level node represents the entire cluster. Underneath, you can see the primary writer instance and the read replica. Note that your region and AZs might be different:

Aurora databases
- Click on the cluster and note the various tabs that are available for configuration. Take some time to explore each tab:
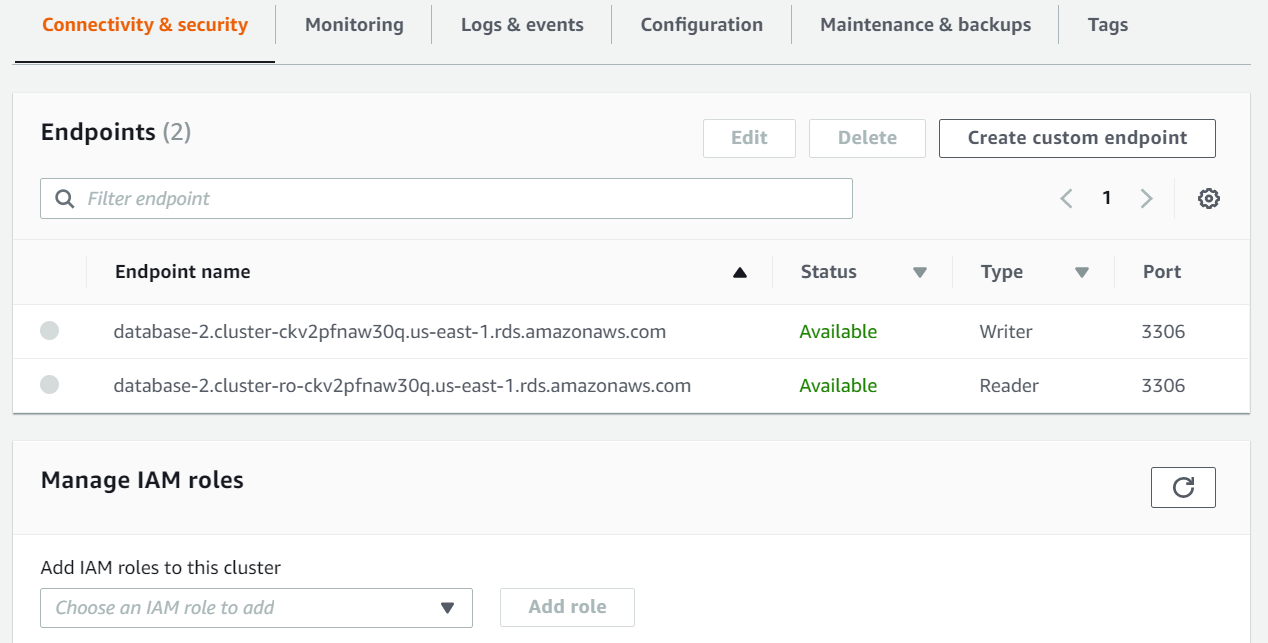
Aurora cluster configuration
- From the Actions menu at the top of the screen, select Add reader.
- On the next screen, accept all defaults, enter a unique DB instance identifier, and click Add reader.
- From the left-hand menu, select Snapshots, then click Take snapshot.
- Choose the DB instance, give the snapshot a name, and click Take snapshot:

Take DB Snapshot
- You could create a new cluster based on the snapshot, or you can do a point-in-time recovery.
- From the Actions menu, select Restore snapshot.
- Note that the following screen is basically the same as the screen to create a new database since you are not overwriting the original.
- Accept the defaults, give the restored copy a unique DB instance name, and click Launch DB instance.
- When you have completed all steps in this recipe, be sure to delete all instances to avoid further charges!