You will need a Windows EC2 instance that is joined to a domain to complete this recipe. If you already have one, skip to the How to do it section. If not, follow these steps to create a Directory Service directory and an EC2 instance that is joined to your domain:
Note that the resources you create in this recipe will not fall under the free tier! There will be charges associated with them, even if you tear down the resources after you finish this chapter.
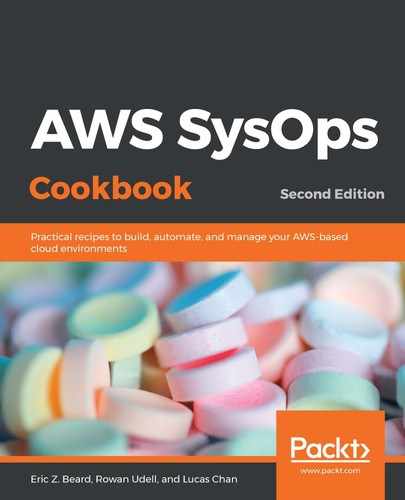
- Go to the Directory Service dashboard and click Set up a directory:

Directory Service
- Select AWS Managed Microsoft AD from under Directory types:

Selecting the directory type
- Configure the directory information on the next screen. Again, note that this recipe does not fall into the free tier! There will be charges associated with these resources:

Directory information
- Be sure to remember the password you set in the previous step. You will need to log in to your EC2 instance with the domain user account – not with the machine administrator account – via the EC2 console.
- Choose your VPC and Subnets. To keep things simple, choose your default VPC:

Choosing the VPC and subnets
- On the next screen, confirm your settings and click Create directory.
- Wait for the directory to be created.
- Go to the EC2 dashboard and click Launch Instance to create a new Windows instance.
- Select Microsoft Windows Server 2019 Base:

Choosing an Amazon Machine Image (AMI)
- On the following screen, select an instance type. Choose t2.micro to stay in the free tier. However, be aware that the performance of Windows Server on this small instance will be very slow. A larger instance type will perform much better, but it will incur a cost until you terminate it.
- Click Next: Configure Instance Details.
- On the following screen, select a Subnet that matches the subnet that's used by your Active Directory instance. Also, choose the directory in the Domain join directory dropdown.
- Click Next: Add Storage and accept the defaults.
- Click Next: Add Tags and optionally tag the instance with a unique name so that you can recognize it on the dashboard.
- Click Next: Configure security group and choose the default VPC security group.
- Click Review and Launch and launch your instance.